How to build a raised garden bed: get your plot ready for growing with this step-by-step guide
Find out how to build a raised garden bed, for planting crops, growing flowers, and making maintenance easier

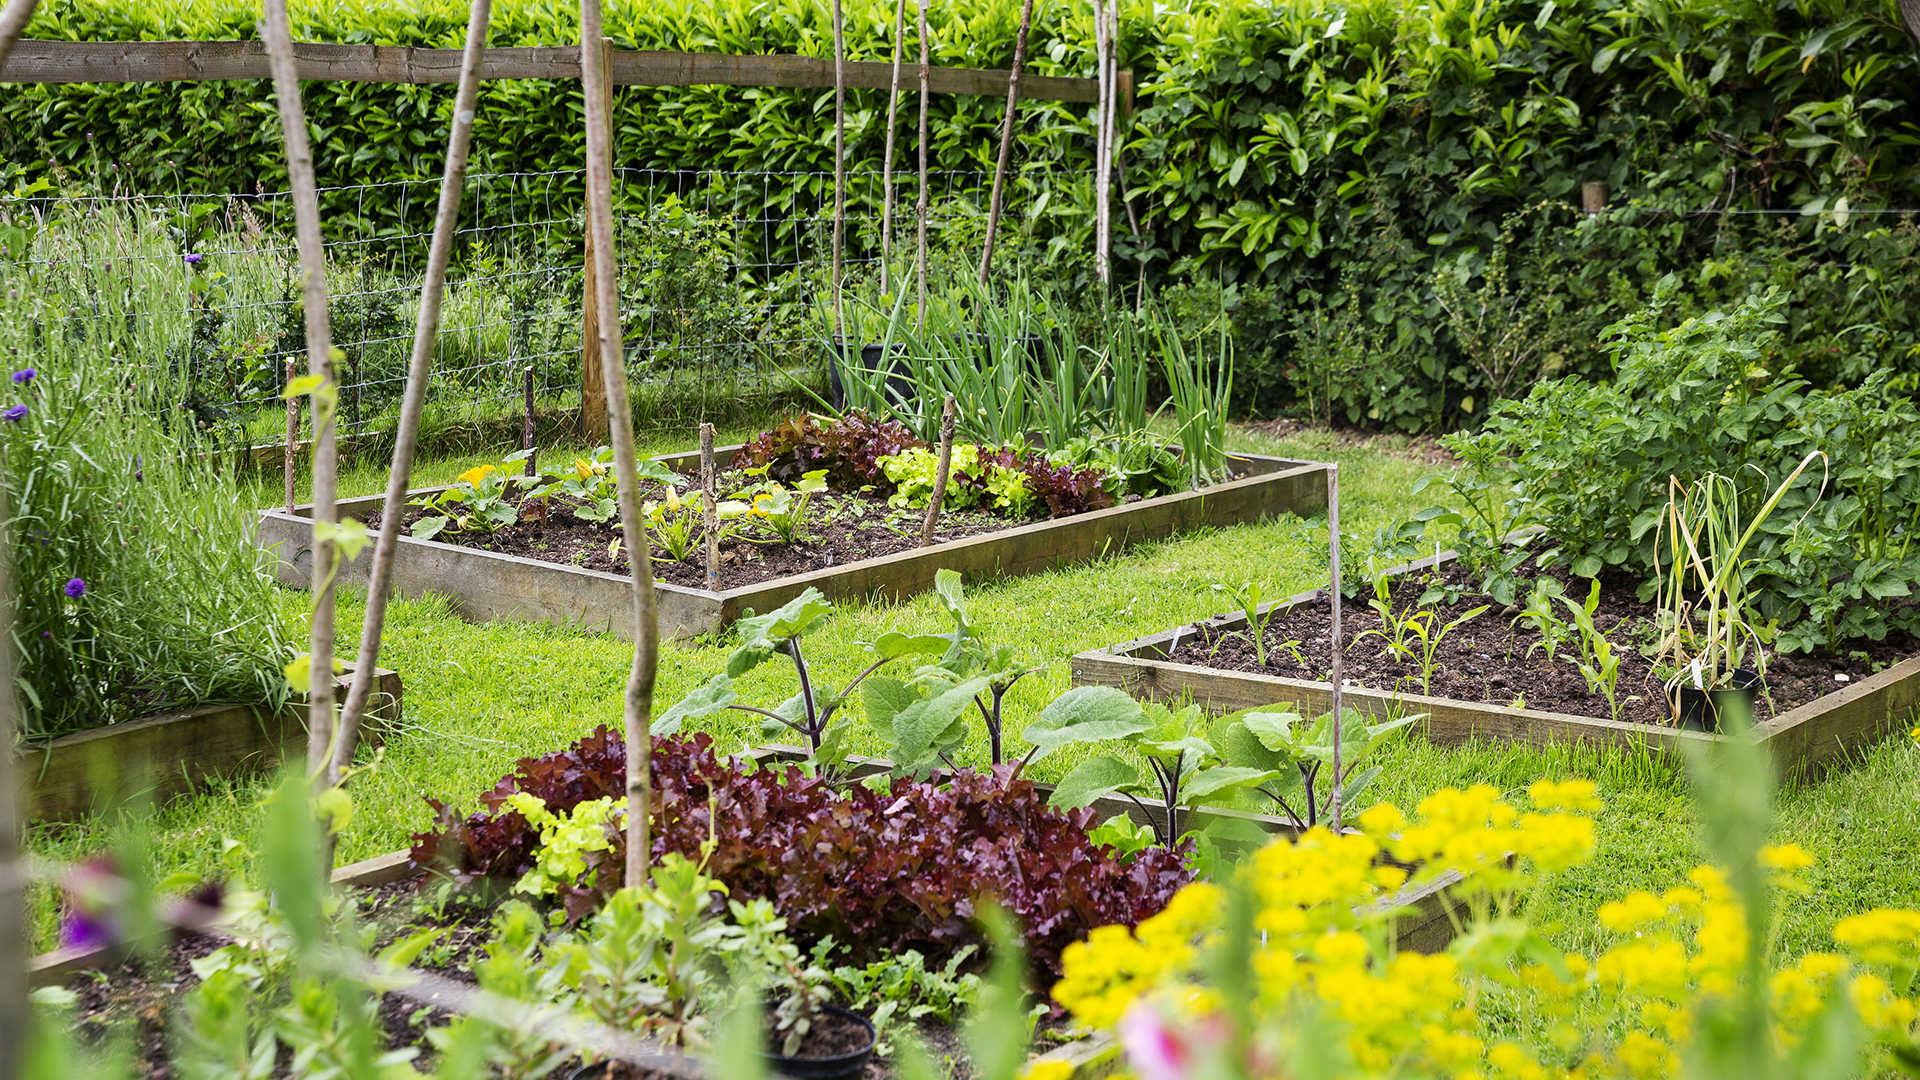
Learning how to build a raised garden bed isn't difficult. With just a little know-how you'll be able to add this attractive, practical feature to different areas of your garden. Raised beds are fantastic for growing a huge range of plants, and are particularly favoured for cultivating fruits and vegetables.
The easiest way to add a raised bed to your garden is to invest in a pre-made kit. These are supplied in flatpack form, with pre-drilled holes so you can assemble them with just a screwdriver and possibly a few nails.
Better quality pre-made kits offer a sleek, professional look, but they are more expensive than making one from scratch. If you want your raised garden bed to become a central feature in your outdoor space, then it's worth investing in a quality kit, but if you just want to grow a few vegetables at the bottom of the garden then a simple timber bed is ideal.
Discover the key considerations and how to build a raised bed from timber with this guide, and if you want more advice on what to grow, our complete guide to raised beds has all the tips you need.
1. Work out the size of your raised garden bed
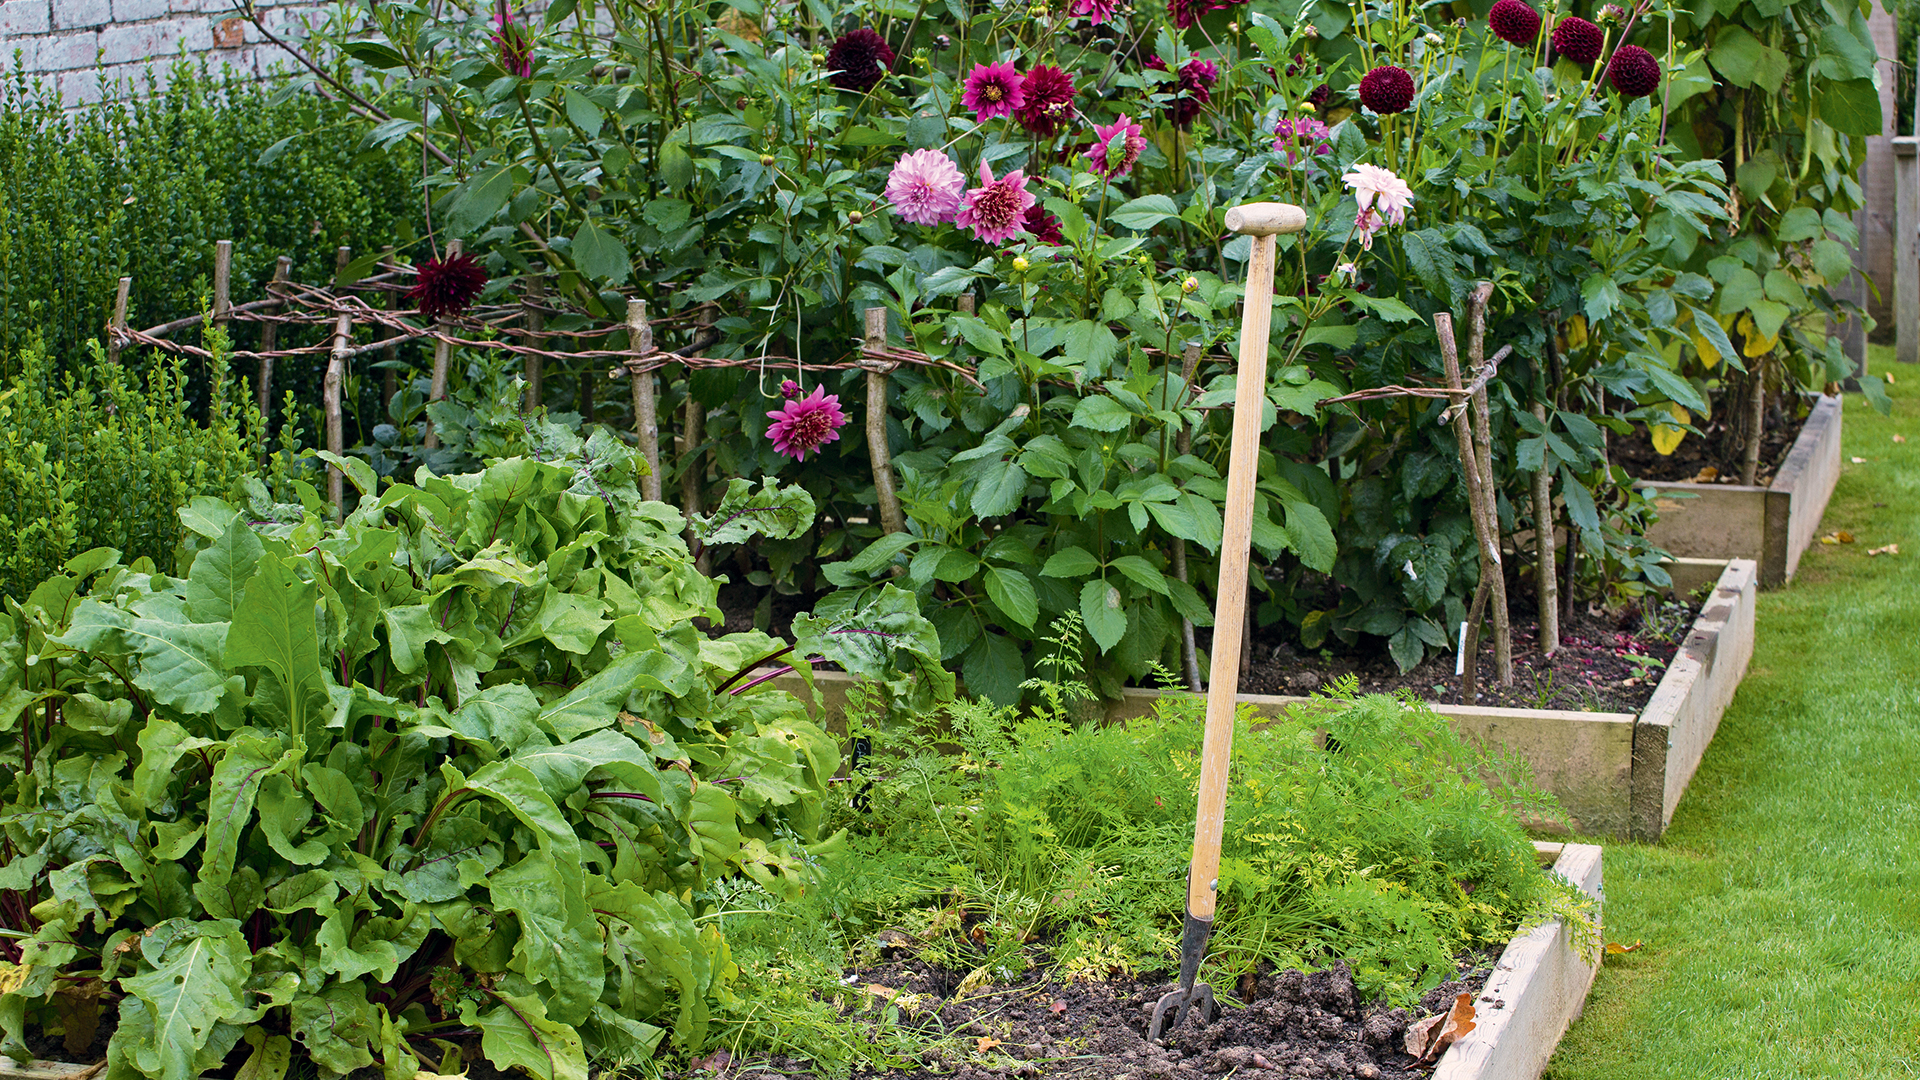
Sizing your raised garden bed requires careful consideration as you need to make sure it's wide and deep enough for what you want to grow. The minimum height you should consider is 20cm, but some plants need more room, especially root vegetables, which require around 60cm of soil depth.
When it comes to the length and width of your raised beds, consider the amount of space you'll need for your chosen plants. Some crops require a lot more room than others, so check your bed will accommodate the desired number of plants.
The bed's width should be narrow enough for you to reach the middle for planting, pruning and harvesting – no more than 150cm.
2. Clear and level the site
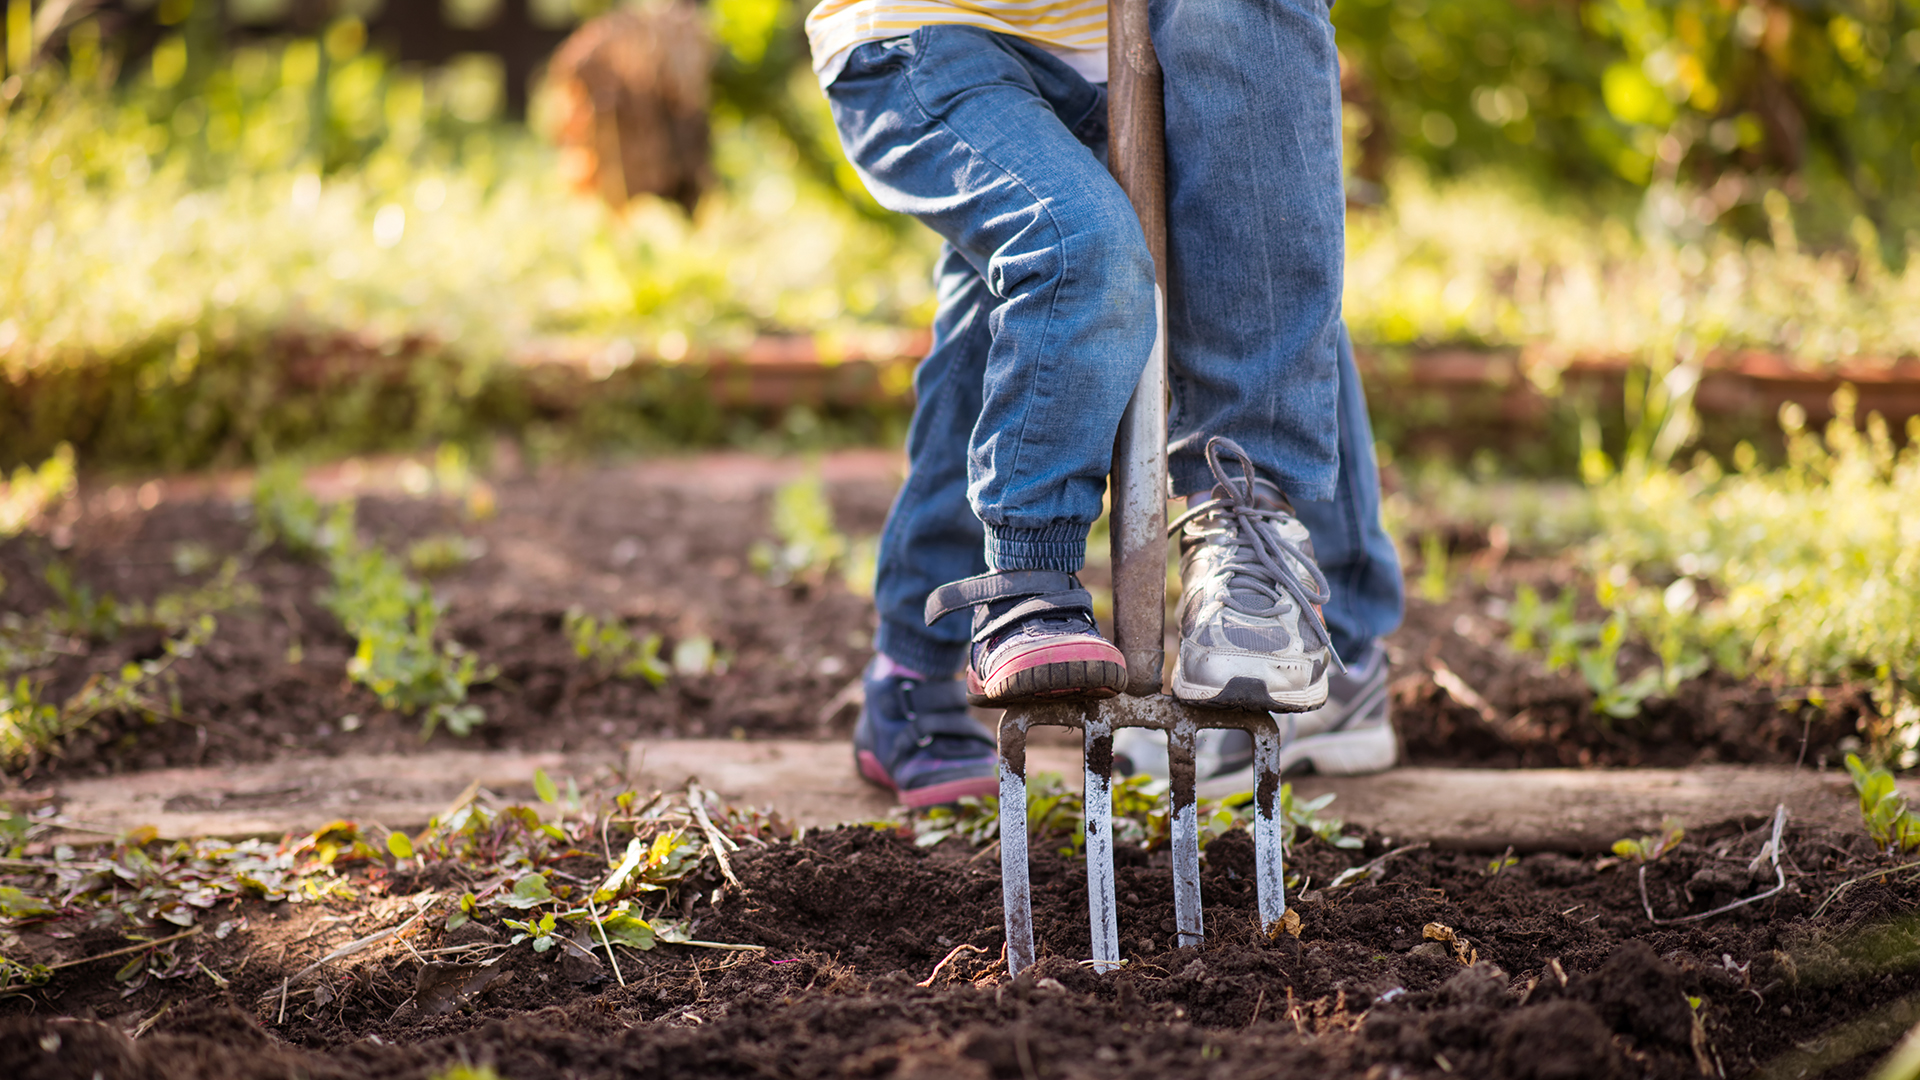
Make sure the site is level by digging it over with one of your best garden spades, and clear any vegetation and debris. You can build a raised bed directly on top of grass as the compost will smother and kill it, but ideally you should lay a weed-proof liner once the bed is built or even a few layers of newspaper to suppress any growth.
3. Build the frame for your raised garden bed
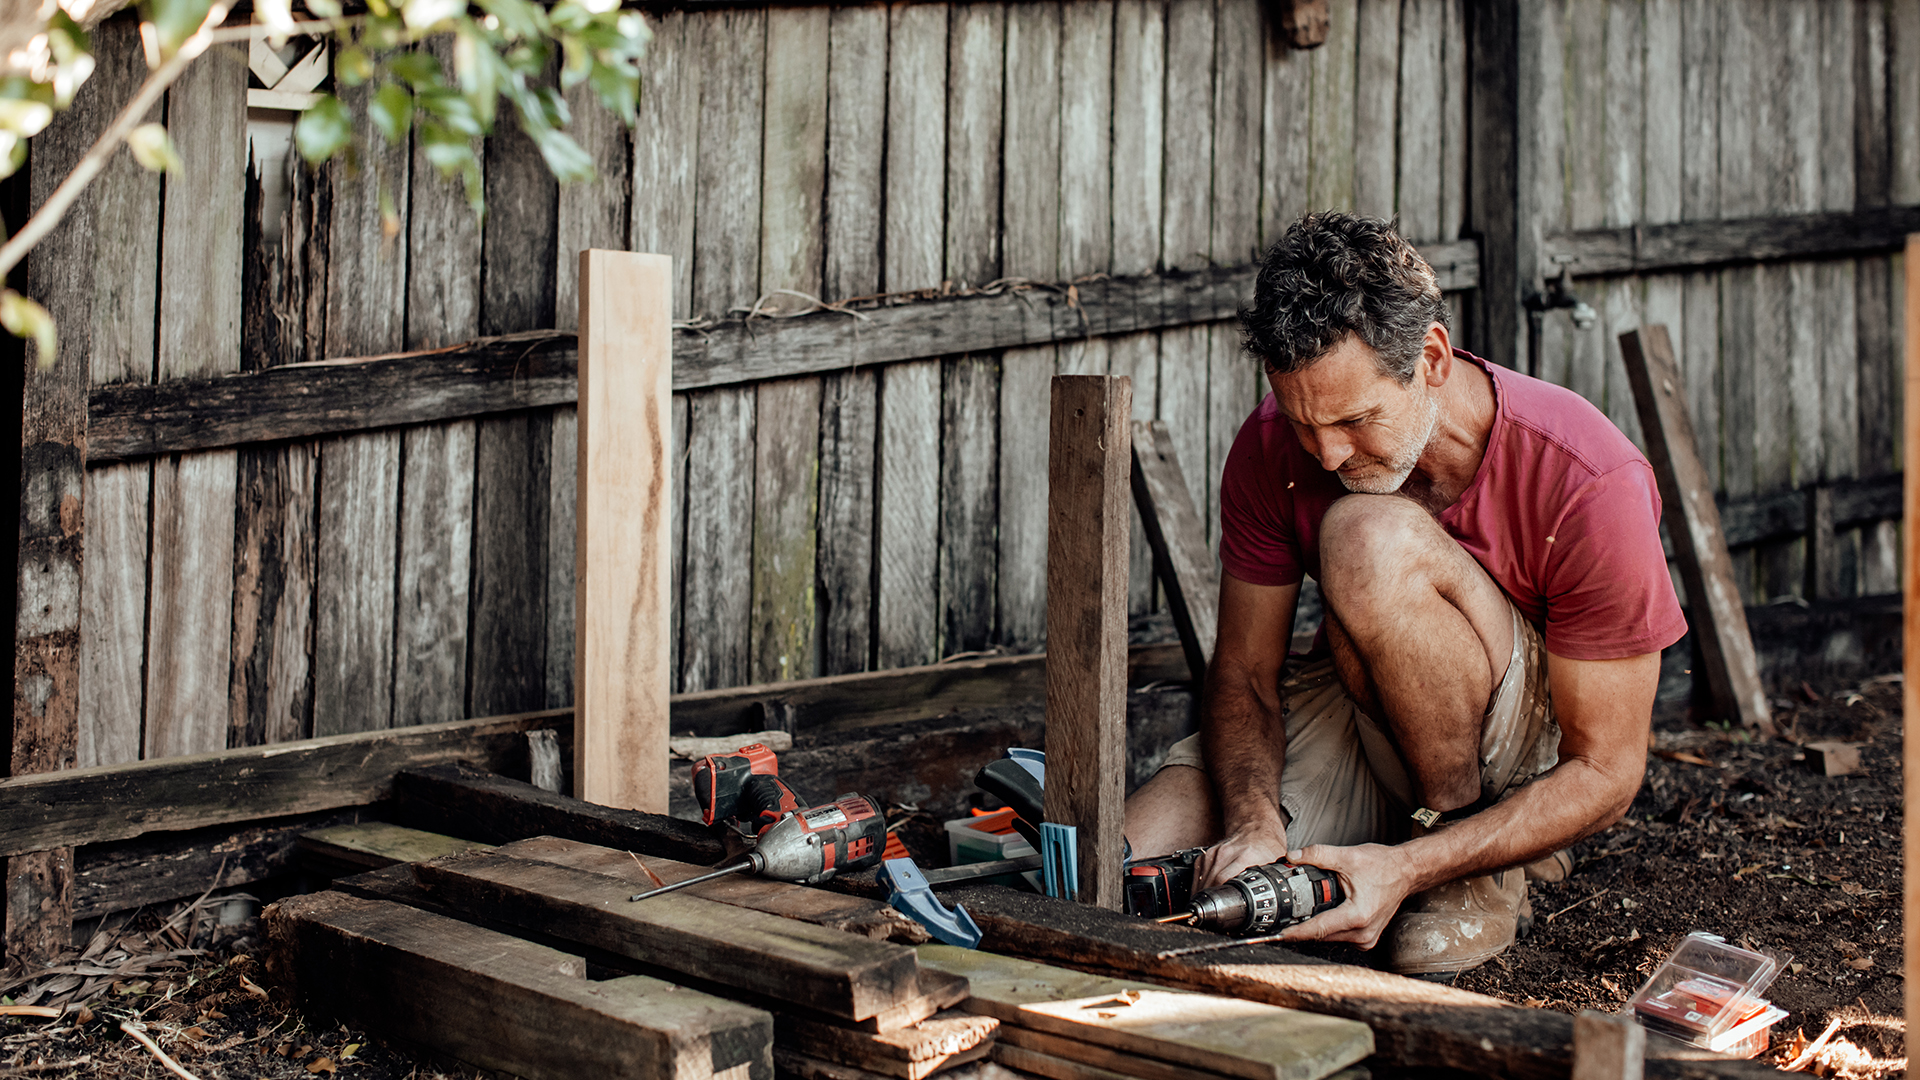
Timber beds are straightforward to build on a DIY basis, especially when using simple scaffolding-type boards:
- Stake out the corners with wooden stakes or posts; these should be around 5x5cm. If the bed is long, add extra posts every 1.5m.
- Consider making the posts taller than the bed's sides, as it will be easier to add protective netting.
- Cut your wood to the desired length, or ask a timber yard to do it for you. Alternatively, you can order scaffolding planks in set sizes.
- To create the sides of your bed, position the timber planks in place, and bed the edges around an inch into the ground.
- Screw or nail planks to the posts, ensuring they are securely fixed in place.
If you are building a masonry bed, you'll need some basic brick or stone-laying skills and the walls should be built on a concrete slab base. Unless you're a capable DIYer, it's best to call in the experts.
4. Add lining to your raised garden bed
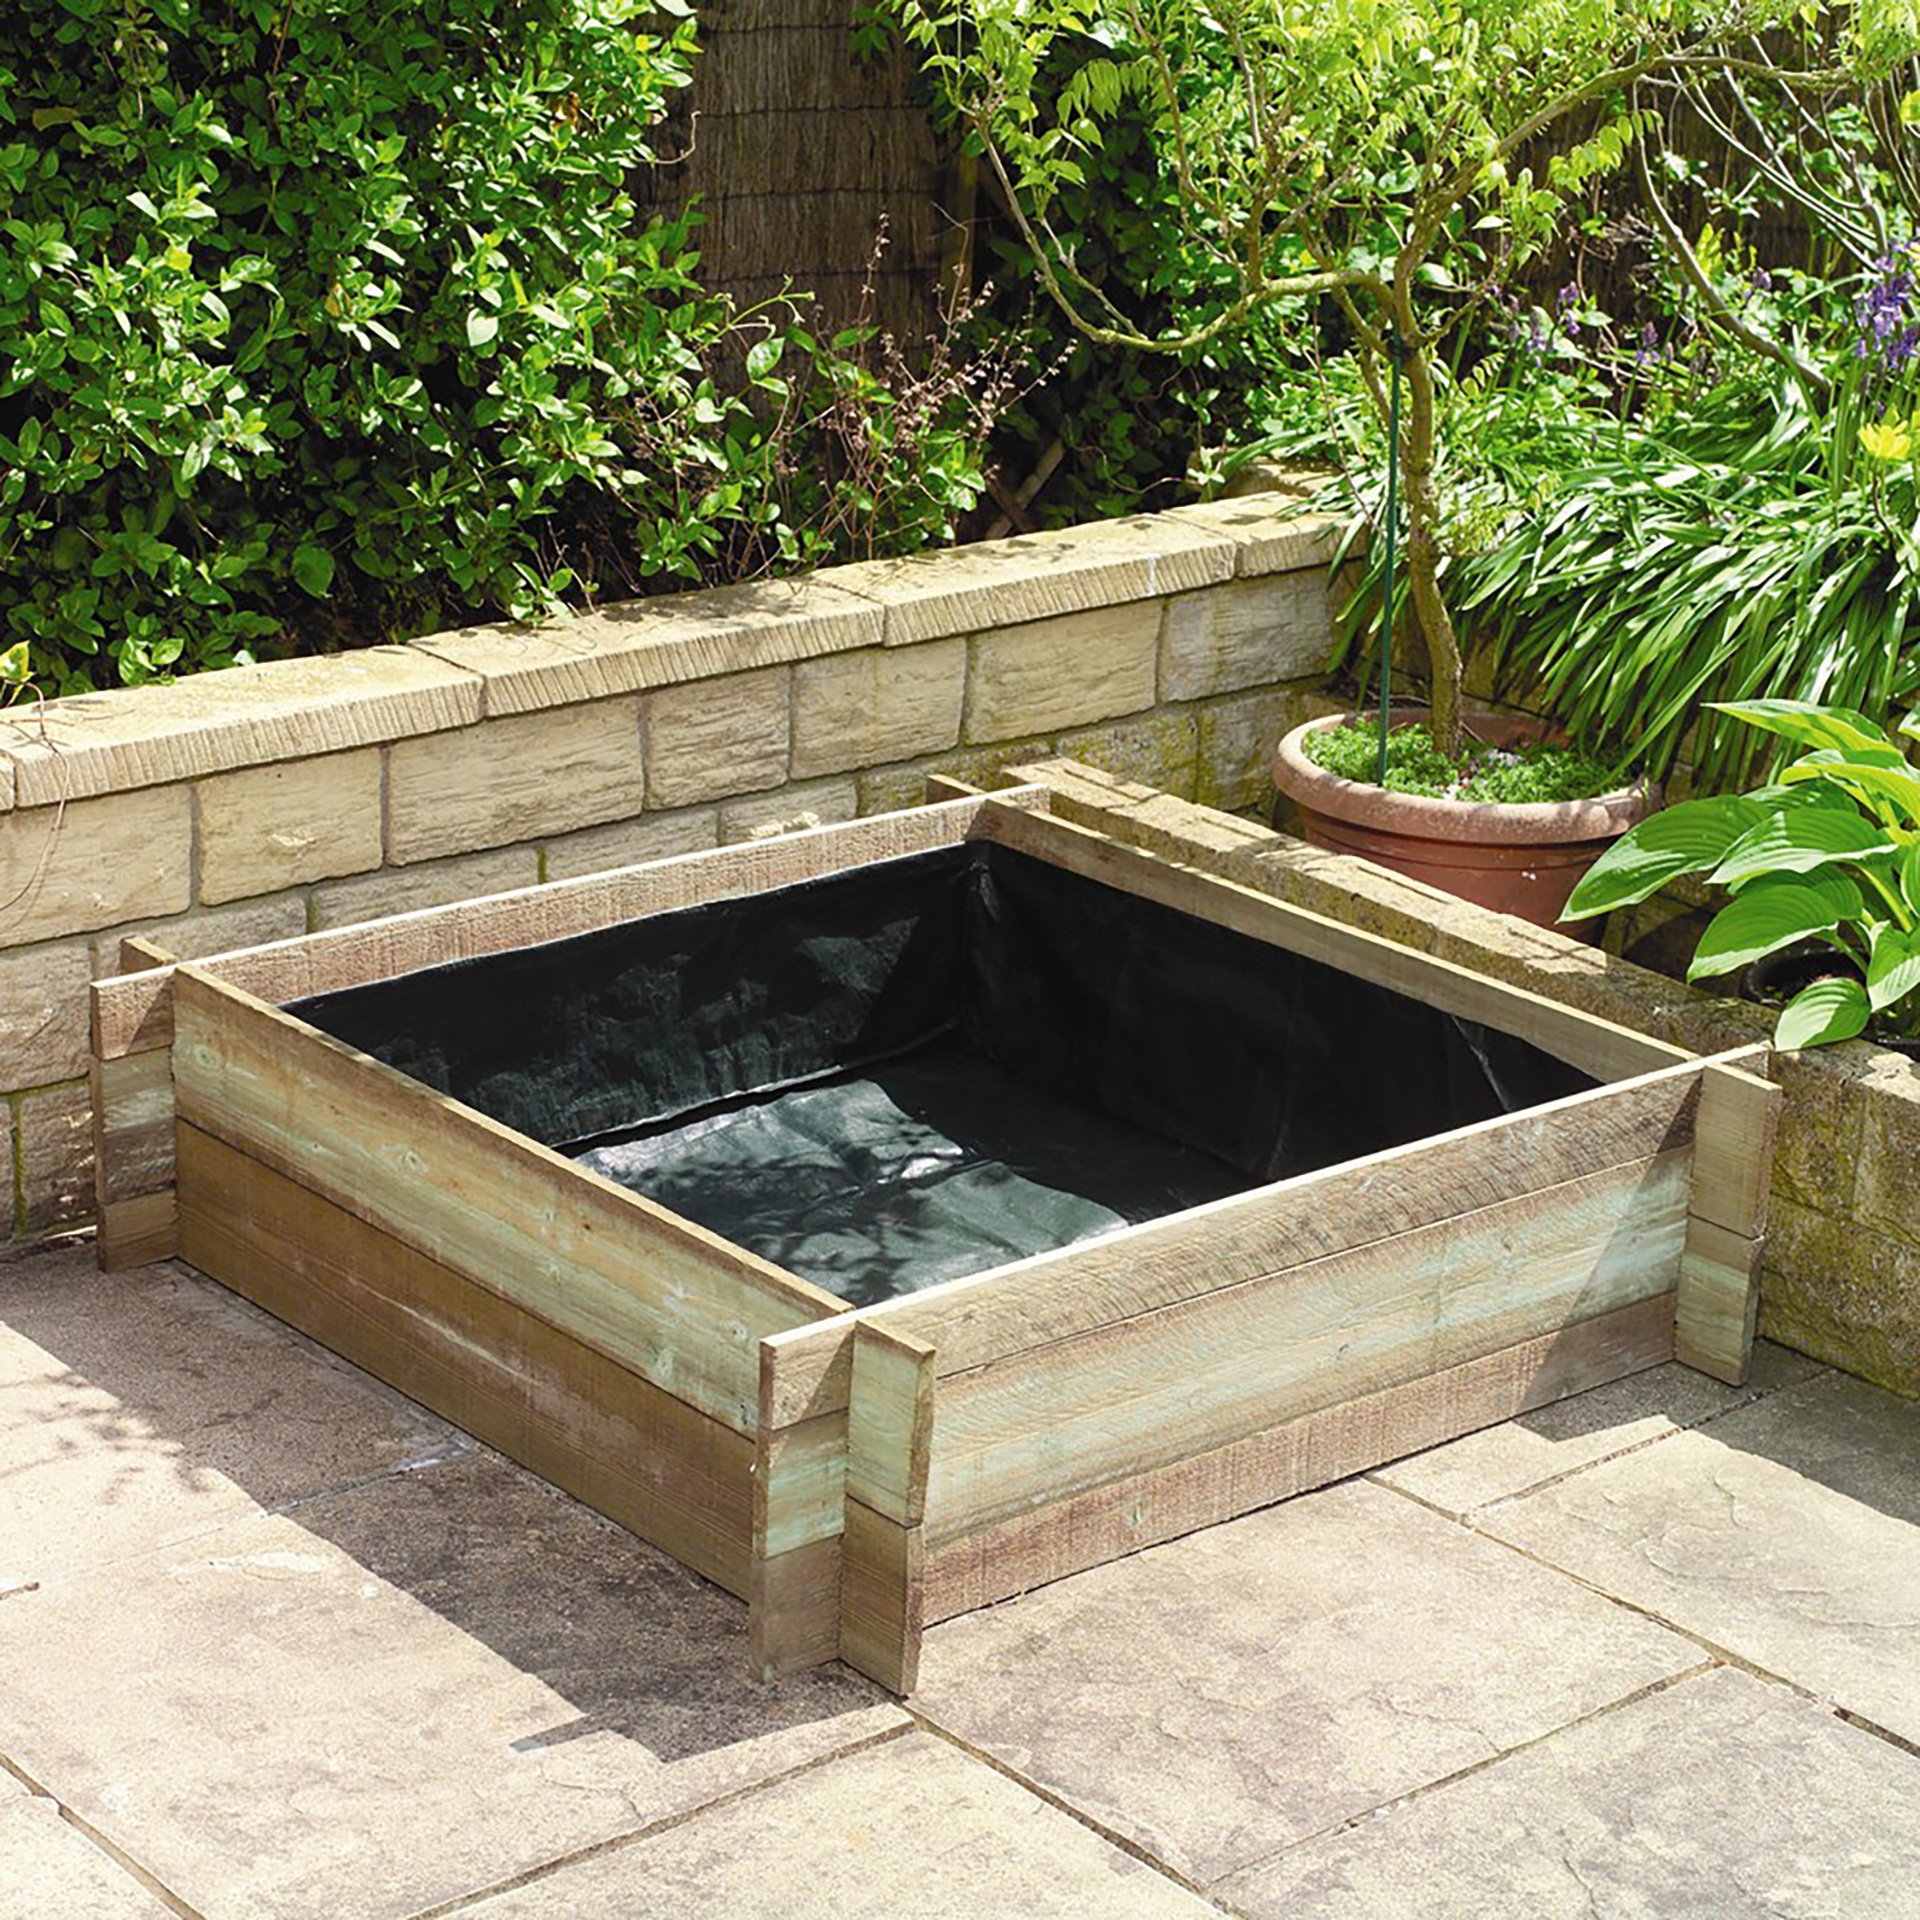
If the wood is treated with preservatives, you will need to fit a liner to prevent toxins from leaching into the soil. You can buy a liner designed especially for this purpose, or use refuse sacks.
The liner can be stapled in place, but you'll need to add lots of small holes for drainage.
5. Think about drainage
If your bed is laid on free-draining soil, then it won't require additional drainage. However, if you are building on heavy clay soil or on a solid base, then you'll need to include gravel, stones or rubble in the base. Cover this with a geotextile membrane before topping with soil.
Not sure on the conditions of your plot? Take a look at our guide to soil types for advice.
6. Fill your raised garden bed with soil
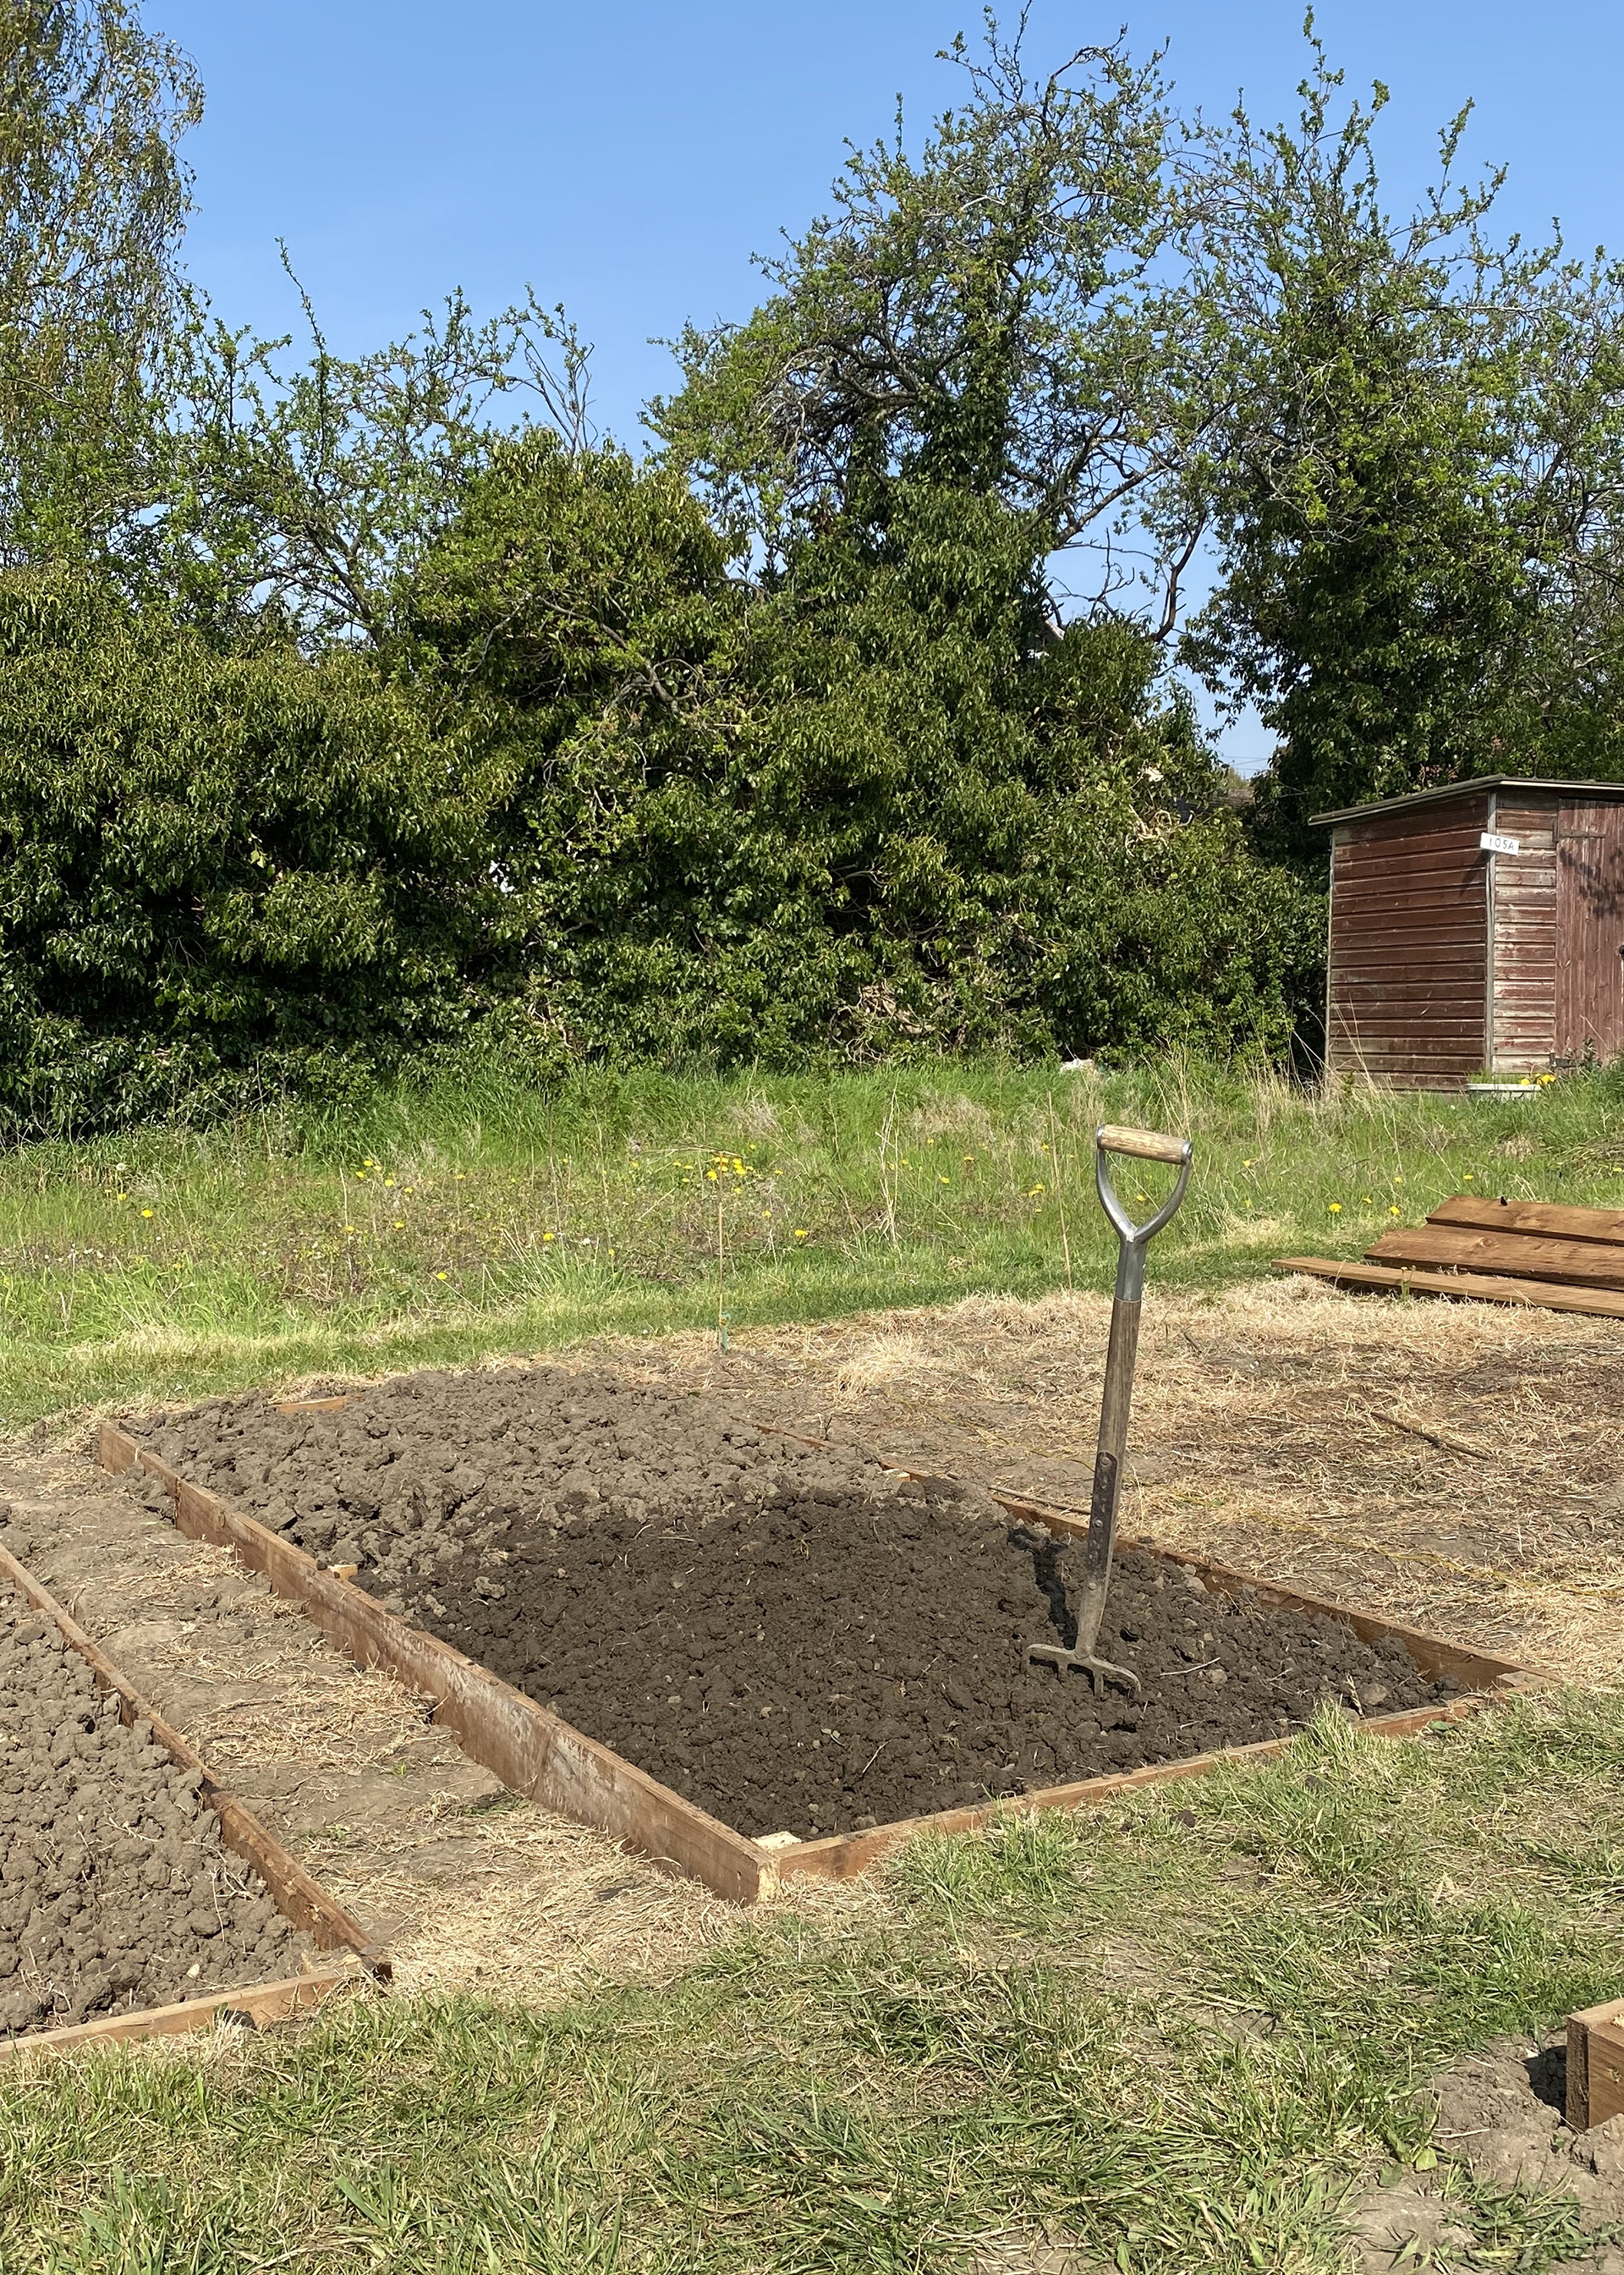
Perhaps the most important step of building your raised garden bed is perfecting the soil mix. This will largely depend on what you want to grow – for acid-loving plants such as blueberries and azaleas, you’ll want to use an ericaceous compost. Don't forget, we've got lots of advice on how to grow blueberries in our guide. For alkaline lovers like lavender and Mediterranean herbs, you can add lime to the mix.
In general, a good soil mix is two thirds' multi-purpose compost to one third garden soil or John Innes. To this you should add some organic matter, such as well-rotted manure or garden compost. You may also want to add sharp sand, to improve drainage.
Wait at least two weeks before planting to allow the soil to settle. You may find it needs topping up at this time.
What are the best materials for building a raised garden bed?
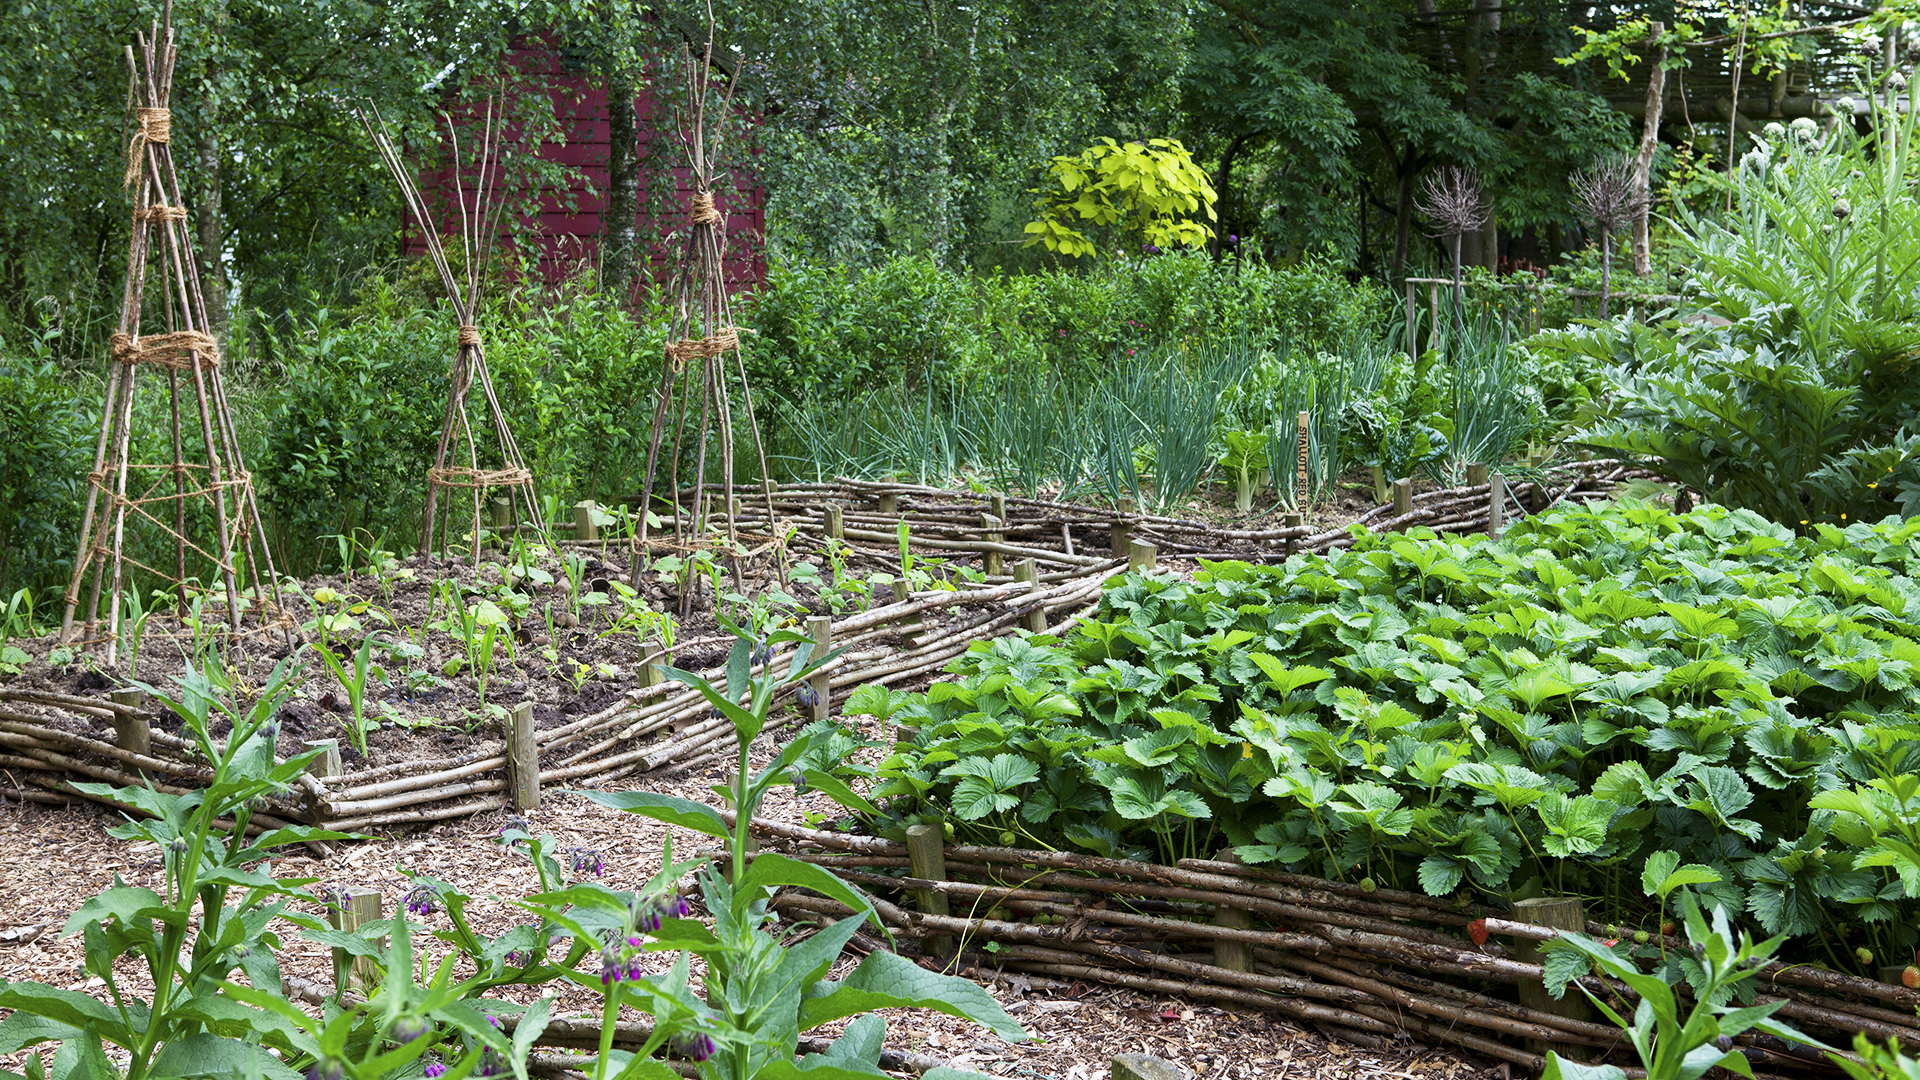
There is a wider choice of materials you can use for raised garden beds than you might initially imagine. What you choose will depend on budget and aesthetics.
These are some of the best material options you can build yours from:
- Timber raised beds are the most common type and range from simple frames made from cheap scaffolding boards – often seen on allotments – to rustic railway sleepers and multi-tiered panels for added height.
- Brick and stone beds tend to feel like more permanent additions to the garden, and look especially good when they match the cladding material of the house. However, they are more expensive than timber and require skill to build. Reclamation yards often have stocks of salvaged bricks or stones in limited numbers for an instant aged look. Consider incorporating a bench seat on a walled bed.
- Metal, such as steel or Corten, can be used to stunning effect in both modern and traditional gardens, and will weather beautifully over time, developing a rustic patina. It's best to buy metal in kit form, and prices vary depending on how substantial the bed is.
- Woven willow is a softer, natural-looking choice and is inexpensive to buy in kit form. Willow beds need to be lined due to the open nature of the weave.
Where should you position a raised garden bed?
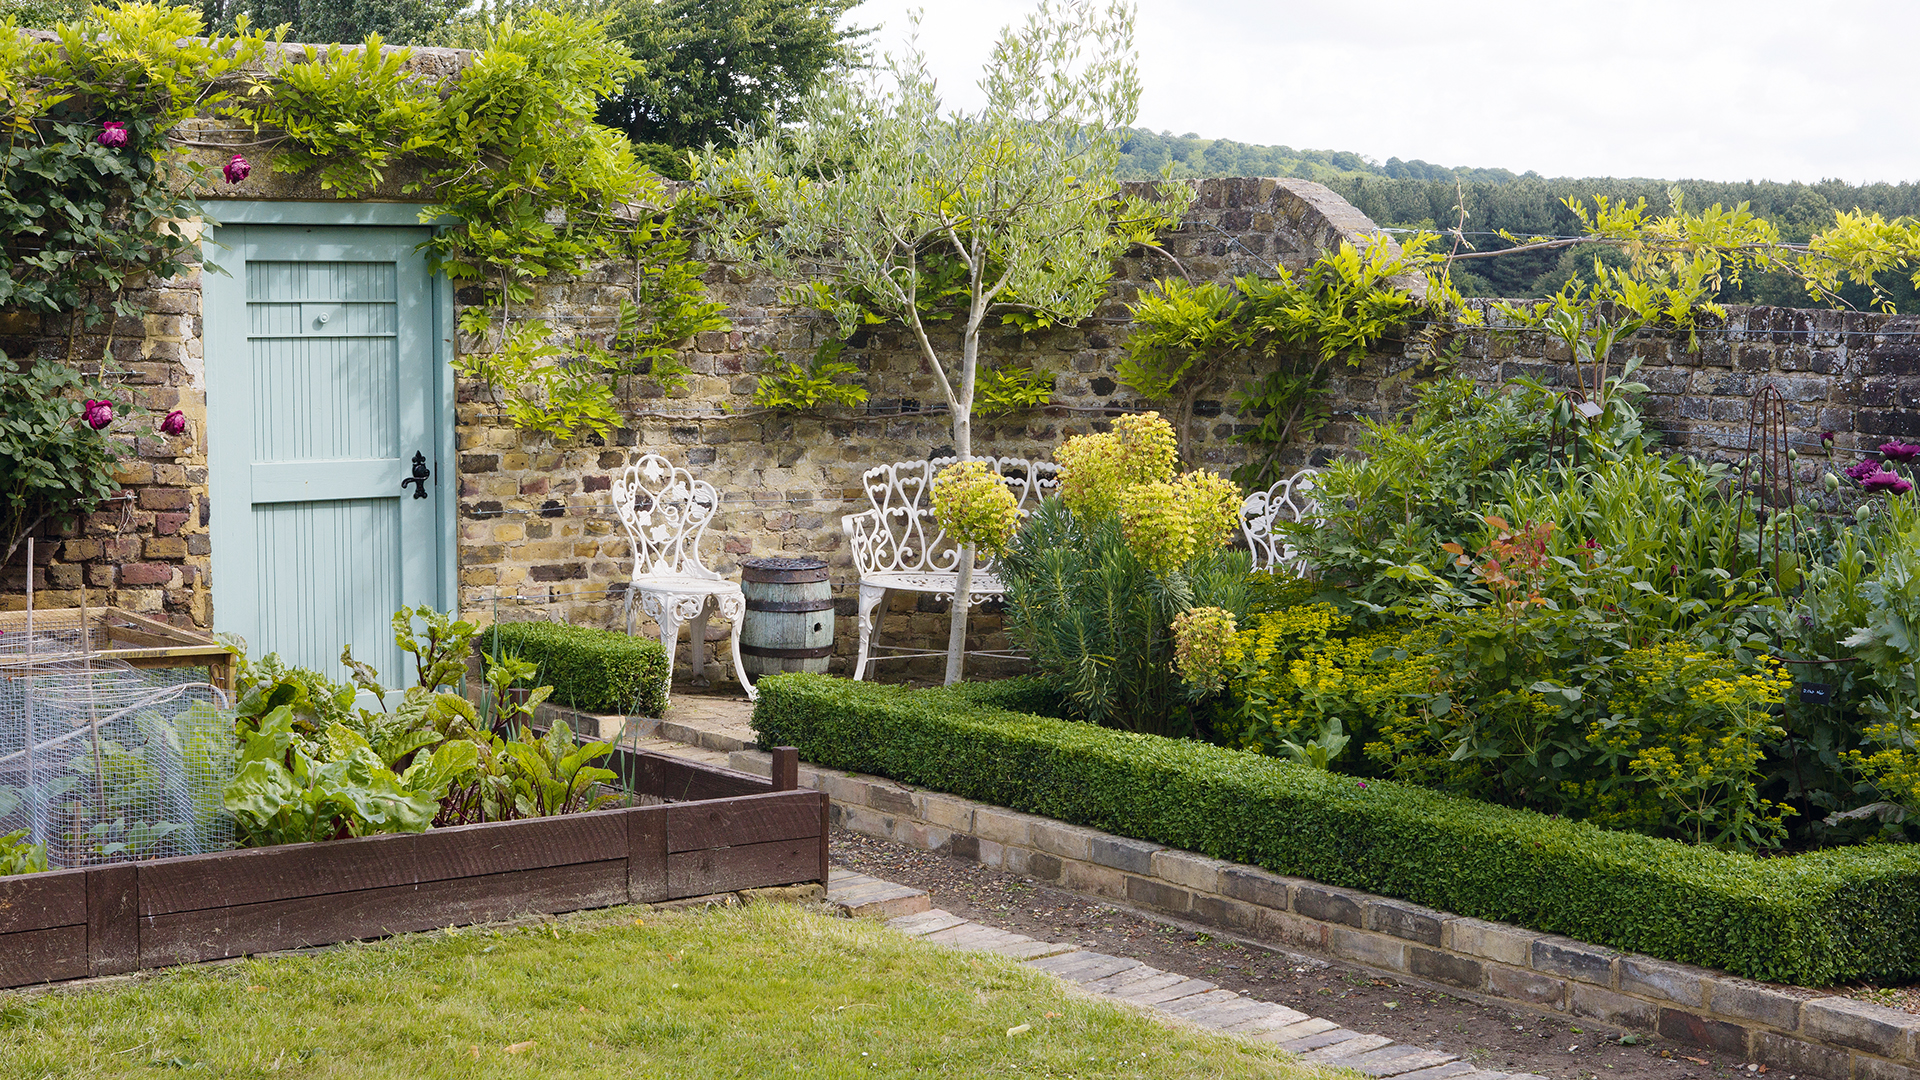
When deciding where to site your raised garden beds, consider not only where they will look best but how much sunlight they will receive. All plants have individual needs, so you can't position sun-loving plants in deep shade (use these shade loving plants instead).
Think about what you really want to grow and do your research. Most fruits and vegetables will benefit from a sunny spot, but many other plants will be fine in partial shade.
Also consider drainage – don't choose a low, boggy part of the garden where the bed will become waterlogged. Ideally you'll want the bed to benefit from rainwater, so avoid positioning it right next to a wall or fence, where it will be sheltered. Think too about how you will water the plants – is the hosepipe long enough to reach?
You'll need access on at least three sides of your raised beds to be able to tend to the plants, with enough room to kneel down. If you're building multiple raised beds, aim for at least half a metre between each one.

