How to make a twig Christmas tree: add a festive touch with this easy project
These DIY twig Christmas trees are perfect for bringing a touch of the garden indoors for the festive season


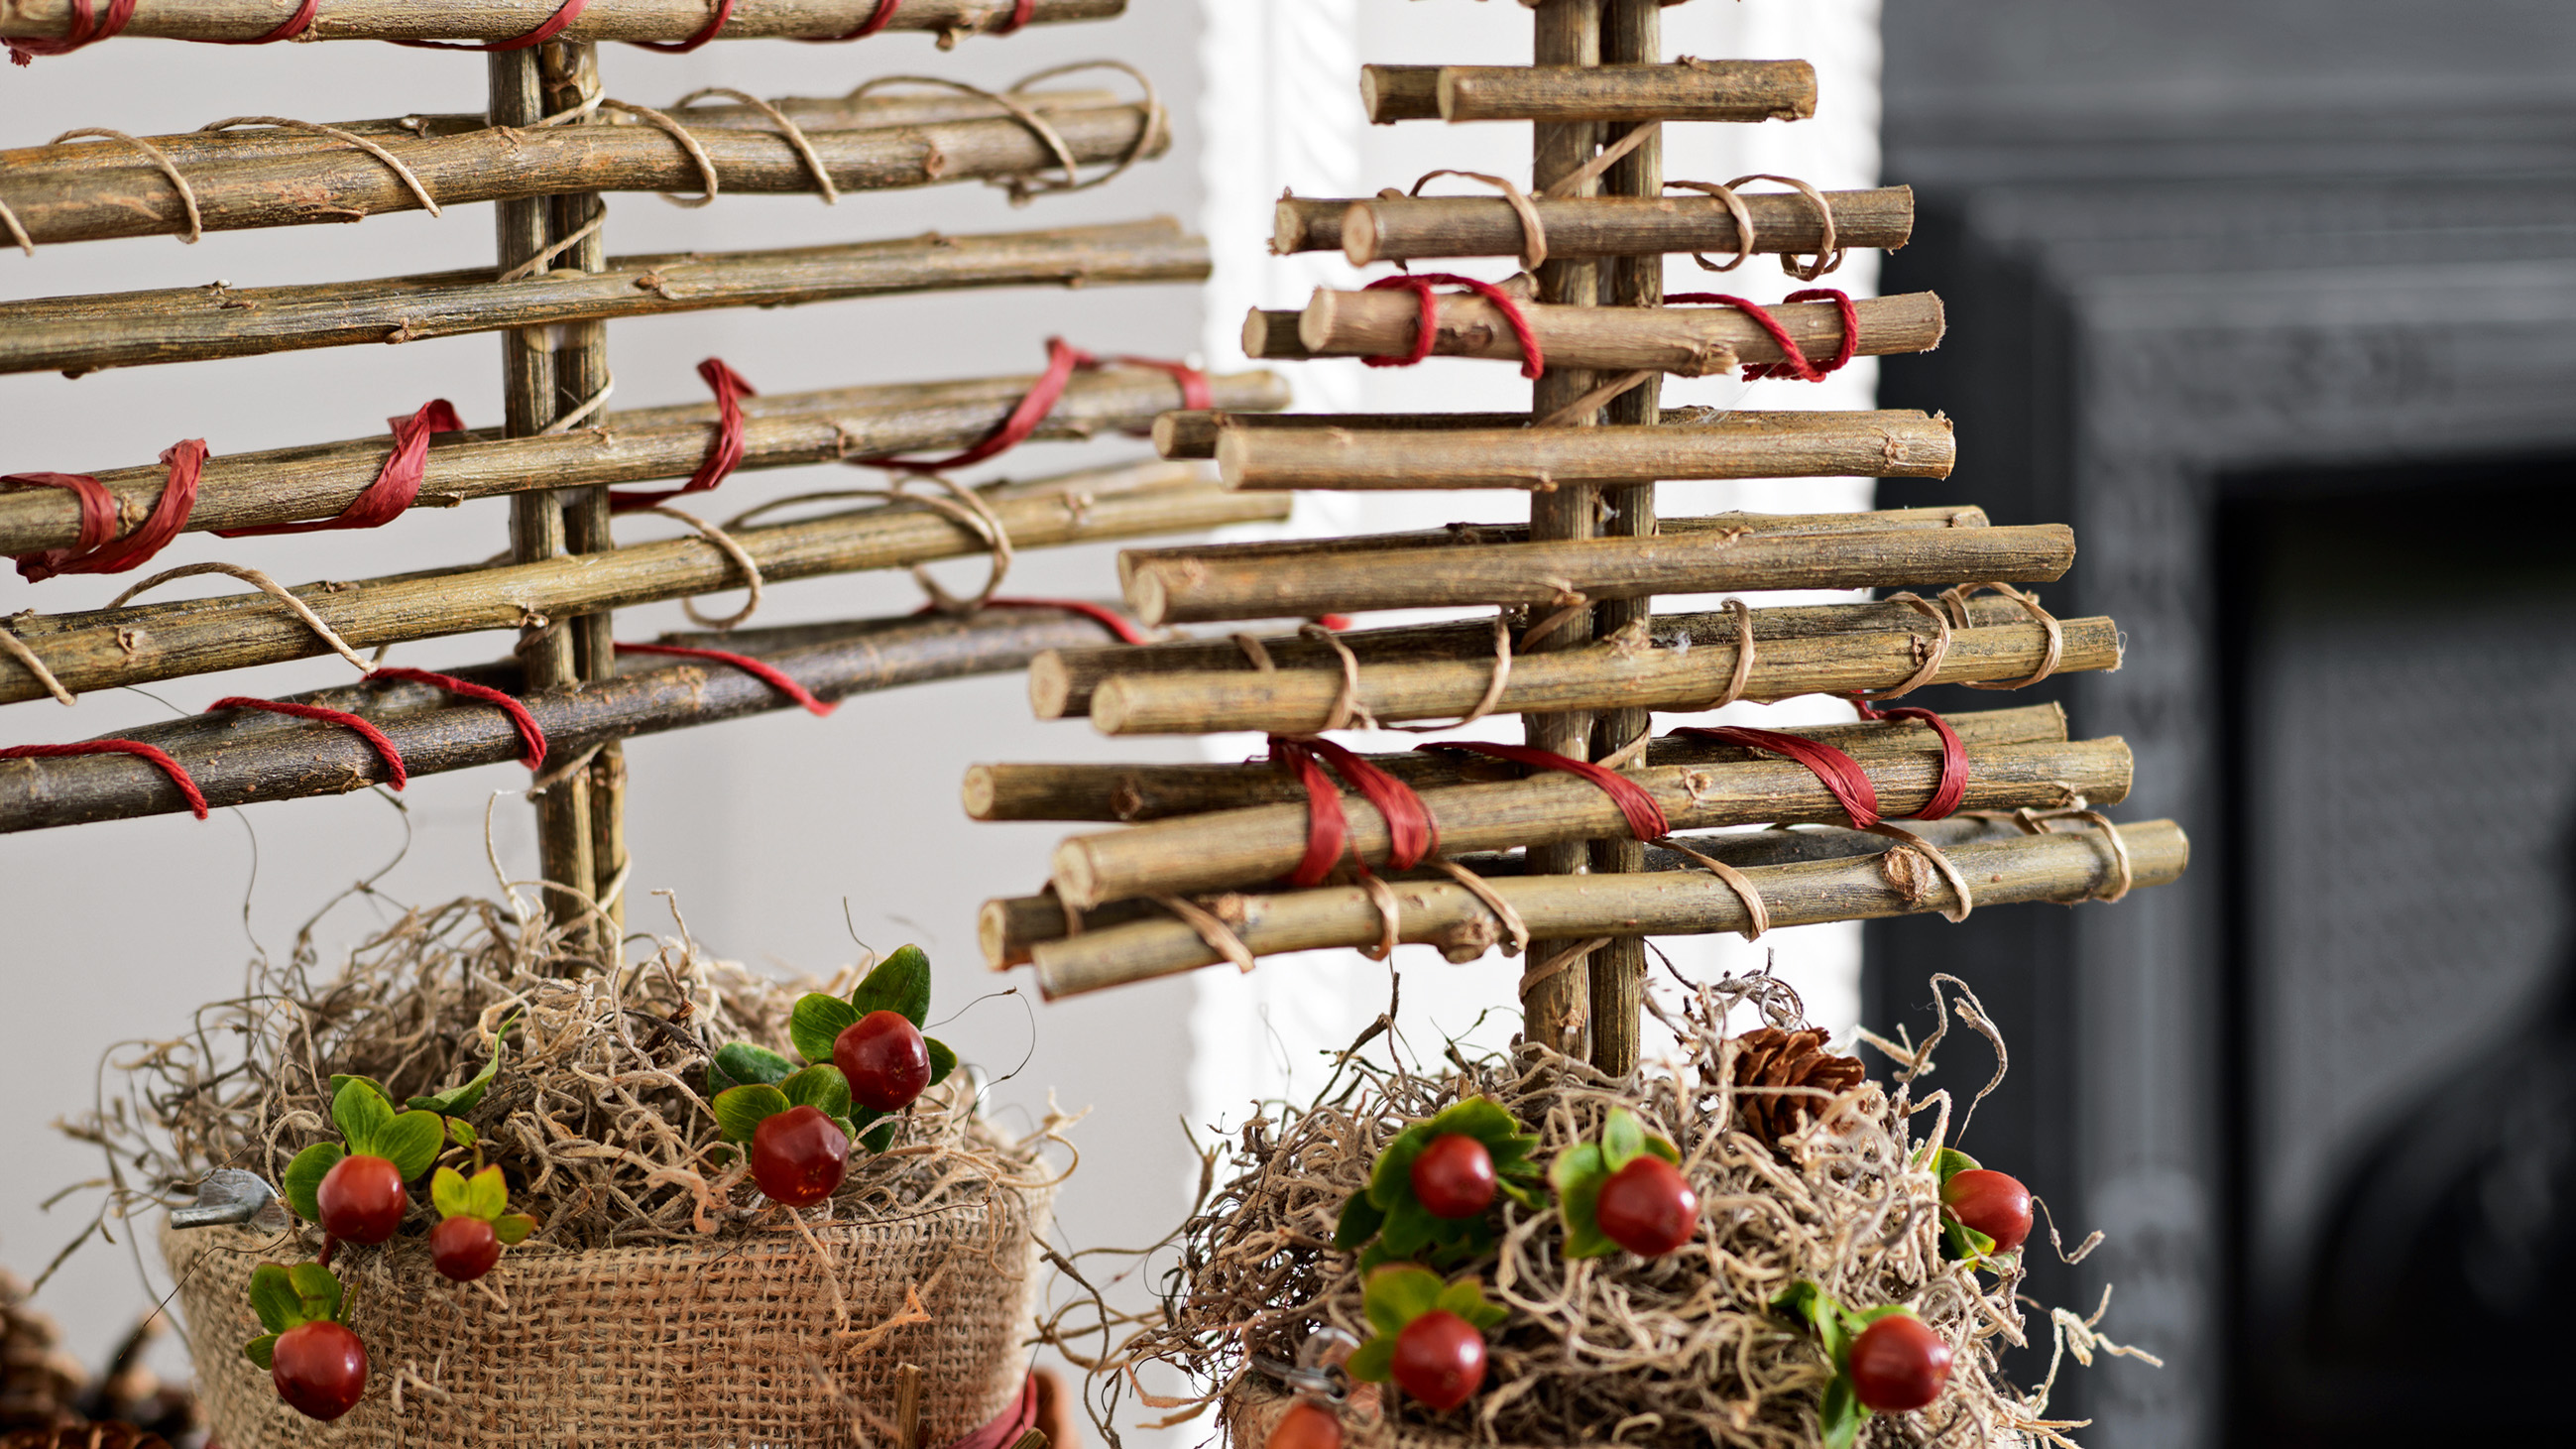
Add a couple of these DIY twig Christmas trees to your festive decor this year and you'll be joining the trend of choosing natural decorations for Christmas this year. These rustic-style trees will look great on a side table, the mantelpiece or even grouped together as a centrepiece for your Christmas table.
You don't need much to make these twig trees and if you're lucky you'll find most of the main materials in your own garden. It's something you can get the whole family involved in too, as kids will have lots of fun searching for the perfect twigs to trim into shape. While you're out foraging in the garden, gather some moss too for using to line the pot. If you're out of luck when it comes to suitable garden materials, twigs can be ordered online and florists sell bags of moss for projects like this.
This design uses a simple terracotta flowerpot covered with some hessian fabric for a nice rustic-looking touch. We think homemade decorations add a far more personal touch to your decorating scheme and they're a fun activity too, so read on to find out how to make these. If you're after more ways to give your home a festive feel, check out our outdoor Christmas lights ideas too.
DIY twig Christmas tree decorations

You will need:
- 2 long sturdy twigs
- 10 twigs to trim down
- Thin florists' wire
- Terracotta flowerpot
- Small piece of hessian
- Red and natural coloured twine, to decorate
- Block of oasis foam
- Moss and red berries, to finish
- Glue gun
Method:
1. Take the two long twigs. To cut them, use a heavy-duty pair of secateurs – you can find the right ones for every gardening task in our best secateurs buying guide. Then use some fine sandpaper to buff away any rough edge at the ends. Join them together using the hot-glue gun. Twist lengths of wire around them for extra support.
2. For the crosswise twigs, cut two short twigs to equal length and lie them side by side. Repeat with two more twigs, making them slightly longer. Continue cutting pairs of twigs, making them slightly longer each time.
3. Fix the twigs to the trunk, one either side, with the hot-glue gun, building up a triangle shape as you go. Then wrap with wire to secure further. Continue gluing the twigs, remembering to leave enough trunk to push into the pot.
4. Thread red twine and natural coloured twine around alternate branches to add a decorative detail.
5. Cut a piece of hessian to wrap around the pot and secure in place with some dabs of hot glue from the gun. Wrap round some red twine to finish.
6. Cut some Oasis foam to fit into the pot and push in the tree. Top the pot with moss and berries to finish your tree.
7. If you like a simple pared down style keep the decoration rustic looking, or for a more contemporary feel you could spray the twigs with metallic paint and keep any adornments minimal for a modern edge. You could even add some twinkly mini-lights.
Read more:

Lifestyle journalist Sarah Wilson has been writing about gardens since 2015. She's written for Gardeningetc.com, Livingetc, Homes & Gardens, Easy Gardens and Modern Gardens magazines. Having studied introductory garden and landscape design, she is currently putting the skills learned to good use in her own space where the dream is establishing a cutting garden.
