How to replace a sprinkler head: a step-by-step guide
Get the lowdown on how to replace a sprinkler head and keep the lawn and planting thriving

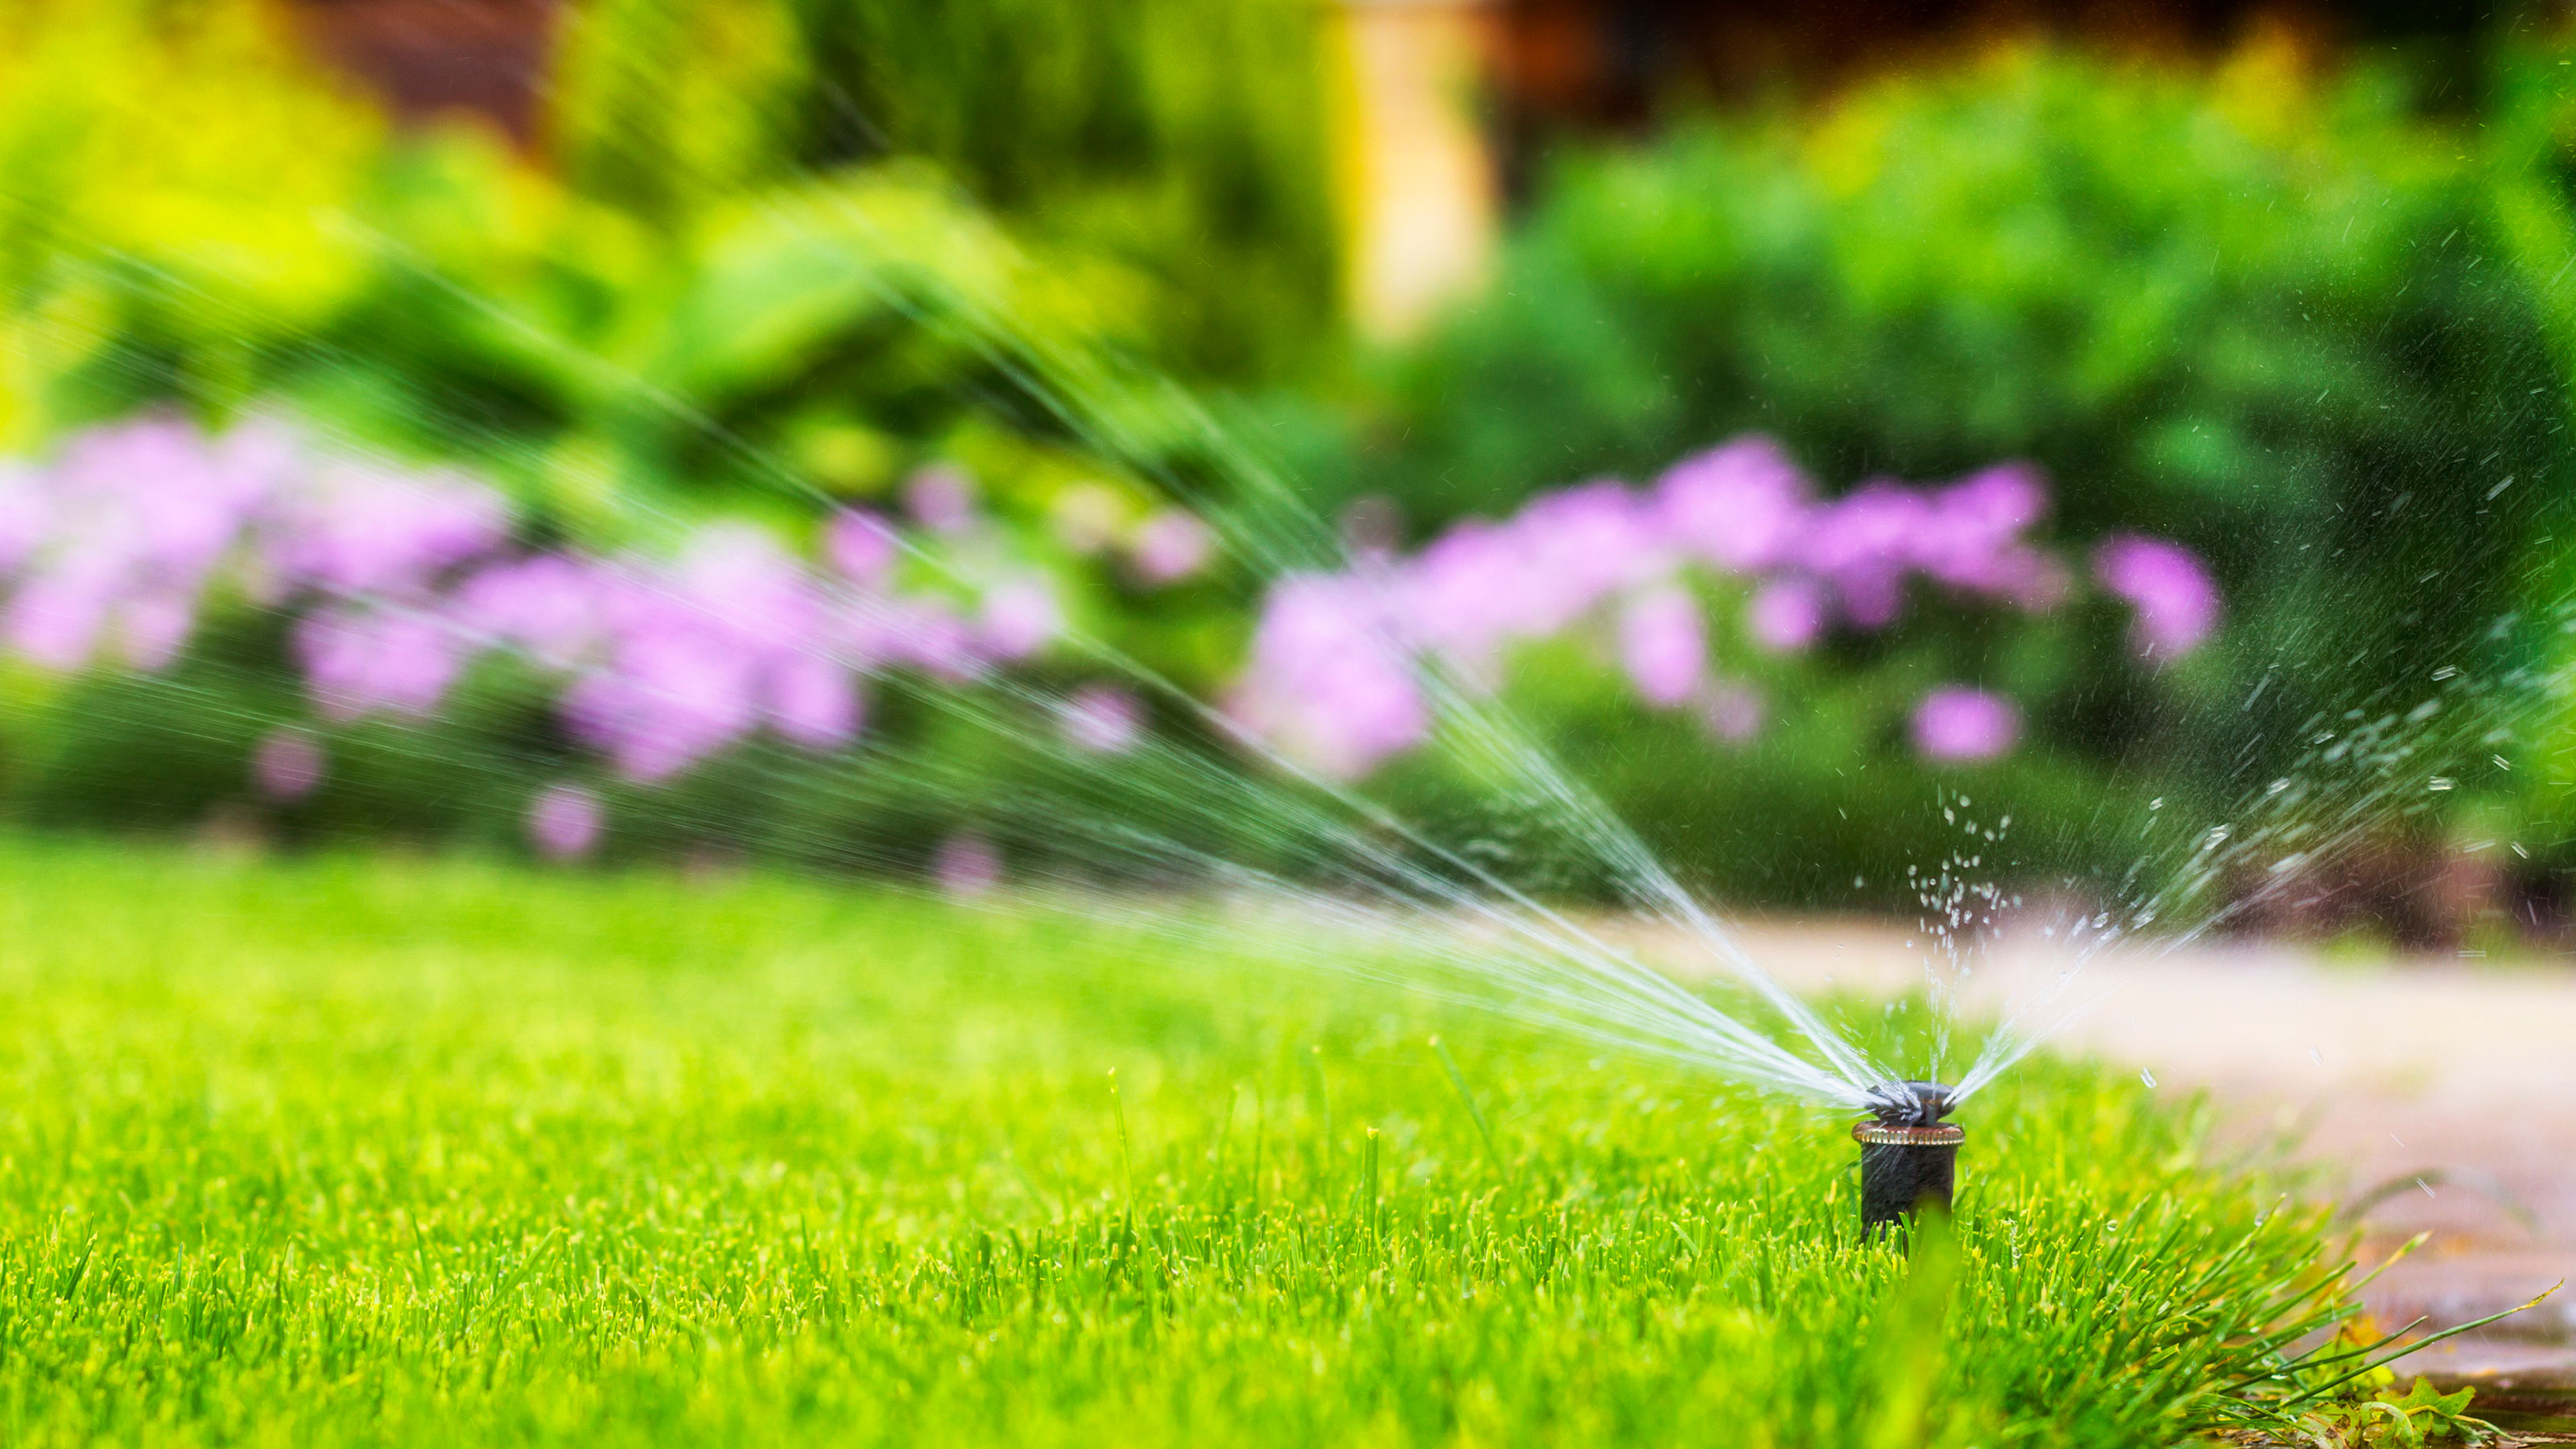
Wondering how to replace a sprinkler head? These are components of your irrigation system that get worn over time or may become damaged, so to keep your lawn lush and green and your plants healthy, replacement may be necessary.
But the good news is that this is a straightforward do-it-yourself job, so you can avoid the expense of calling in a professional and, if a sprinkler head is no longer spraying as it once did or has started leaking, swap in a new one.
Our guide has what you need to know about how to change a sprinkler head for a no-fuss project so you can keep watering plants and your lawn with ease.
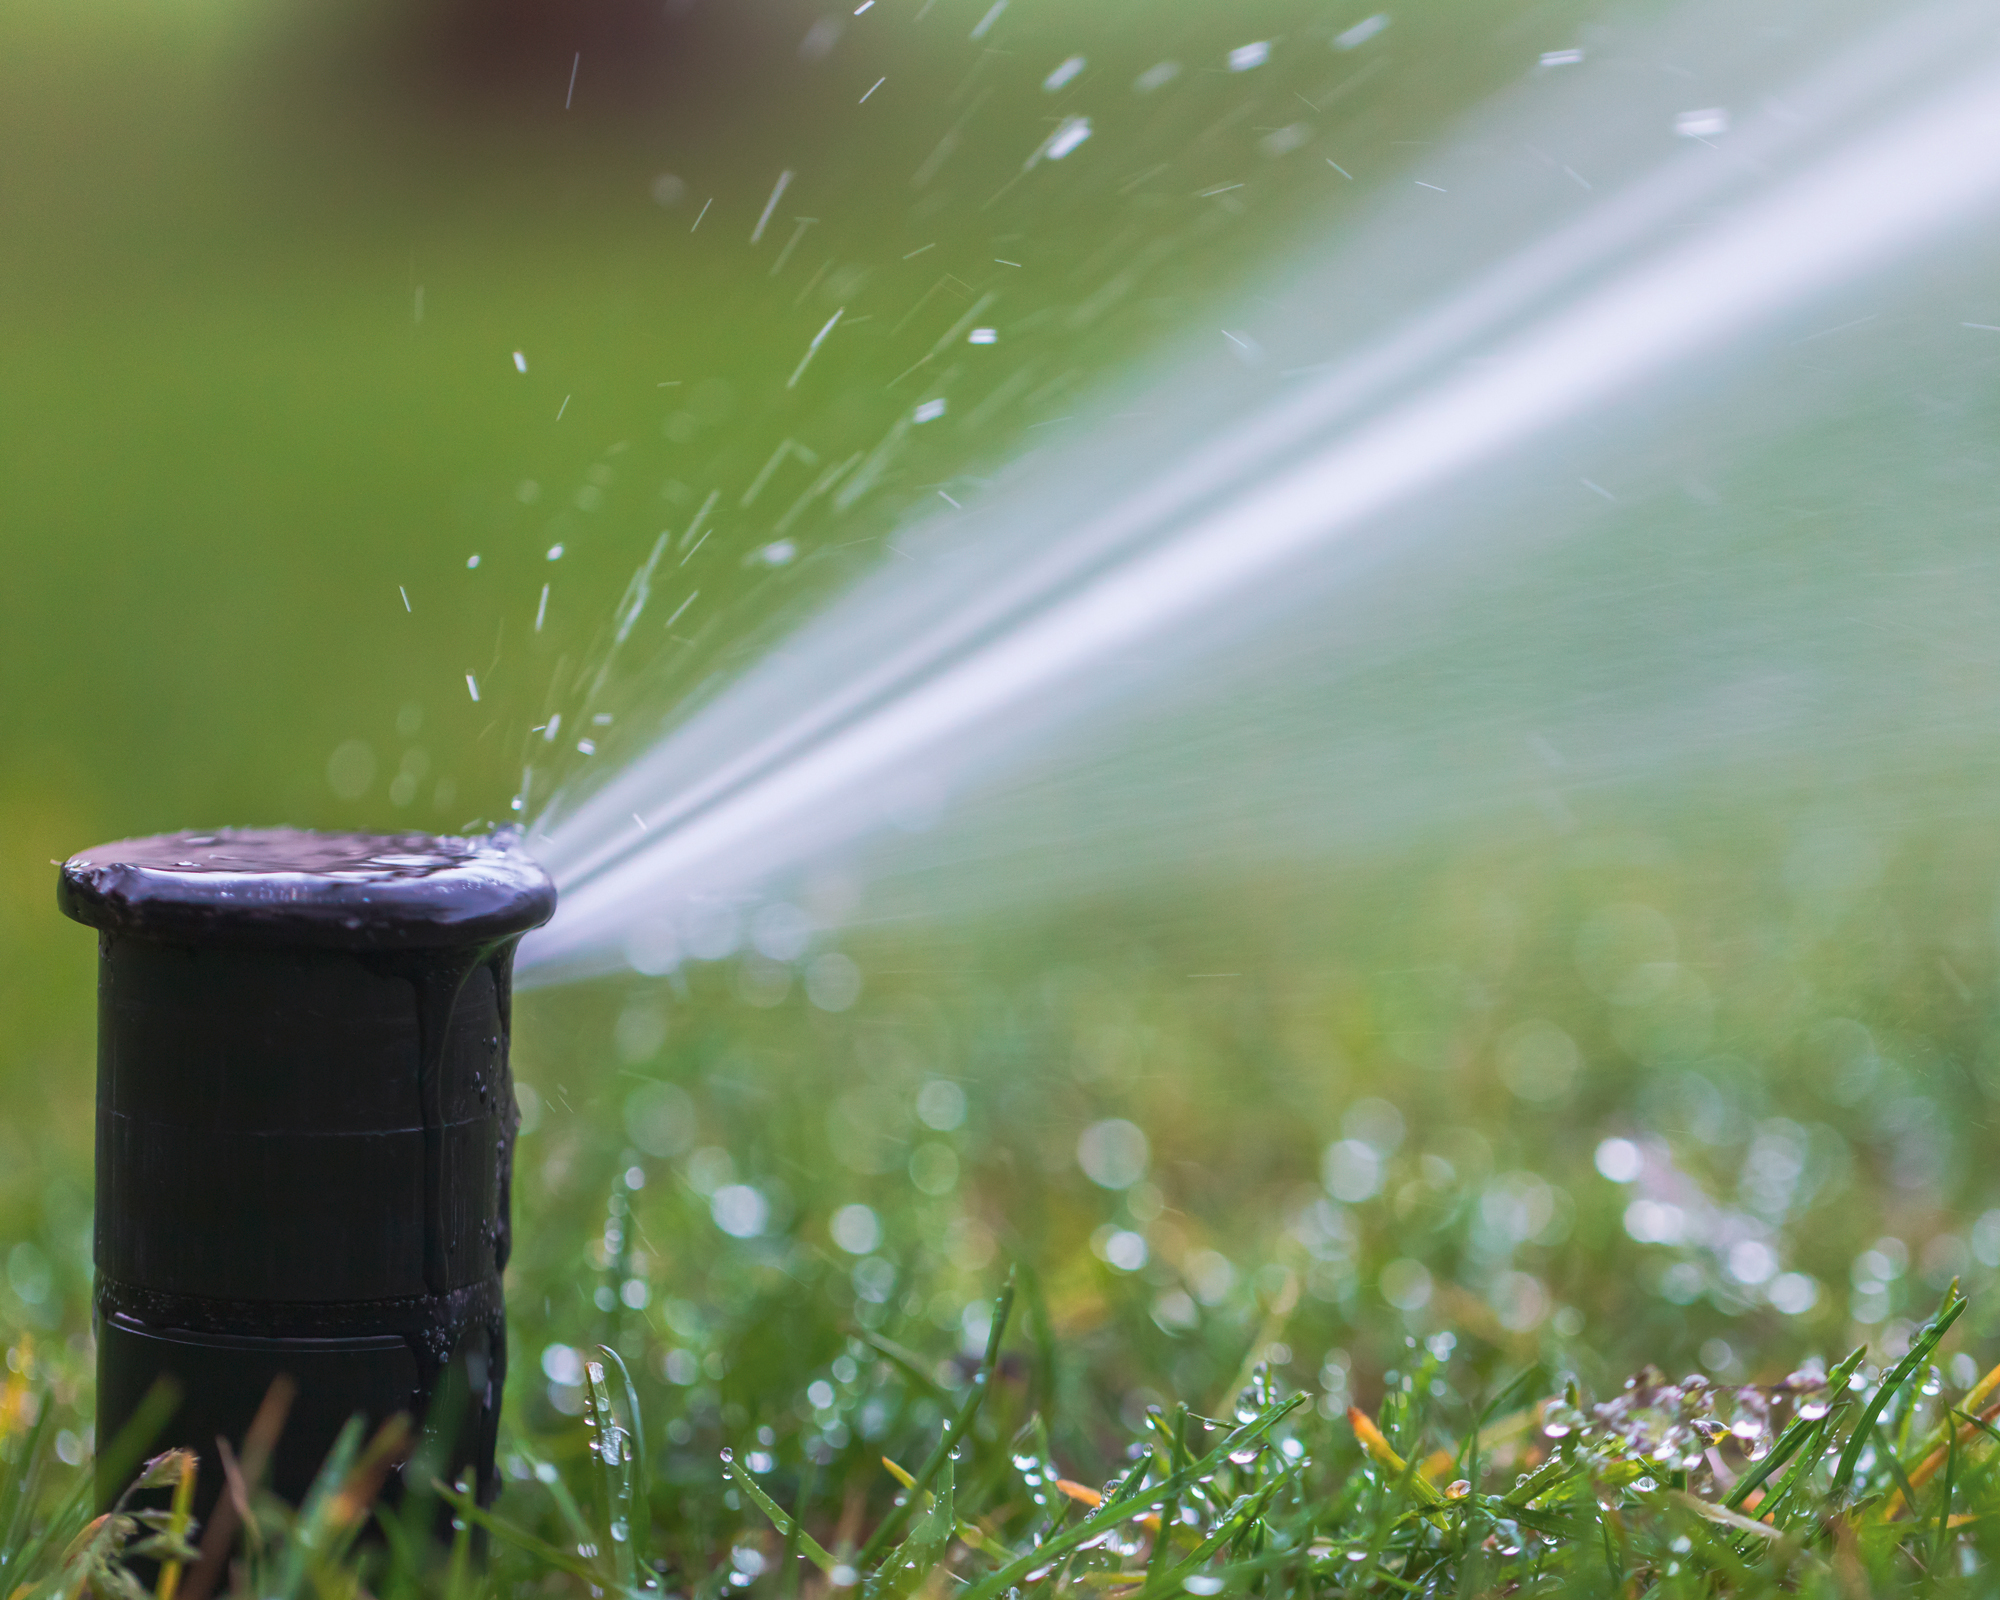
Learn how to replace a sprinkler head in 5 steps
‘The process of replacing a sprinkler head varies based on sprinkler head type and other landscape factors,’ explains Darik Chandler of Rachio.
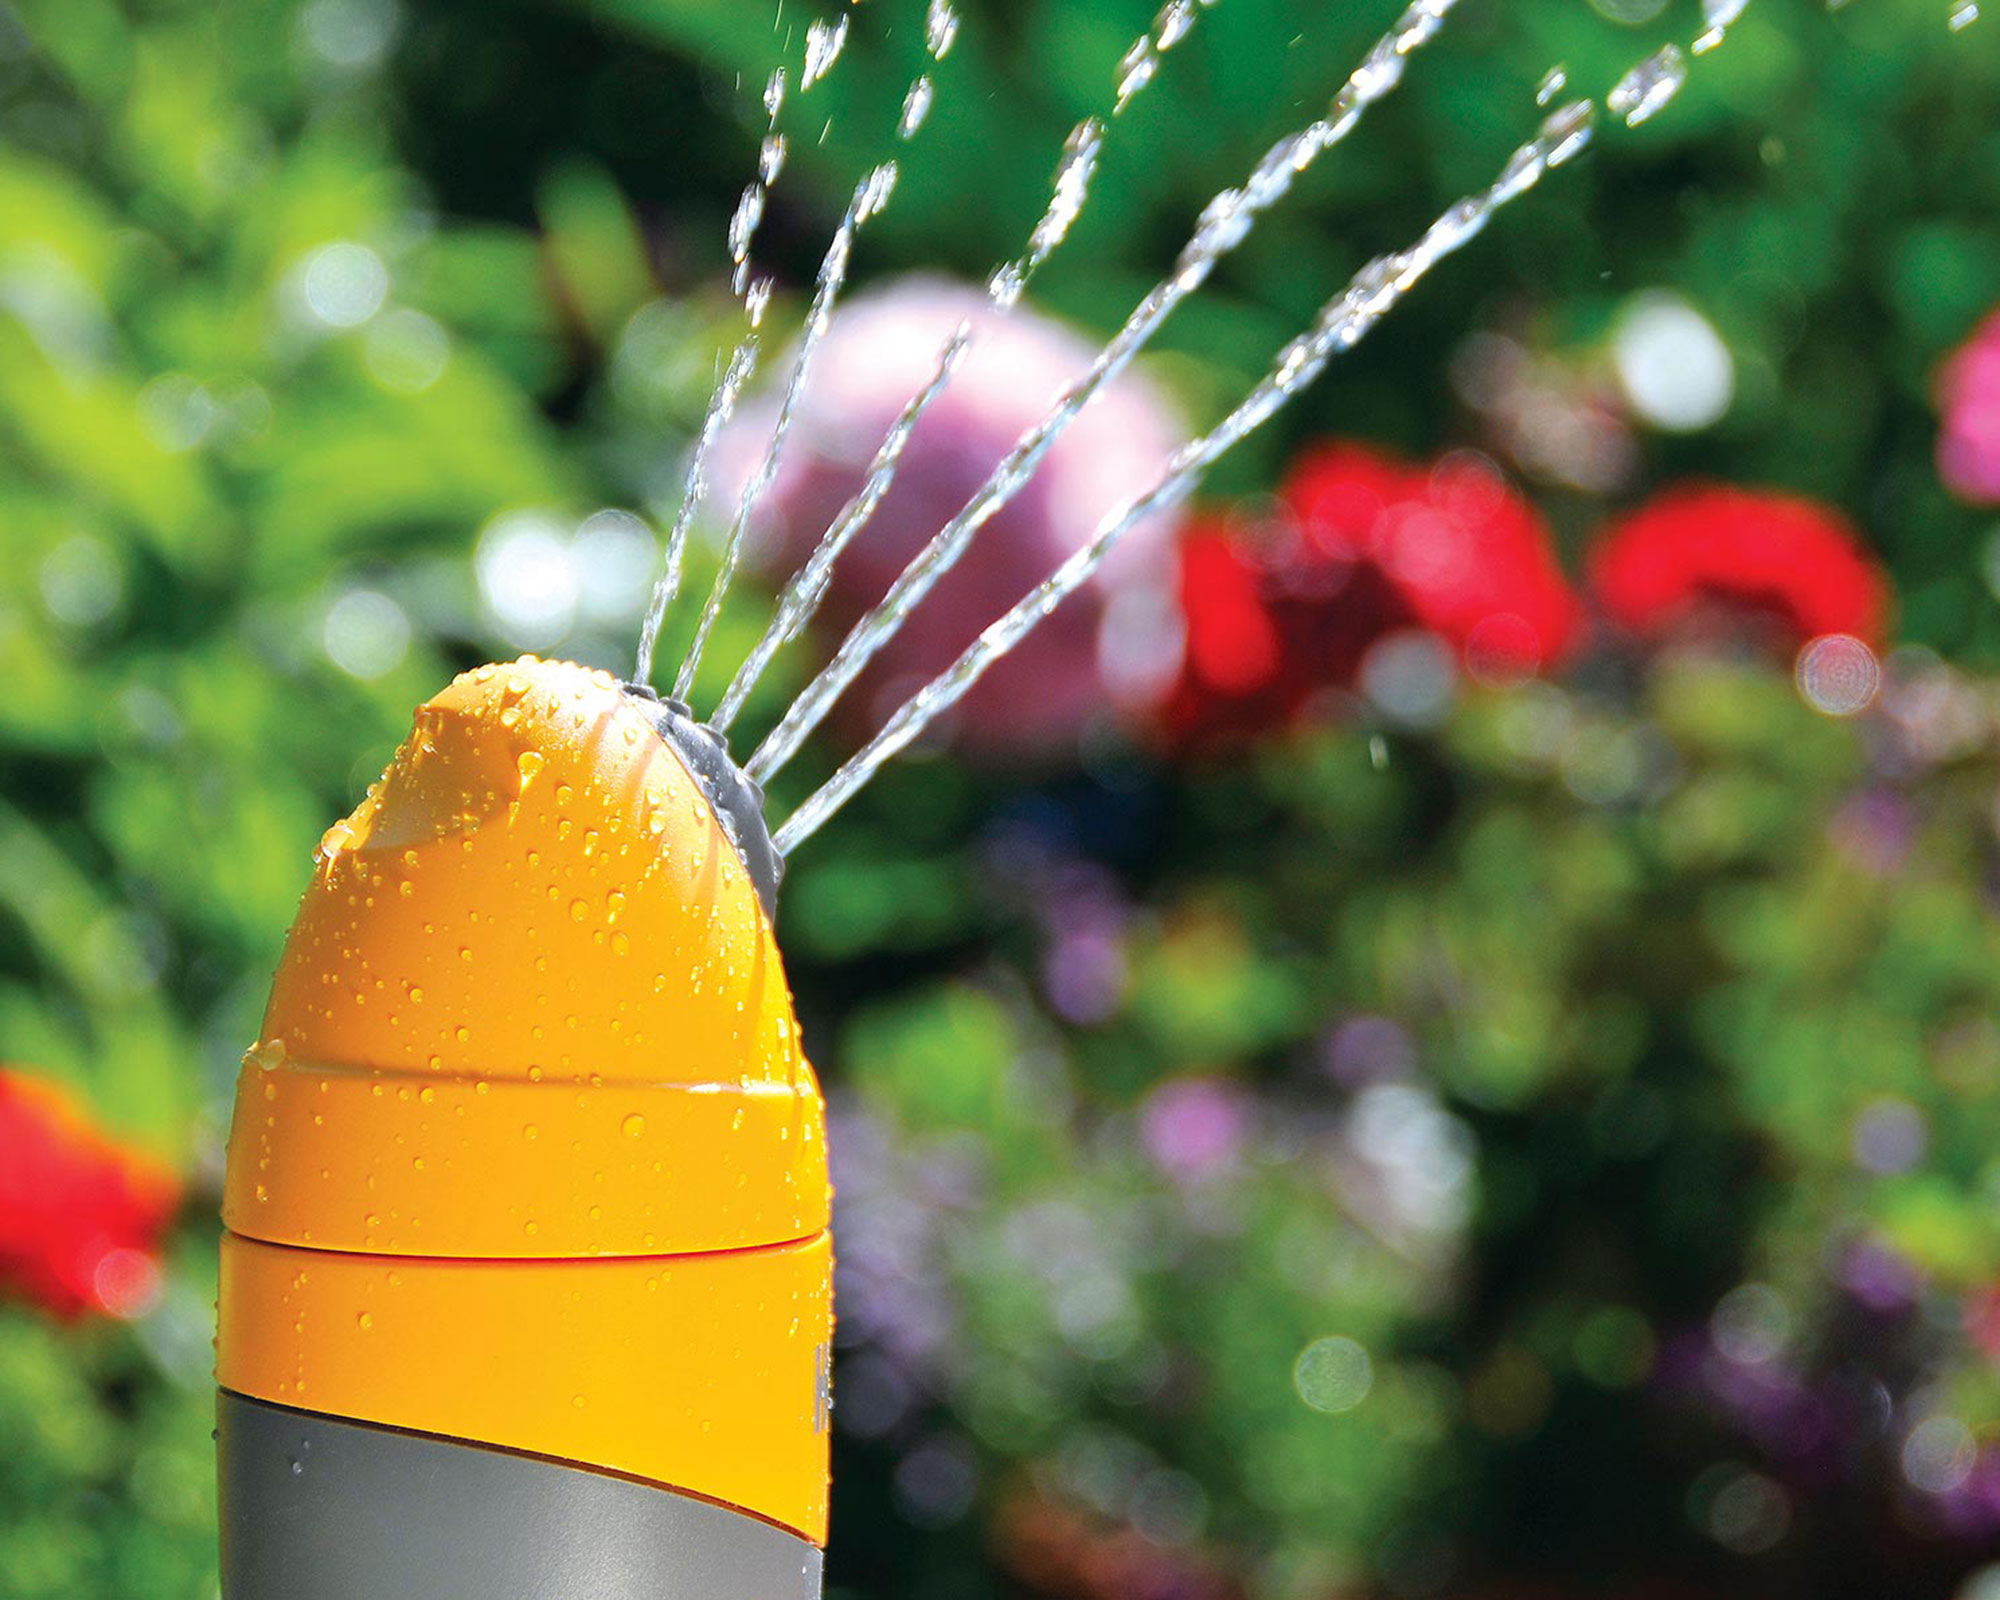
With some, this can be extremely quick and easy. ‘As it is a push fit, you can simply pull it out of the pipework,’ says Sarah Dixon, UK and international marketing manager at Hozelock of the company’s designs. ‘Alternatively, you can block it with a peg component to ensure it is water tight.’
If the system is an in-ground one, there is more to the process, but it’s still a DIY task and we’ve got the details on how to replace a sprinkler head here.
1. Get the right replacement sprinkler head
As you'll know if you've read our guides to sprinkler rotor vs spray and sprinkler vs soaker hose, there are lots of different types of sprinklers. So before you start the process of fitting a new sprinkler head, it’s essential to purchase the correct replacement. This should be of the same type as the old one so that the garden sprinkler system continues irrigating properly.
The information you need when you’re shopping is whether the current sprinkler head is an impact or pop-up version. If it is a pop-up version, you further need to know whether it is rotor driven, gear driven, or stationary.
After that, you will need to know the delivery rate, which may be in inches per hour (IPH) or gallons per minute (GPM); the spray pattern (for example, full, half or quarter circle); and the distance the water is thrown.
How will you find all this information? It should be on the top of the sprinkler head, or visible on its body once you’ve removed it from the ground.
‘This doesn’t mean you need to buy the same brand as the original,’ explains Beth Murton, editor of Gardeningetc. ‘But you do need to match the type and all the specs of the original. If you’re not sure, take the old head to the store and ask for advice.’
2. Shut off the water supply
Shut off the water supply to the sprinkler system. If the broken sprinkler head is located in the lawn, use a trowel to cut the sod in a small circle around it, and lift the turf carefully so it can be put back after the head is replaced.
Dig down to the riser attached to the sprinkler head that connects it with the water line. Work carefully so you don’t cause any damage to the water line.
3. Remove the old sprinkler head
Unscrew the sprinkler head from the riser counterclockwise. The riser may come with it and, if that’s the case, detach it from the head carefully, and remove the plumber’s tape and check the threads before attaching new tape and replacing it on the supply line if it’s in good condition. If the threads are cracked or damaged, you should replace the riser with one of the same length and diameter, attach plumber’s tape, and screw it into place.
4. Attach the new sprinkler head
To avoid clogging the new head with dirt, flush the line before it is attached. Put a flexible garden hose over the riser with the end positioned away from where you’re working and then turn the water on briefly to clear the dirt away.
Turn the water off again and screw the replacement head onto the riser clockwise. It should be secure, but not overtight. Make sure to adjust the sprinkler head so it will spray in the correct direction.
5. Test the replacement sprinkler head
Once the replacement sprinkler head is in place, you should check it. First, ensure it is at the same level as the other sprinkler heads.
Next, turn on the water and check for any leaks, inspecting both the sprinkler head and the riser. If there are any leaks, turn the water off. The sprinkler head may need tightening, or you may have to use plumber’s tape at the joints. Turn the water on to retest after making adjustments.
Test the head is spraying as it should, too. ‘After installation, run your sprinklers manually to ensure water direction and coverage are working as expected,’ says Darik Chandler. Adjust these if necessary. Our guide on how to adjust sprinkler heads will come in handy here if you need some extra tips.
Once the replacement sprinkler head is functioning correctly, replace the dirt and tamp it down level with the sprinkler head. Place any sod back and water it to help it re-establish.
Can you replace a pop up sprinkler head?
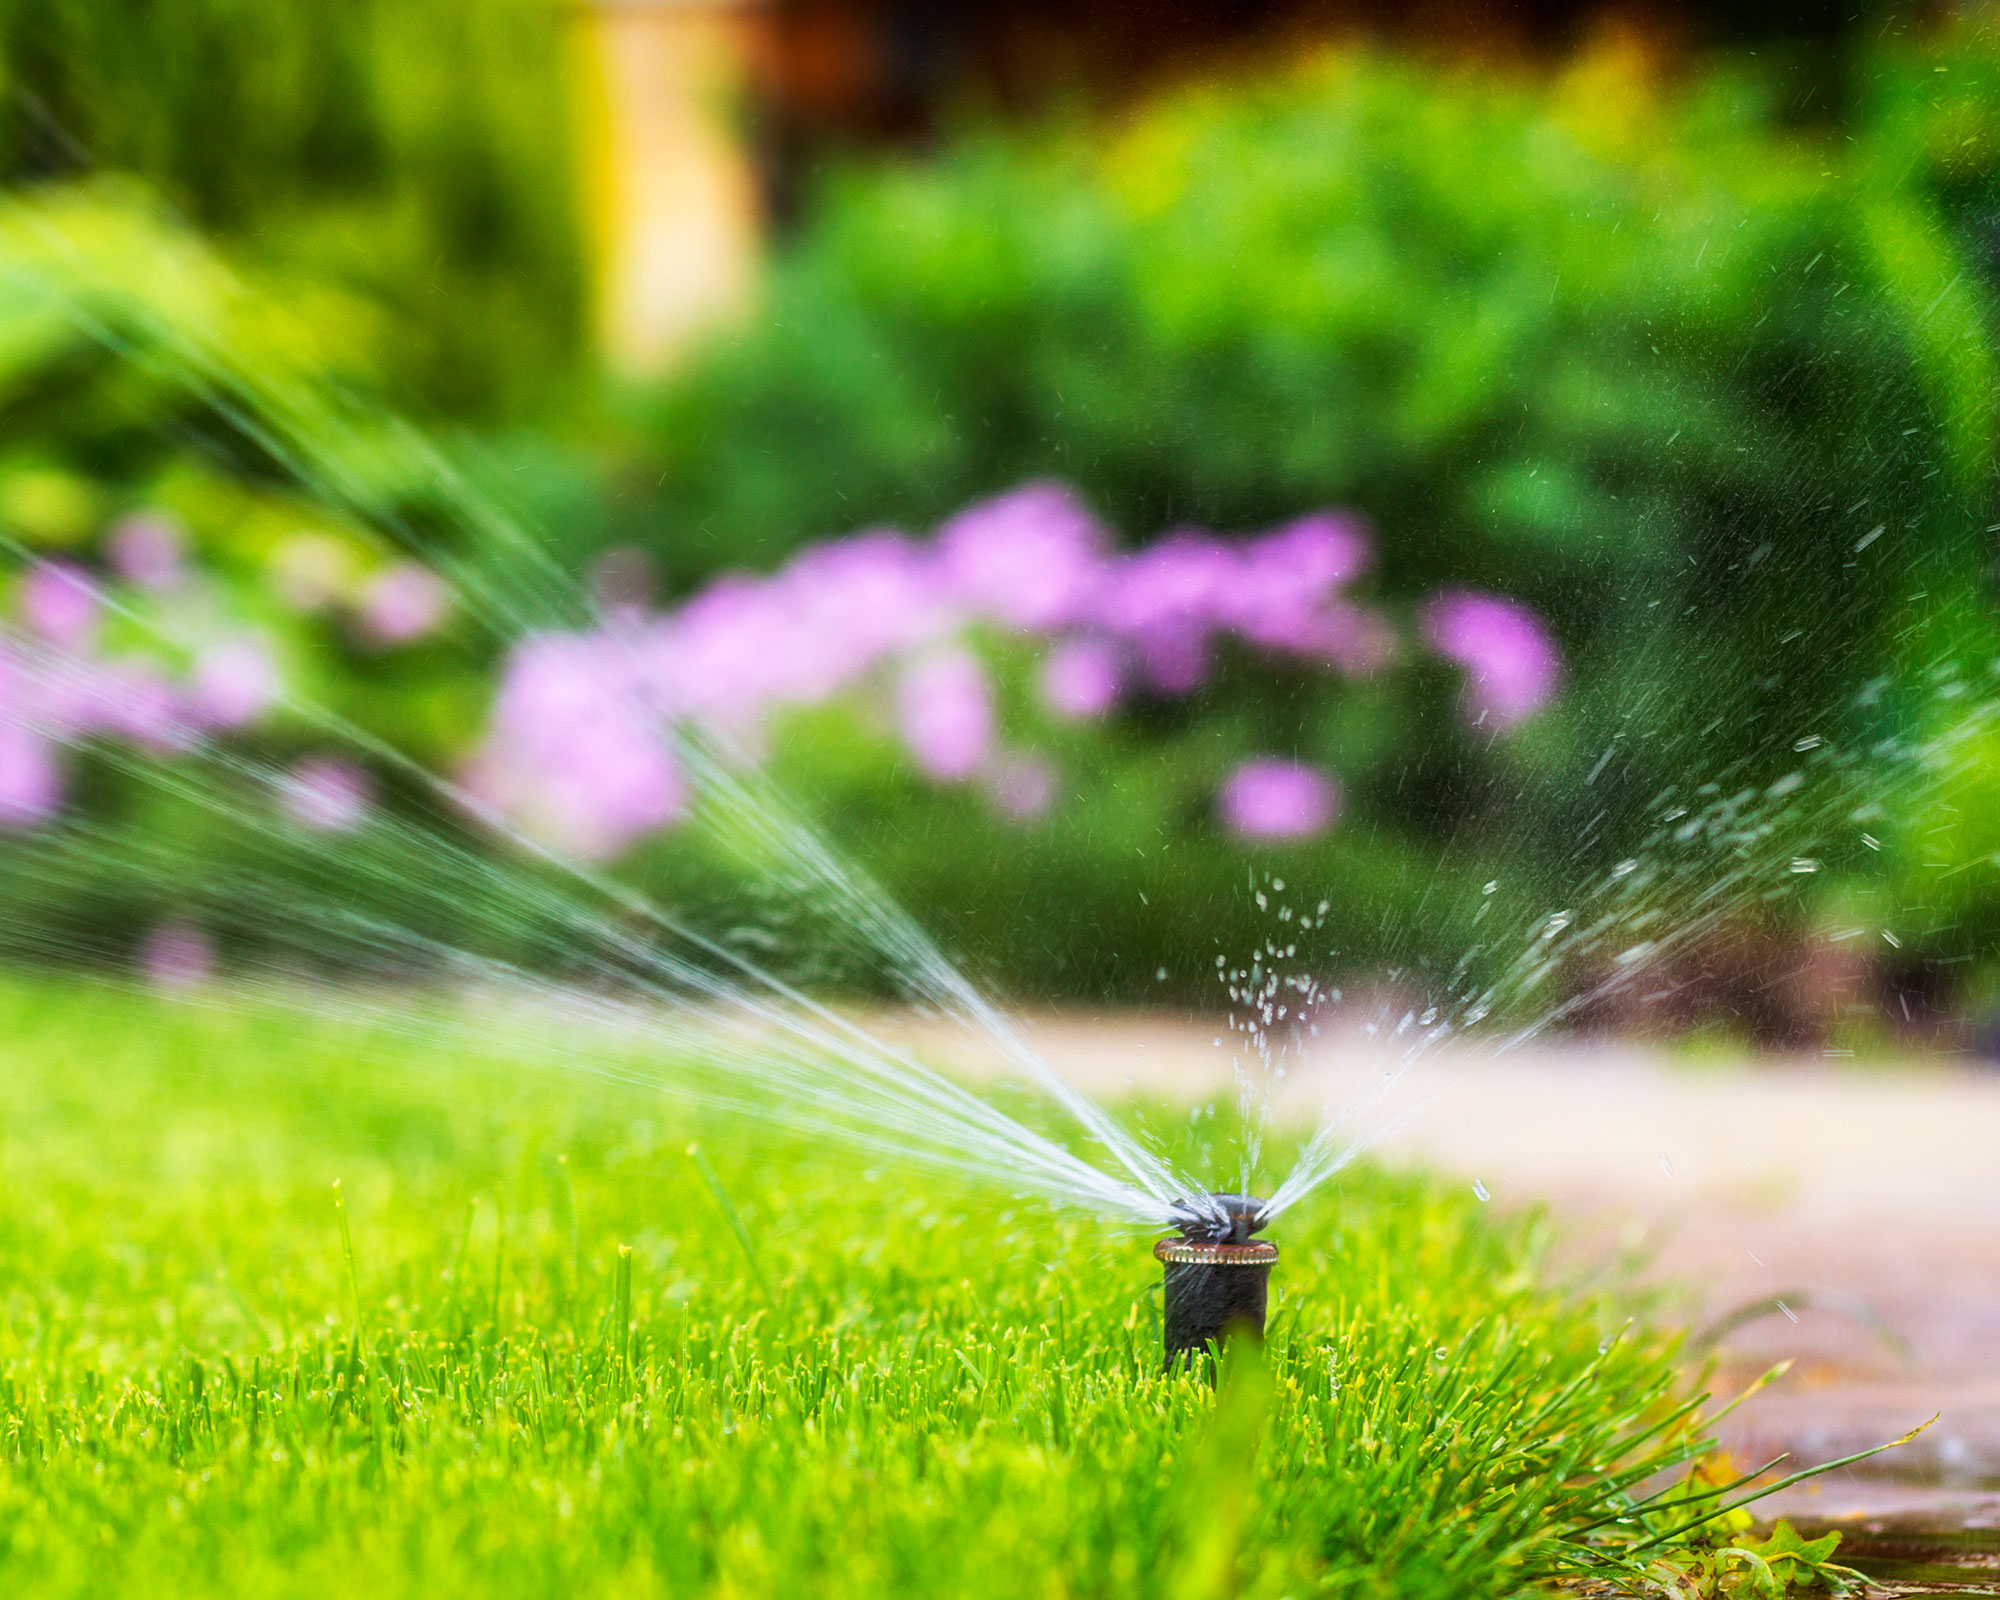
You can replace a pop up sprinkler head – and it is a job you can do yourself if you’d prefer not to call in a pro. What’s crucial is that you change it for a sprinkler head of the same type and specification as the old one so it’s correctly positioned in the lawn, and it provides the water it should.
How do you remove an old sprinkler head?
To remove an old sprinkler head, simply unscrew it by twisting it in a counterclockwise direction. This will unthread it from the riser that is, in turn, attached to the water supply line.
How do you replace a sprinkler head without digging?
To replace a sprinkler head without digging, you can use your hands to clear grass and dirt around it. Unscrew the sprinkler head counterclockwise. As it’s not as exposed as when you dig around the sprinkler, this may prove harder to do, and you might need to use pliers to help.
Want to keep your sprinkler head hidden from view? There are plenty of creative ways to hide sprinkler valves in our dedicated guide.
Are all sprinkler heads the same?
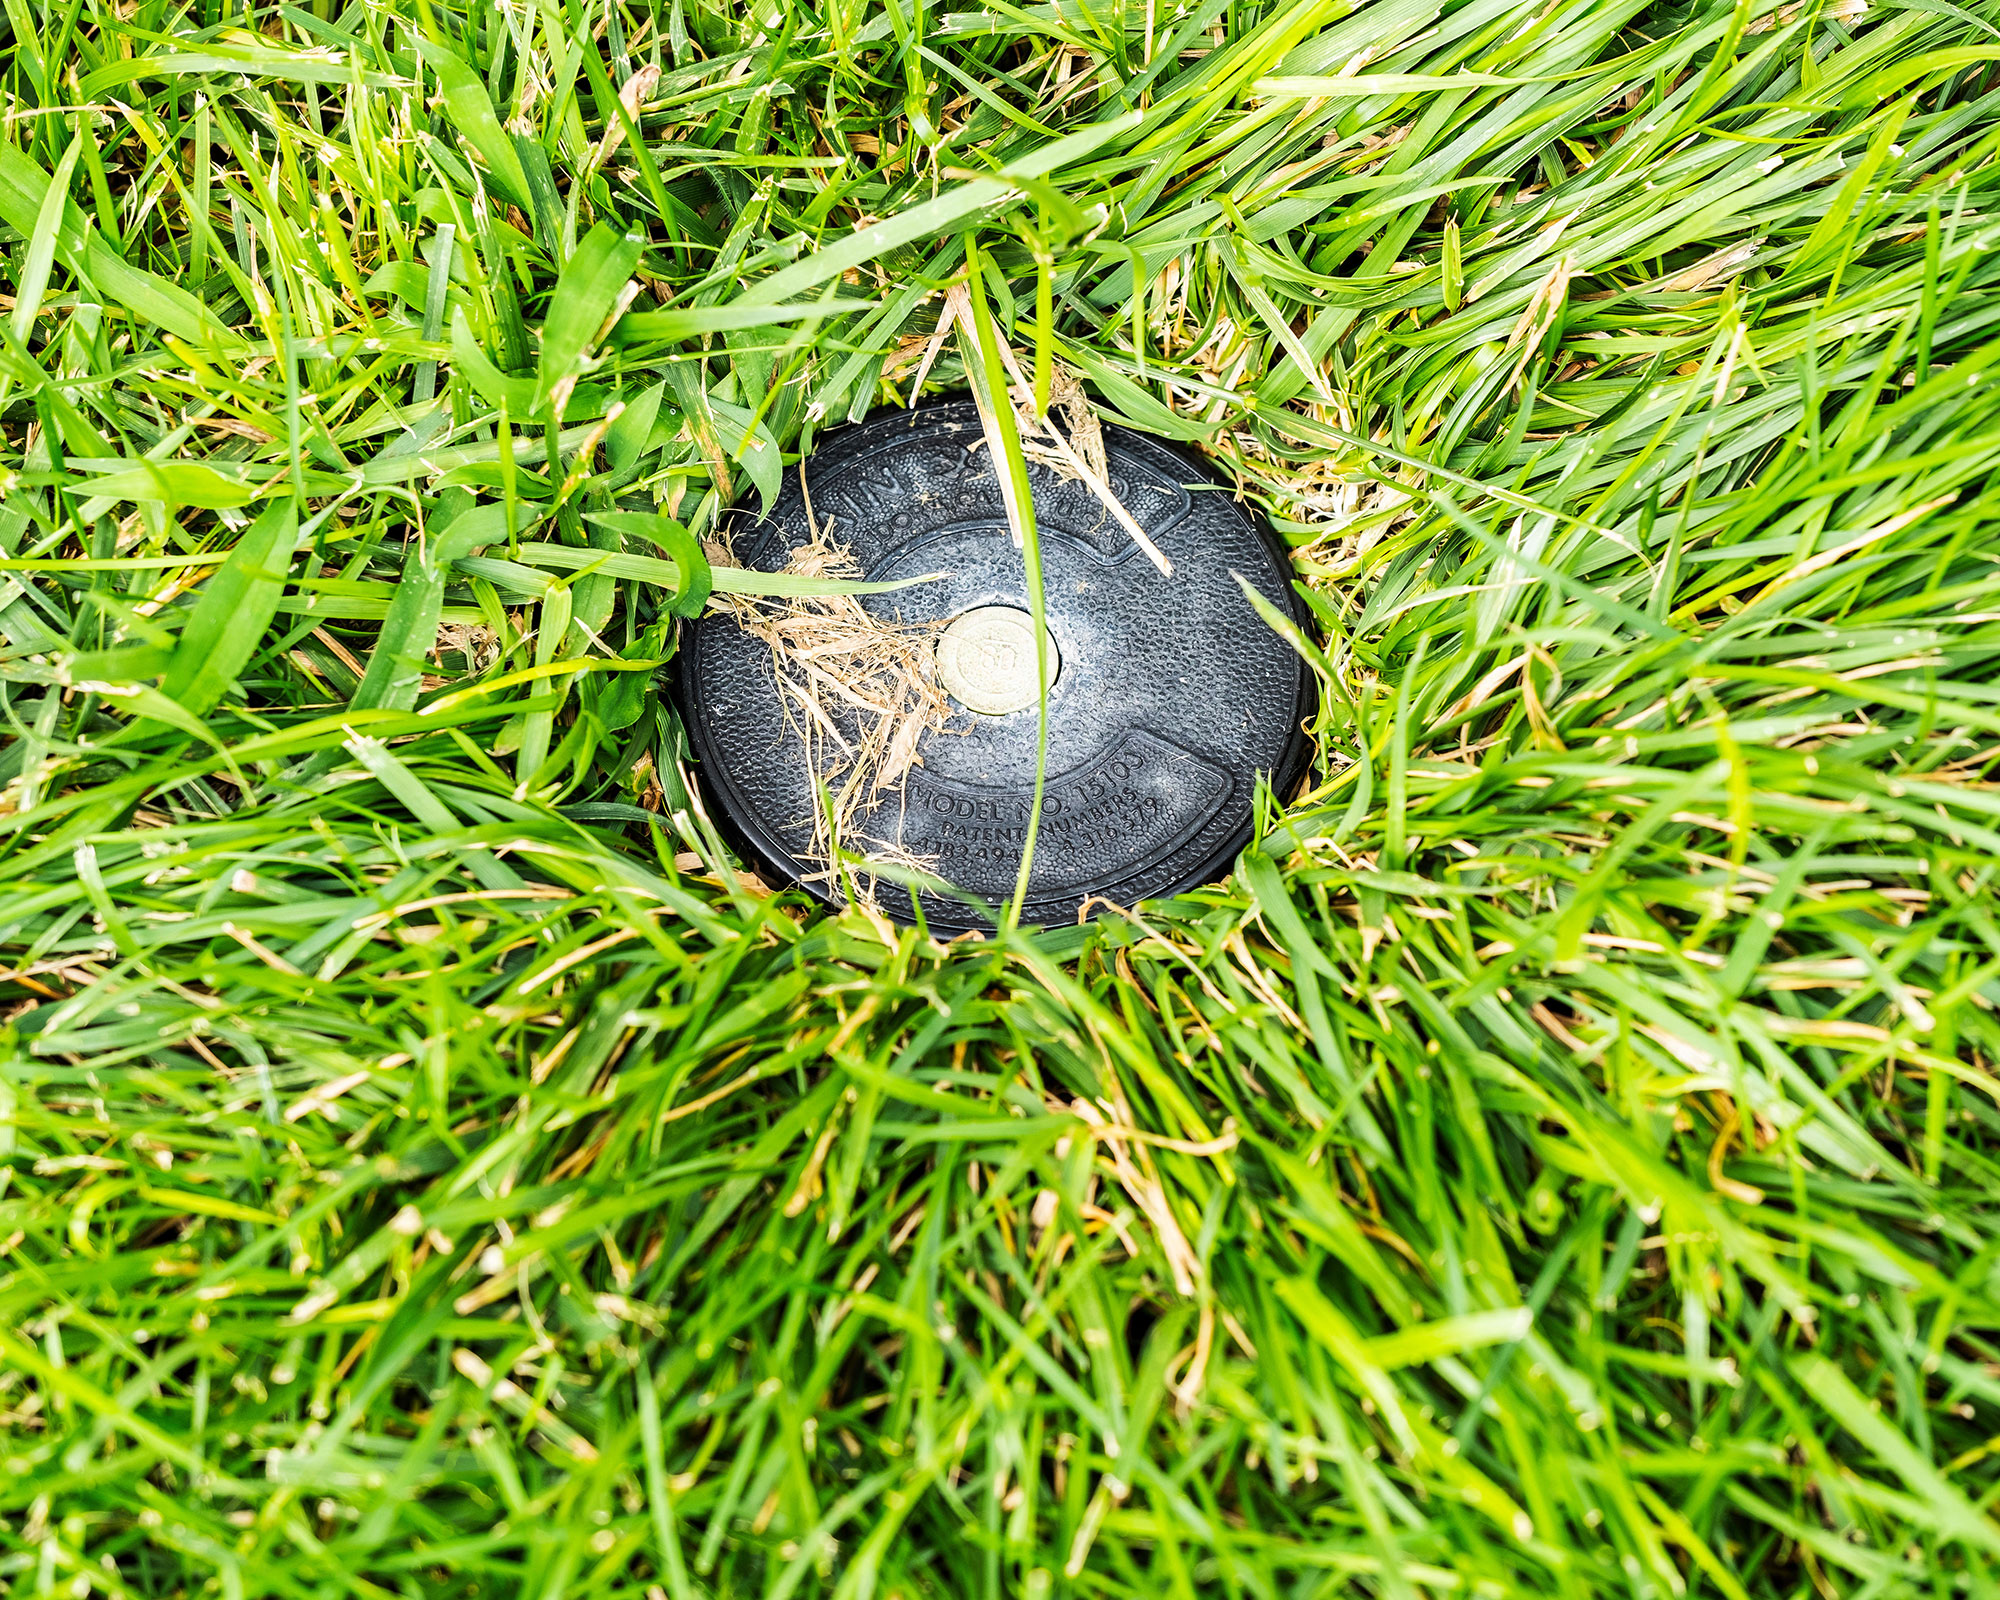
All sprinkler heads aren’t the same – and it’s vital to bear this in mind when replacing a sprinkler head. It needs to be the same type: pop up (stationary, gear driven or rotor driven) or impact, and it needs to offer the same inches per hour or gallons per minute water rate, spray pattern and throwing distance.

Sarah is a freelance journalist and editor writing for websites, national newspapers, and magazines. She’s spent most of her journalistic career specialising in homes and gardens and loves investigating the benefits, costs and practicalities of home improvement. It's no big surprise that she likes to put what she writes about into practice, and is a serial house revamper.
