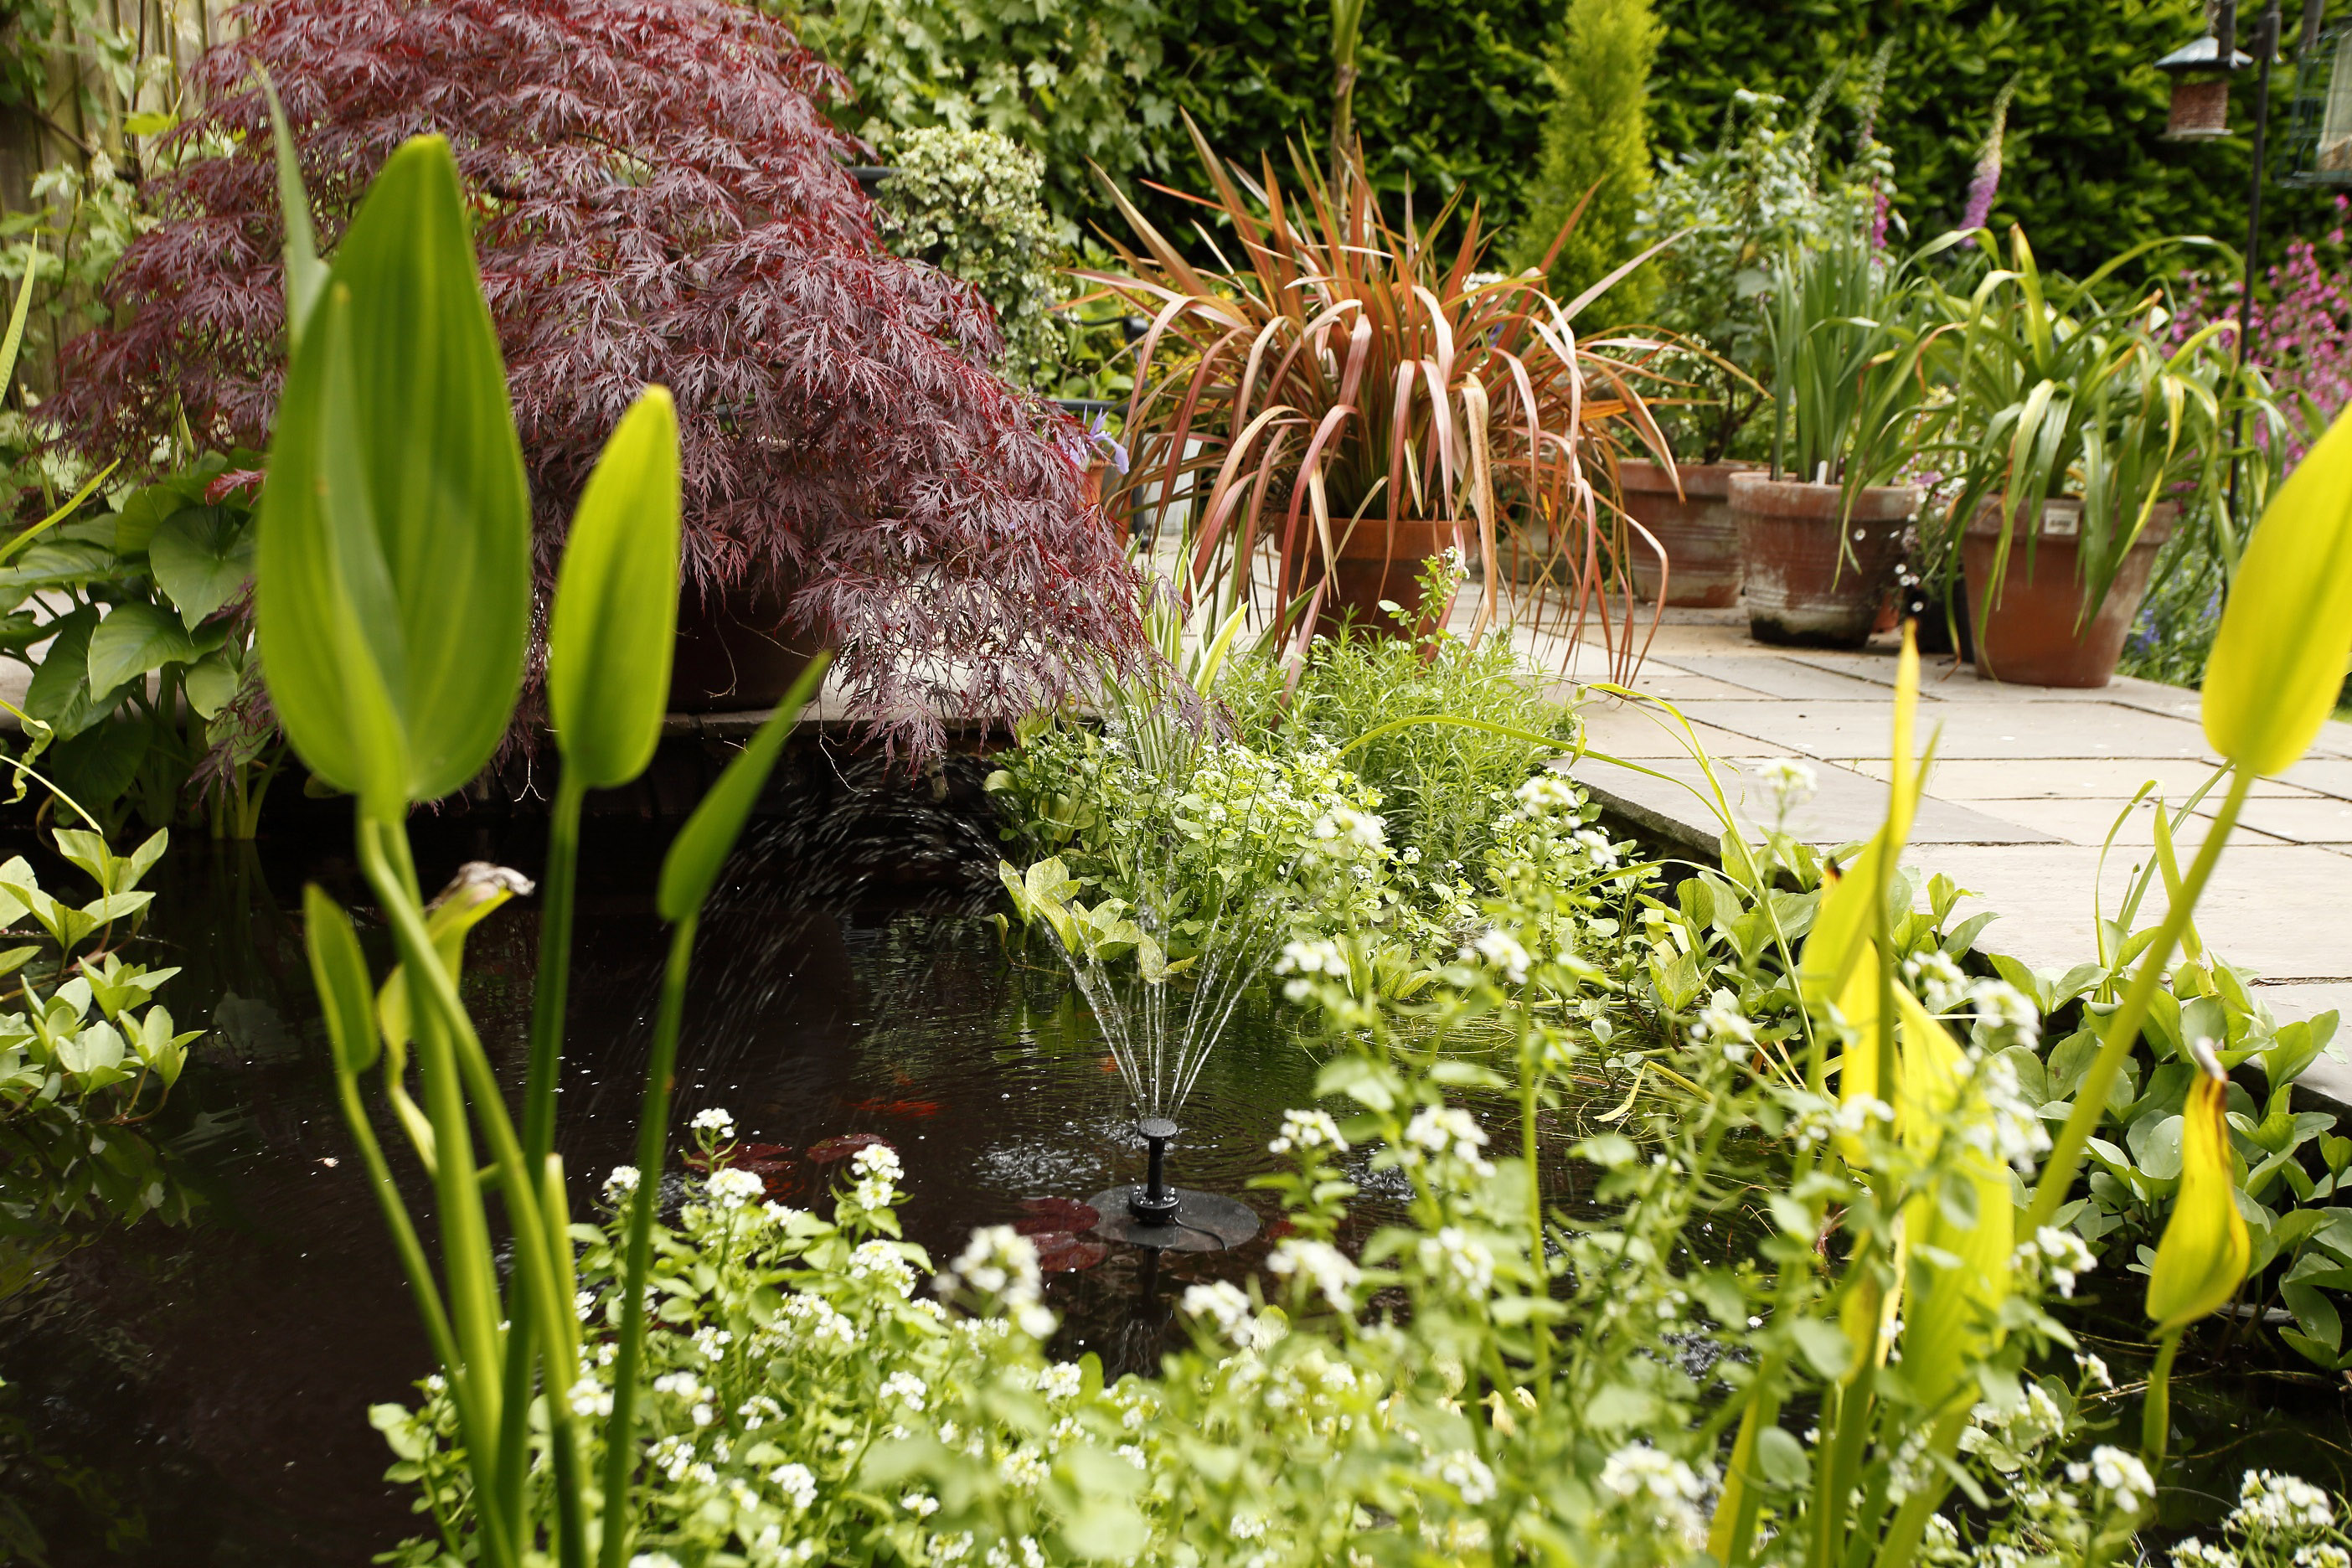
Once you know how to build a garden pond, you'll engage in one of the most satisfying, beautiful and nature-friendly garden tasks that are possible to do. When we talk about garden ponds, the image of a curved, natural pond that's very informal and wildlife-friendly still prevails. There are so many more forms, shapes and types of ponds that you can create, however, so there's plenty of freedom to design the right one for your outdoor space. Have a formal or rectilinear garden? Then a geometrically shaped pond is probably best. Or do you have an informal garden? If so, a loose, curvy form will be ideal.
Based on what you want to achieve, you can try and make important decisions beforehand and stick rigidly to a construction plan, or you can take a more relaxed approach and make some decisions as you get to them. This isn't as chaotic as it might initially seem, as it can often be easier to assess and finalise the shape or slope of a pond's edge, for example, during the build.
Whatever you plan to do, there are some established tips on how to build a pond, and the following advice will have you very much pointed in the right direction and get you well prepared for your pond building tasks. Keep reading for our top tips, then check out our wildlife garden ideas for more ways to encourage creatures great and small to your outside space.
Step one: choose the right location for your garden pond
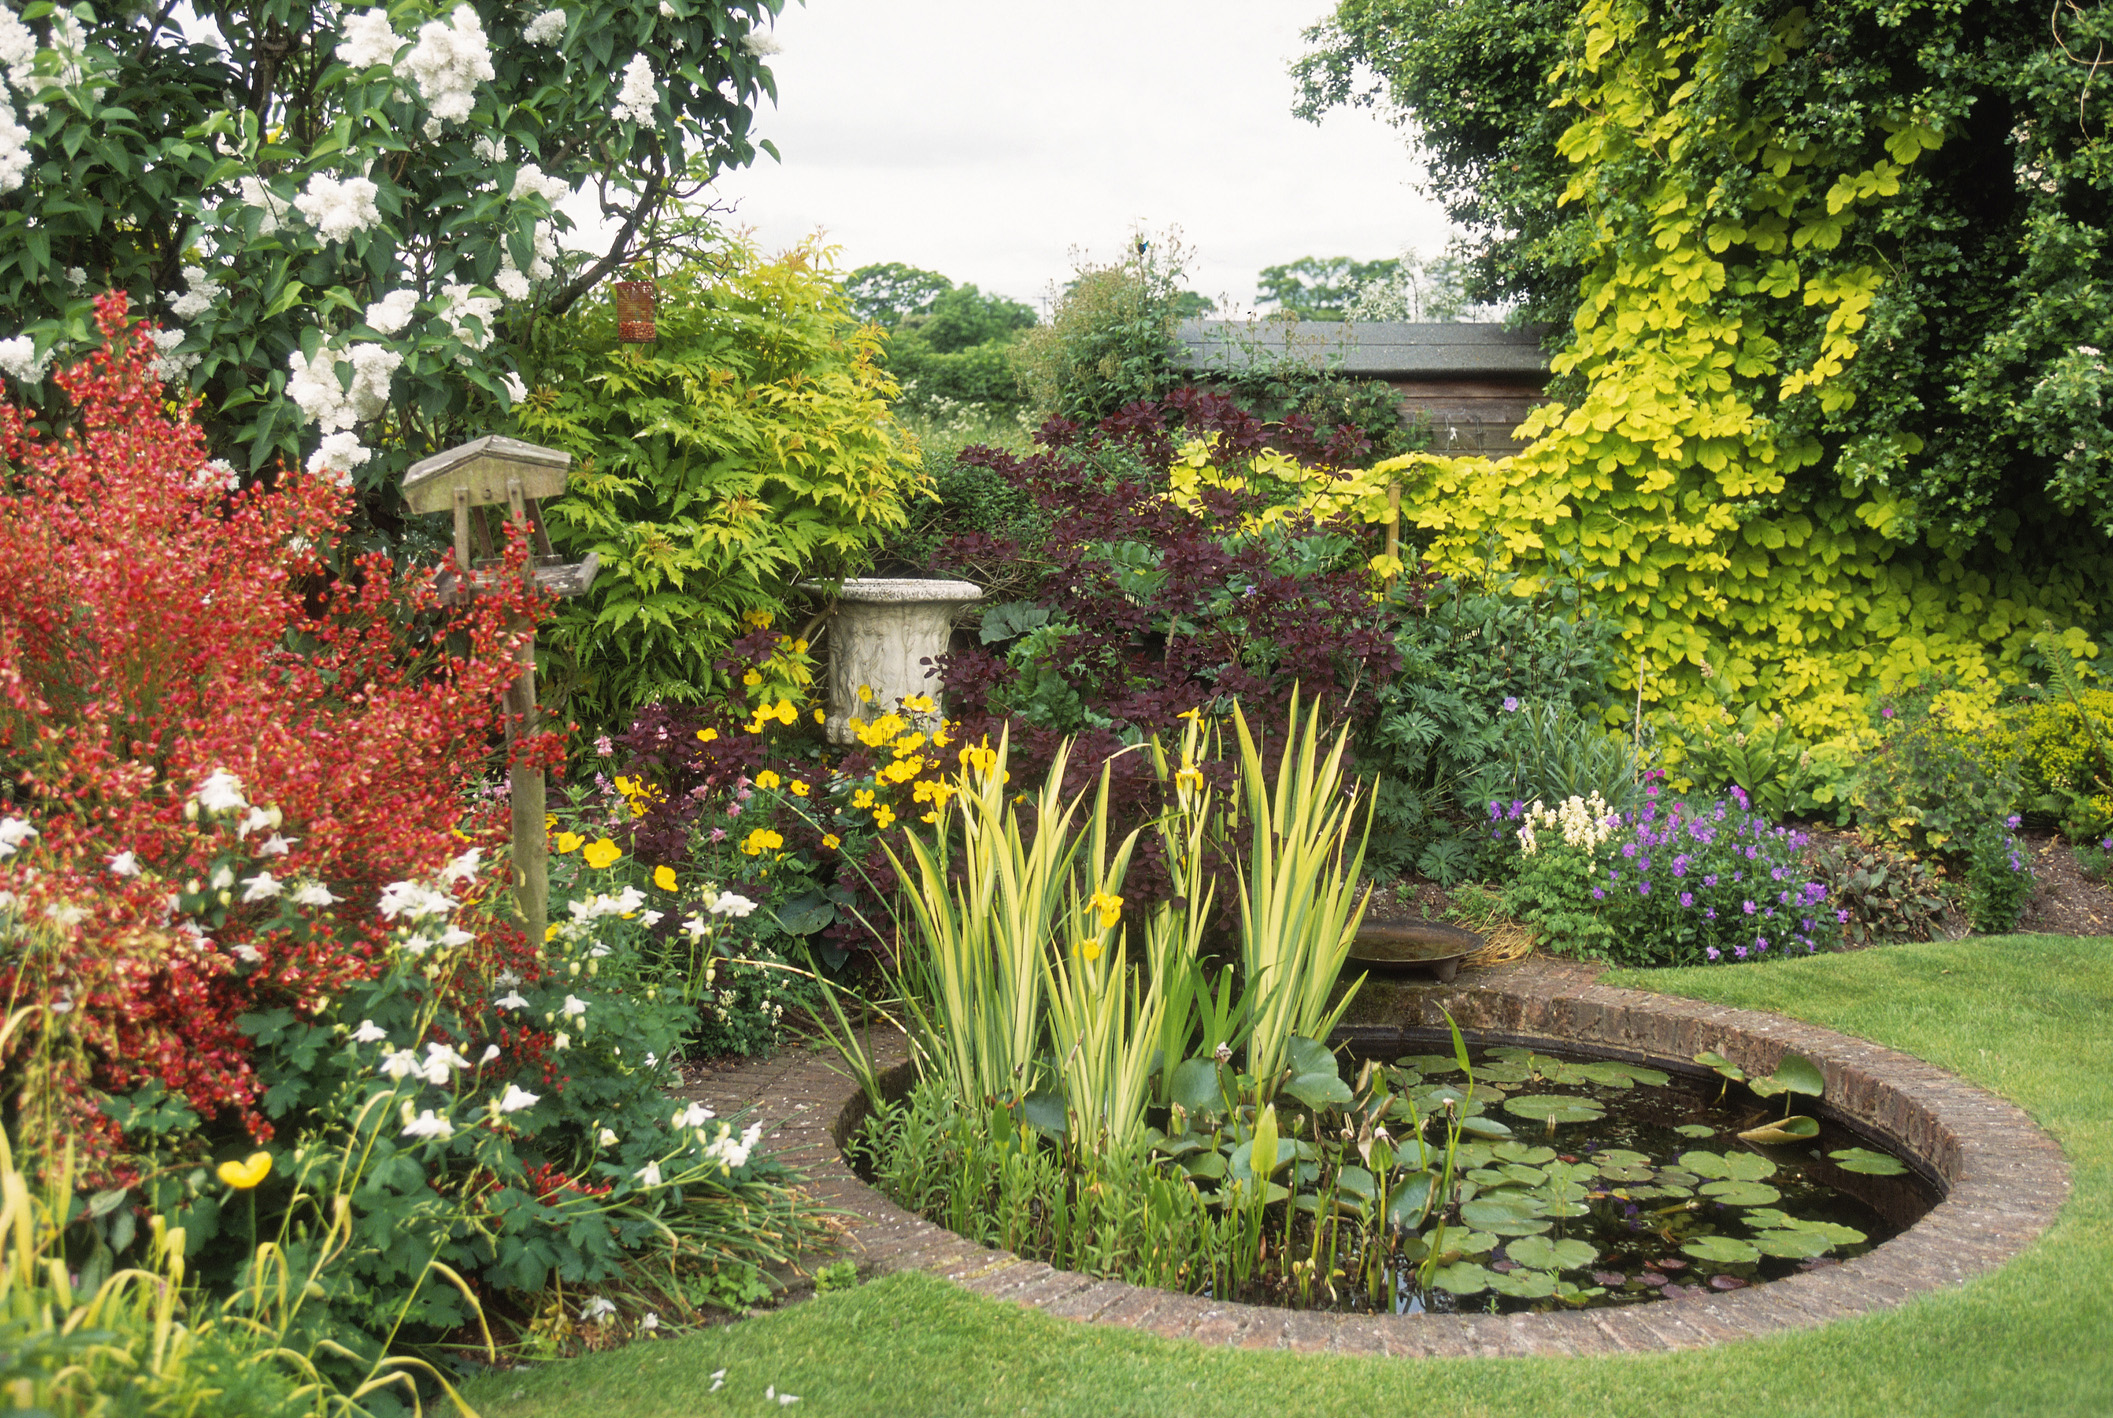
You'll need to make sure the siting of the pond or pool is appropriate. Safety is certainly worth considering, particularly if you have children, and this can guide where you place the pond in your garden – keeping it in eyesight of the house, for example. If it's tucked away in a corner away from sight, this can work to be part of a garden's journey, but often it's best placed so you can see it and enjoy it!
However, you definitely need to ensure the site is in full sun and not under any overhanging trees to avoid being in the shade for too long and to limit dead foliage and debris falling into the pond. If you're worried about a particular position of a pond and its ability to attract wildlife, then fear not as wildlife always finds a way – build it and they will come.
Step two: select your garden pond type
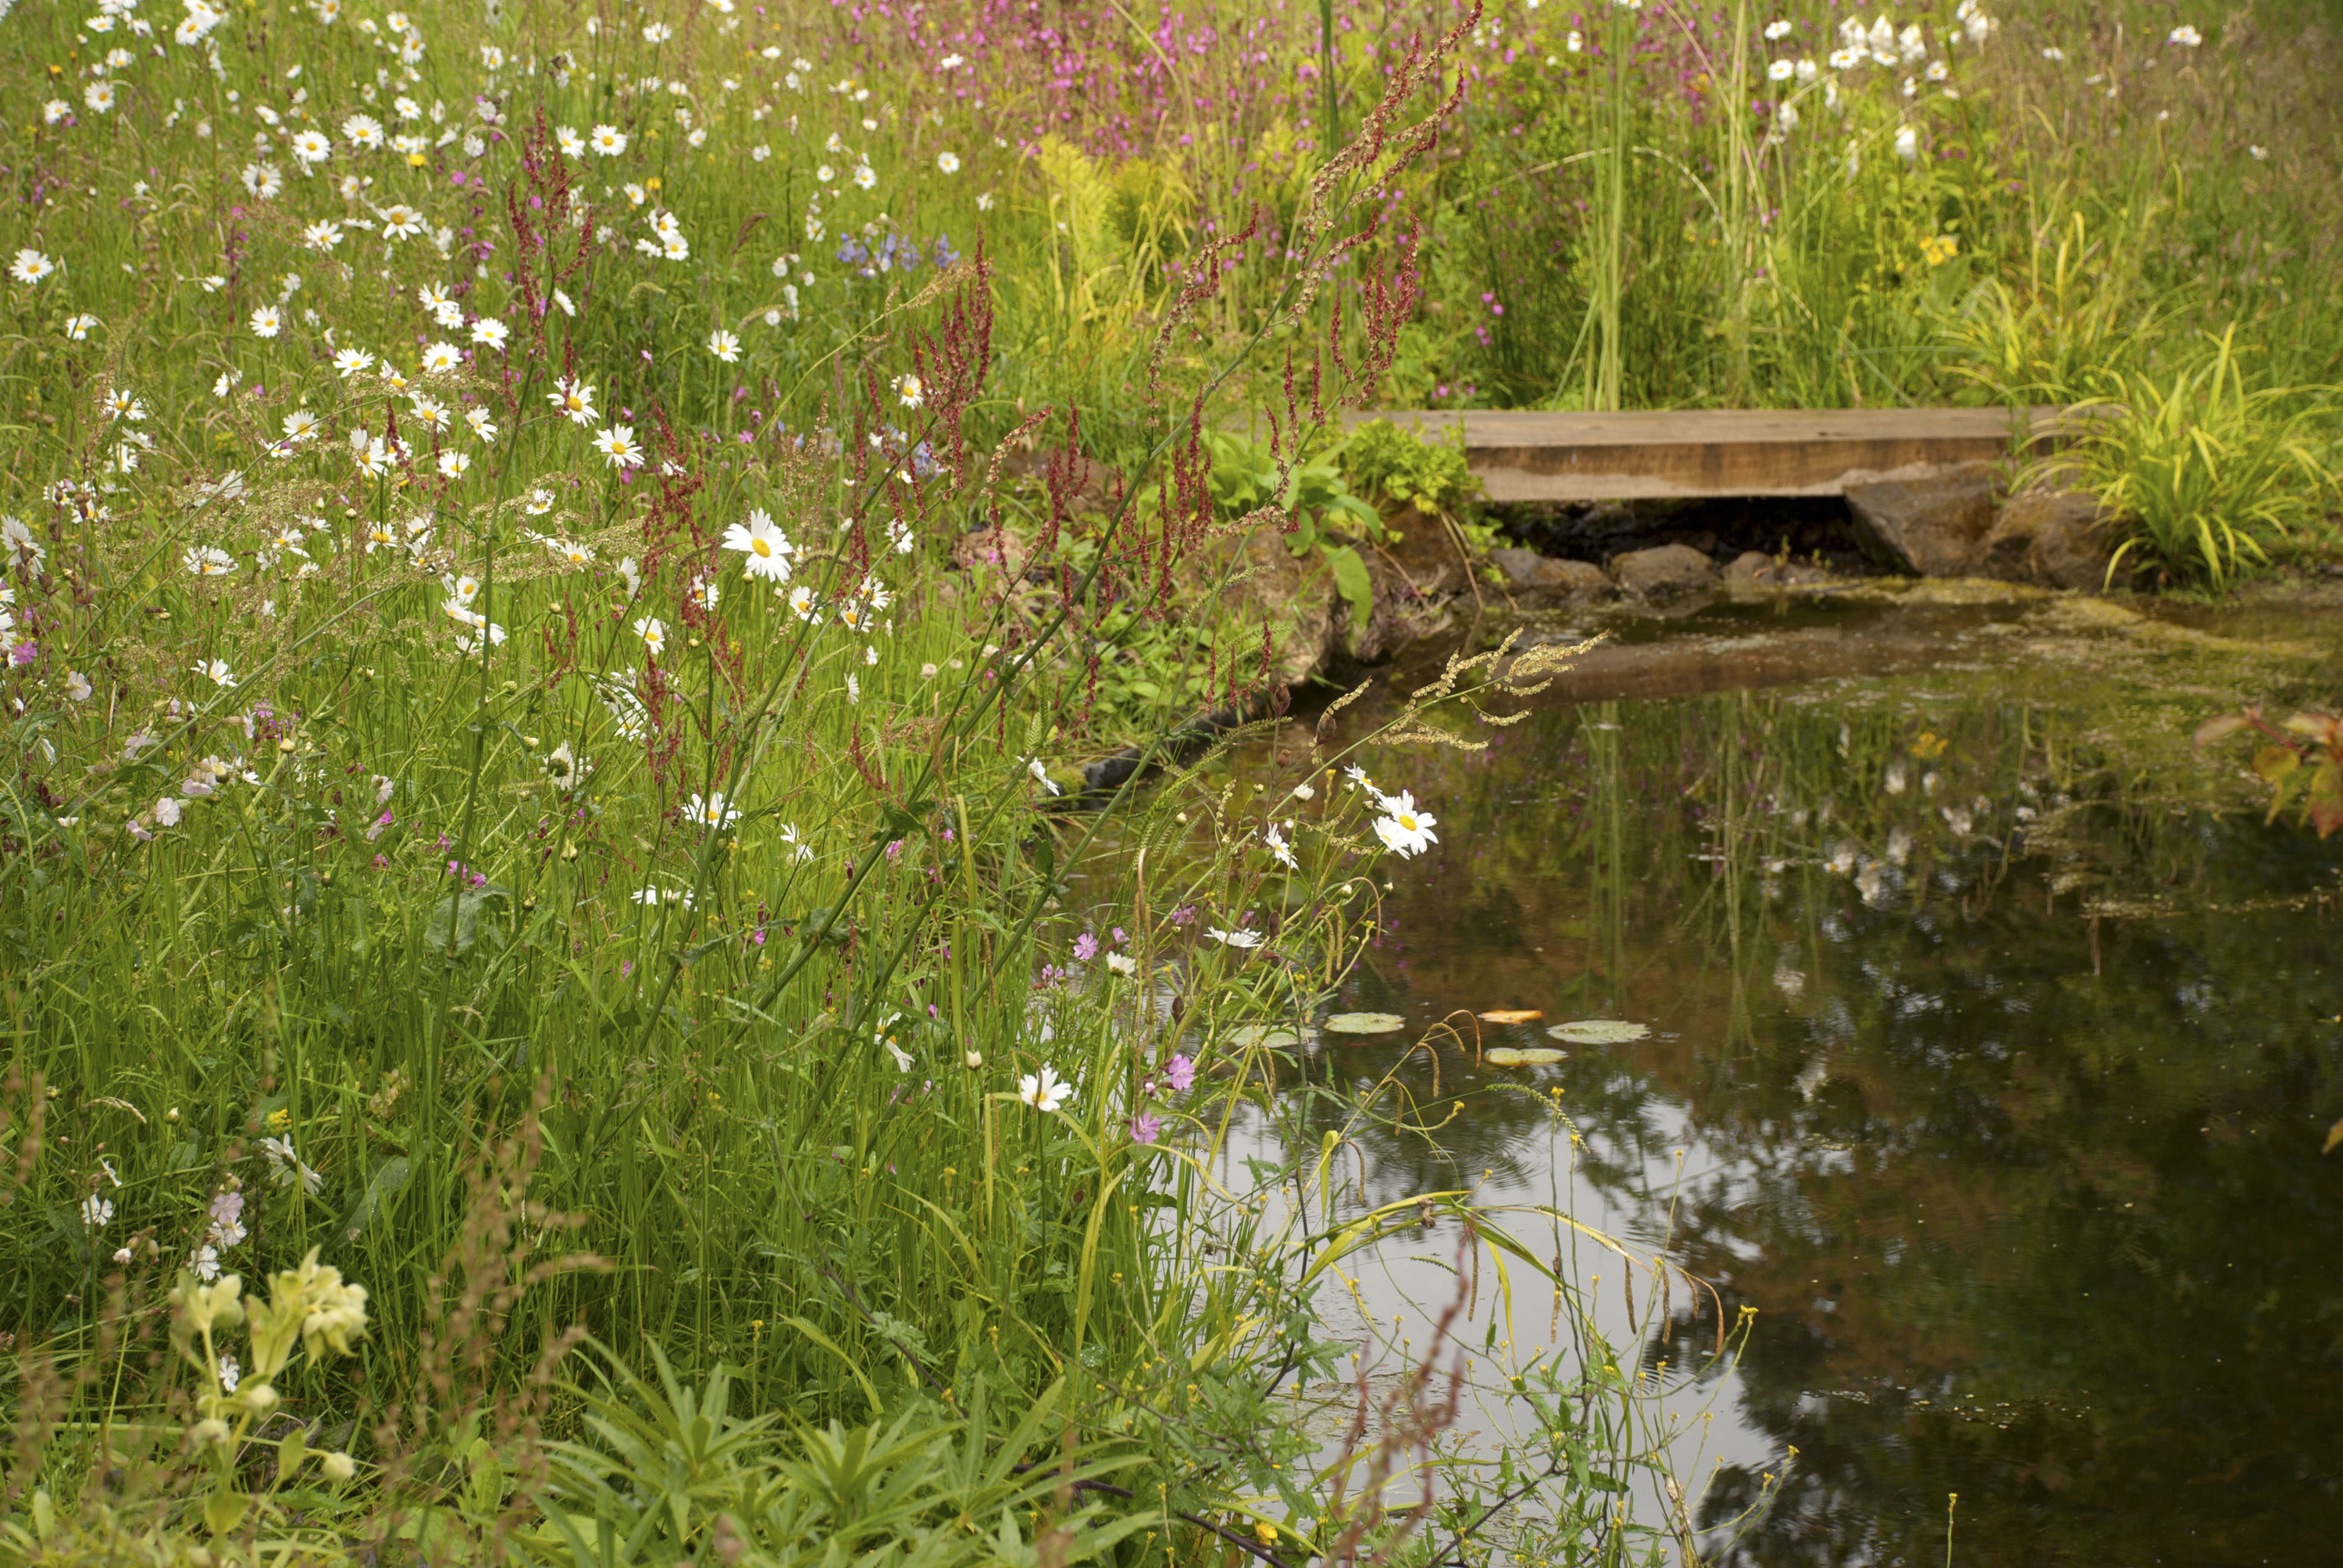
It's important to plan ahead and think about what kind of lining you want to use: are you happy with a premade plastic shell that only needs to be sunk in the ground? Perhaps you want the durability of a concrete-lined pond, or maybe you want to do it your own way by making your own shape and lining said shape with a plastic or butyl liner. The latter will give you the most flexibility and is very popular for that reason.
Step three: digging out your garden pond
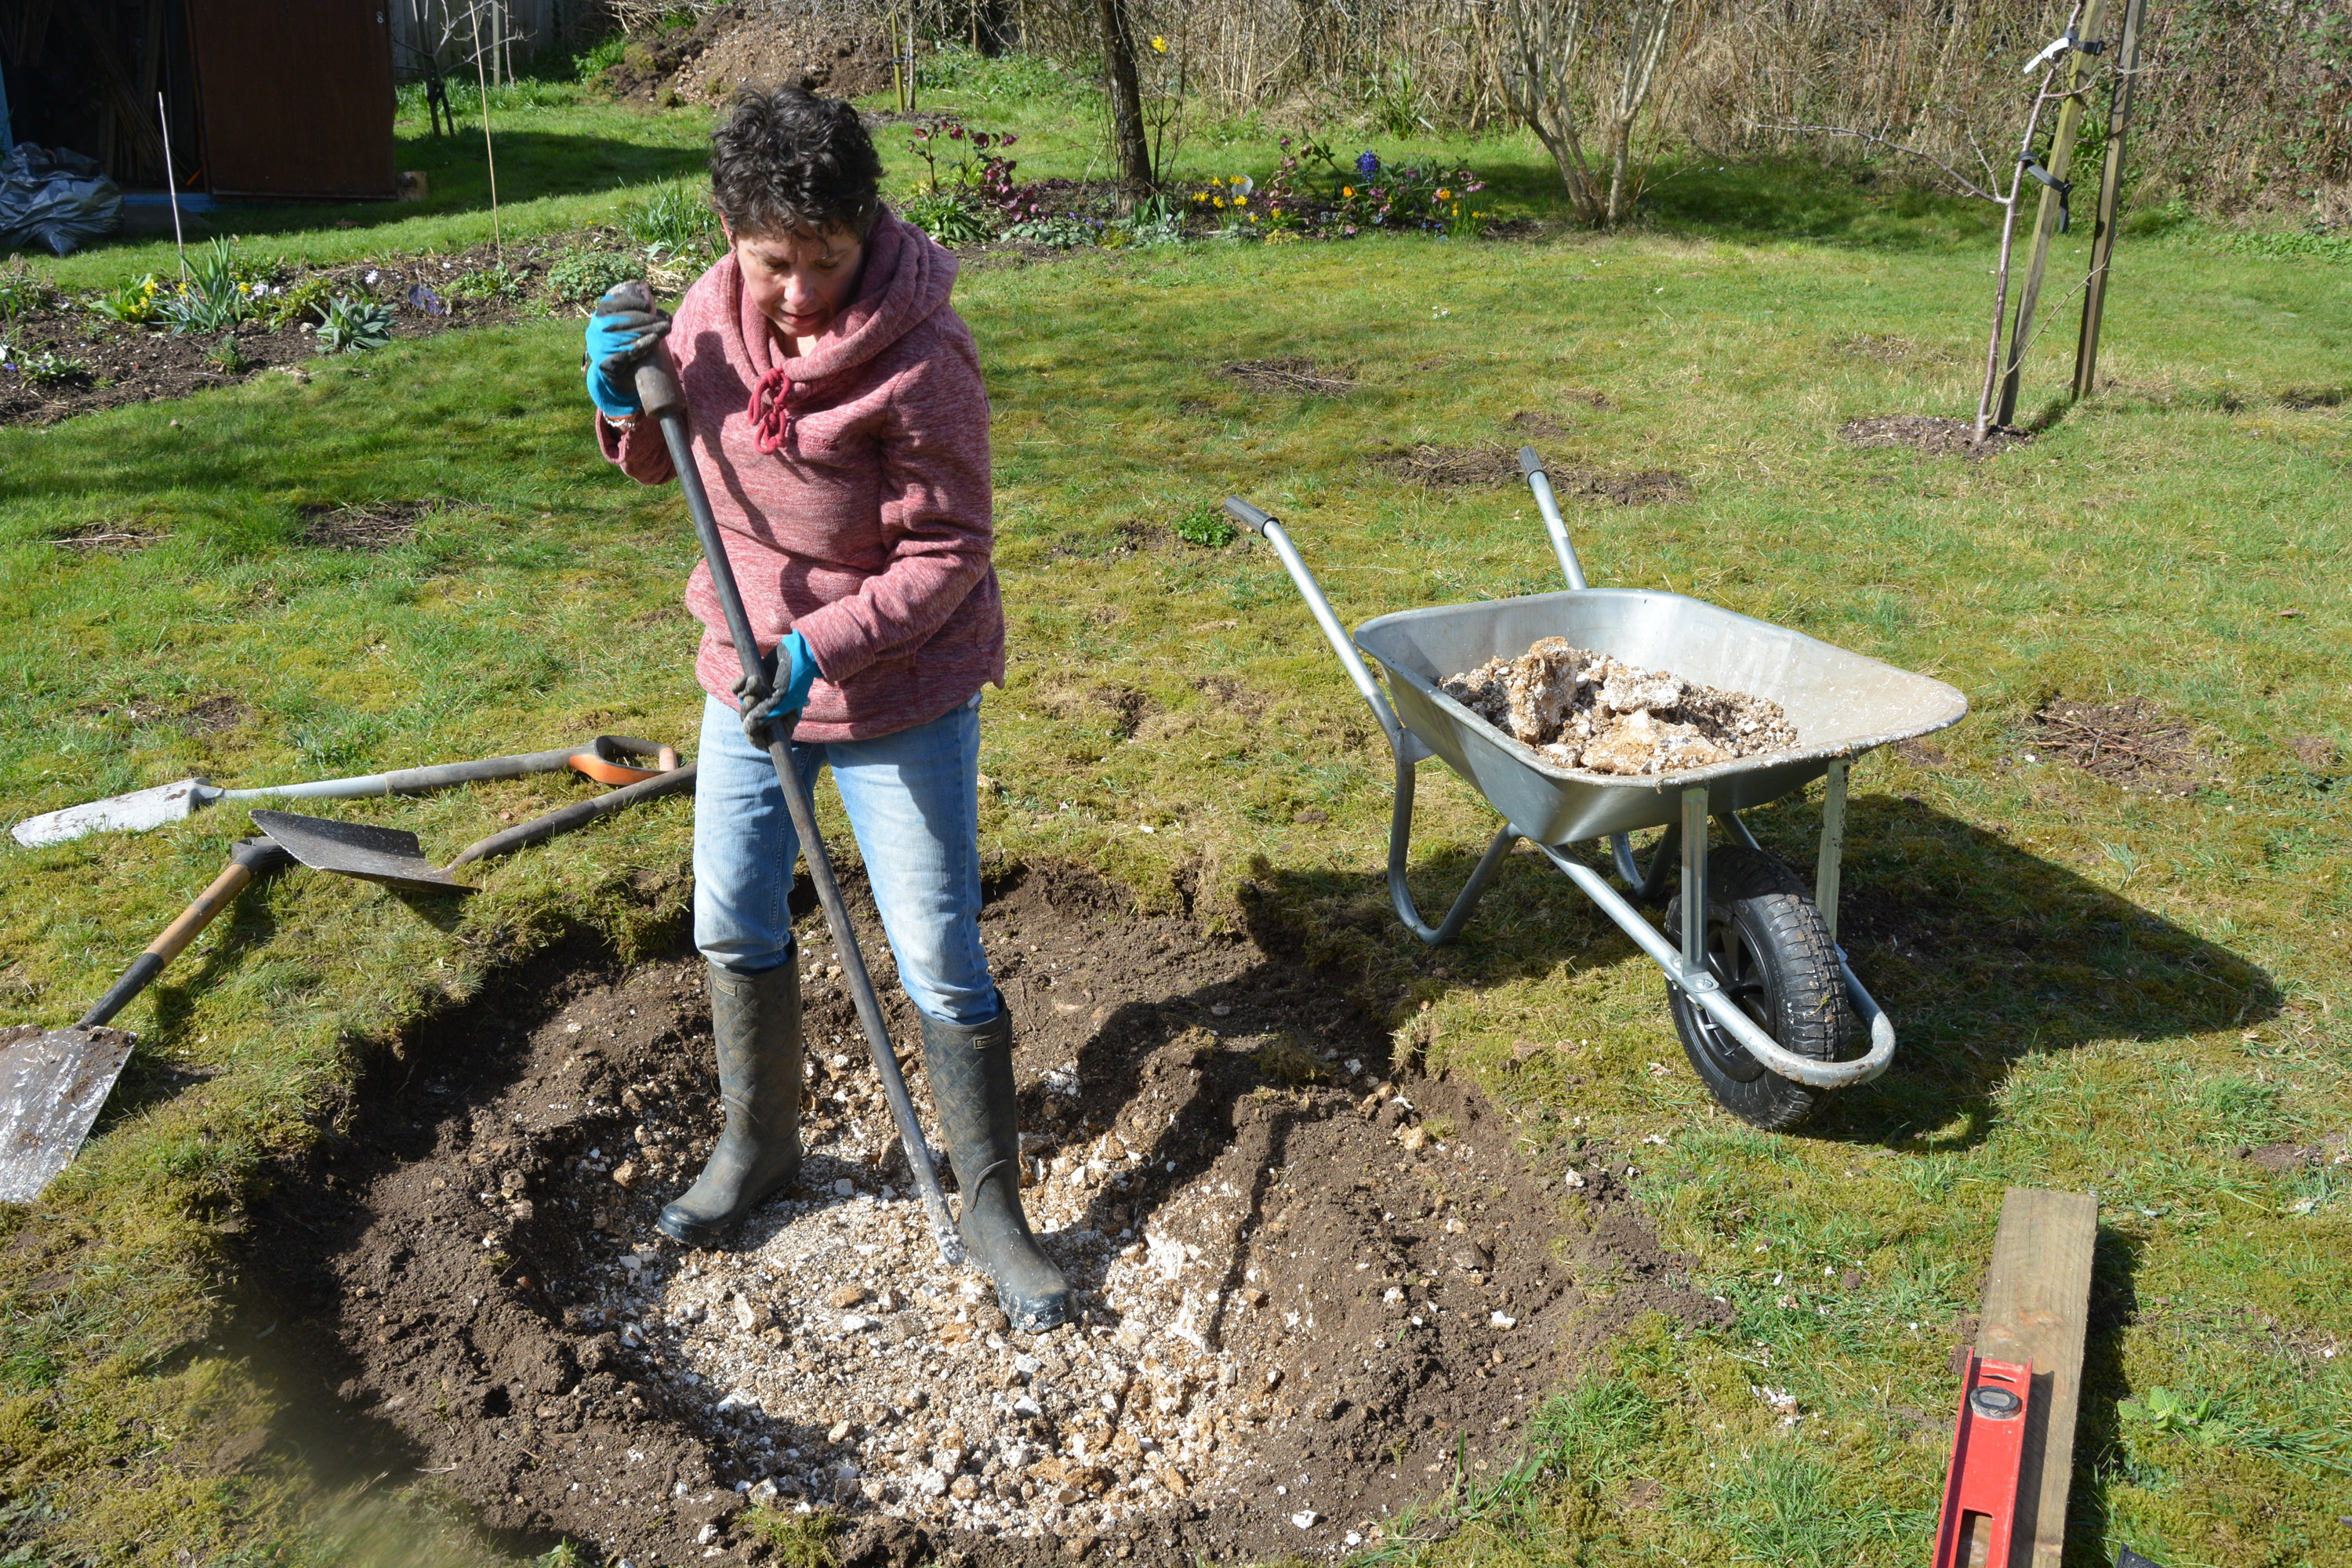
After ensuring there are no services or utilities under where you want to build your pond, you'll need to mark out and then dig the required hole – relating directly to the pond type and shape you've chosen when selecting your lining.
Easy ways to mark out the shape are with a non-toxic spray paint which you can use freehand to draw your pond, or you can use an old rope or hosepipe, or even a line of sand. If you're going for a particular geometric shape then pegs and string can be used here to ensure straight lines are achieved.
Once marked or laid out you can then cut your shape with a spade (head to our buying guide for the best garden spades) and start to dig out the hole. If your design requires it, you'll need to add in shelves for marginal planting, so it pays to mark these out initially too – it's often just an offset of the same shape about 30cm inside the larger overall line. As a result, dig the pond out to cater for the shelves first – a depth of 30cm is also a good target – then dig the central area out to your required depth.
Naturally, you can dig your pond to your preferred depth but a minimum of 45cm or so is sufficient if you want fish and some plants, but around 60cm should be sufficient for any home garden. Lastly, if you're planning to finish the edges with stones, or bricks then digging out a little extra soil all around the edge is a good move.
Step four: lining and filling your garden pond
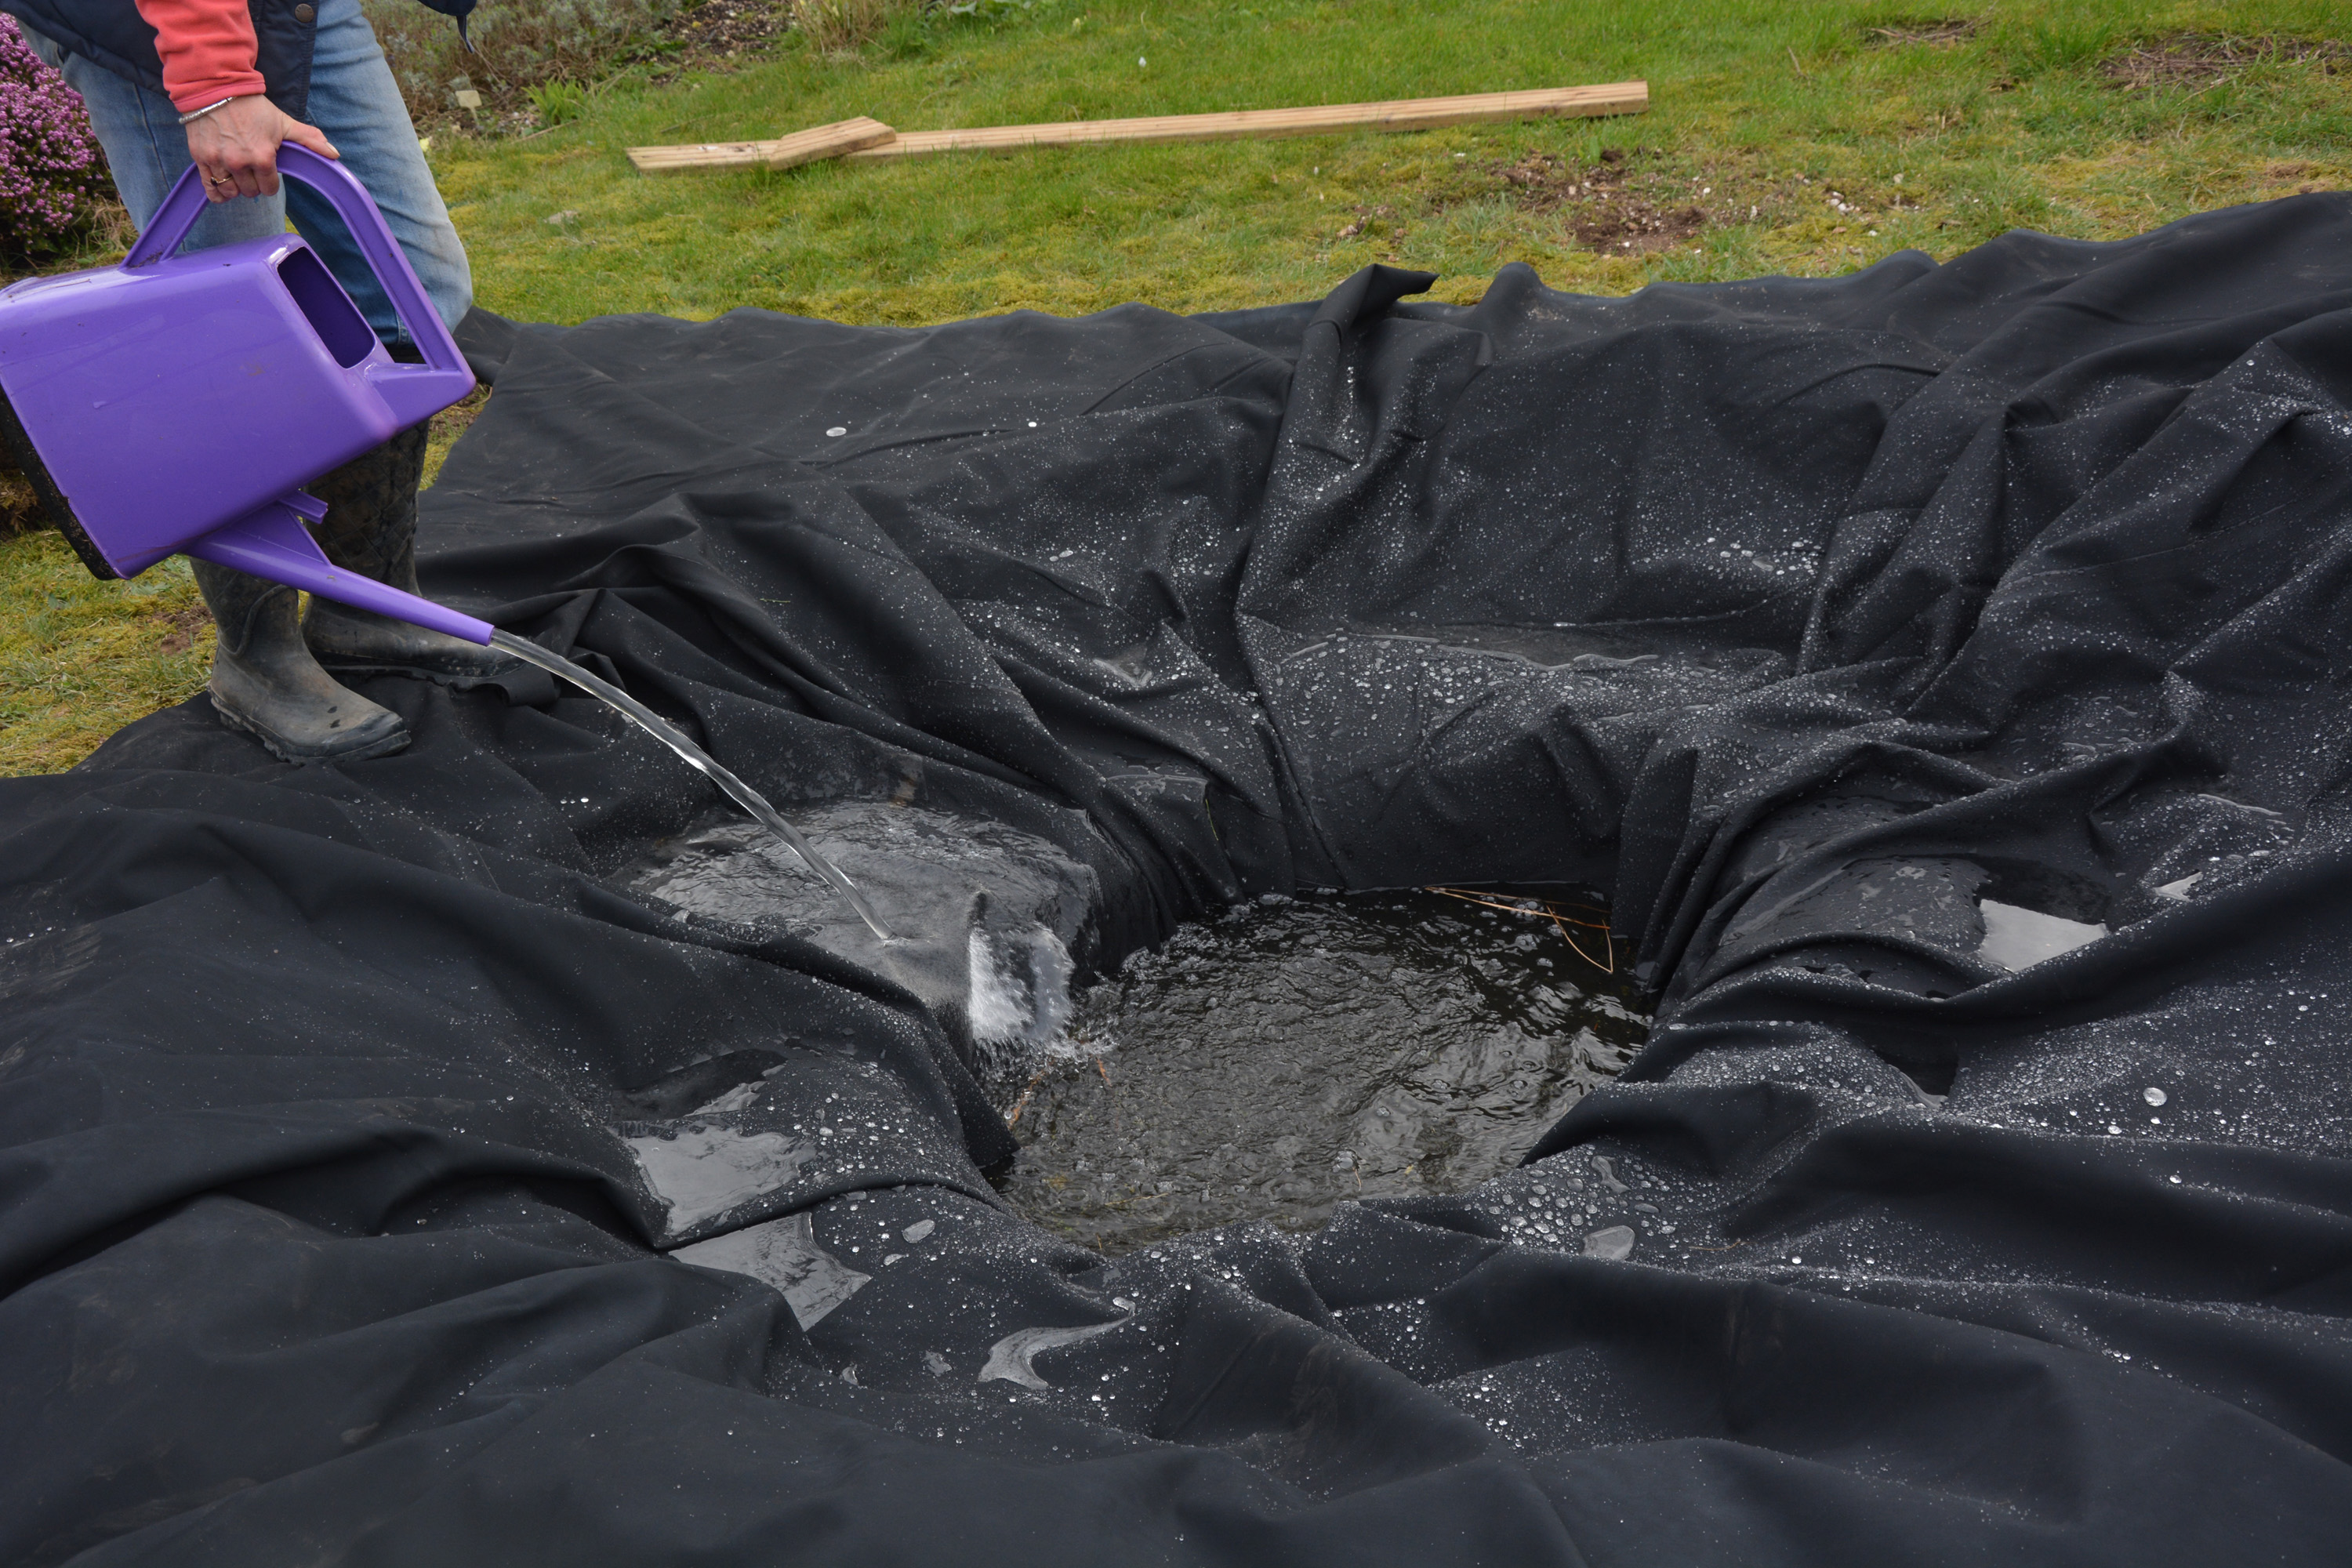
'More is more' is a good approach when calculating how much flexible lining you'll need. As a general approach, however, take the widest and longest measurements of your pond to work out an initial area measurement, double it due to the depth, then add another 15-30cm for the edges to be tucked under turf or laid under paving or similar to ensure it's firmly held in place.
You should also deploy an underlayer first (these are easy to get hold of) as this will protect the lining from being punctured or damaged. You can also line the hole with sand first too (I remember doing this in my family home when I was young), particularly if you have stony soil.
Next, drape your liner into the hole carefully, but not exactly, pushing into the shape of your pond (though the water filling will do most of this work) and then keep it in position with weights around the edge as you slowly fill your pond with water. This is an exciting step as your pond will take shape, and you can help the process along by occasionally lifting off your weights to allow the liner to shift under the weight of the water and fit into the nooks and crannies of the hole. You will have to deal with some folds in the liner but just take care of these neatly.
When the pond is filled to your liking, cut off any masses of excess liner, though keep some as mentioned above for stability so it can be pinned and kept in place. If a formal pond is being constructed with brick or concrete walls, you can still line it with a flexible liner: just incorporate the liner into construction and have it tucked into the hard landscaping where appropriate.
Step five: edging your garden pond
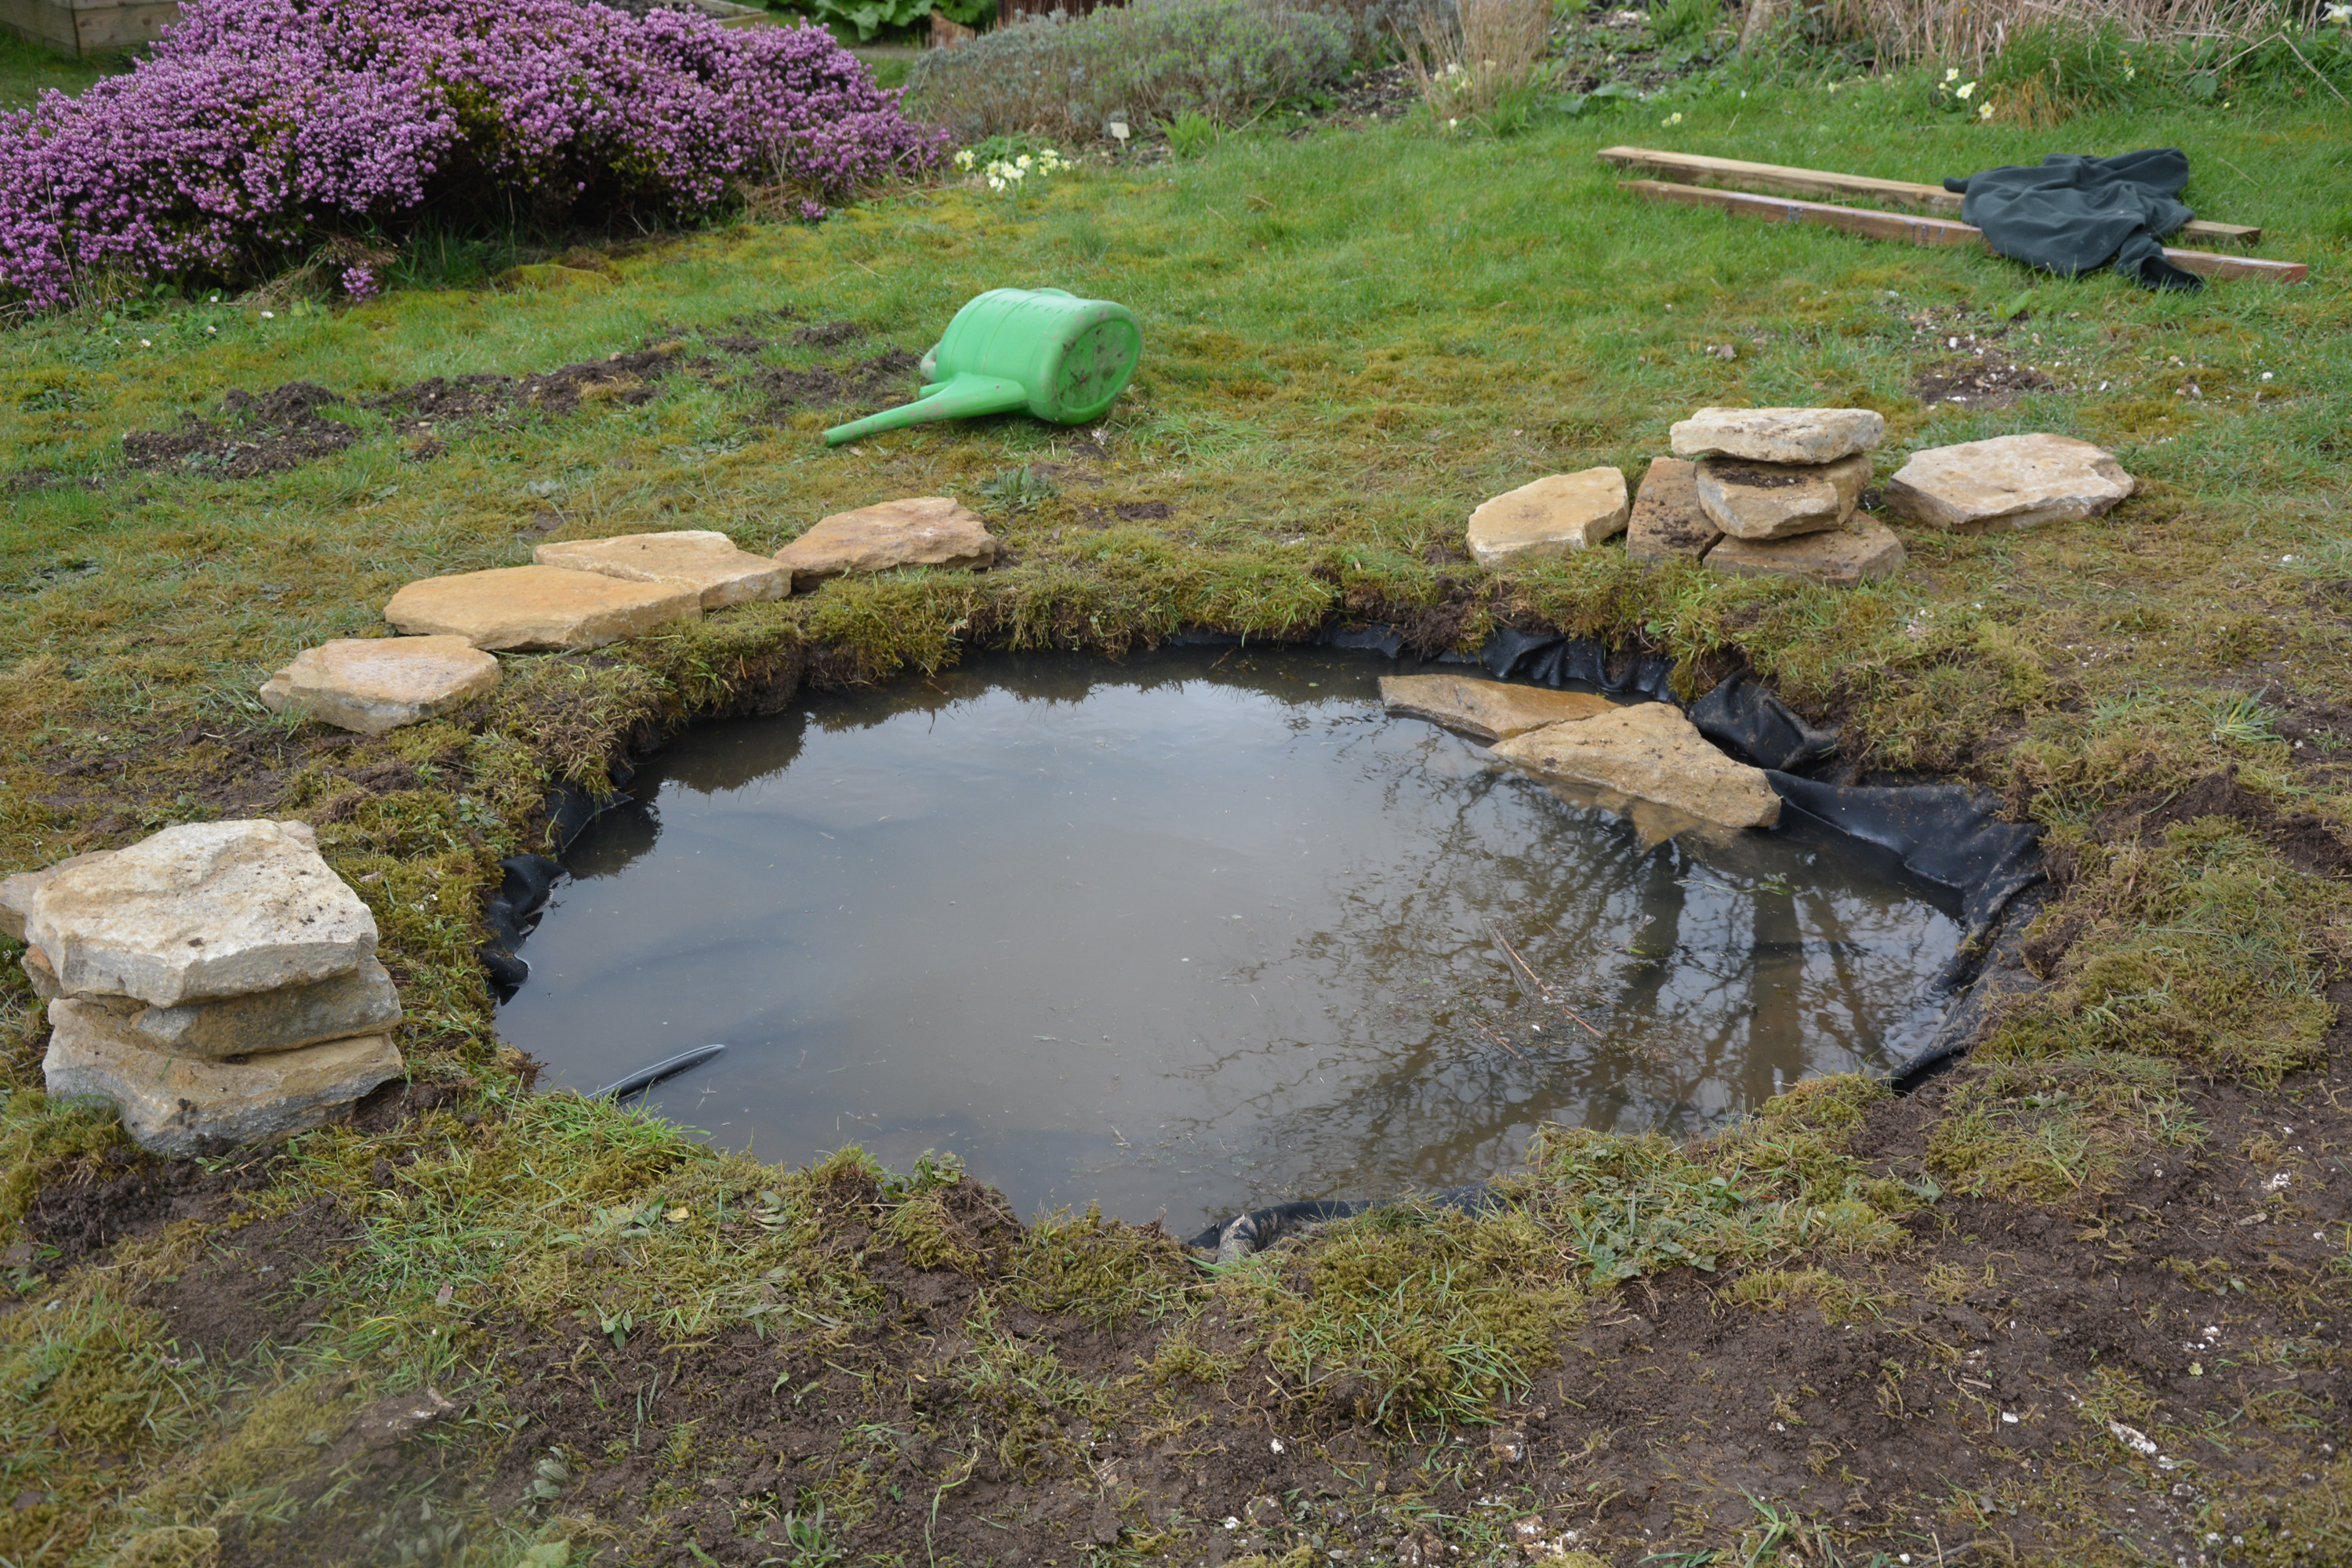
Now that the pond is filled you'll want to complete the work by taking care of the edges and preparing for plants. Hiding the edge of the lining will be an important job and this can be done by laying it under nearby turf or hard landscaping, but you can also create beach effects with pebbles and boulders, for example, to do the job in an aesthetically pleasing way too. Prepare for the addition of plants by creating shelves to place pots on top of; these can be old bricks or even breeze blocks.
Step six: adding plants to your garden pond
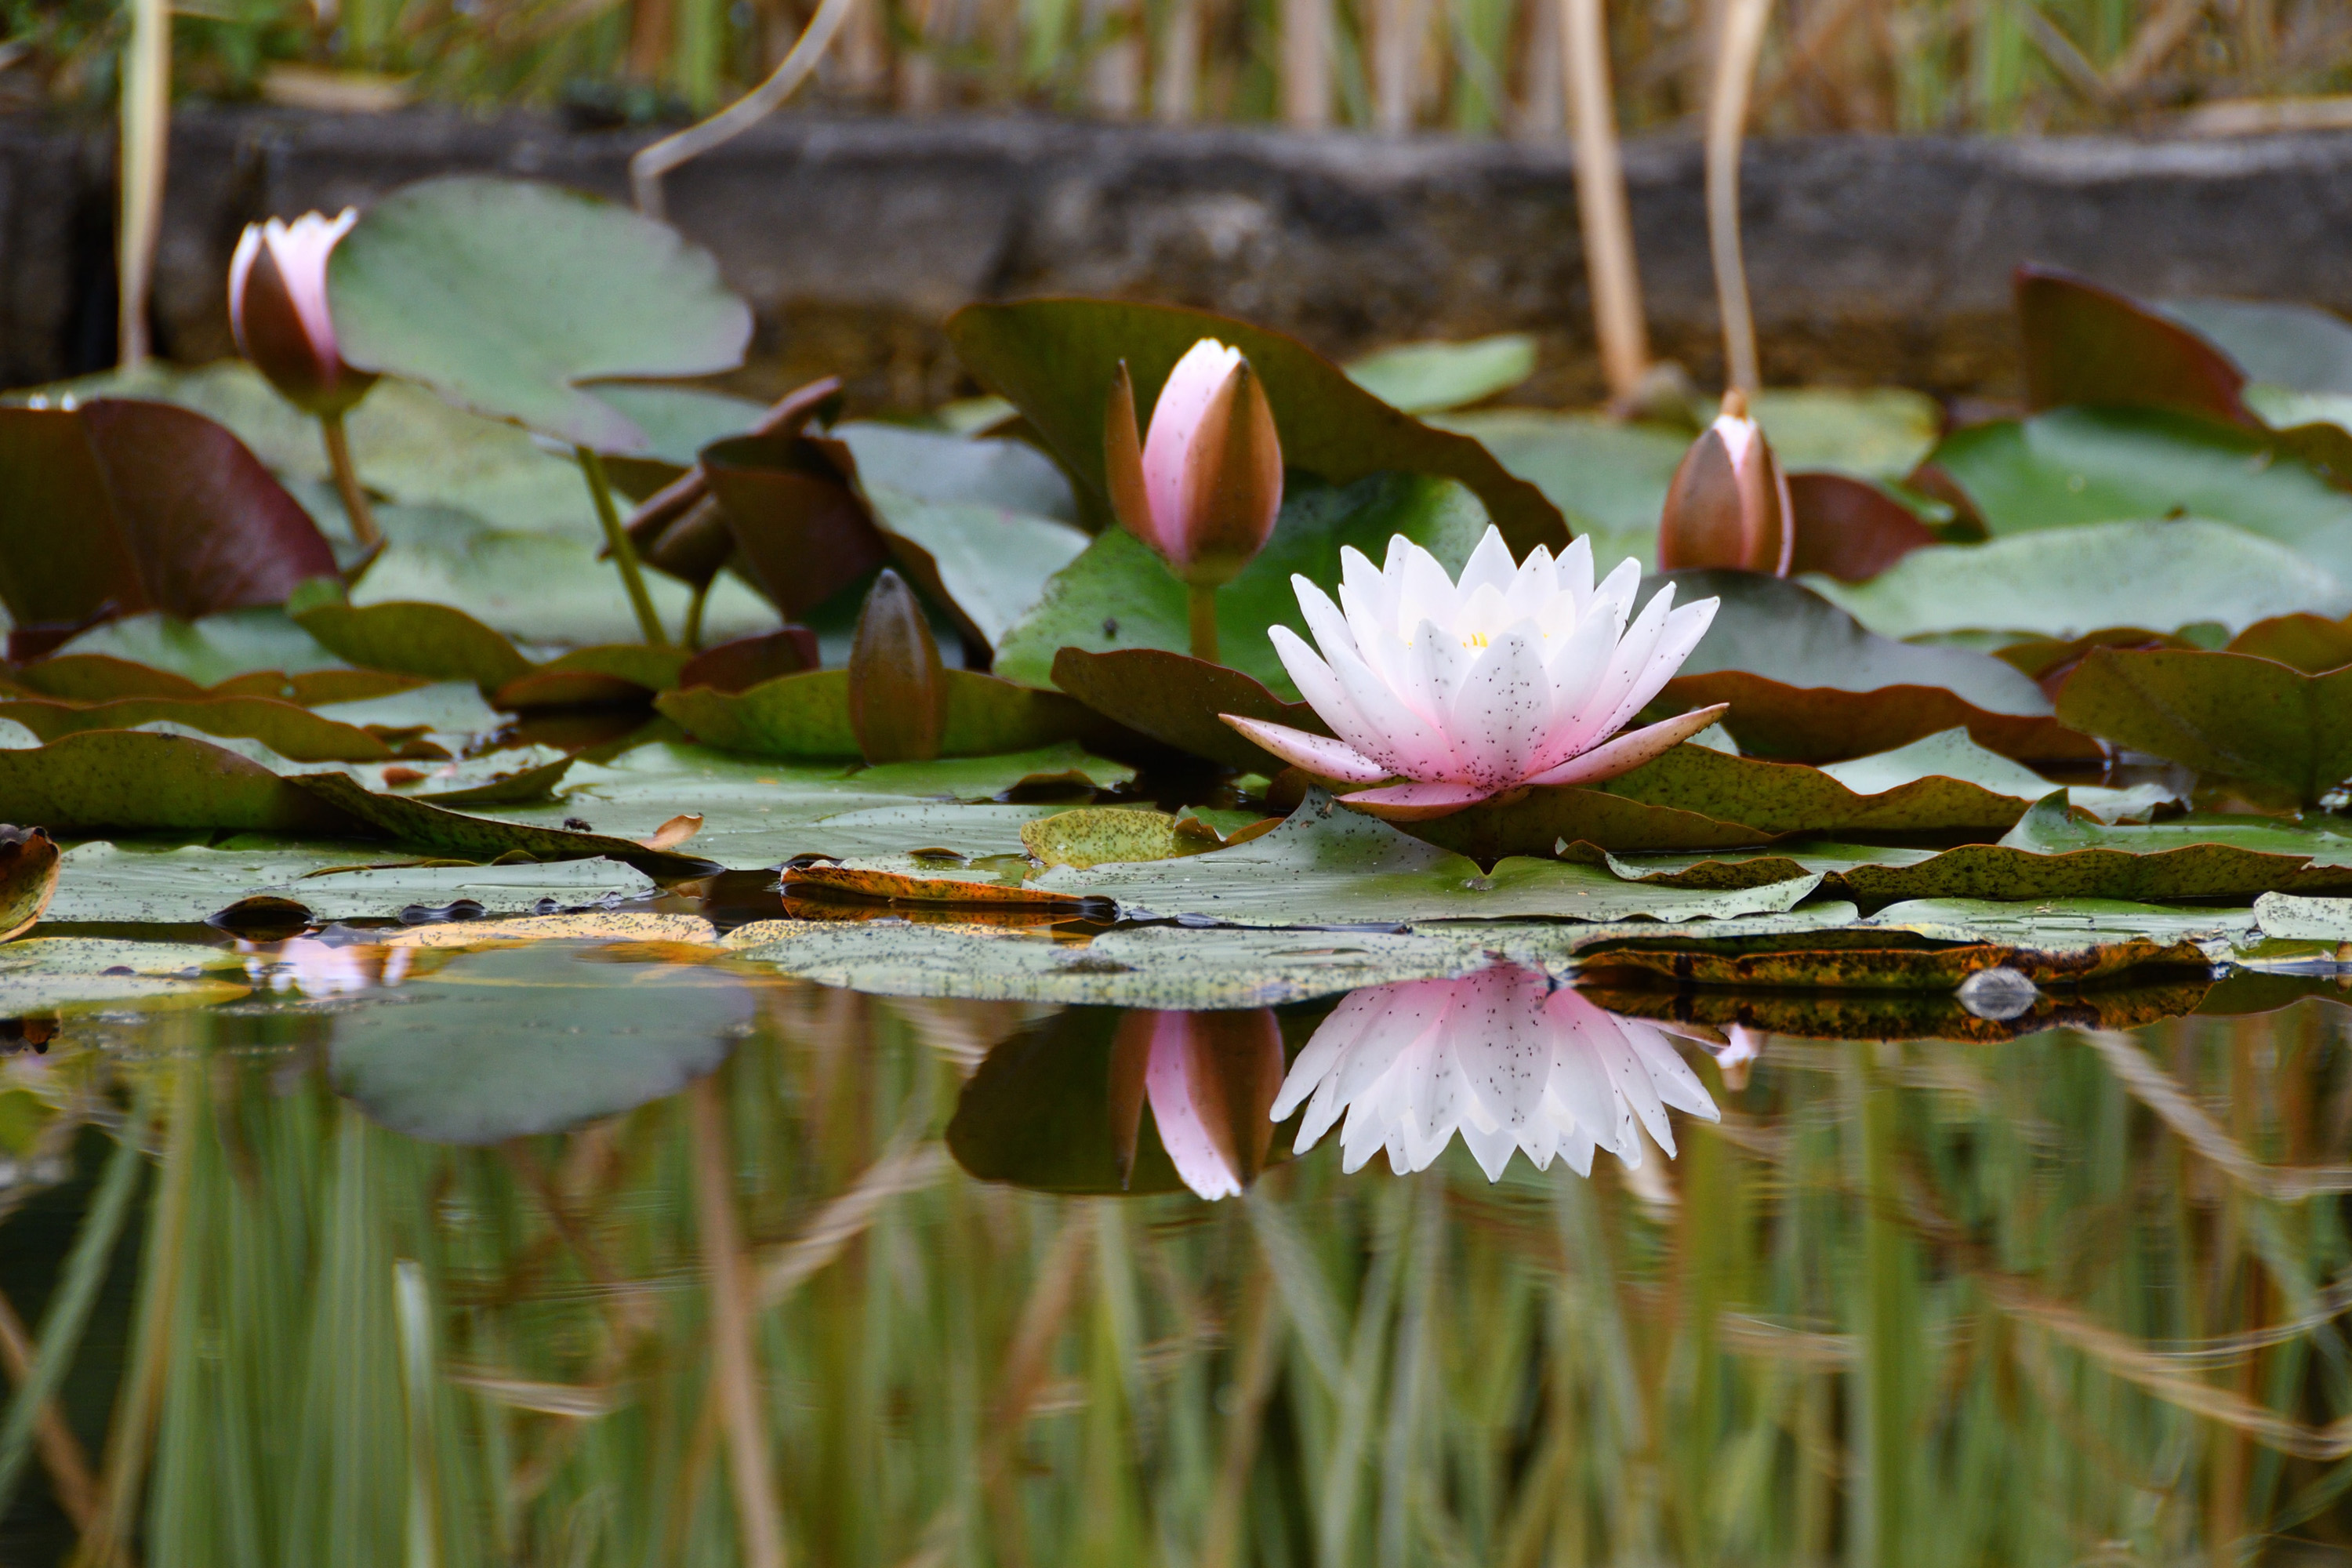
The most important plants you'll want to add initially are oxygenating plants. Something like Elodea canadensis is a great idea here as it will go about its business of oxygenating your pond while not requiring much work. You don't actually need to plant these, just get bunches and keep them submerged through weights, but you will want to keep an eye on it and cut out some of it every year after it has established itself.
More ornamental plants are where you can have some great fun though. Miniature water lilies can fit any pond, but anything larger will require much more space. Water hawthorn is a good one to consider, particularly if your pond is in shade for some of the day. While we all might like the idea of having the massive Gunnera plants in our garden, they are just too vast, so consider Darmera peltata as a more size-appropriate replacement as it evokes a similar form. For something grassy, then Carex elatea 'Aurea' is a lovely sedge plant, and for colour then it's hard to not recommend Iris versicolor, which has wonderful purple flowers in the summer and is tough as nails, surviving even when ponds are frozen solid in winter.
Whatever you choose, ensure everything is in proper aquatic plant pots – square ones are good for formal shapes and circular pots for more natural shapes (as they don't quite fit together making a more natural look) – and ensure the right specialist soil is being used. Don't use garden soil that's fertilised or home compost as this will make the water cloudy and encourage algae growth.
Step seven: introduce the finishing touches to your garden pond
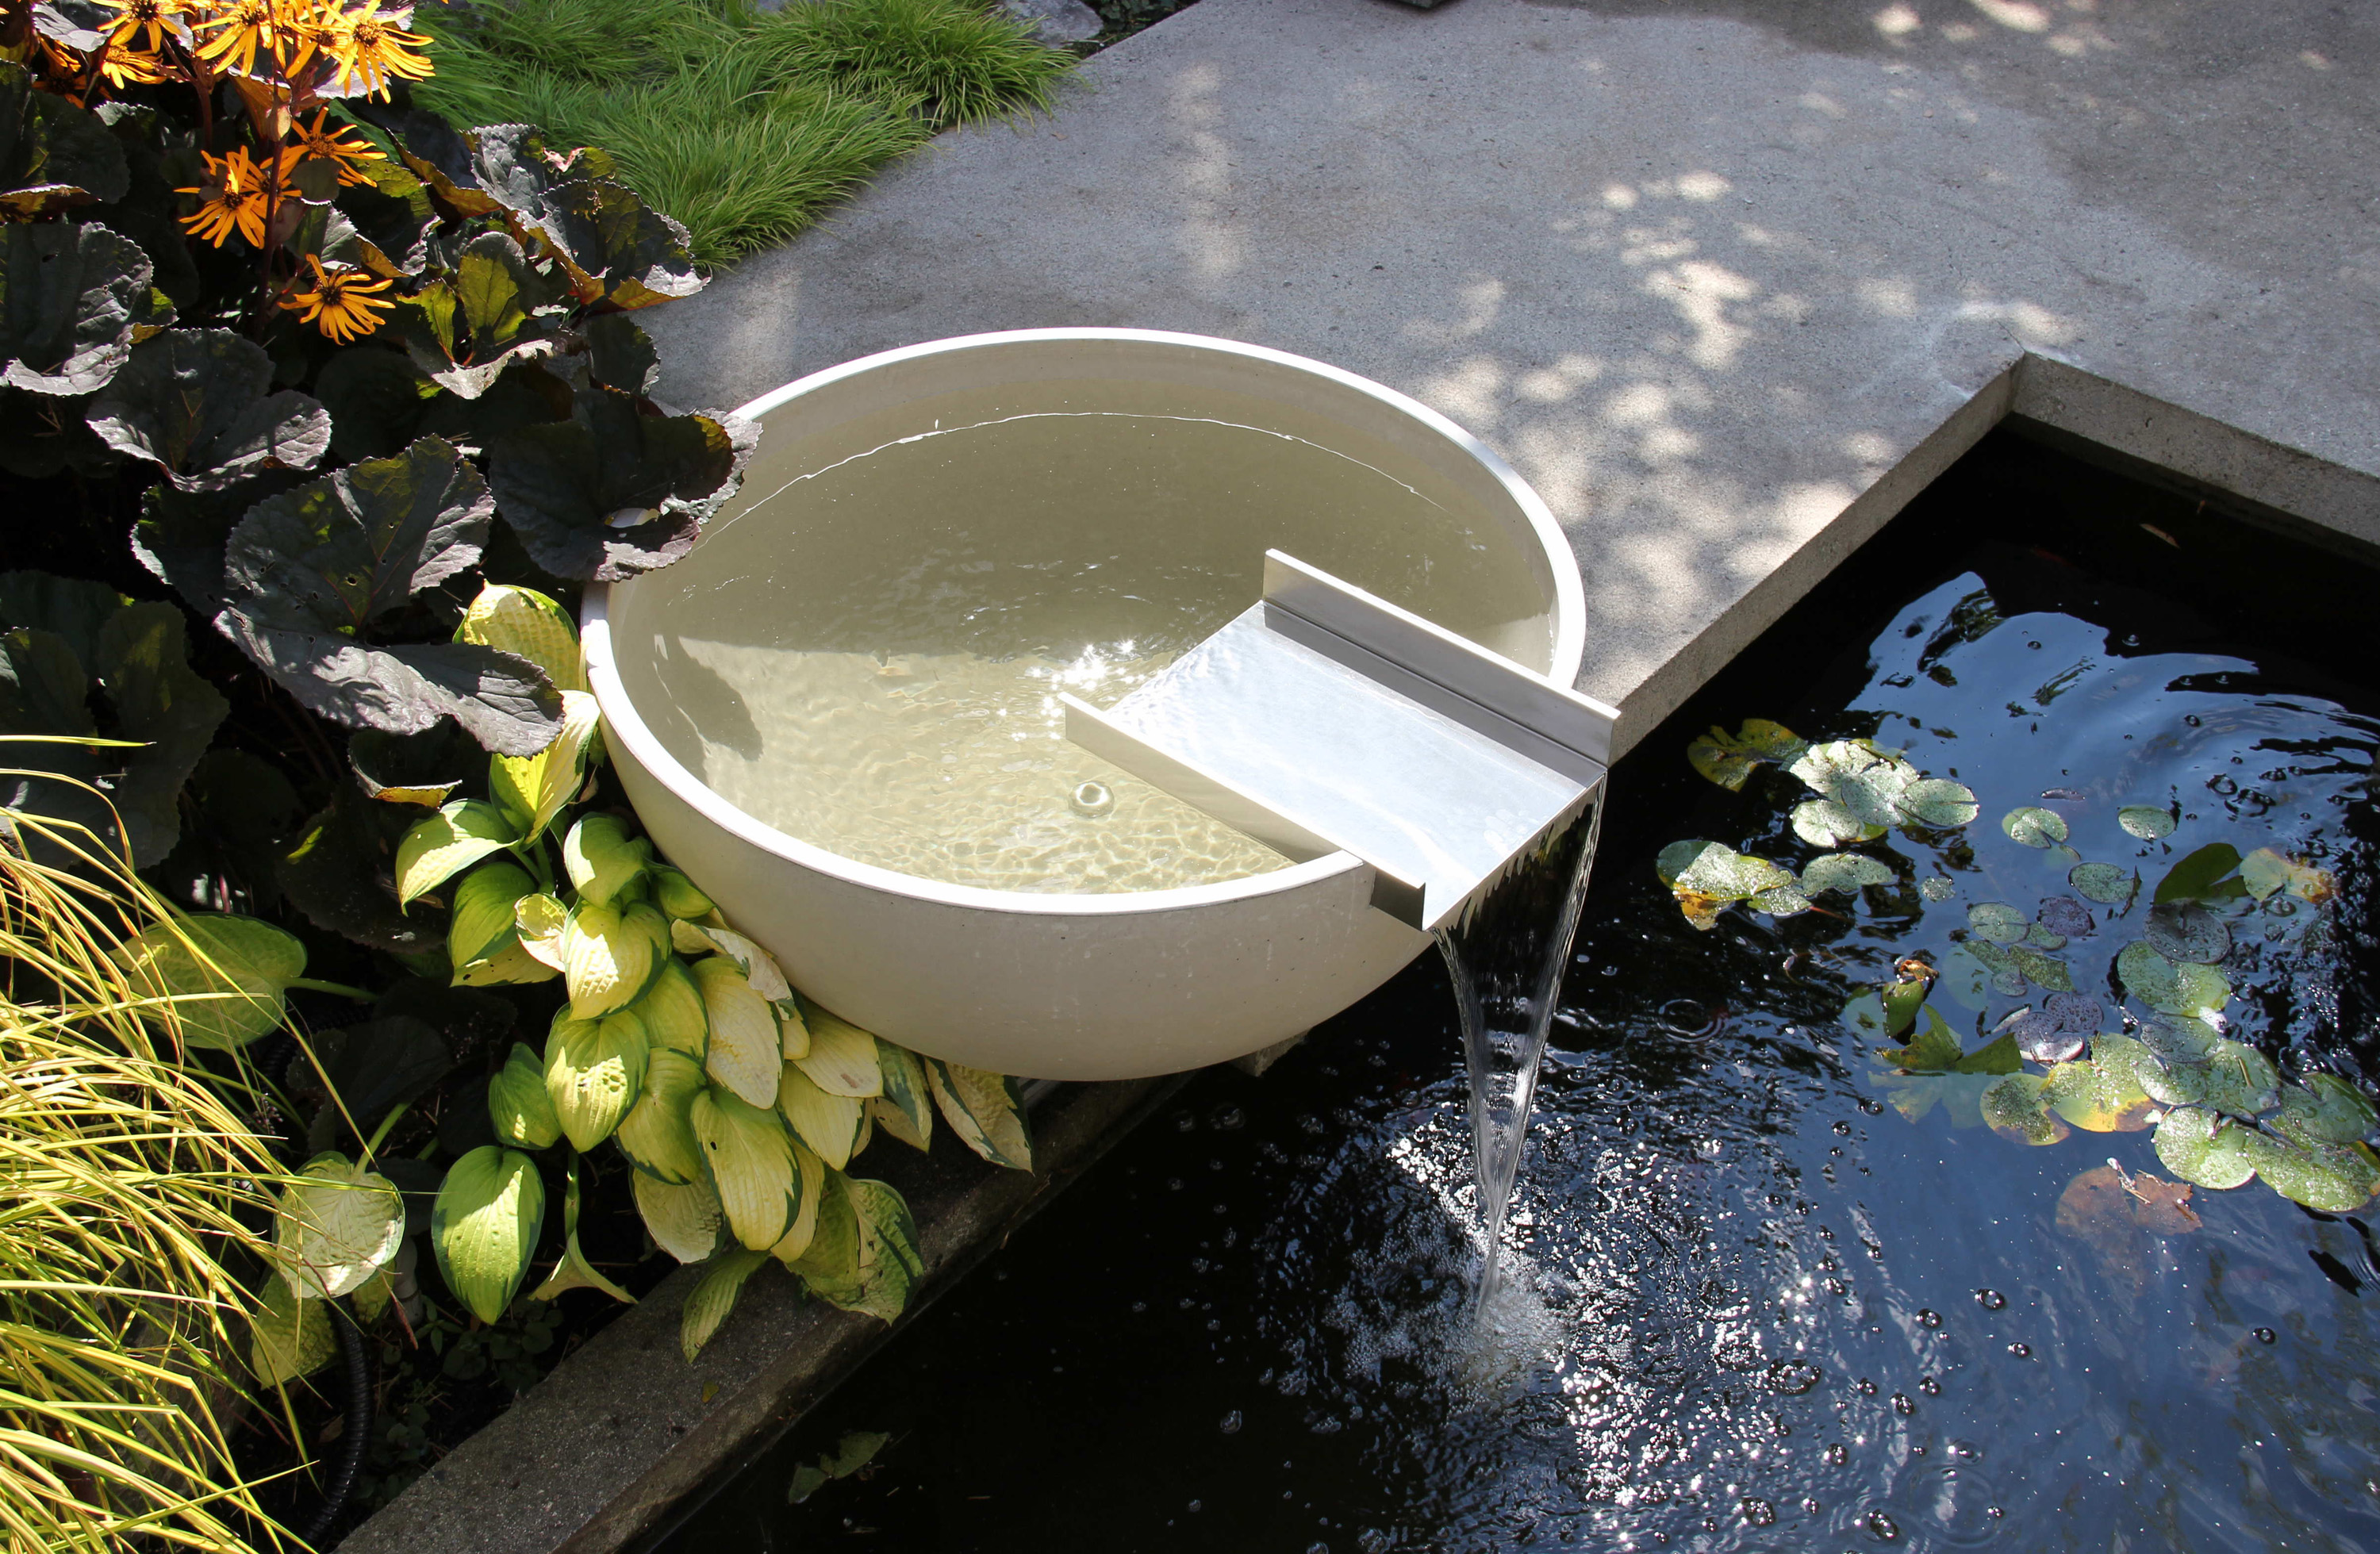
For many, a water feature is not finished without the sound of bubbling or falling water. And not only is the sensory benefit wonderful from fountains and waterfalls, but the action of falling water is great for oxygenating the pond. If you're searching for water feature ideas, a fountain can be as simple as a pre-built, all in one feature, or a pump and concealed spout that just needs to be submerged – or you can construct something extra big if you fancy the job. As long as the right volume or size of pump is incorporated then the desired effect will be achieved.
You will need to be conscious of plants, however, when introducing moving water: water lilies, for example, do not like moving water generally so take this into consideration. Elsewhere you could keep safety in mind by adding a mesh or sturdy netting cover for extra safety.
Read more:
- Garden design ideas for every space
- Raised beds: your complete guide to getting started
- The best bee-friendly plants to encourage pollinators

Rob Dwiar has qualifications in, and professional experience as both a landscape and garden designer. He has also won an RHS gold medal. He has contributed to a wide range of gardening publications, including the Royal Horticultural Society's magazine, and is also a garden contributor for Homebuilding & Renovating magazine and Gardeningetc.

