How to grow microgreens indoors for a tiny windowsill vegetable garden
Learning how to grow microgreens indoors couldn't be easier. And they can be ready for eating just a week after planting!

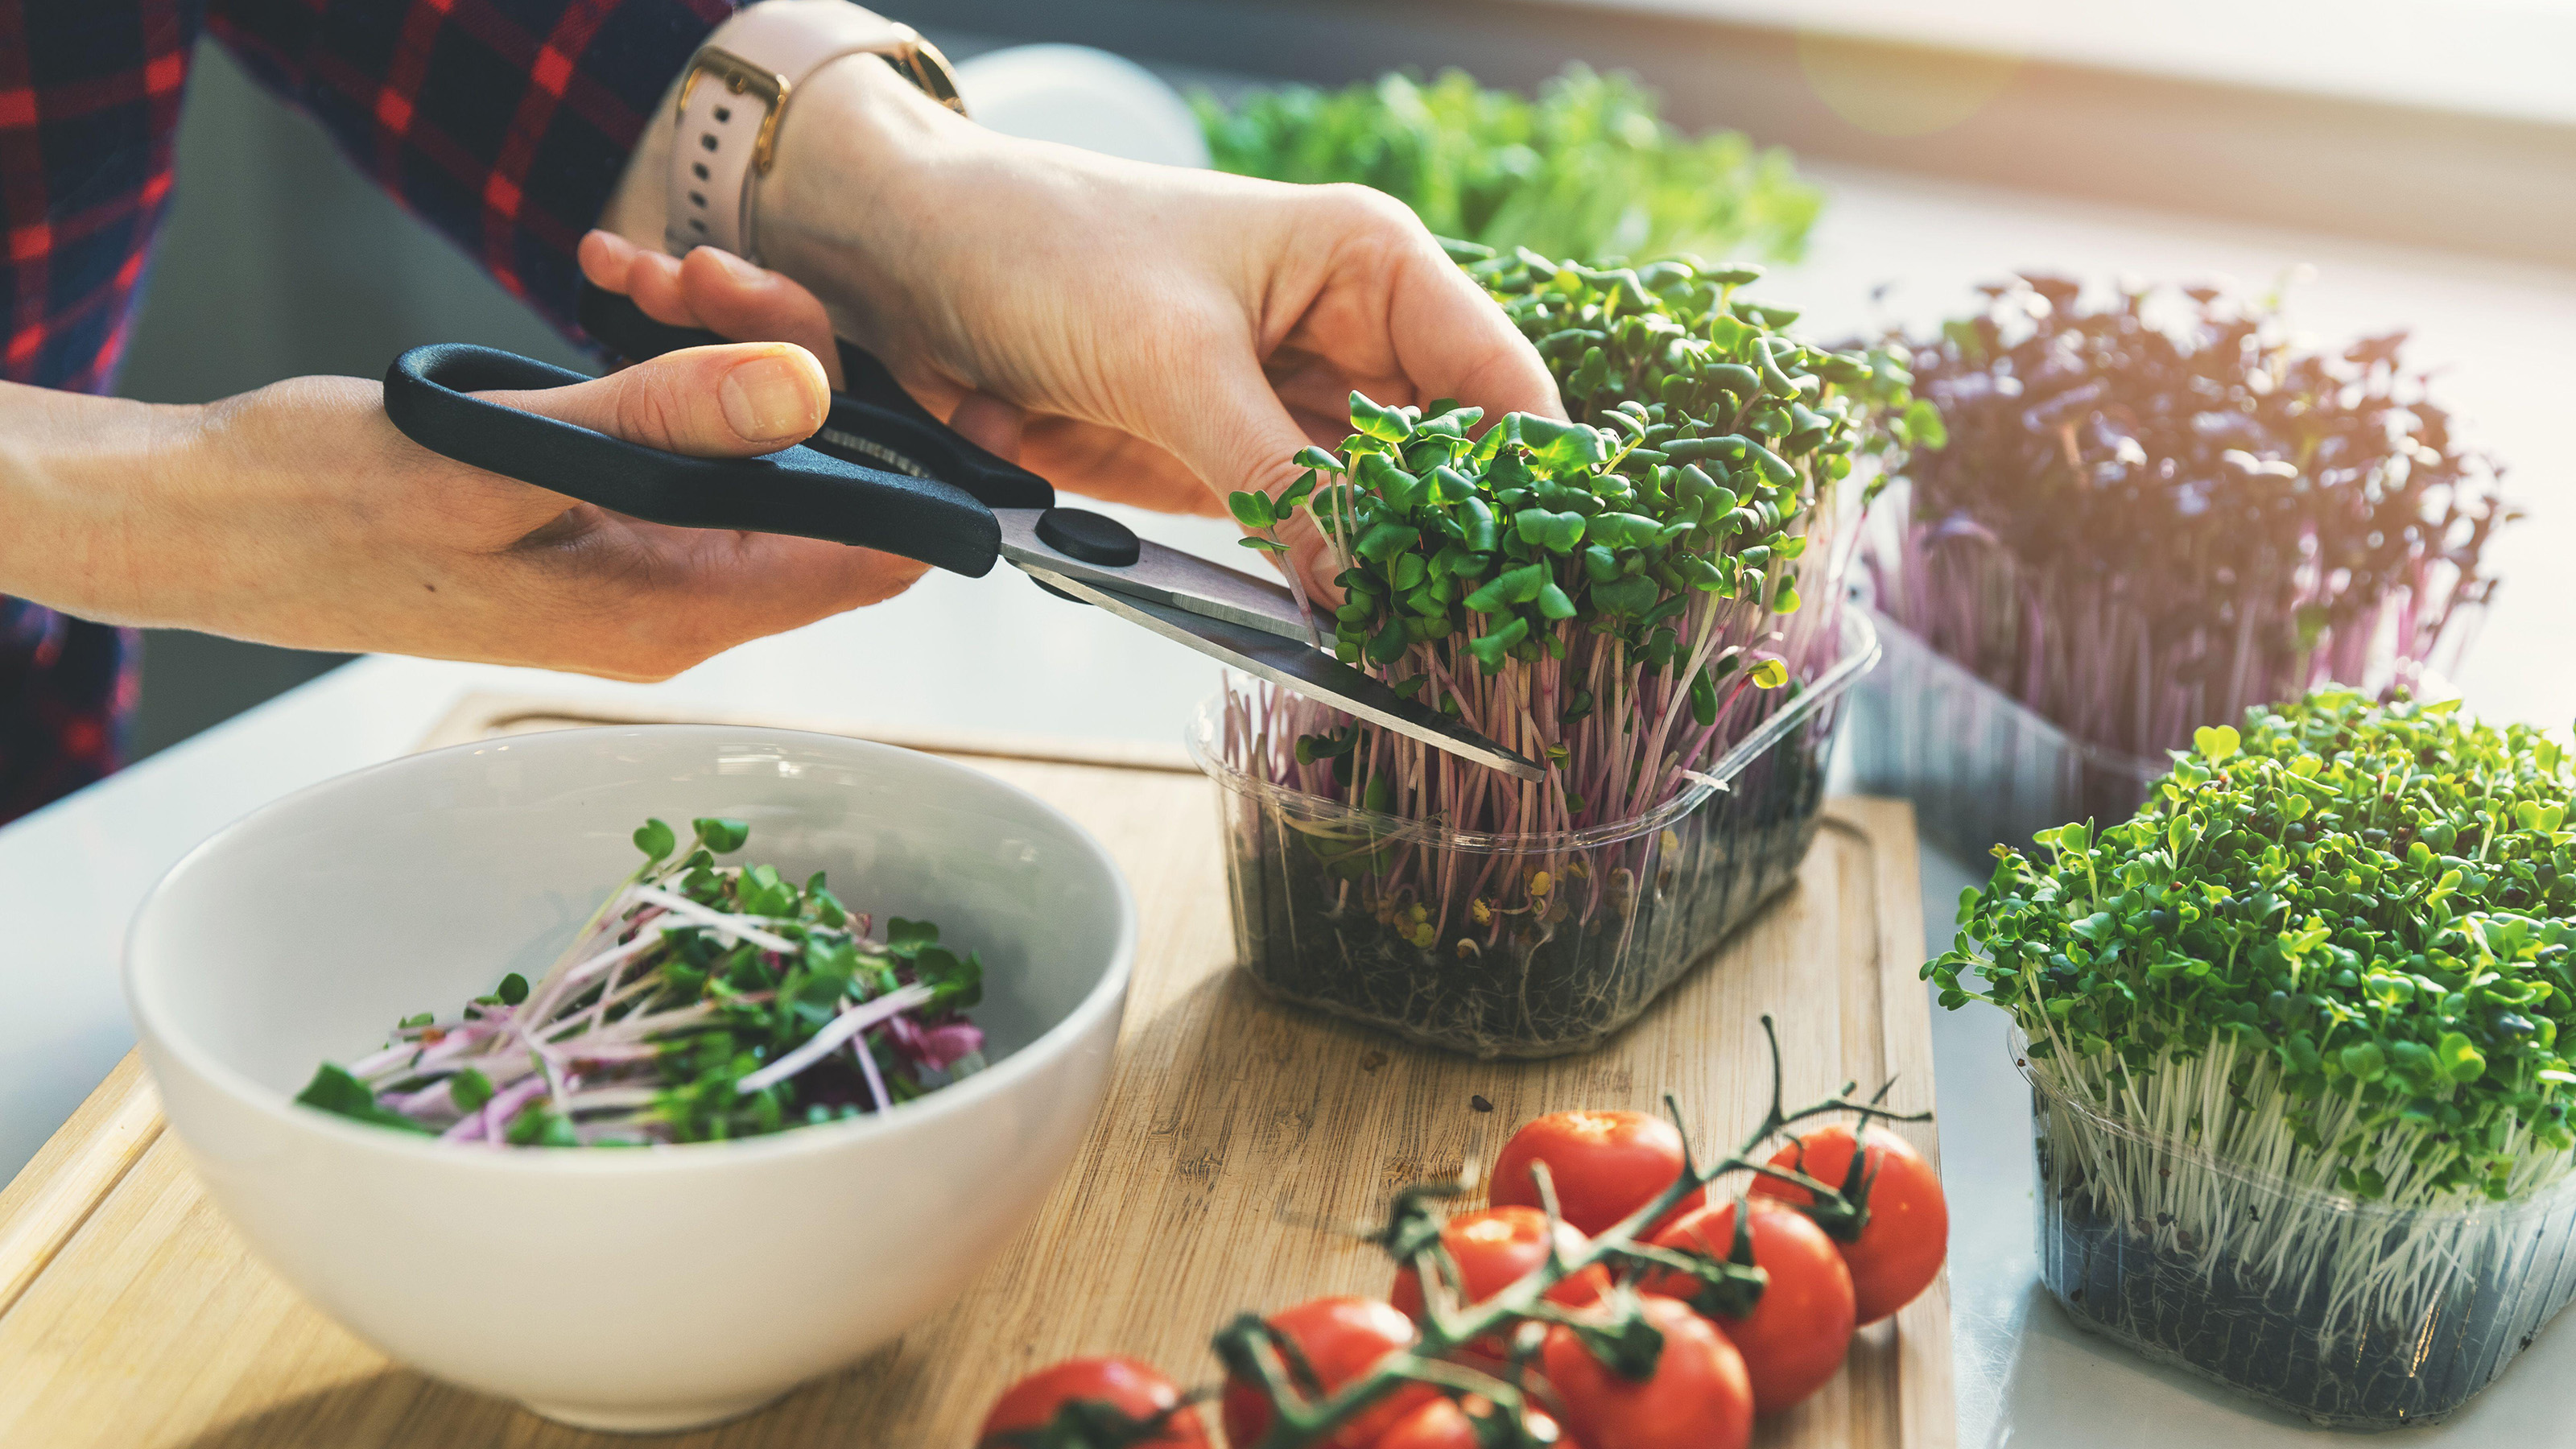
Learn how to grow microgreens indoors for seedlings of edible leafy greens, herbs and vegetables. They are ready to be snipped off just above the soil, after as little as a week after germination.
They're the perfect crop for the indoor gardener as you can grow lots of them in a small space, are almost fool-proof to cultivate and take hardly any time at all. Not to mention they make a great fall or winter gardening project as they can be grown indoors all year round.
They make ideal indoor plants for foodies, as not only are they versatile – you can use them in salads, soups and sandwiches, as well as a gorgeous garnish – they'll brighten up your windowsill with dense clumps of bright foliage.
An unbelievable amount of vitamins and goodness are packed into these tiny veggies too. According to an article by the US Department of Agriculture, a study they looked at found that in general, microgreens 'contained considerably higher levels of vitamins and carotenoids – about five times greater – than their mature plant counterparts.’
Considering how quick and easy they are to grow, there really is no reason that we shouldn't all be learning how to grow microgreens indoors for a year-round supply.
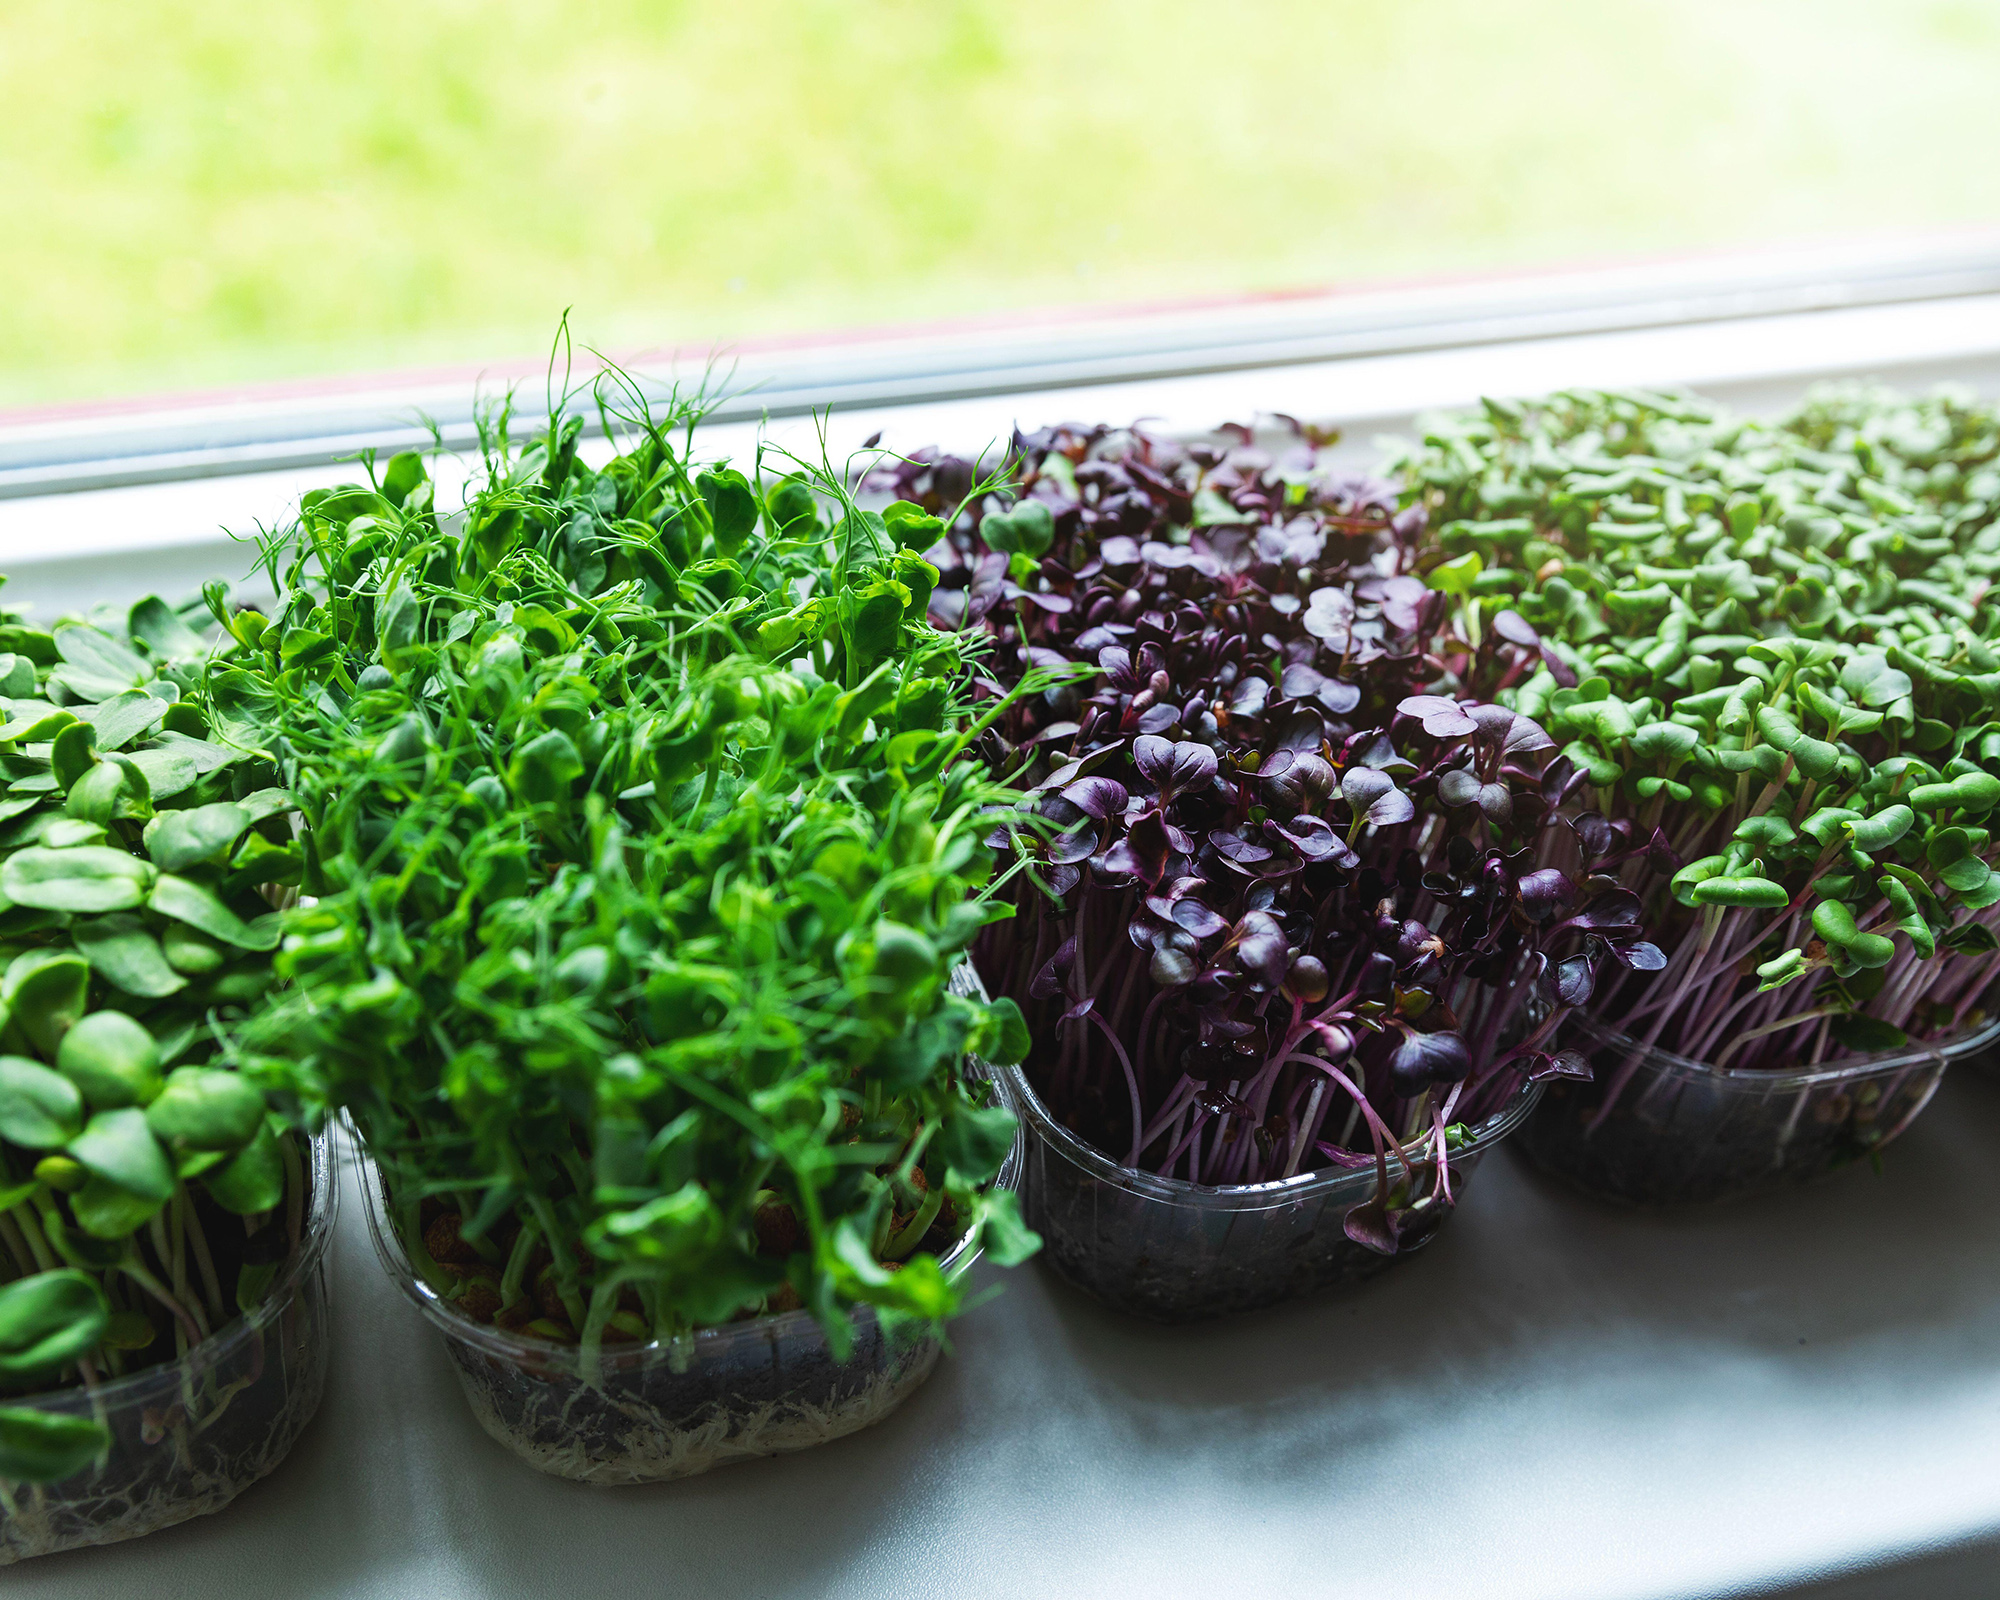
A windowsill is all the space you need for growing a range of microgreens
Getting started with growing microgreens indoors
The other great thing about discovering how to microgreens indoors, is that so long as you have a sunny windowsill where they can get enough light, you can start to grow them indoors whenever you like.
And you don’t need fancy or expensive equipment, making them ideal low maintenance indoor plants. Here is a list of everything you need for growing the best microgreens indoors:
- A container: almost any shallow tray will do, so long as it’s about 1-2in (2.5-5cm) deep and has some small holes in the bottom for drainage. You can buy seed trays but repurposed food containers, takeaway boxes or pie tins, are ideal vessels for your new indoor garden. Just punch a few small holes in the bottom. Some committed indoor gardeners use lengths of guttering with the open ends gaffer-taped up.
- Peat-free compost: ideally organic or other growing medium, such as coconut coir
- Seeds: try microgreen seed packs, available at Amazon
- Watering can: small, with a rose with fine holes
- Plant mister: readily available at Amazon
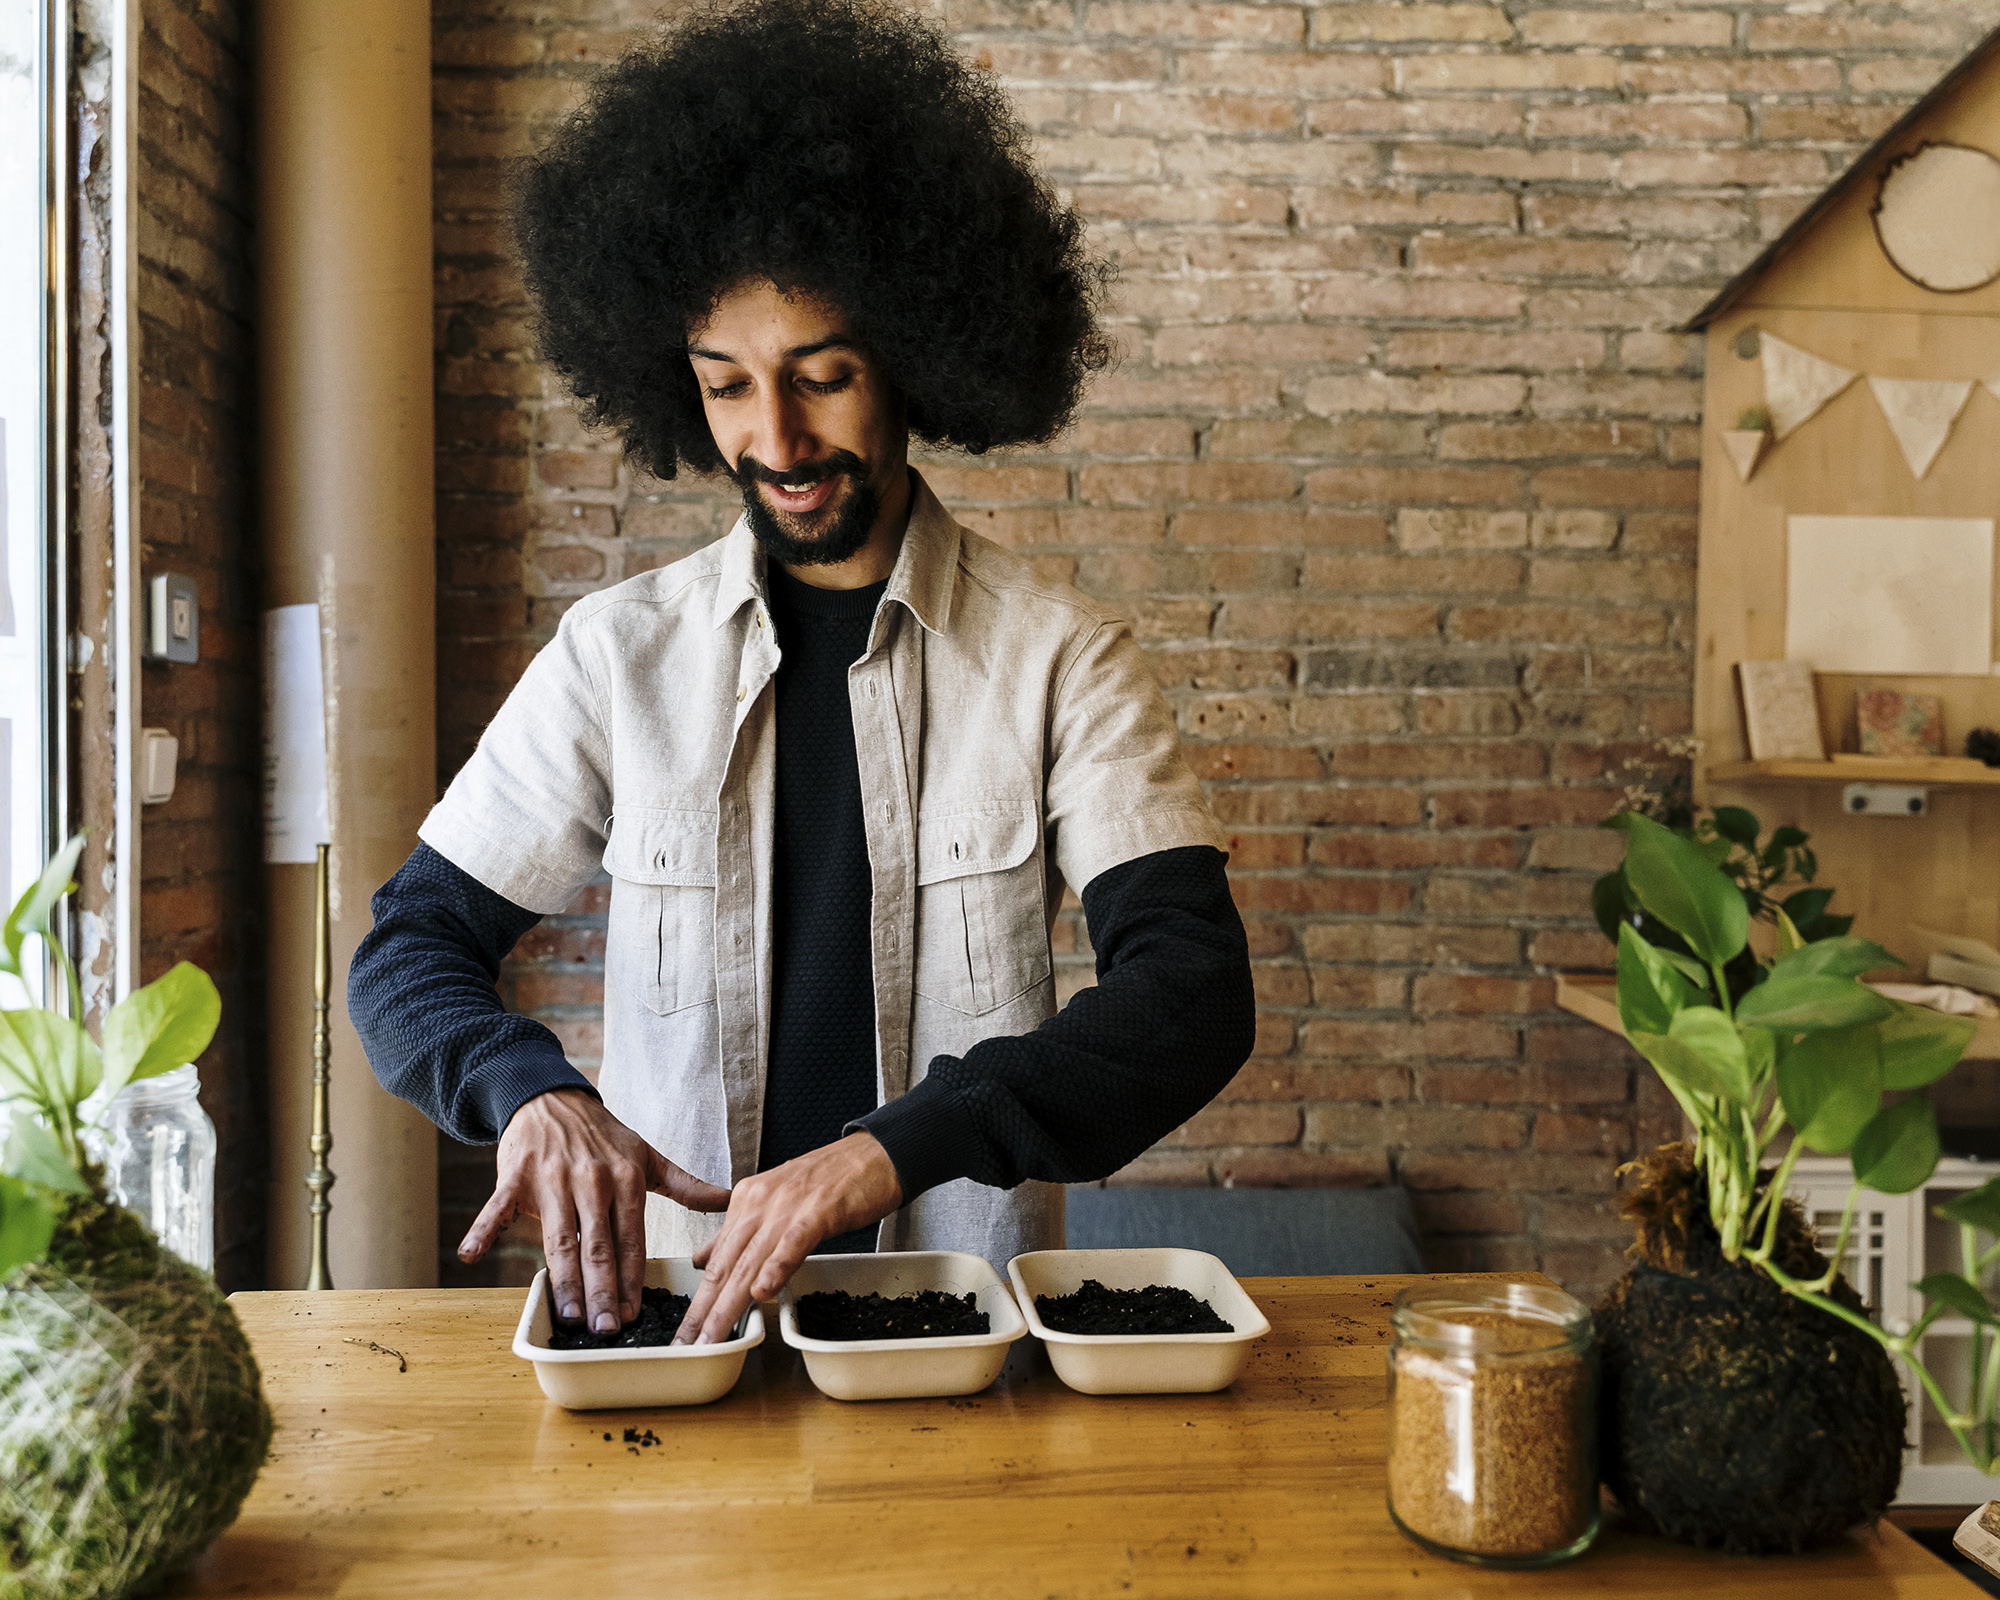
A depth of just over an inch of potting compost will be sufficient for growing microgreens
How to grow microgreens indoors in 6 easy steps
- If you are growing larger seeds – such as peas, sunflower seeds, mung beans – it can be helpful to give them a head start by soaking them in water overnight.
- Fill your clean, dry container with compost or coir sheet to a depth of a little over 1in (2.5cm), lightly patting down to give a firm, even surface.
- Very gently water your compost with your fine rose watering can so it is damp but not completely saturated.
- Sprinkle the seeds over the surface, aiming for a generous and even coverage. Because your plants will be harvested when they are still small, the seeds can be sown closer together than if you were growing them outdoors to full size.
- If you are using small seeds, a light sprinkle of compost over the top will help to hold them in place.
- Put your trays of microgreen seeds on a sunny windowsill, misting them once or twice a day depending on the climate where you live. Just like bigger indoor plants such as calathea and orchids, they like a boost of humidity, but this will also give them the moisture they need to grow.
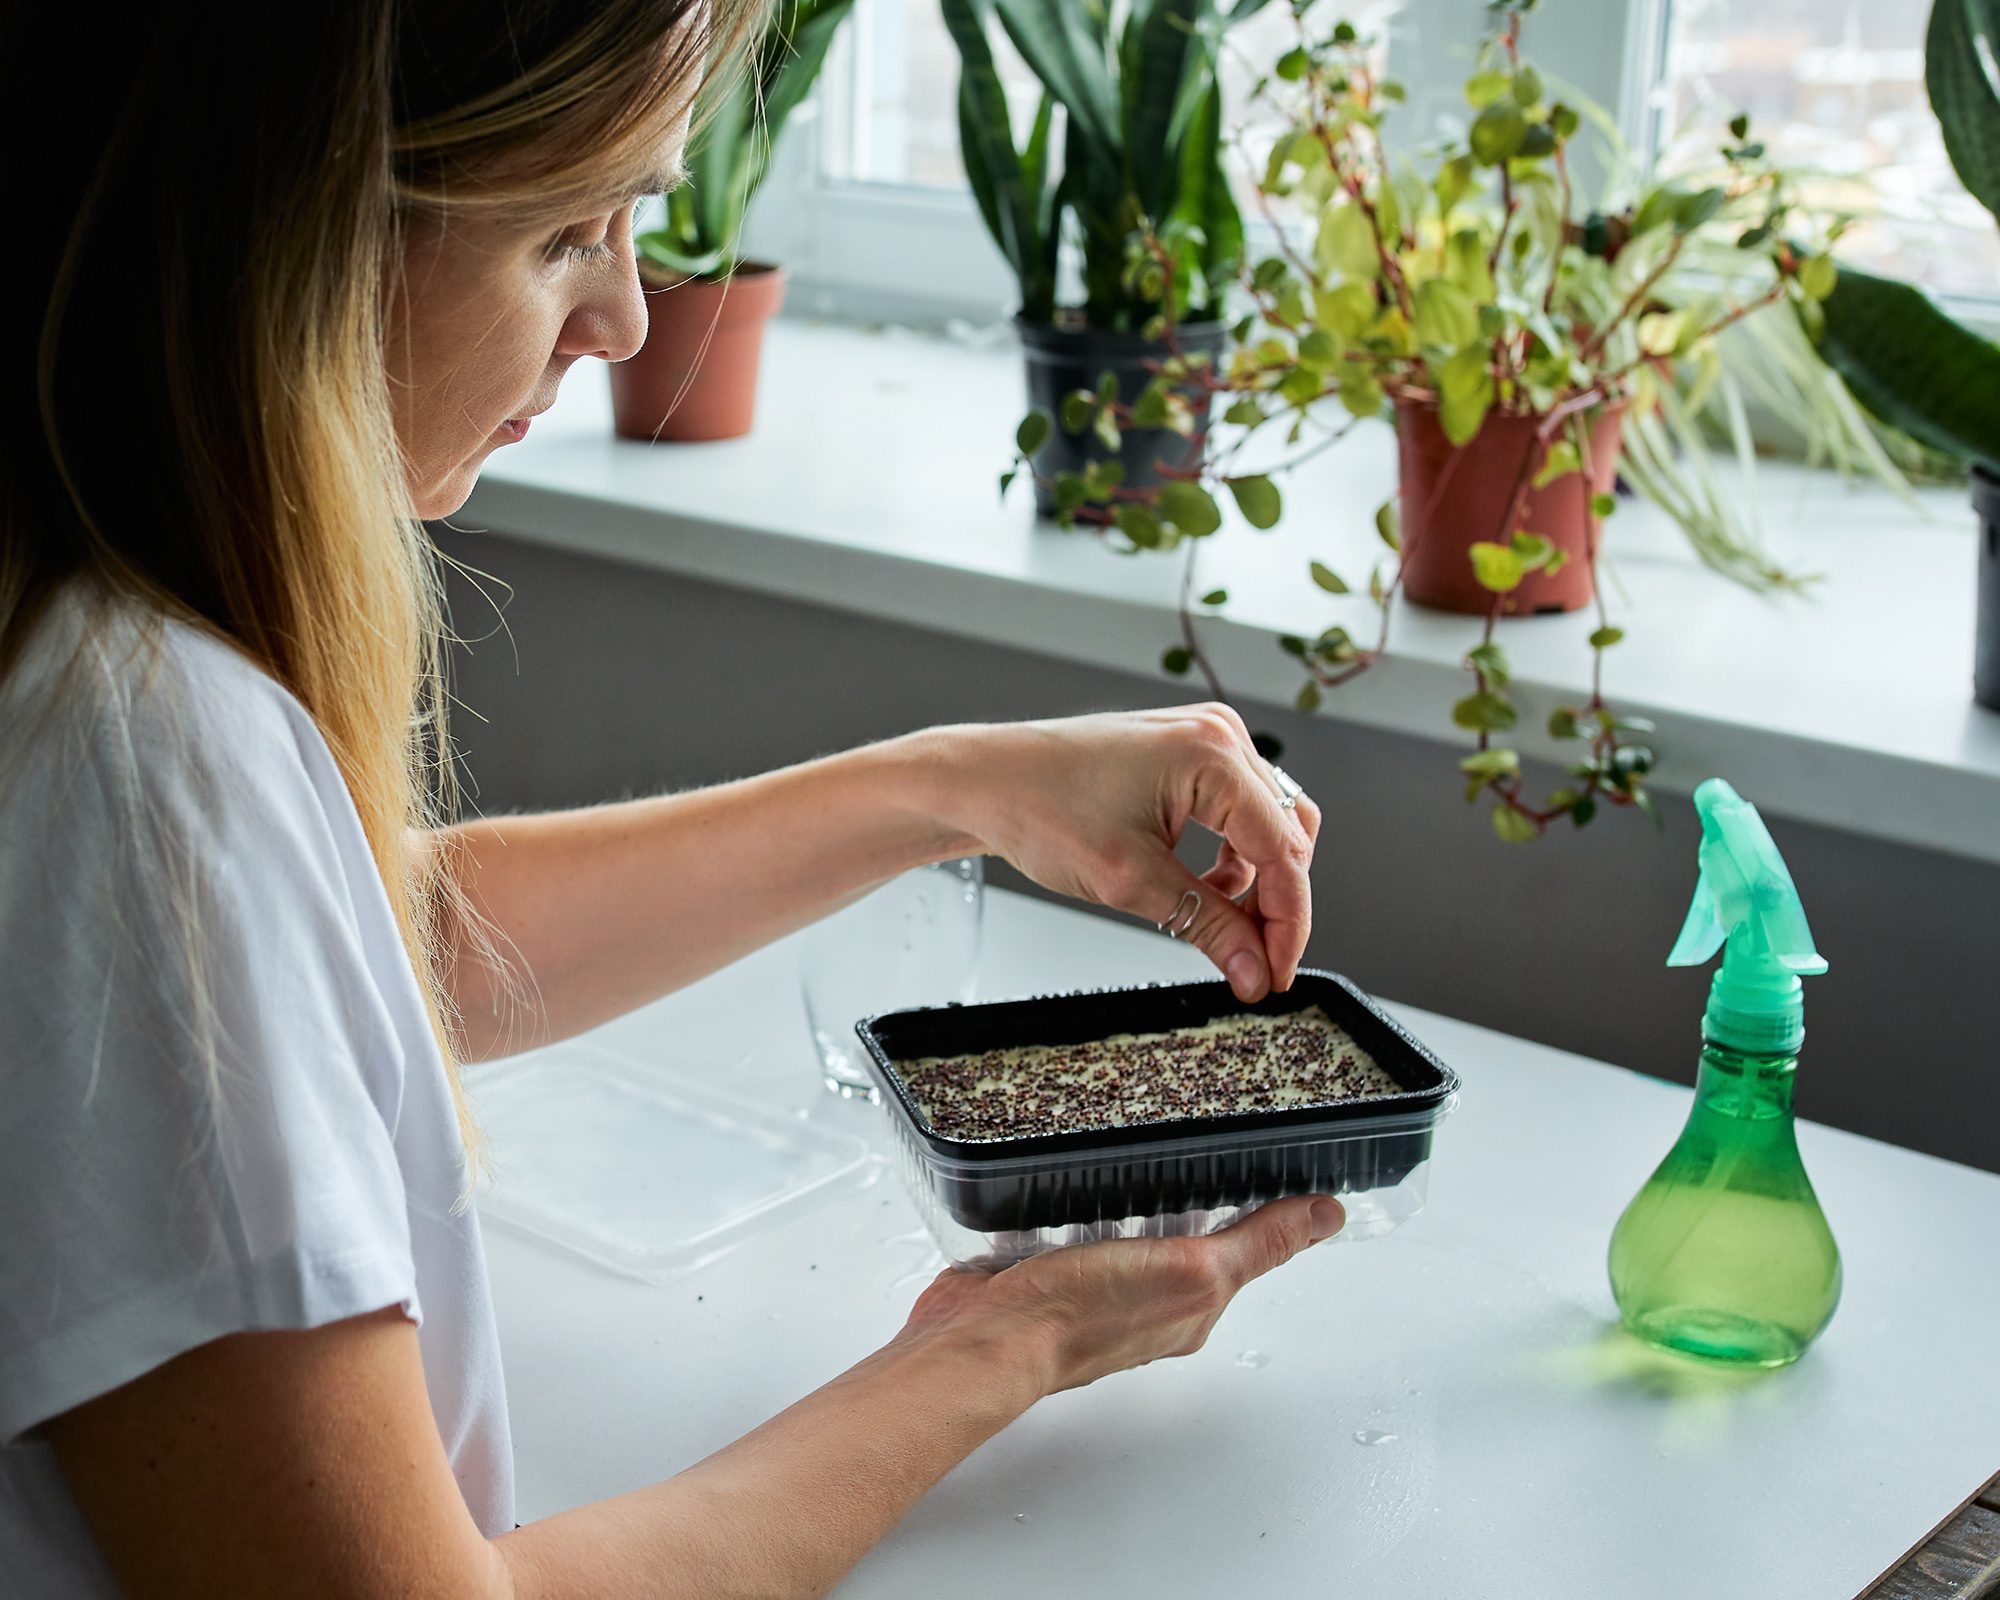
Sprinkle seeds evenly and generously across the surface of your compost
How to care for microgreens
As with all indoor plants, from spider plants to snake plants, all your microgreens really need to thrive is the right amount of water and sunlight. Make sure the growing medium never completely dries out, but also try to ensure there is enough airflow, and they are not sitting in wet compost all the time.
Good ventilation is important – if you notice any mold appearing around the base of the seedlings, then too much humidity is usually to blame. You can usually pull out the affected seedlings at the first sign of trouble and increase the ventilation.
They aren't low light indoor plants but direct, hot sun will toast the delicate little plants. So just make sure they have just enough light to encourage them to germinate and grow into healthy seedings.
When your seedlings appear and start to get bigger, you might want to switch from misting the soil to a watering can with a fine-holed rose. Just be careful not to flood them or wash them away – their roots are very small!
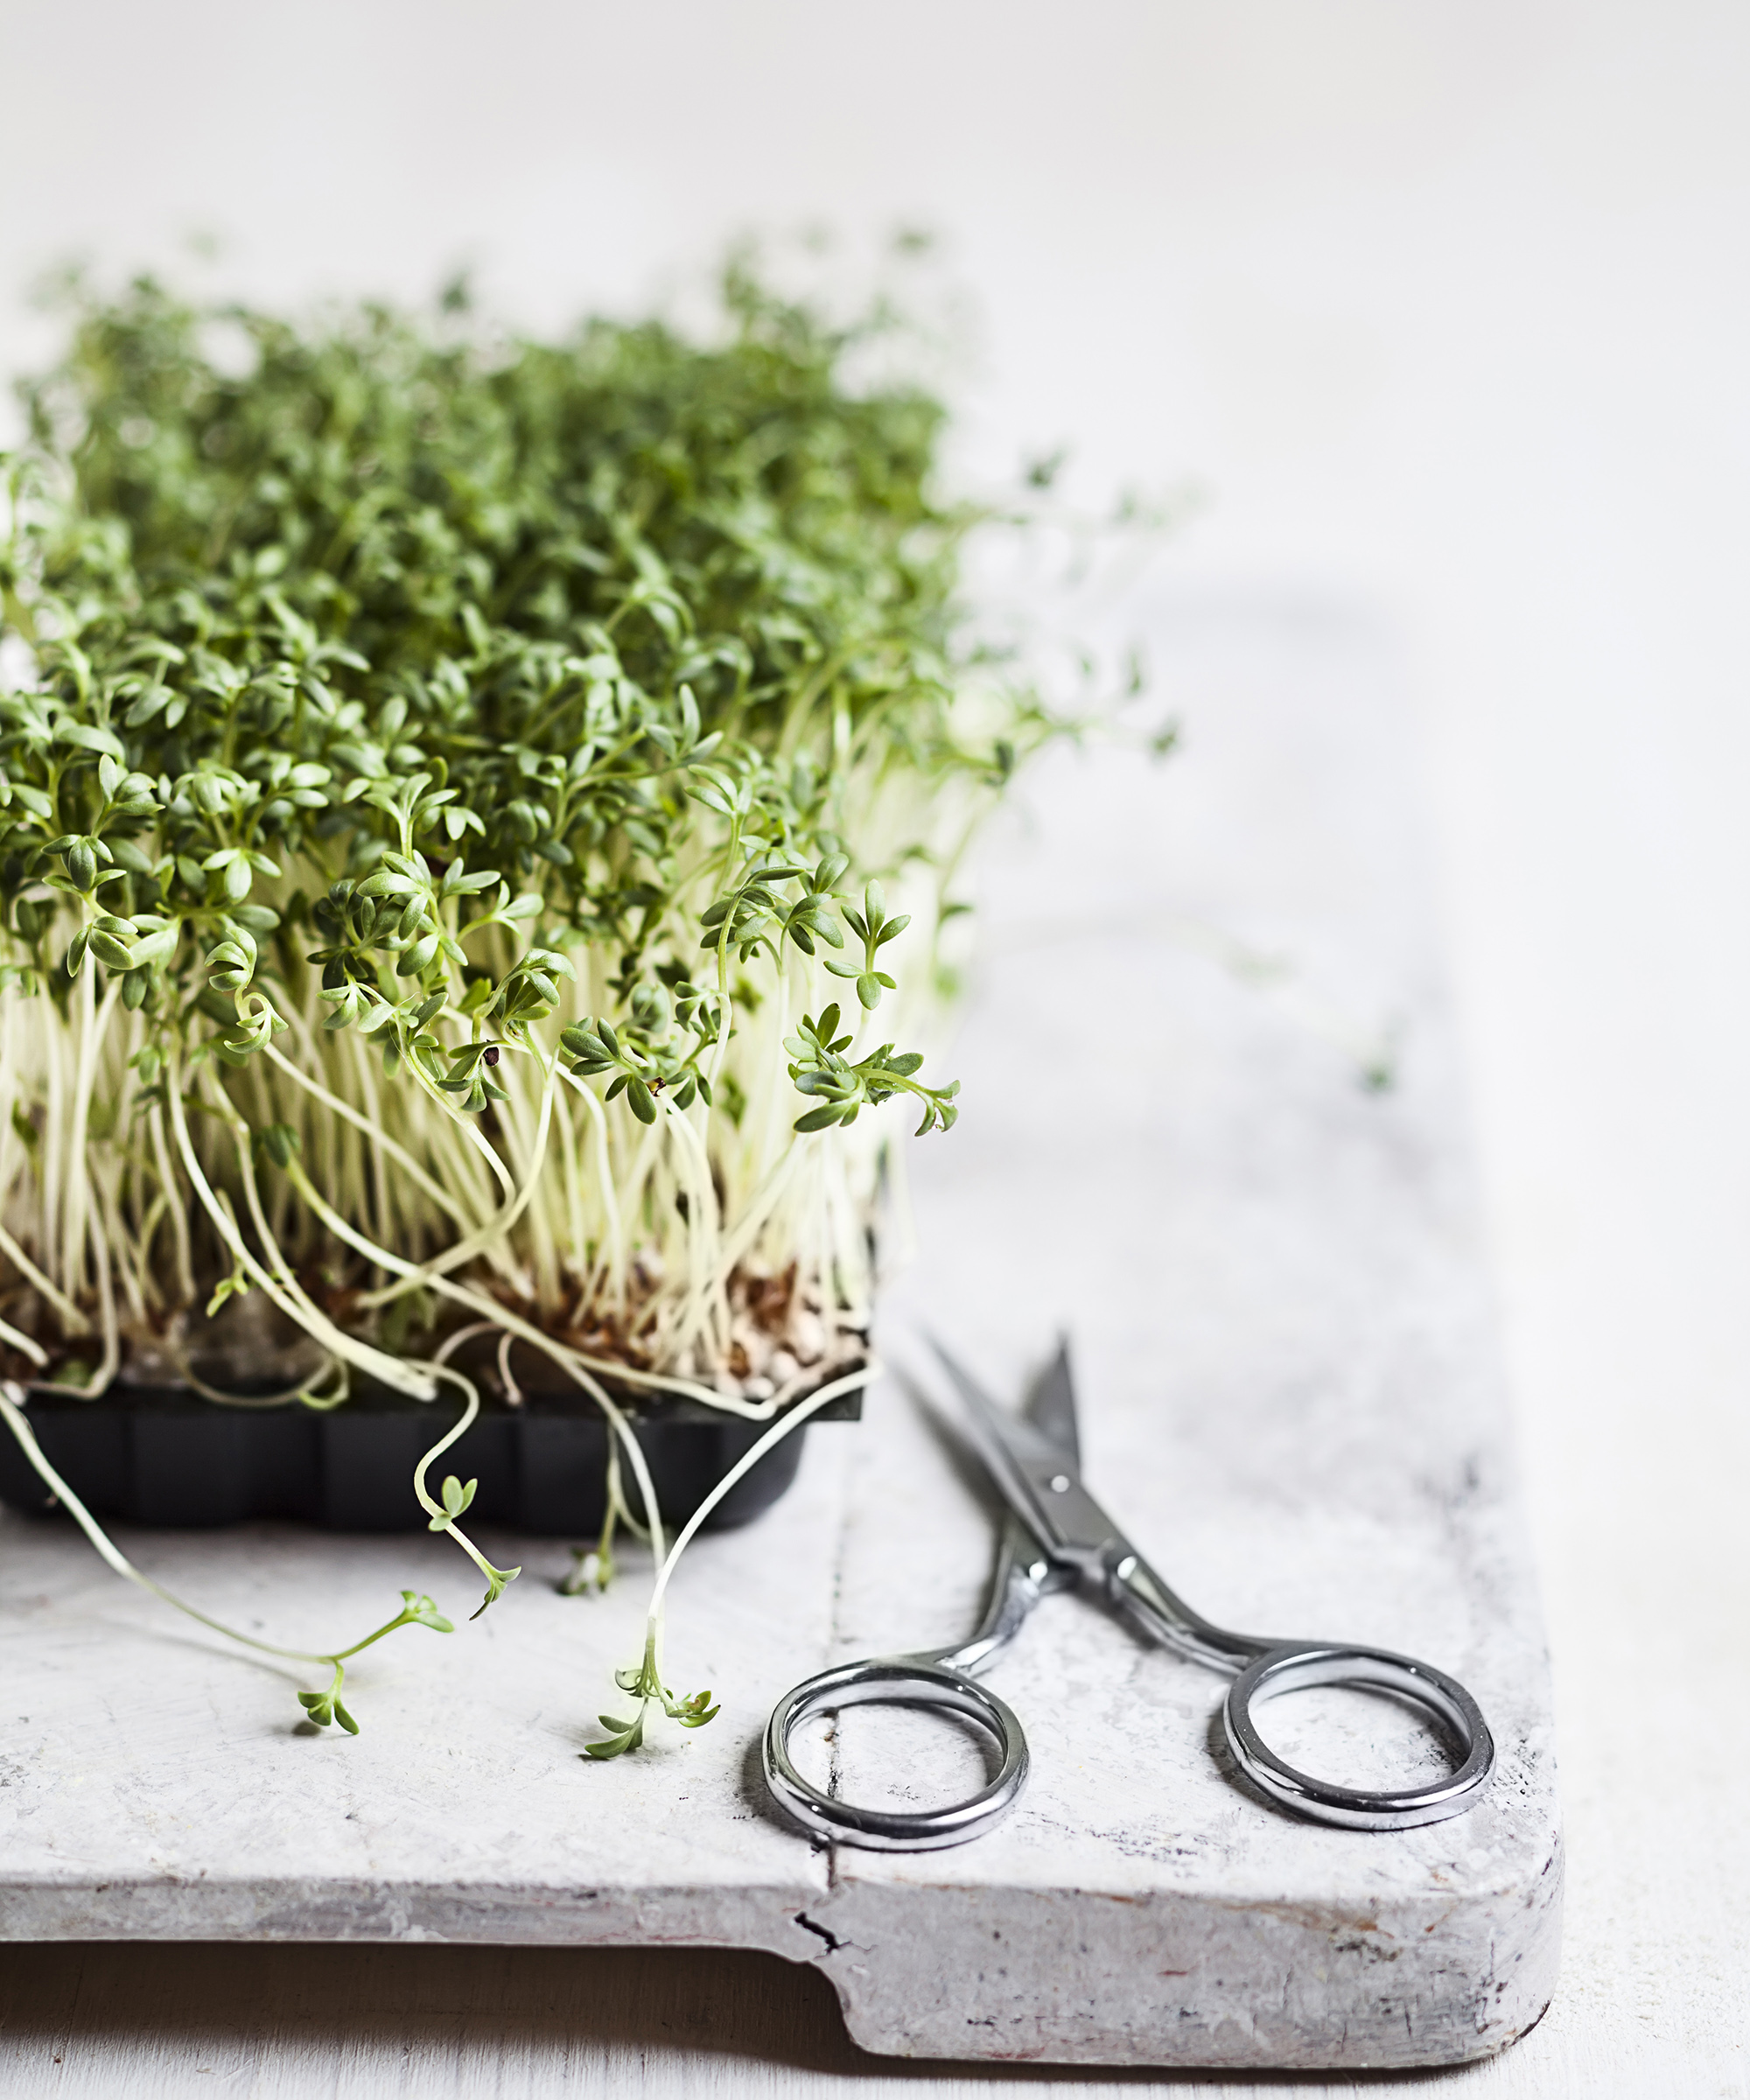
Microgreens can be harvest as soon as their shoots reach between 1 to 3 inches tall
How and when to harvest microgreens
The first leaves that appear when your microgreens germinate are called cotyledons. They are often round and provide the plant with a burst of energy through photosynthesis so it can develop its first true leaves.
These micro kitchen plants are ready for harvesting when each seedling is showing some of the true leaves, that look like tiny versions of the leaves of the grown up plant. The height of the seedlings depends on what you are growing, but usually around 1-3in (2.5-8cm). The aim is to harvest them when there are plenty of true leaves showing in the container but before they become rangy or straggly.
To harvest, take a pair of sharp kitchen scissors and trim the plants just above the level of the soil. It’s that simple!
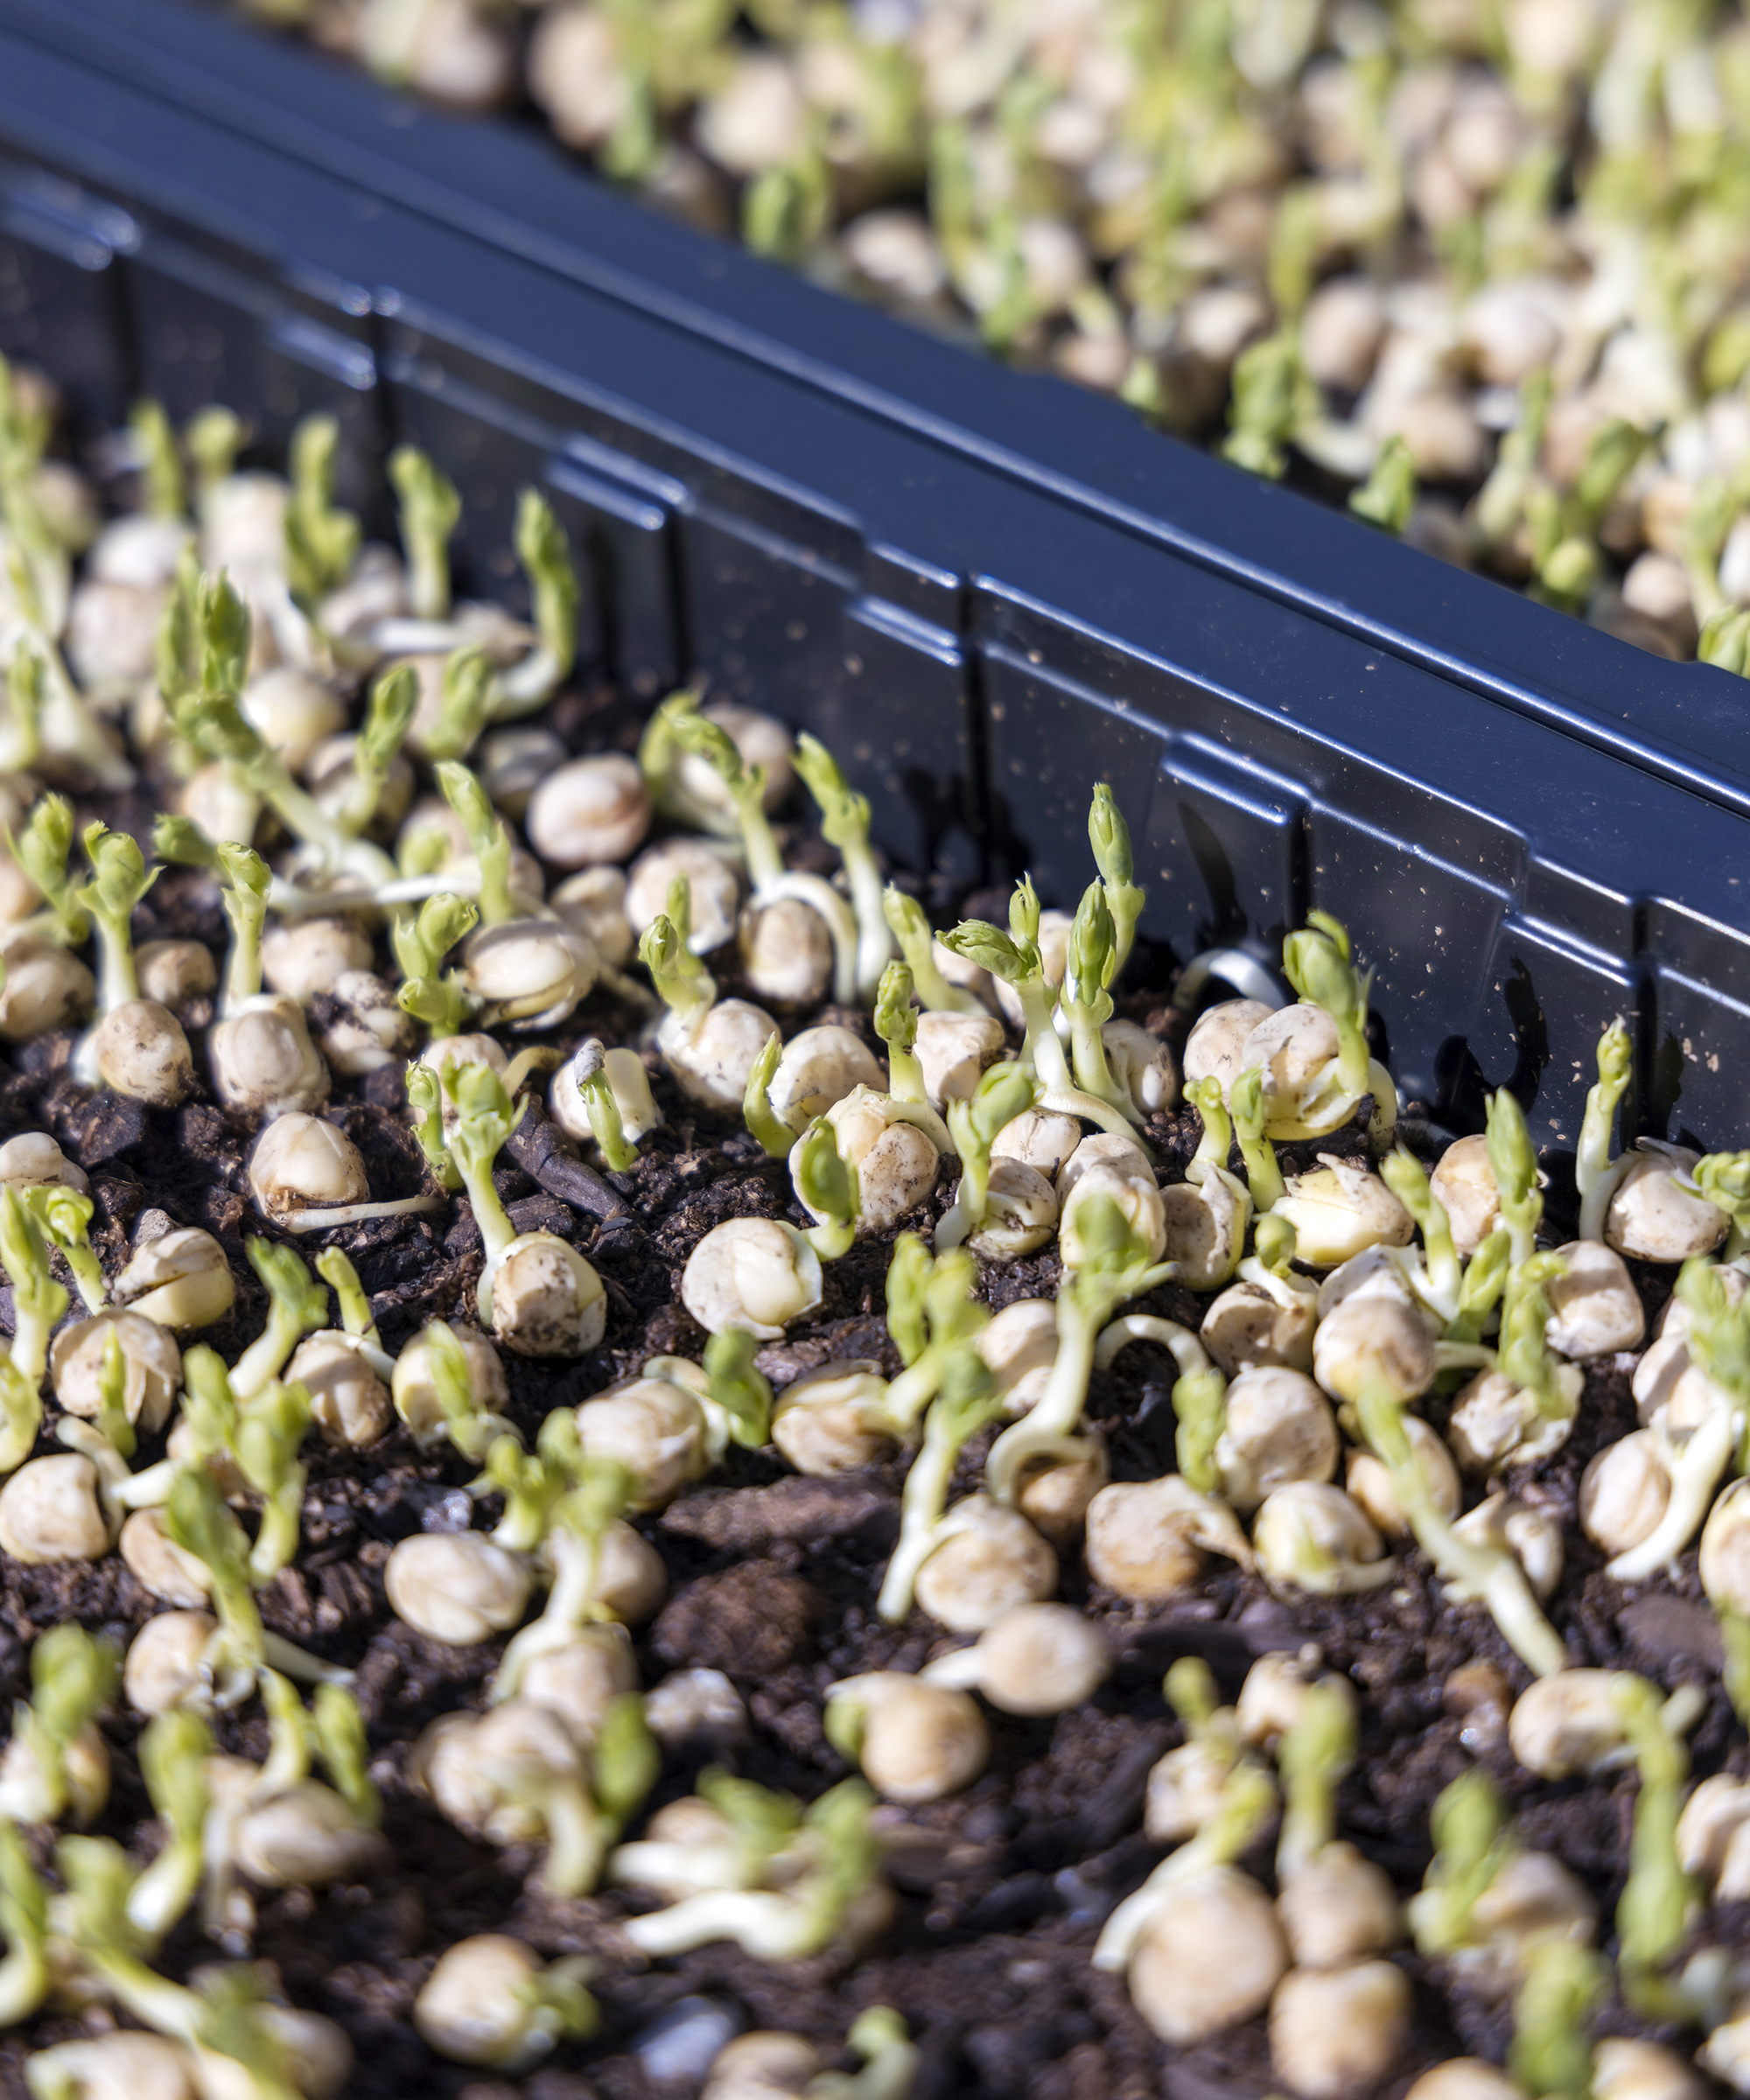
Some microgreens can be eaten as sprouting seeds
How long does it take to grow microgreens indoors?
Some microgreens are very speedy indeed! For example, cress, broccoli and radish can be ready for snipping and eating just 7–10 days after harvest. Herbs tend to be slower, taking up to three weeks.
And you’ll likely need a bit of patience with carrots, beet and chard. A lot depends on good growing conditions. Though it makes sense to grow microgreens indoors in your kitchen, happy plants with the right levels of light and water will shoot up more quickly. So if conditions are more favorable in other rooms of your home, grow them as office plants or as a bedroom plant.
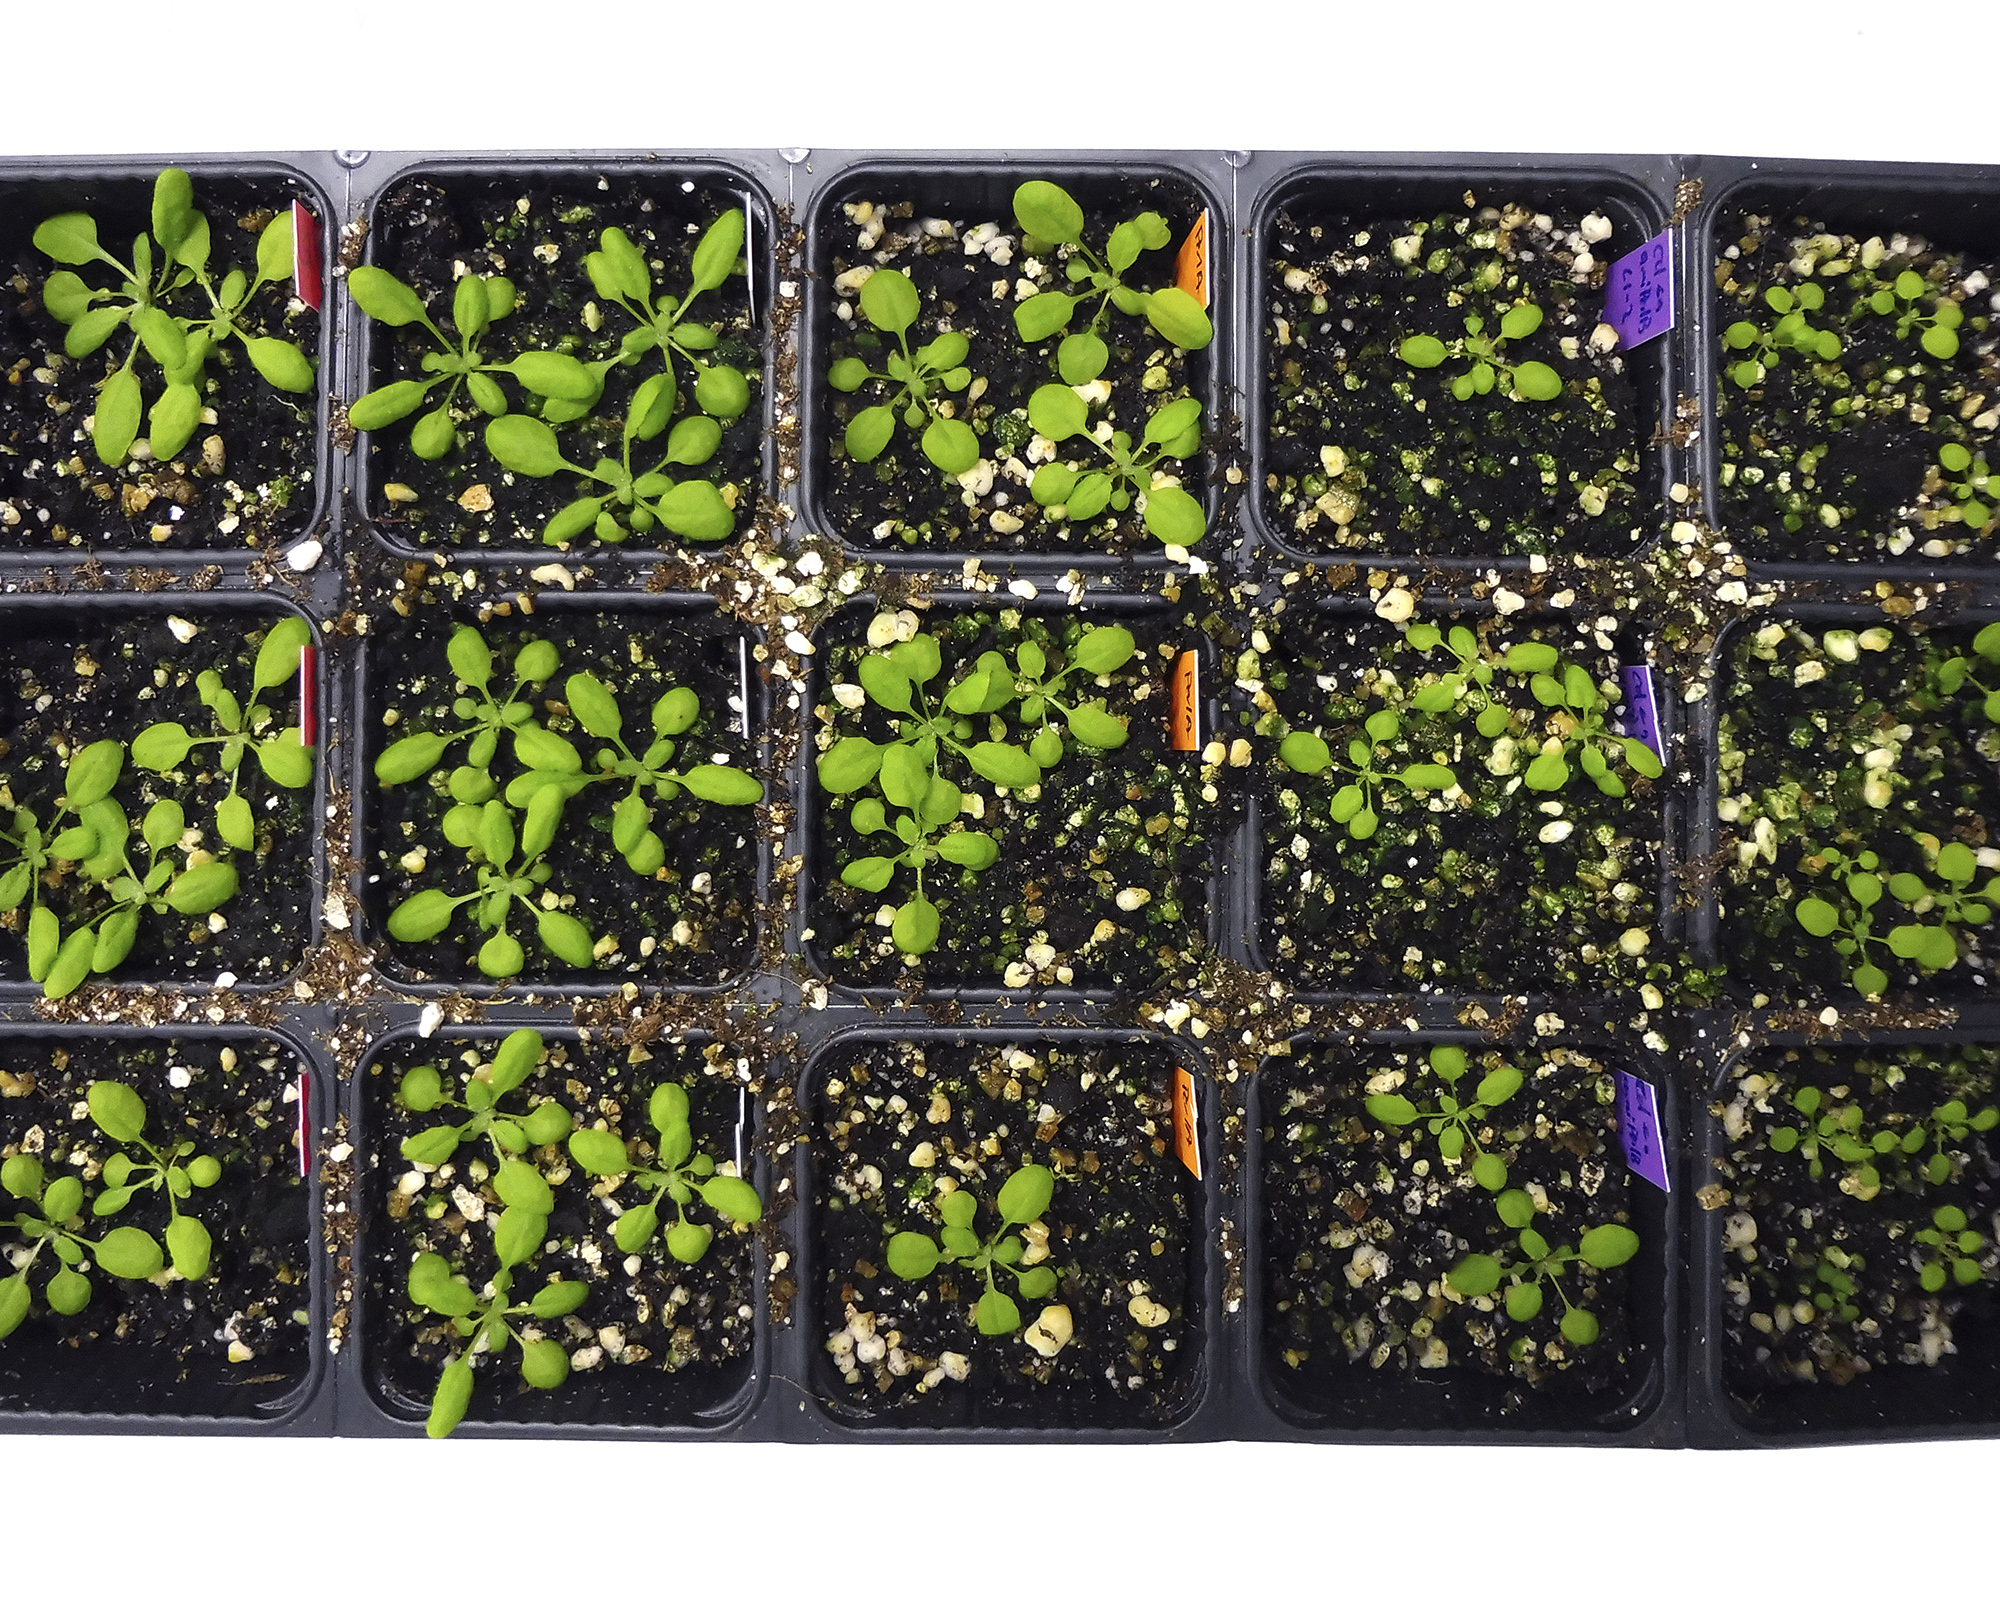
You should be able to harvest your first microgreens around 1- 2 weeks after planting
Can you store microgreens?
Part of the magic of learning how to grow microgreens is their intensely fresh flavor, so harvest when you are ready to eat them. Microgreens also pack an amazing nutritional punch for something so small. Their nutrients are concentrated, so they often contain more vitamins, minerals and antioxidants than the same amount of the mature plant.
However, if they are left too long after harvest they will start to lose some of their nutrients. Plus they will quickly wilt and look like a sad version of their former vibrant selves. If you must harvest them early, they should survive for a few hours if they are kept refrigerated.
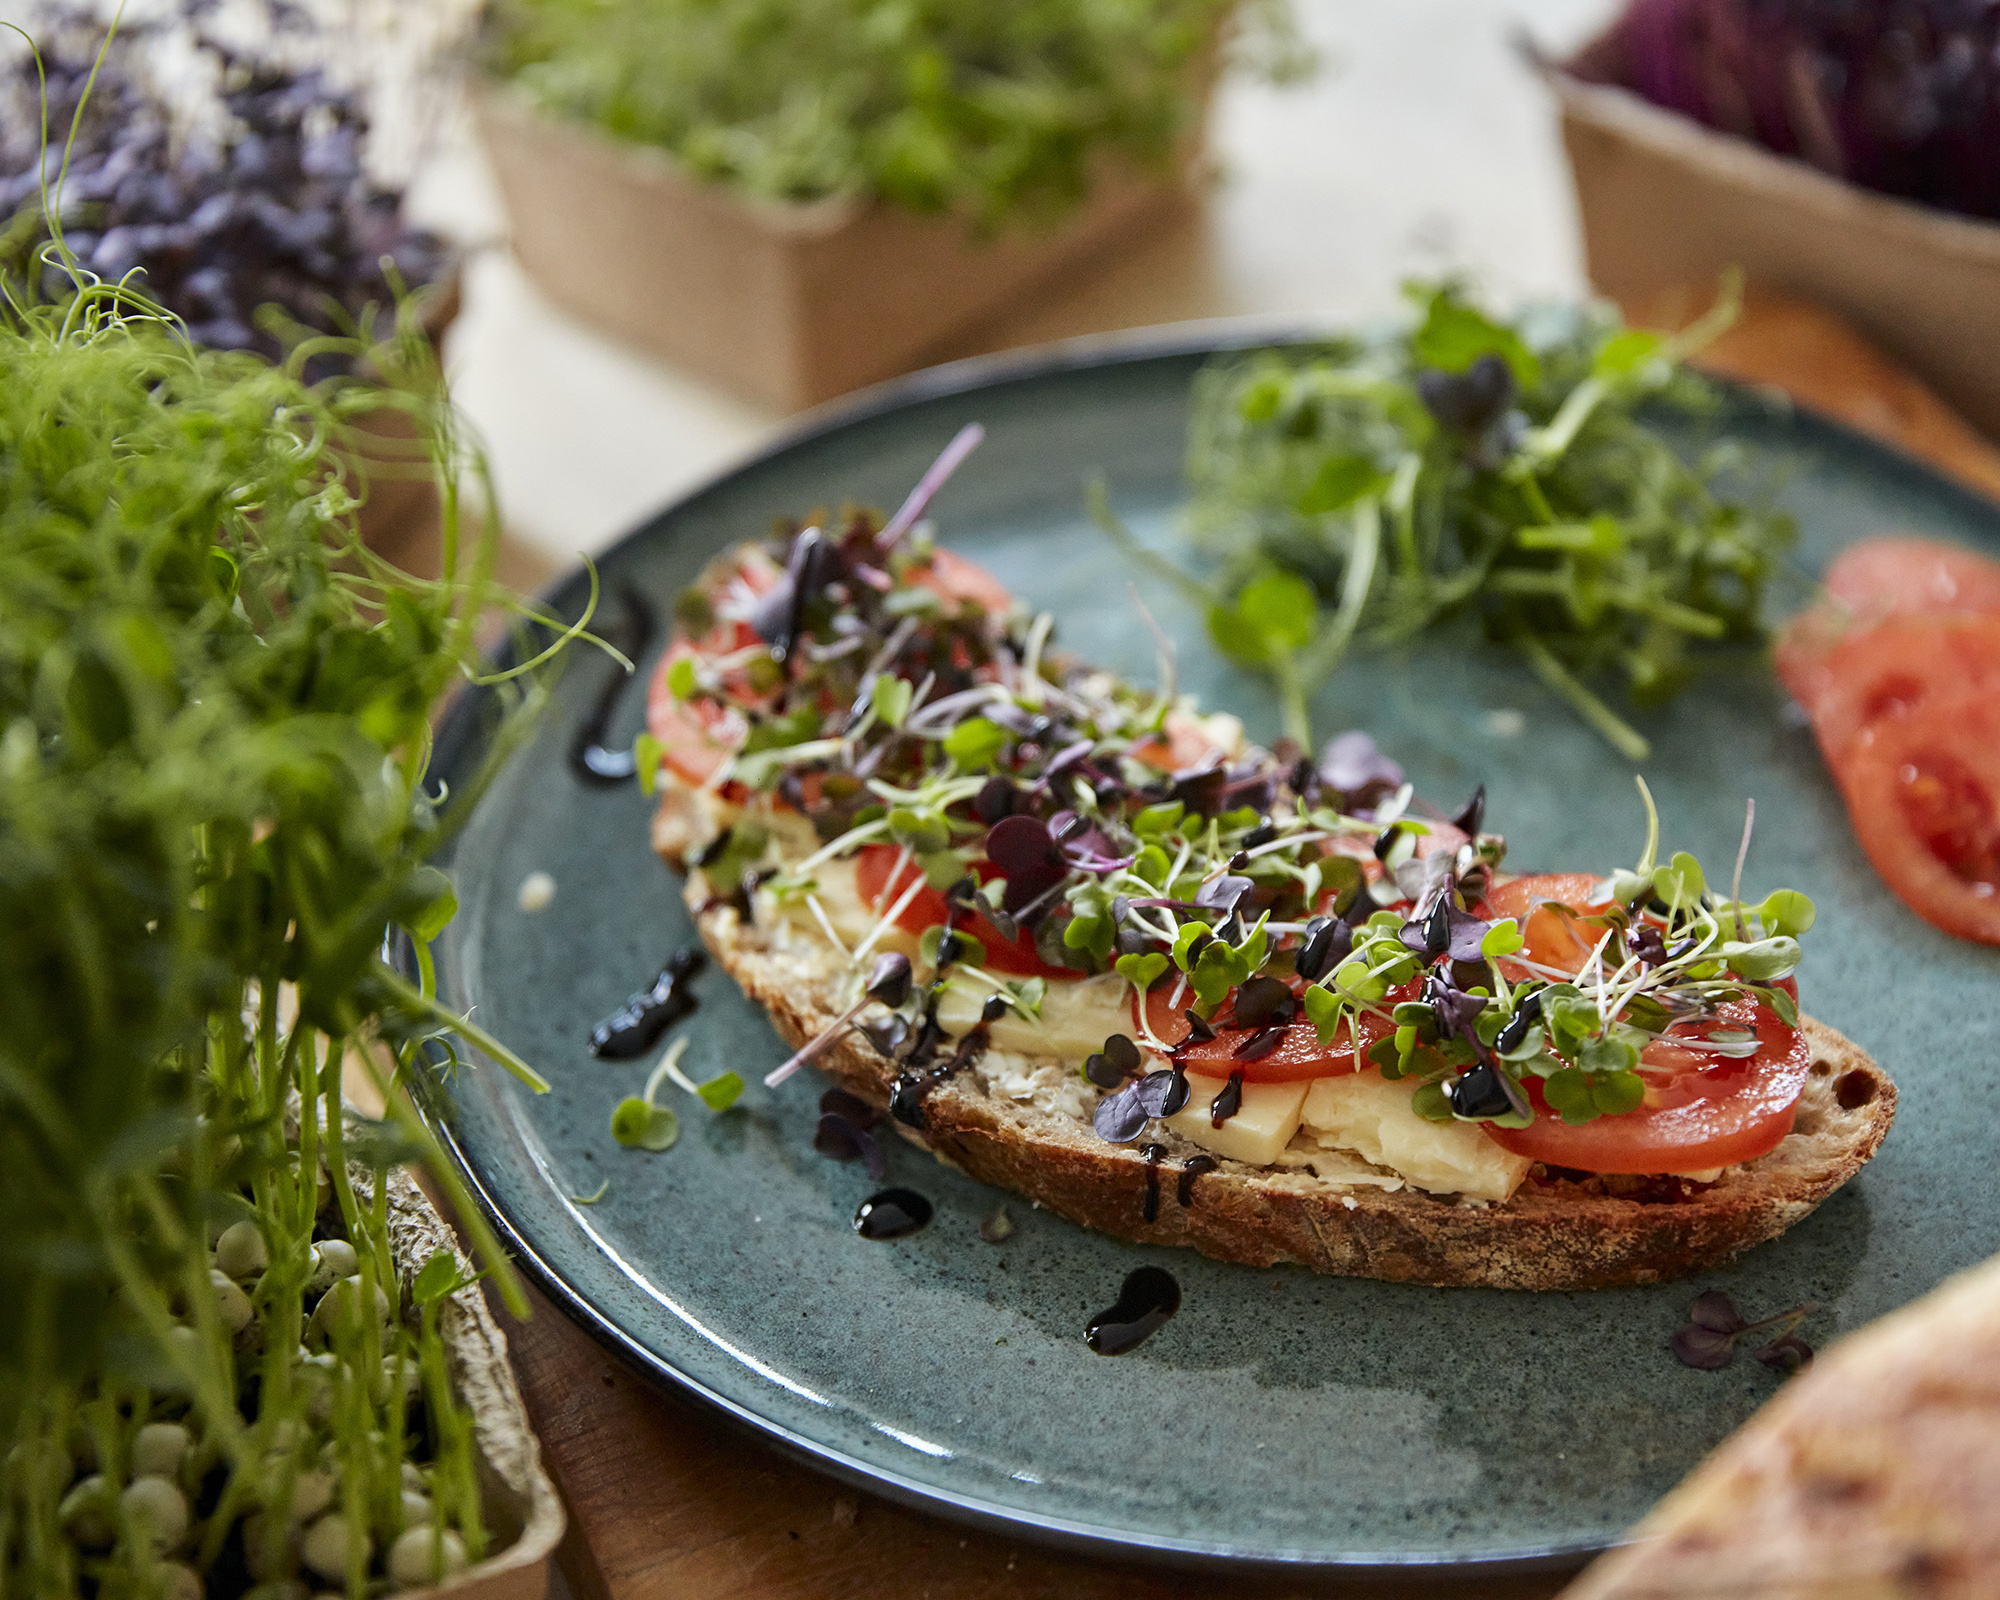
Microgreens are best eaten freshly cut from the plant
Do microgreens regrow after cutting?
When you have harvested your first crop of microgreens, water lightly and put the container back on the windowsill. You will most likely find that some of the seeds hadn’t germinated yet and, now they can get a more light and space, they will start to grow.
Most microgreens won’t regrow after harvesting, as they have used up all the energy stored in the seed. But some might – particularly peas and beans. It’s worth giving them a few days to see if anything is happening.
One way to get a regular supply of microgreens is to sow your chosen seeds every week. This means that once you have harvested one set of leaves, the next batch should be ready just a few days later.
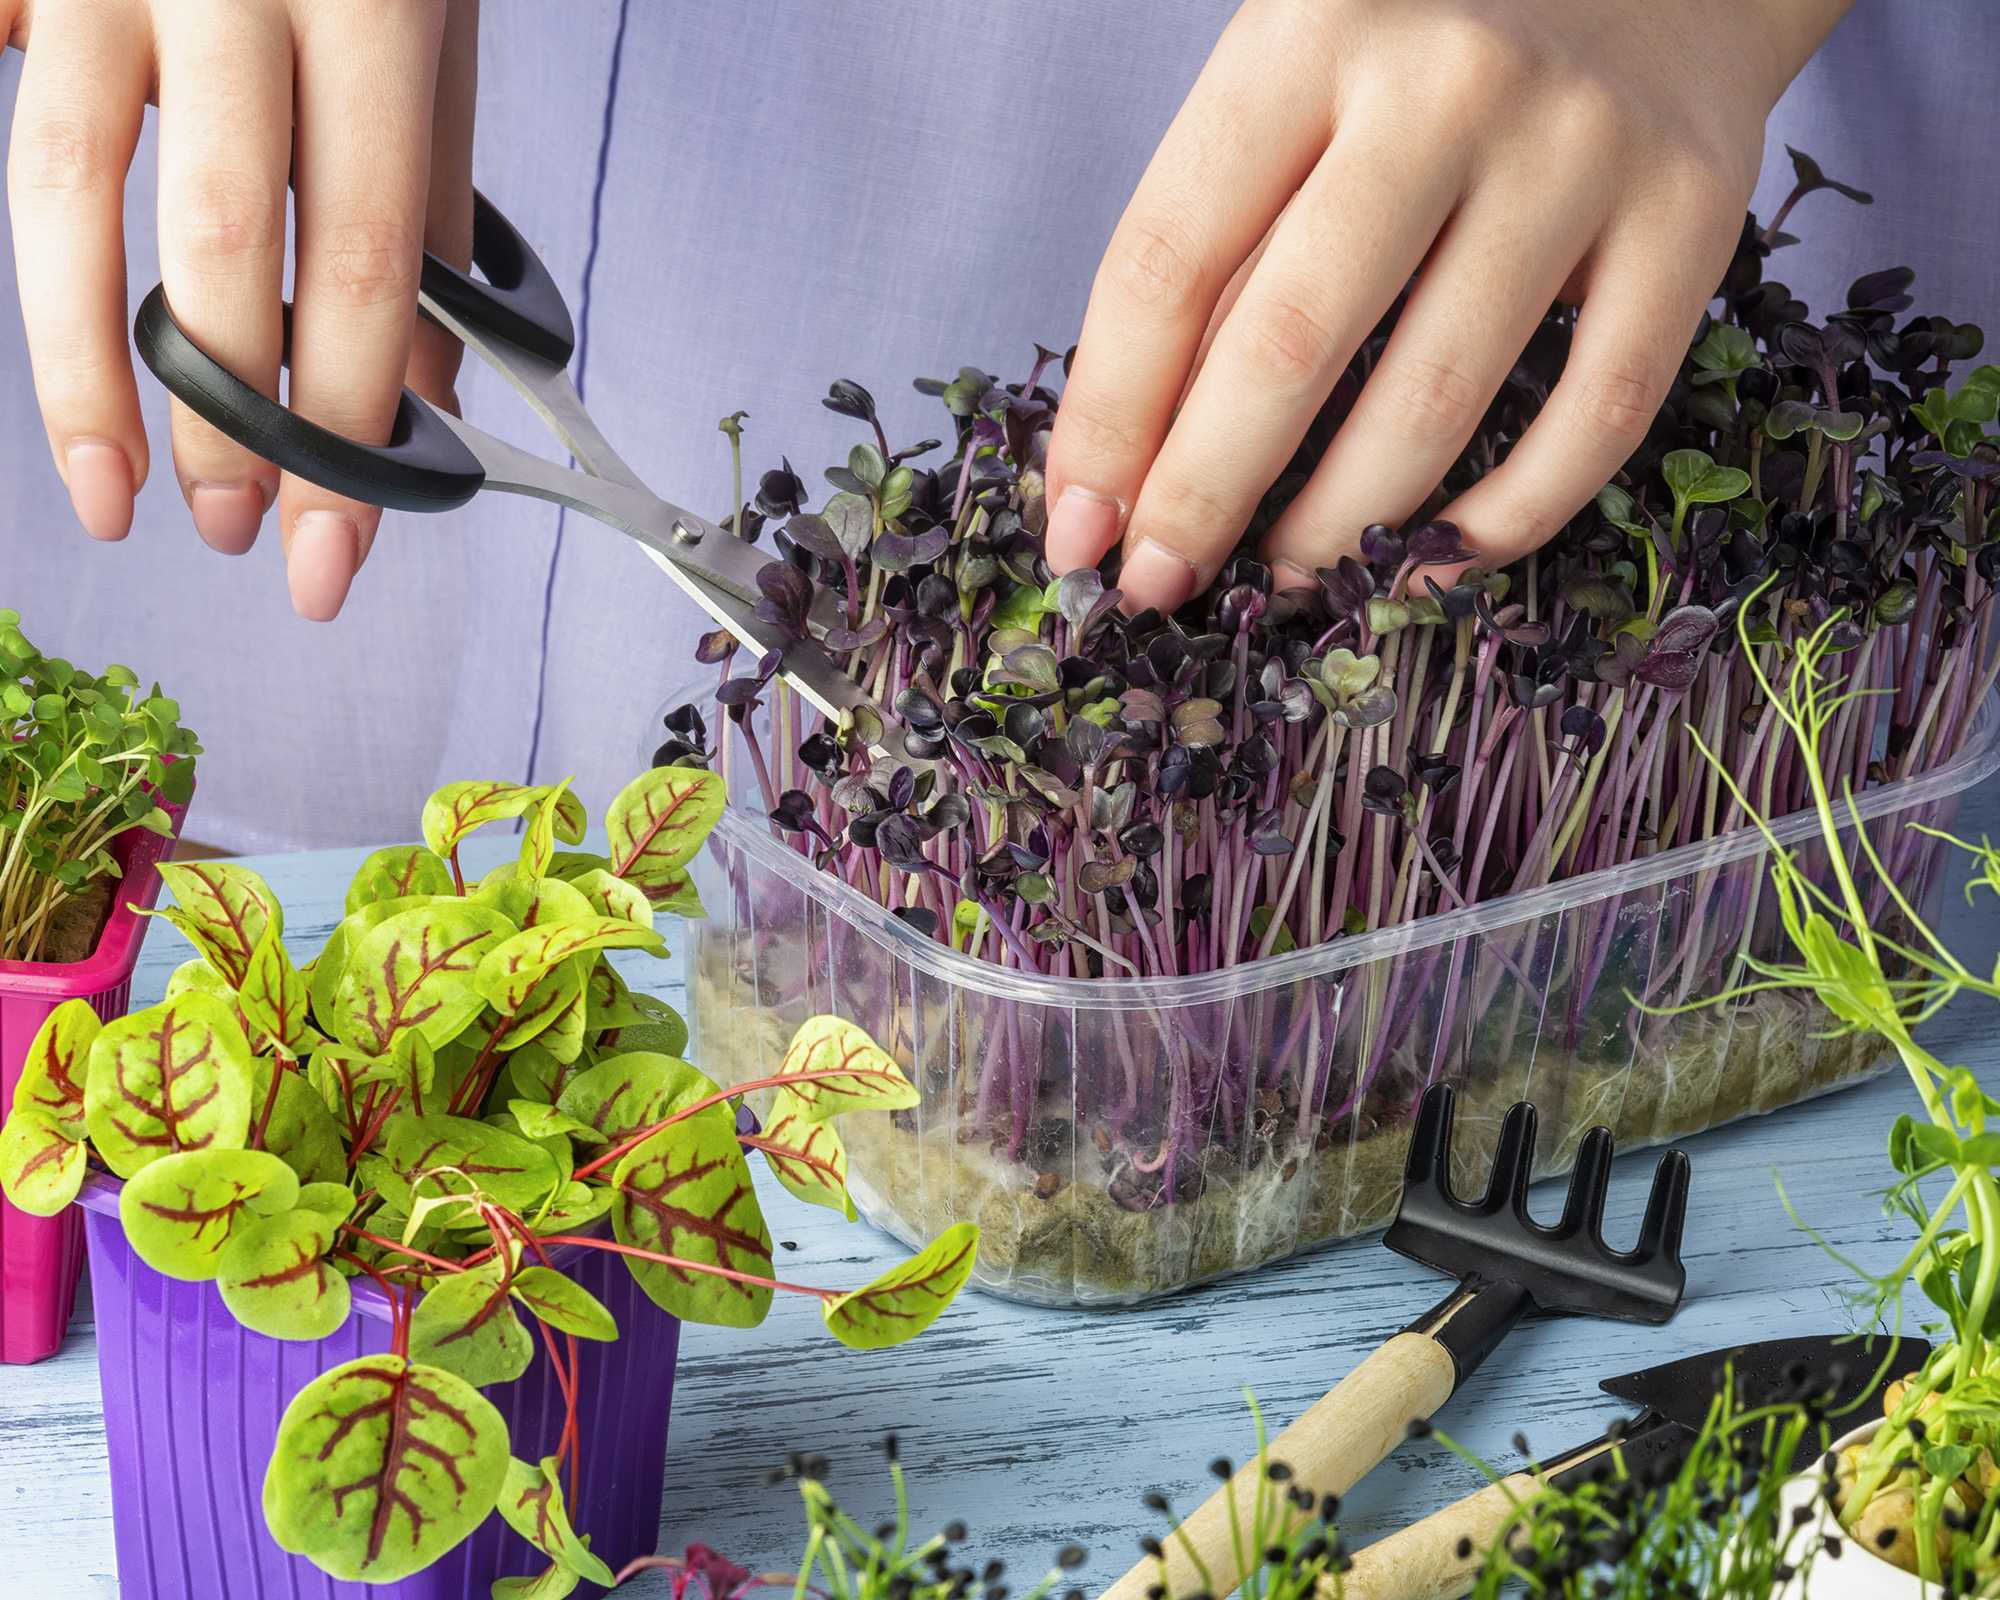
Sow extra seeds every week to replace the shoots you have harvested
Is it safe to grow microgreens indoors?
Microgreens can be grown outdoors but they are perfect plants for the indoor gardener, as inside they are safe from pests and extreme temperature changes. It sounds obvious but only herbs, greens and vegetables with edible leaves are suitable.
Anything in the nightshade family – so potatoes, tomatoes, bell papers, eggplants – won’t work as their leaves can be poisonous if eaten in quantity. Plus they taste horrible, as do melon leaves.
Use the same safe food handling practices as you would for any foodstuff and don’t eat any greens that have gone moldy.
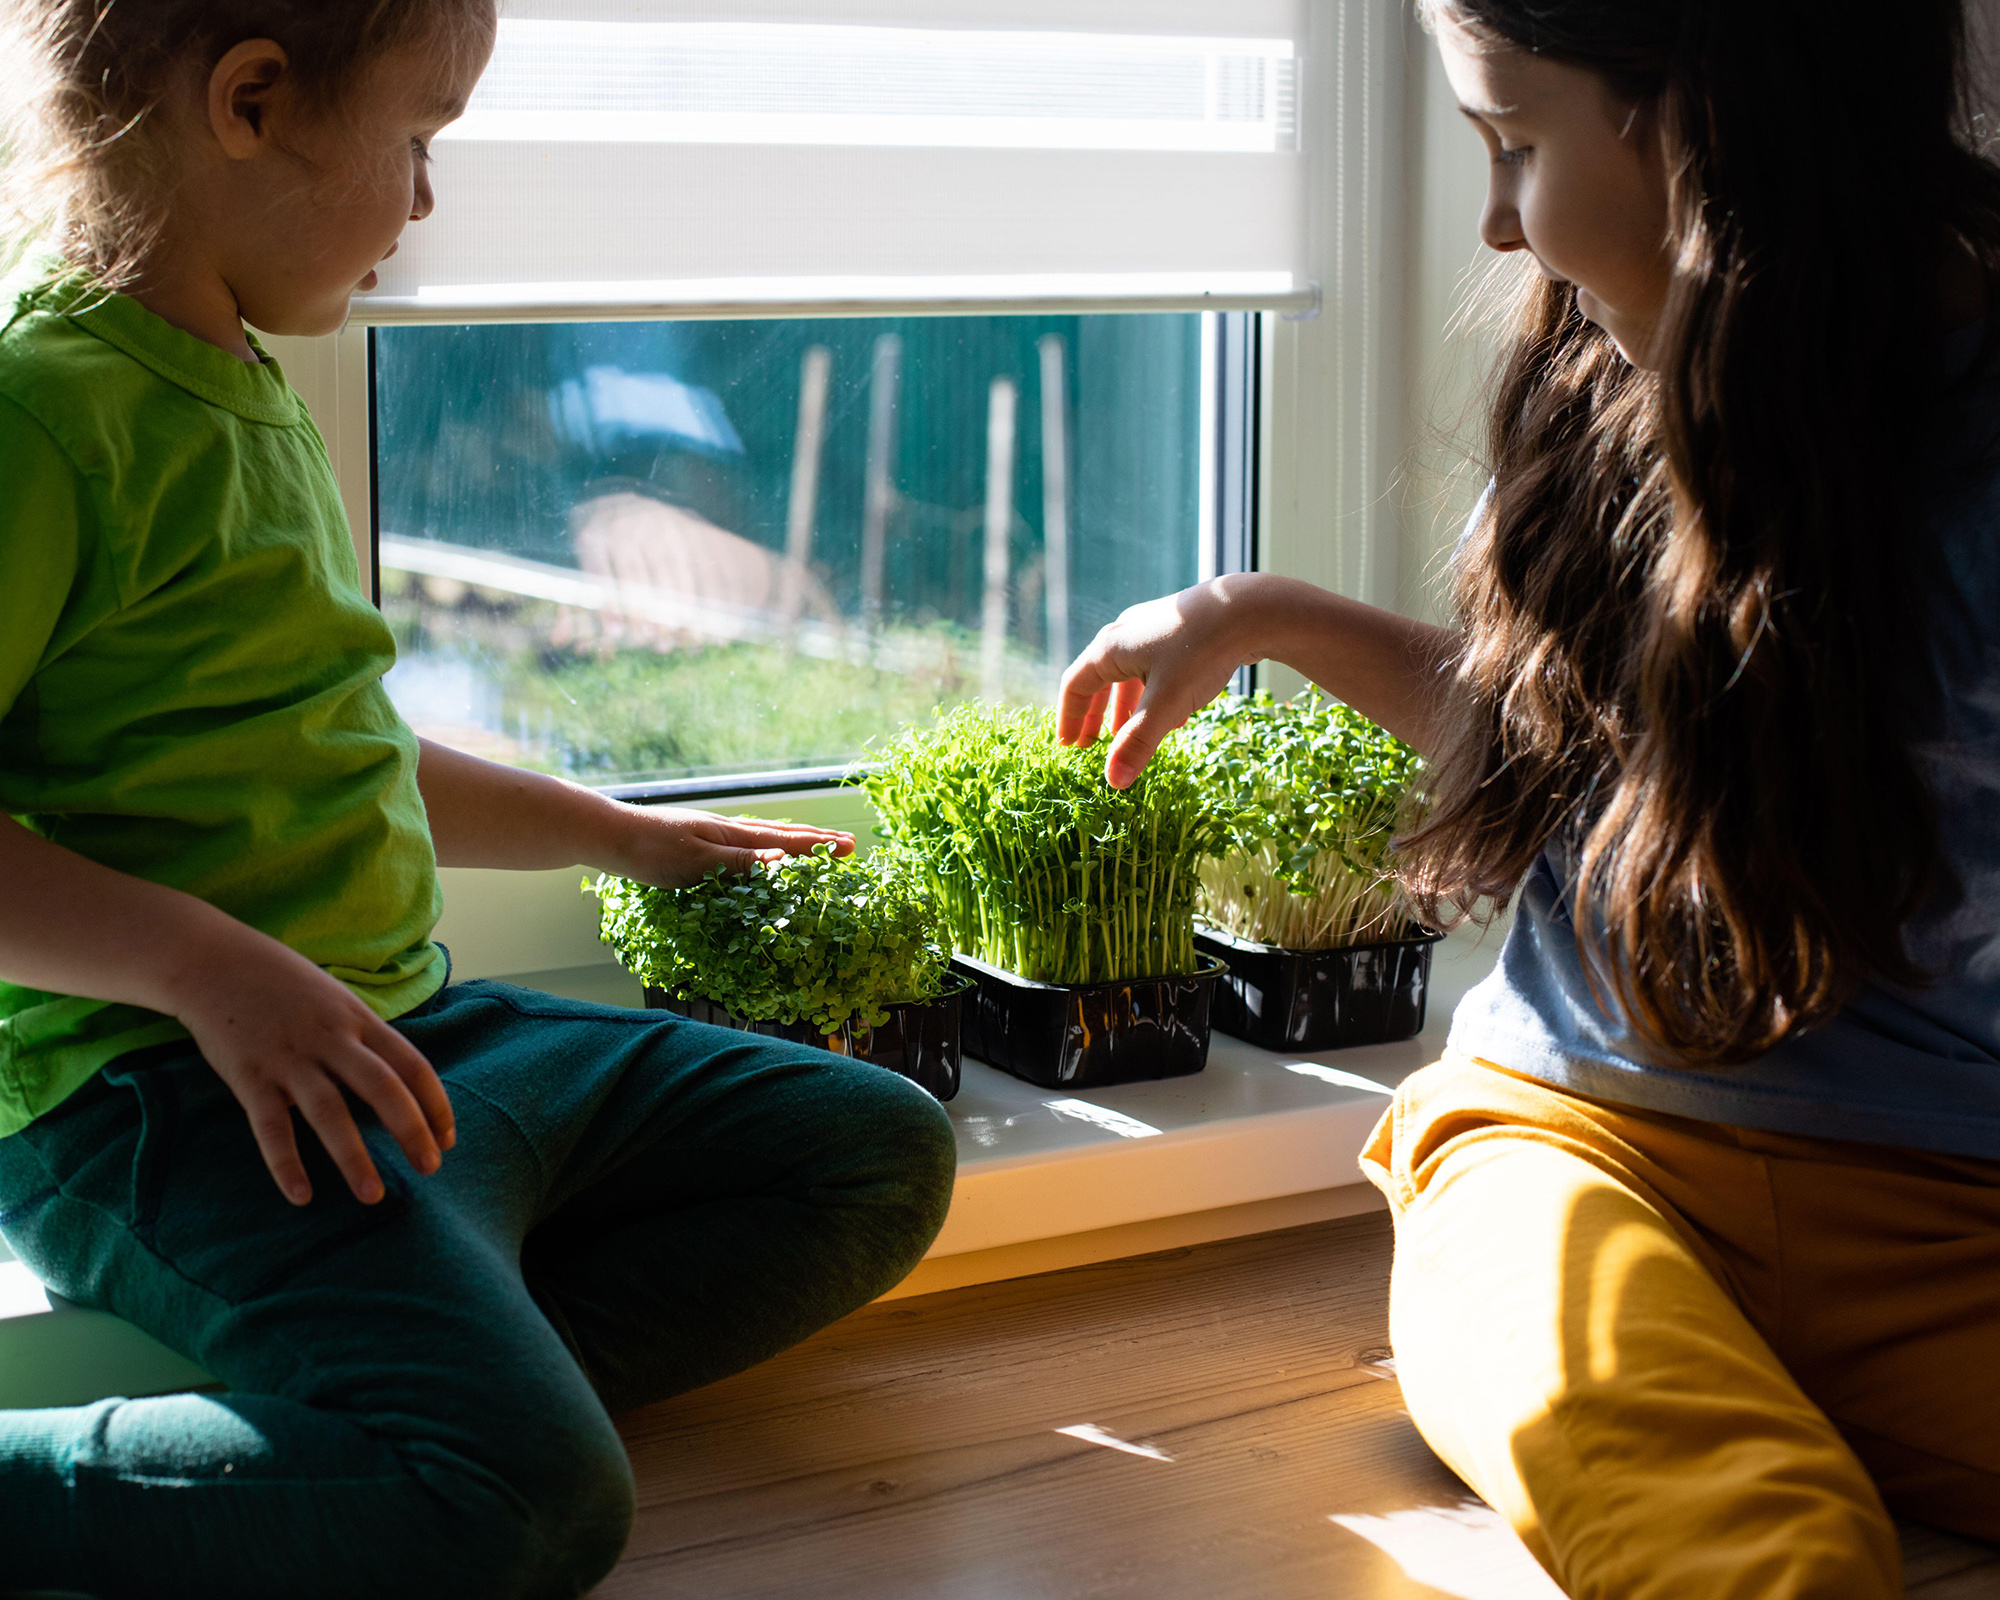
Growing microgreens is the perfect project for getting kids involved in
Are microgreens easy to grow for beginners?
Microgreens are one of the simplest and most rewarding indoor gardening projects for beginners and experts alike. Plus, thanks to their speedy growing times, they are fun for kids too – and may even encourage them to eat their greens!
Ben Wild, of Wild Green Farms, used to just supply microgreens to restaurants but during lockdown their 'Grow Your Own Microgreens Kit' really took off, because, he says, ‘it’s so fun to watch them grow as they are ready in as little as a week from sowing the seed.’
If you're a beginner and looking for other easy ways of growing crops indoors, why not try your hand at growing vegetables from scraps too?

A writer and editor who lives by the sea in south-east England. Liz is the author of a number of books about plants, including The Windowsill Gardener for Michael O’Mara Publishing. She writes a lot about nature and how having more contact with it can enrich our lives, whether that’s a houseplant on a windowsill or a walk through a forest.
