How to lay a patio: our step-by-step guide has all you need to know
Find out how to lay a patio and create the perfect place to dine and relax in your garden


Follow our expert tips on how to lay a patio and you'll create a useful garden feature that can be used all year long. It can be a fabulous addition to your garden’s hard landscaping, too, adding to the appeal of your outdoor space. It will provide you with a place for a dining set, space for a garden sofa, loungers or a bench, and a level area for kids to use.
If you want to lay a patio, you don’t have to call in a professional as it’s a job you can take on yourself if you’re a keen DIYer. There’s a huge choice of materials on offer, so you can create a design that complements the rest of your garden’s style whether that’s contemporary, country or classic. You’ll also need to decide what size of patio will give you enough room for furniture and activities, and be proportional to your garden’s overall dimensions.
Our step-by-step guide will take you through the process so you can lay a patio you love, then head over to our landscaping ideas for more ways to create your dream outdoor space.
Step one: Decide what size patio you need

The position and what you want to use it for will guide you when you’re deciding on the size of a patio. If it’s to be located adjacent to the rear wall of your home, you might want a patio across the house’s entire width. Equally, you could prefer it to link to a particular room, such as a kitchen-diner, for example, in which case you can match to the width of this room.
A patio will need to have the dimensions to fit the furniture you want to locate there, so it’s worth setting out the furniture to see how large the patio needs to be to accommodate it. As a guide, a patio 3 x 3m can create a comfortable dining space for four; to fit a rectangular table for six might require a patio 3 x 3.8 metres. You can also work from the size of your table, adding 2m to the width and length of the table to calculate the space needed.
Add around 1m of clearance around living room-style seating or loungers, too, so everyone can move around freely on the patio.
Step two: Think about the position of the patio

The area at the back of the house is convenient for a patio, making it easy to carry all you need outside. However, it might not be the best location – or you might want more than one patio. Consider conditions at different times of the day: a patio positioned to catch the morning sun will make breakfast outside a great prospect, while one that faces west will enjoy evening sun.
Take privacy into account as well – both yours and your neighbours – and use a spot that’s not overlooked. Bear in mind that you can stay out of view with screens or pergolas, though, if the choice of location is limited.
Step three: Choose the materials for your patio

The array of patio paving on offer is vast. You can pick from paving slabs made from concrete, which come in a range of colours and finishes, including those that make them resemble natural stone; exterior porcelain; or natural stones themselves. Bear in mind that these vary in thickness, which makes a patio more challenging to lay. They are also heavier to work with.
The material and finish of paving should complement the look of your garden. Porcelain or smooth paving are ideal for more contemporary spaces, while cobble-style paving slabs would work in a more traditional space.
You might also think about how the paving slabs work with your house. Red-toned paving can sit well with red-brick homes, while pale and greyer slabs might suit a house with a light-coloured render.
Step four: Assemble your patio-laying kit
In addition to the paving slabs for your patio, you will need a range of tools plus other materials:
- Paving slabs
- Steel tape measure
- Wooden pegs
- Builder’s lines
- Builder’s square
- Hammer
- Spade
- Timber straightedges
- Timber
- Spirit level
- MOT type 1 hardcore
- Shovel
- Wheelbarrow
- Earth rammer, garden roller or plate vibrator
- Sharp sand
- Rake
- Large-headed nails
- Cement
- Brick trowel
- Club hammer or rubber mallet
- Wood or plywood spacers
- Brush
- Sponge
Step five: Measure and plan the space

Use graph paper to draw a scale plan before you begin. If you are able, you could plan the patio so that it fits the dimensions of the paving slabs so you don’t have to cut them. Allow 10mm between them for the mortar joints.
The scale plan will help you consider any steps or retaining walls. Think ahead, too, to when you’re mowing. If the patio is above the lawn, there will be edges to trim.
Bear in mind that if the patio is going to be next to the house, the finished surface must be at least 150mm below the damp-proof course. You can usually see its thick line of mortar two or three brick courses up the wall. A patio should not block any airbricks in the walls of your house.
The patio will need a slope away from the house so the water drains away from it.
Step six: Prepare the sub-base
A patio cannot be laid straight on to soft ground, and paving slabs need support from a sub-base. Mark out the patio area using wooden pegs and builder’s lines. Add 5 to 10cm to the edge measurements of the finished patio so the sub-base is slightly larger than the finished patio will be. Use a builder’s square to ensure the corners are true.
Work out the fall for the patio. For smooth paving slabs, use 1 in 60, or 16mm of fall per metre. For textured slabs, use 1 in 80, which is 12.5mm of fall per metre. Now multiply the length of the sloping side in metres by either 16mm or 12.5mm as appropriate. The answer is the difference in height in mm between the highest and lowest point of the patio.
If you’re paving a turfed area, cut the turf into strips first and roll it up and set aside for making good at the patio’s edges.
Calculate the depth of the sub-base next. Allow for 100mm of hardcore, a thin layer of sand, 50mm of mortar, and the depth of the paving slabs. Dig the area out to this depth.
To incorporate the drainage slope into the sub-base you will need to use timber pegs. Measure from the top of the pegs and mark them to show the depth of the sub-base (100mm). On the high side of the patio site, and at exact 1m intervals, hammer them in so the line you’ve marked on to them is level with the earth.
Use a straightedge to ensure the pegs are level. Hammer another row at a 1m interval and repeat for the entire site.
Use a shim (a thin piece of wood) cut to the fall of the patio – either 16 or 12.5mm depending on the texture of the paving slabs. Nail this to the timber straightedge and, with the shim facing downwards, lay the straightedge between the first peg in the row on the highest side of the patio and the first peg in the second row. Tap down the peg on the lower row until the spirit level reading shows level with the shim in place. Dig, tamp or fill the ground as required for the peg to be at the correct depth.
Repeat with all the remaining pegs in the first and second rows, and for all the remaining rows.
Step seven: Lay the sub-base
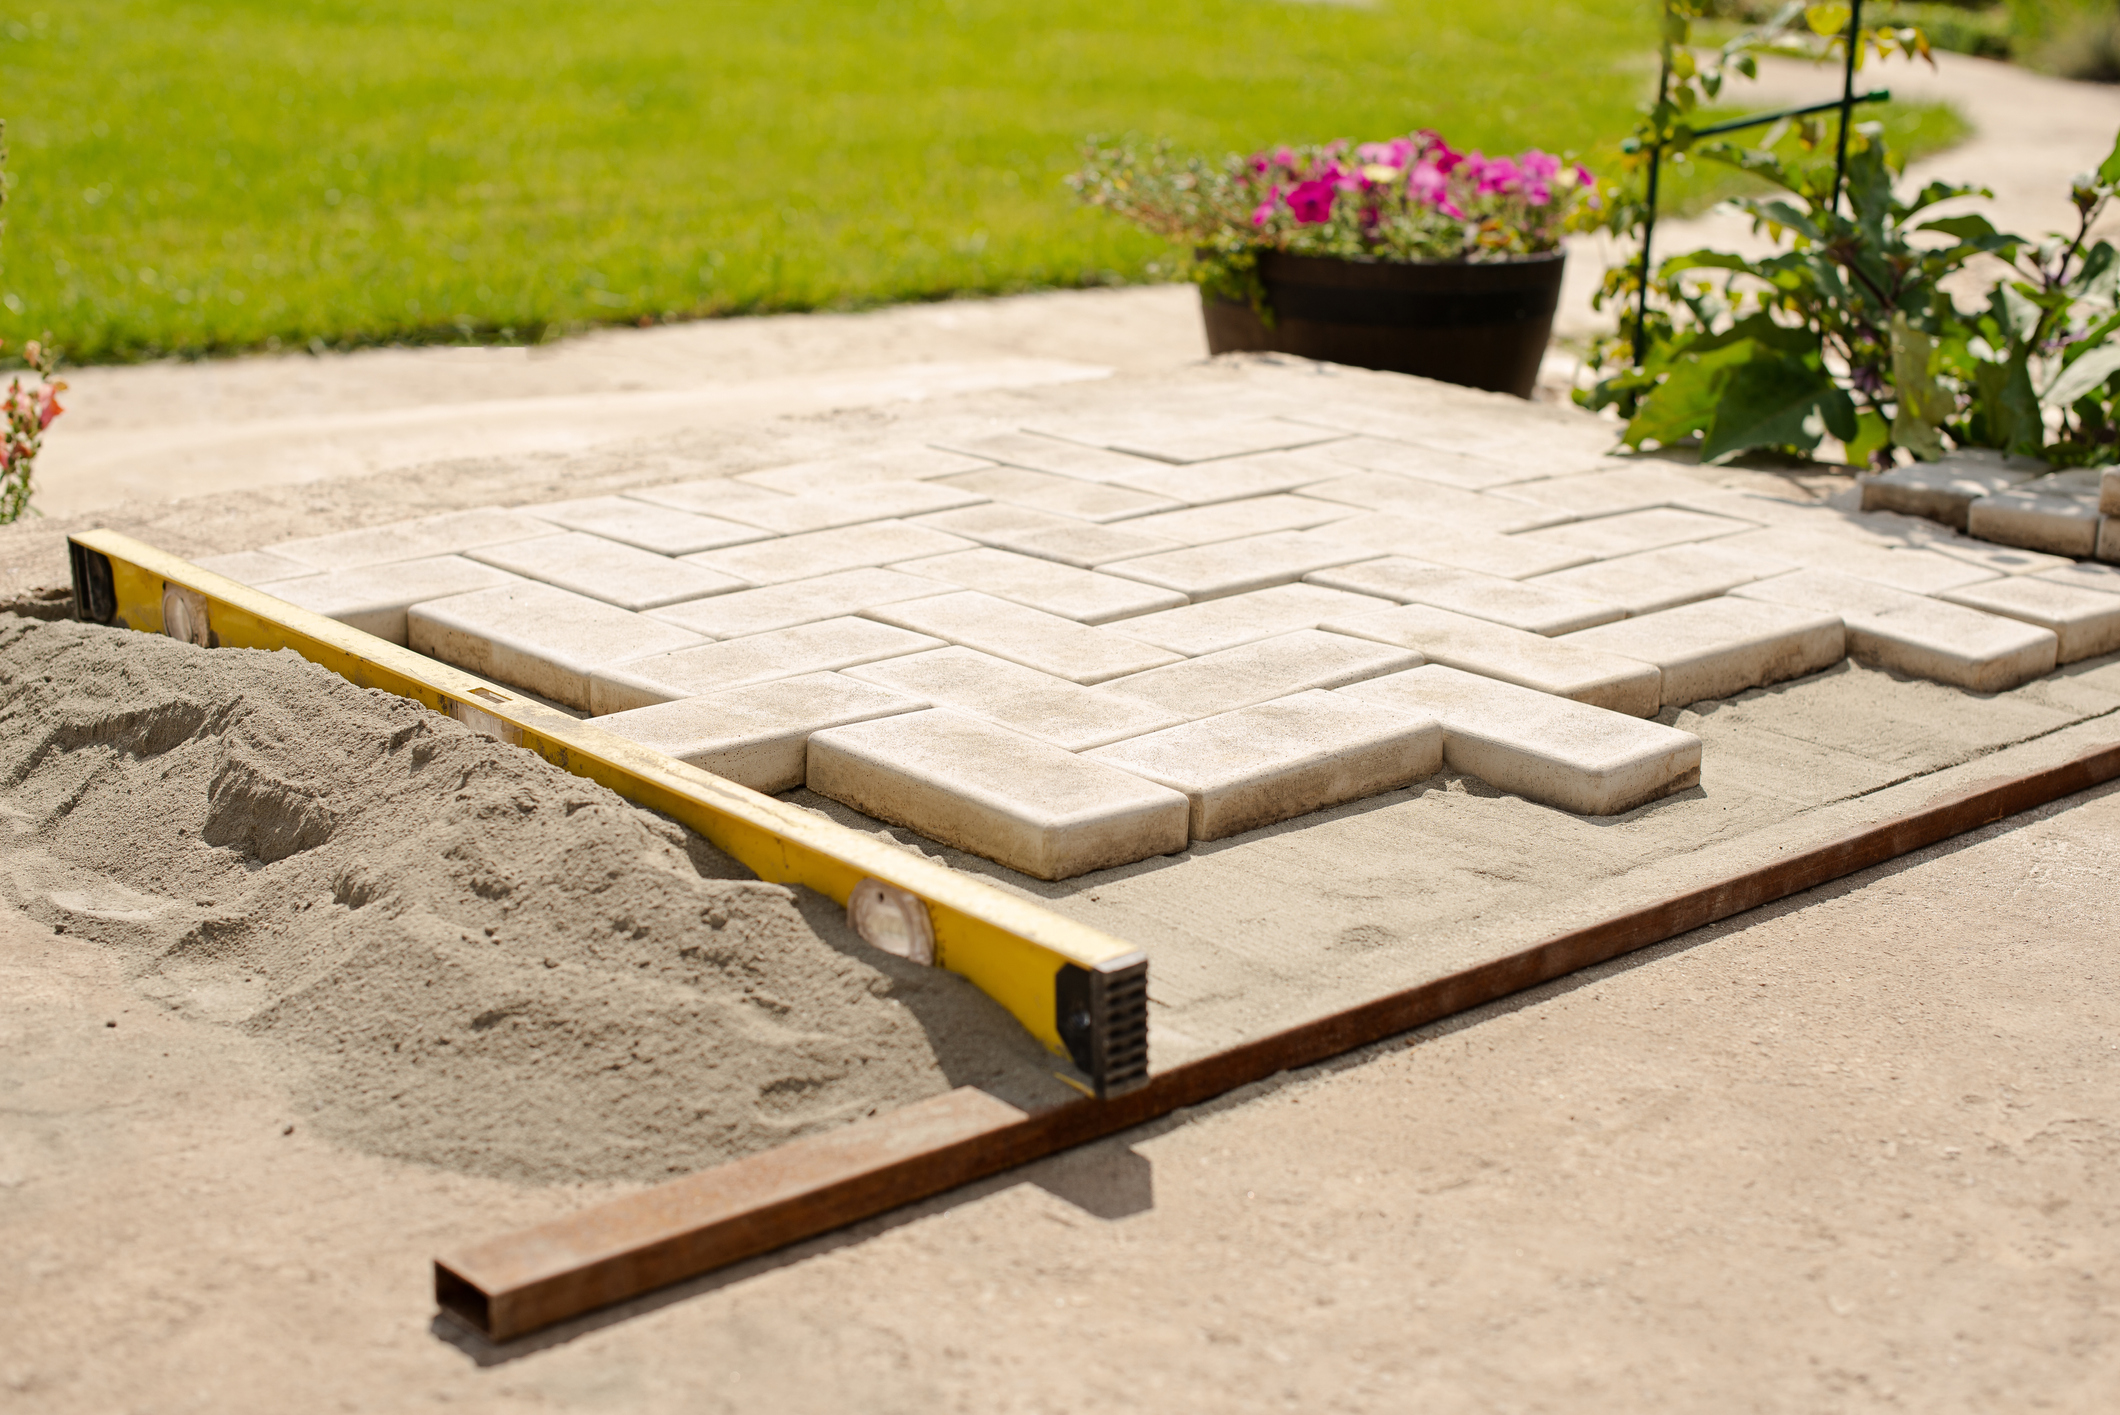
Tip hardcore on to the patio site. Fill to just above the top of the pegs, spreading it evenly. Compact with a garden roller, plate vibrator, or – for small areas or corners – an earth rammer. The surface should be level with the top of the marker pegs.
Cover with a 10mm layer of sharp sand. Rake level. Remove corner pegs and lines.
Step eight: Set the fall in the paving
To ensure the slope of the patio is maintained by the paving slabs, you will need to mark out the edges of the patio using two pegs at each corner and builder’s lines. On each peg mark a line from the top to the depth of the paving slab plus 50mm of mortar.
The pegs should be around 30cm outside the sub-base area and aligned with the borders of the area to be paved. The lines should intersect at each corner. Check the corners are true with a builder’s square. Hammer the pegs in until they reach the marks you made to indicate the finished height of the patio.
Check the fall by laying a straightedge between the pegs at the high and low ends of the patio area. Use a shim on the lower peg with a depth of the drop per metre multiplied by the length of the paving to check the slope. Check the pegs are level in the other direction, too.
Fix the lines between the top of the pegs using large-headed nails.
Step nine: Lay the paving slabs

Make up a mortar mix with four parts of sharp sand and one part cement. Lay the first slab in a corner on the highest side of the patio. Lay enough mortar on the sub-base for the first slab only to a depth of about 60mm. Roughen the mortar’s surface with the point of the trowel.
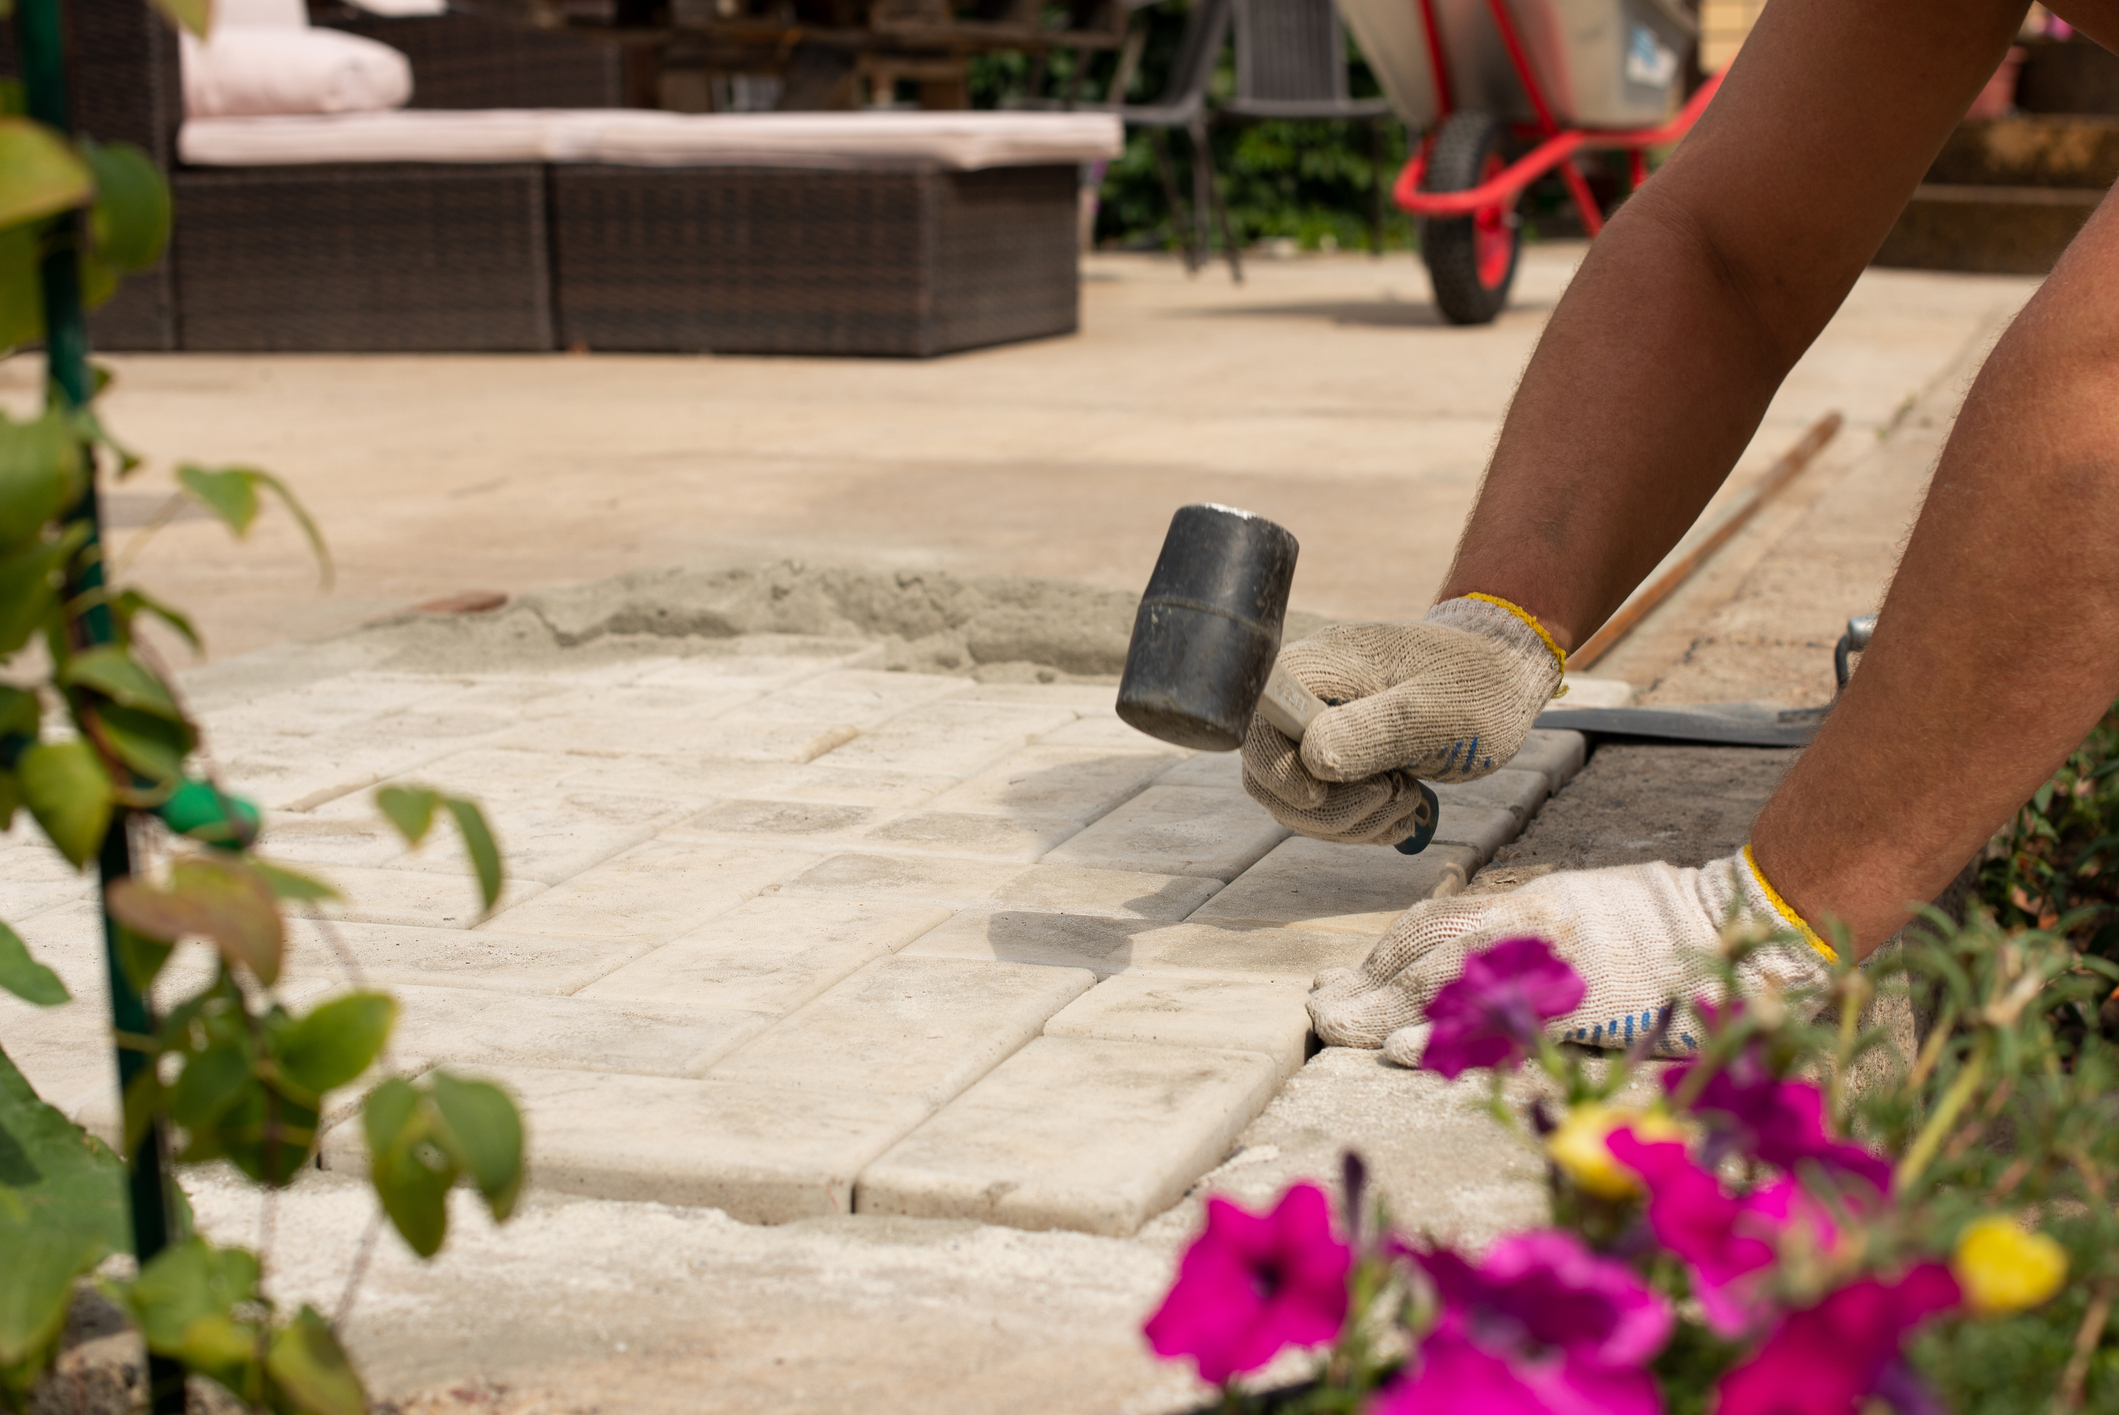
Lay the first slab ensuring that the edges are in line with the string lines. Using a short length of thick timber on top of the slab to protect it, tap the slab in using a club hammer or rubber mallet. The surface should be level with the pegs. Fill any gaps in the mortar so the slab is bedded down and there is no rocking movement.
Carry on laying the first row of slabs in the direction of the patio’s fall following the lines. Use spacers in each joint to create a consistent gap. Check the surface is flat and the slope correct as you work.
Once the first row is laid, lay edge rows from each corner slab to form three sides of the patio.
Fill in between the edge rows, row by row. Check the surface is flat and the fall is correct as you work.
Leave the mortar to dry for at least two days, then remove the spacers.
Mix four parts sand to one part cement adding water to create a damp mix. Use a trowel to apply the mixture to the joints. Use a piece of wood 10mm thick to force the mortar in. Brush off any excess mortar and use a damp sponge to ensure none is left behind on the slabs.
Tip: If you need to cut paving slabs to fit, mark the cutting line with a pencil, and cut the slab with an angle grinder with a stone-cutting disc.
How to maintain your patio

Once your patio is in place, maintenance isn’t too taxing, but there are a few jobs you’ll need to do to keep it looking as good as when you laid it.
You should brush it regularly to remove any leaves, dirt or other debris that’s accumulated. This can rid it of weeds before they get a chance to grow, but you will need to remove those that take root.
After the winter, it’s a good idea to clean a patio. Remove any furniture, brush it, then weed. If it’s not in too bad a shape after the season’s weather, using a washing-up liquid solution and a stiff brush could be sufficient. Rinse with clean water. If that’s not enough, the best patio cleaners on the market will do the job with minimal elbow grease.
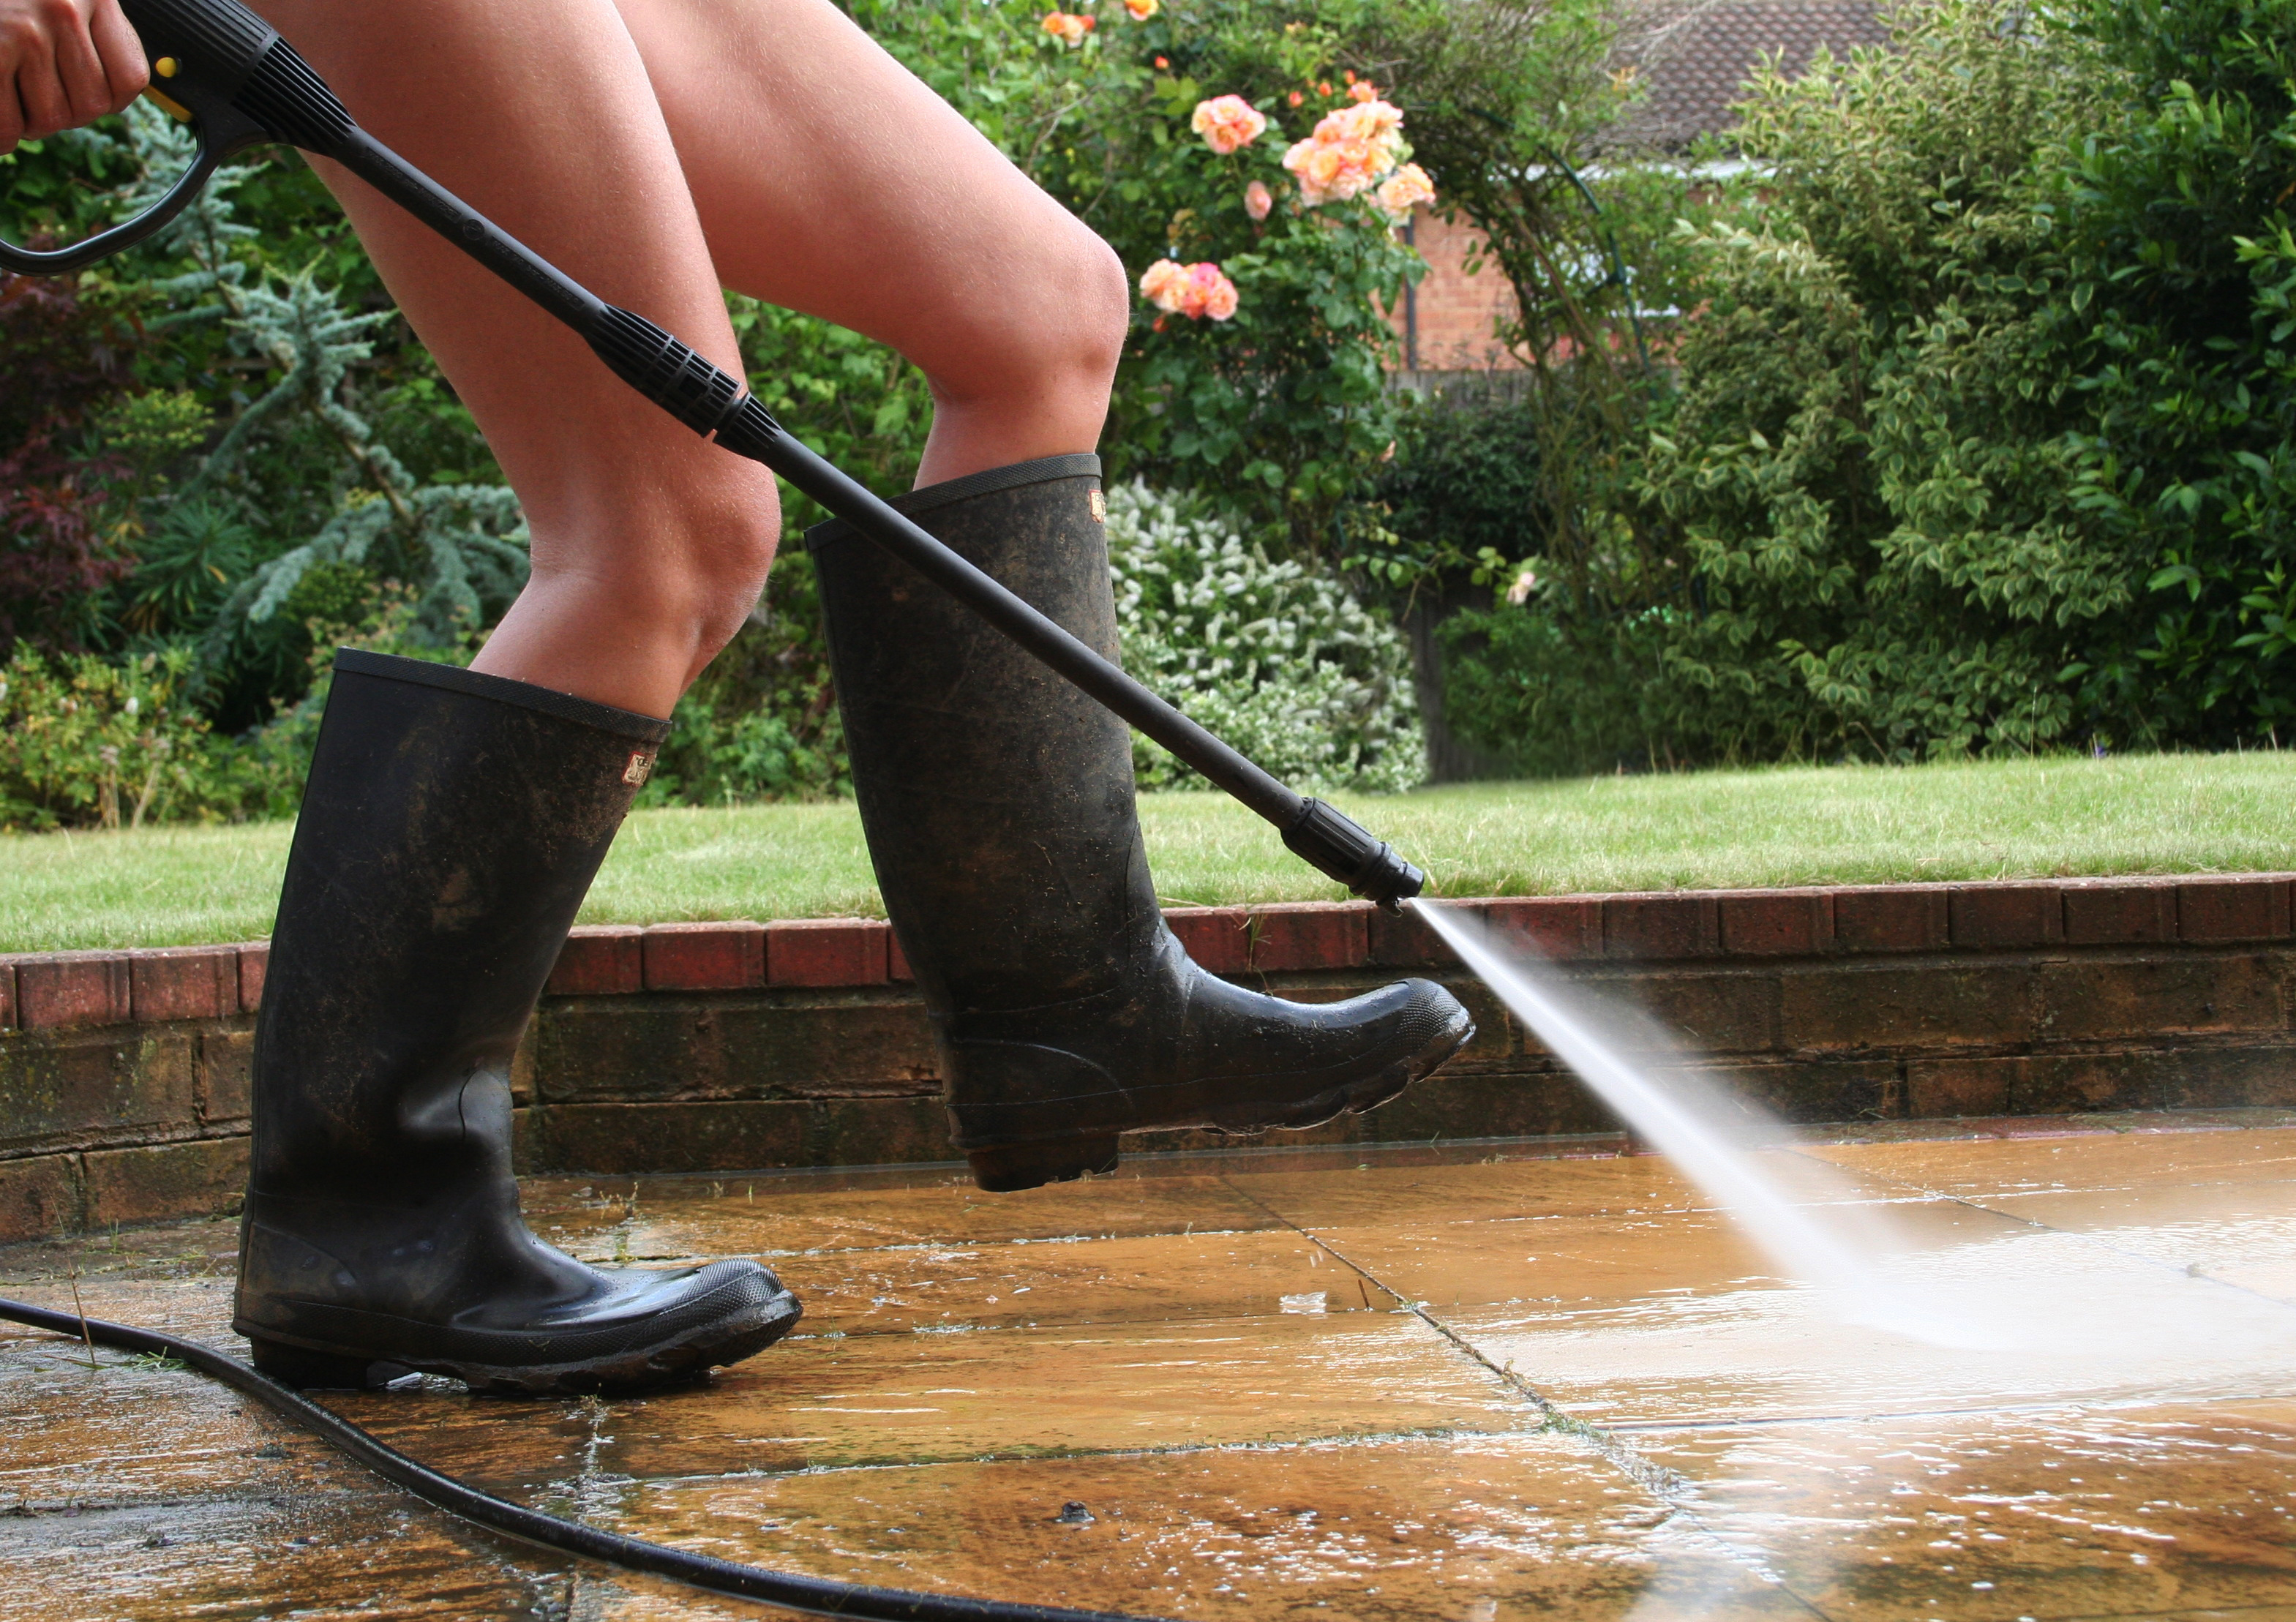
You can also use a pressure washer to clean a patio, but check first that this isn’t proscribed for the type of paving slabs you laid. Don’t use the pressure washer on any damaged areas, and keep it at a low angle with a fan setting if this is available. Make sure you work evenly in sections across the patio, too.
Read more:
- Decking ideas for gardens big and small
- Paving ideas for every budget
- The best composite decking

Sarah is a freelance journalist and editor writing for websites, national newspapers, and magazines. She’s spent most of her journalistic career specialising in homes and gardens and loves investigating the benefits, costs and practicalities of home improvement. It's no big surprise that she likes to put what she writes about into practice, and is a serial house revamper.
