How to carve a pumpkin: step-by-step tips for Halloween season
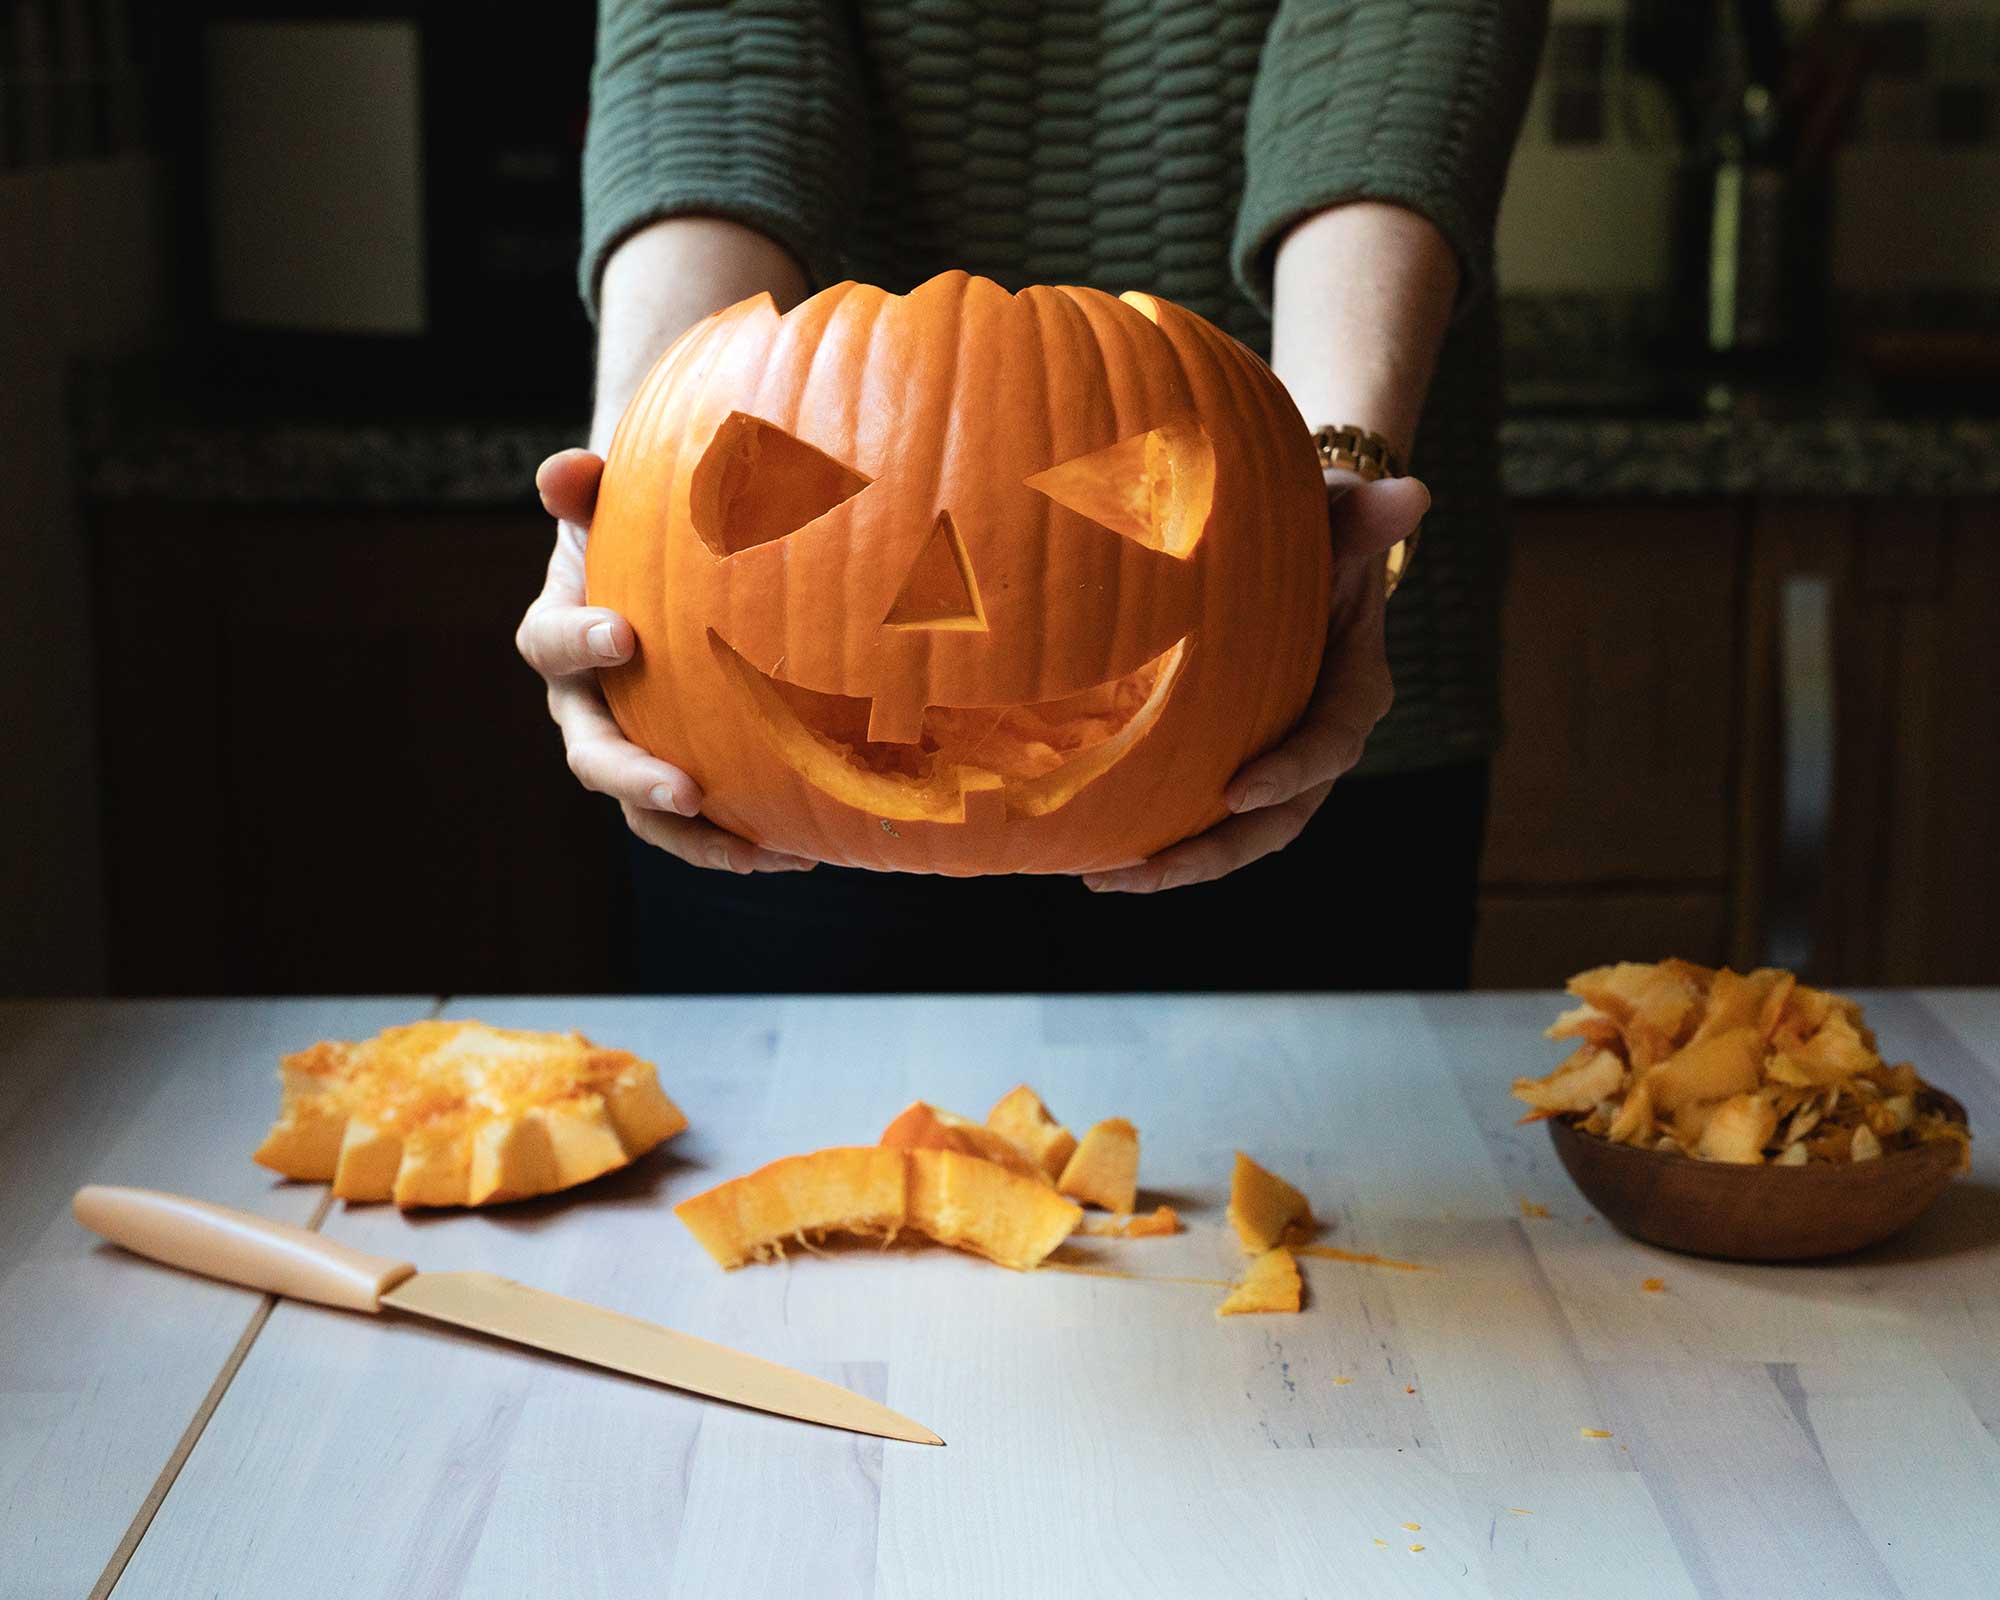
Learning how to carve a pumpkin is fun for all the family and will reward you with the best jack-o'-lantern on the block

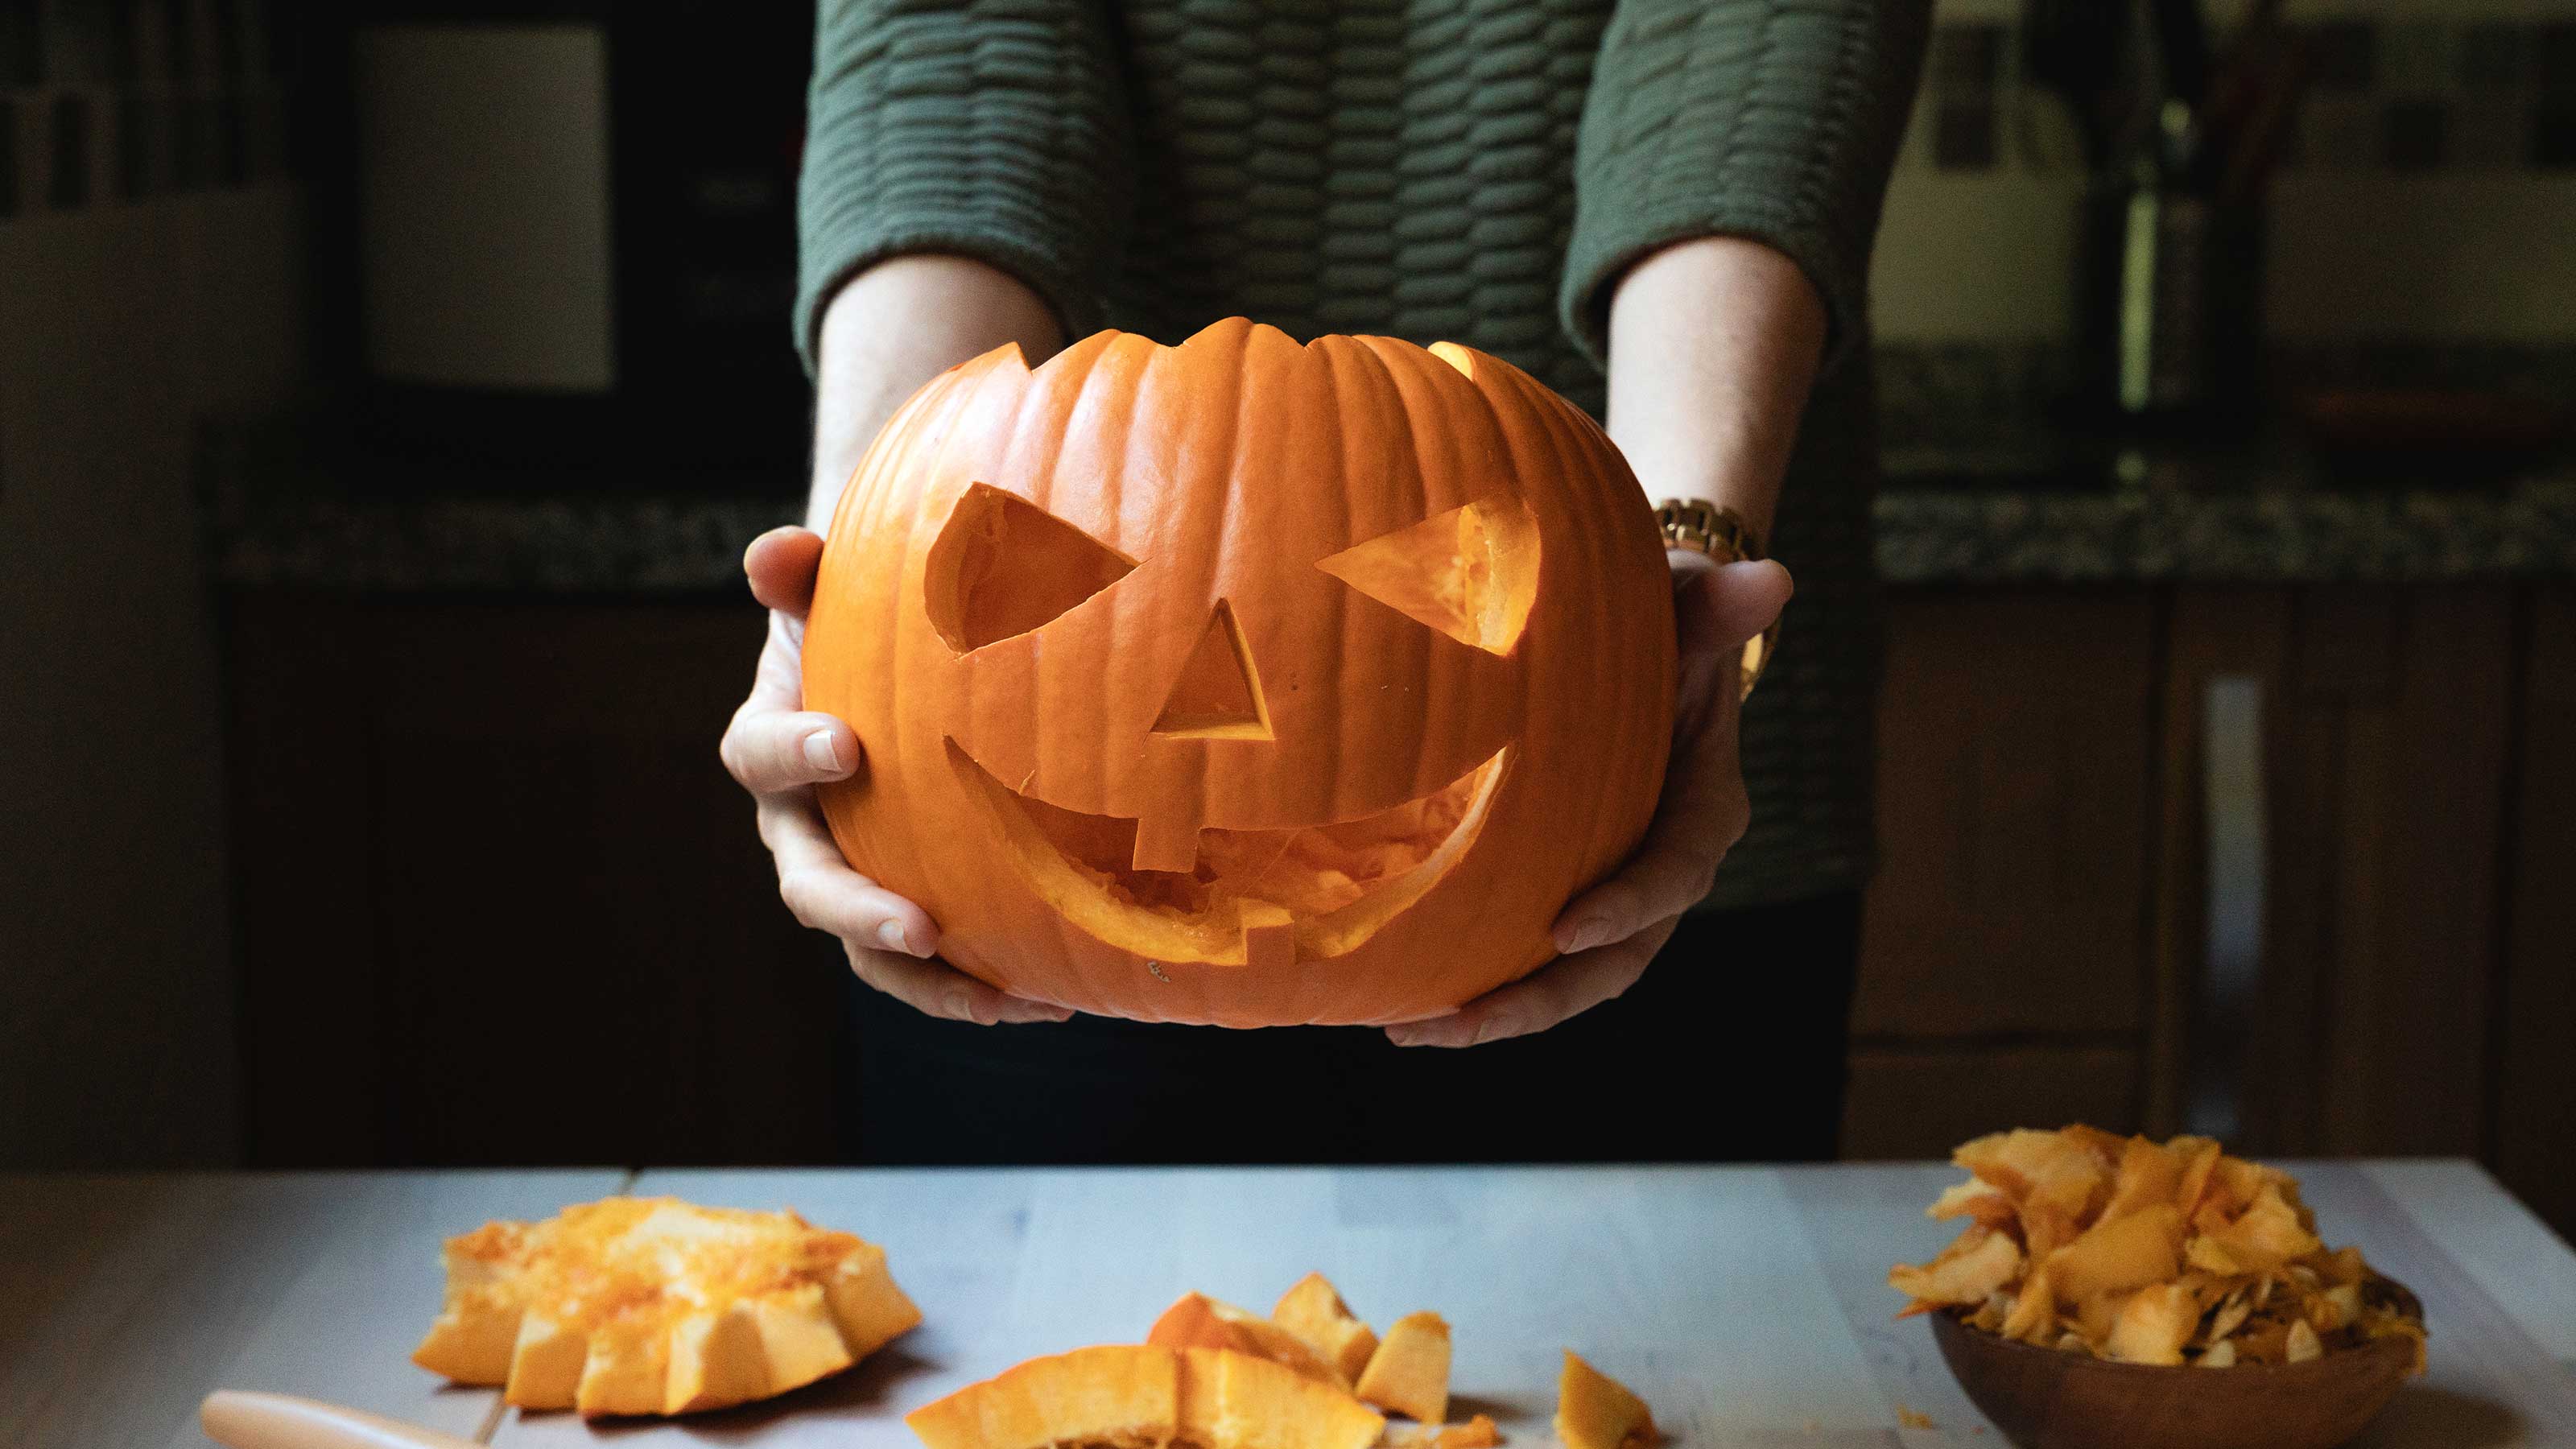
Want to know how to carve a pumpkin like a pro? We're here to help, so you can make a spooktacular display this fall.
Carved pumpkins are a staple when it comes to outdoor Halloween decor ideas. They're the perfect way to pep up a porch or wall to give your garden an enchanting glow. And once you know how to do it, making them is a fun event in itself – especially when you get family or friends involved (alongside some on-theme refreshments, of course).
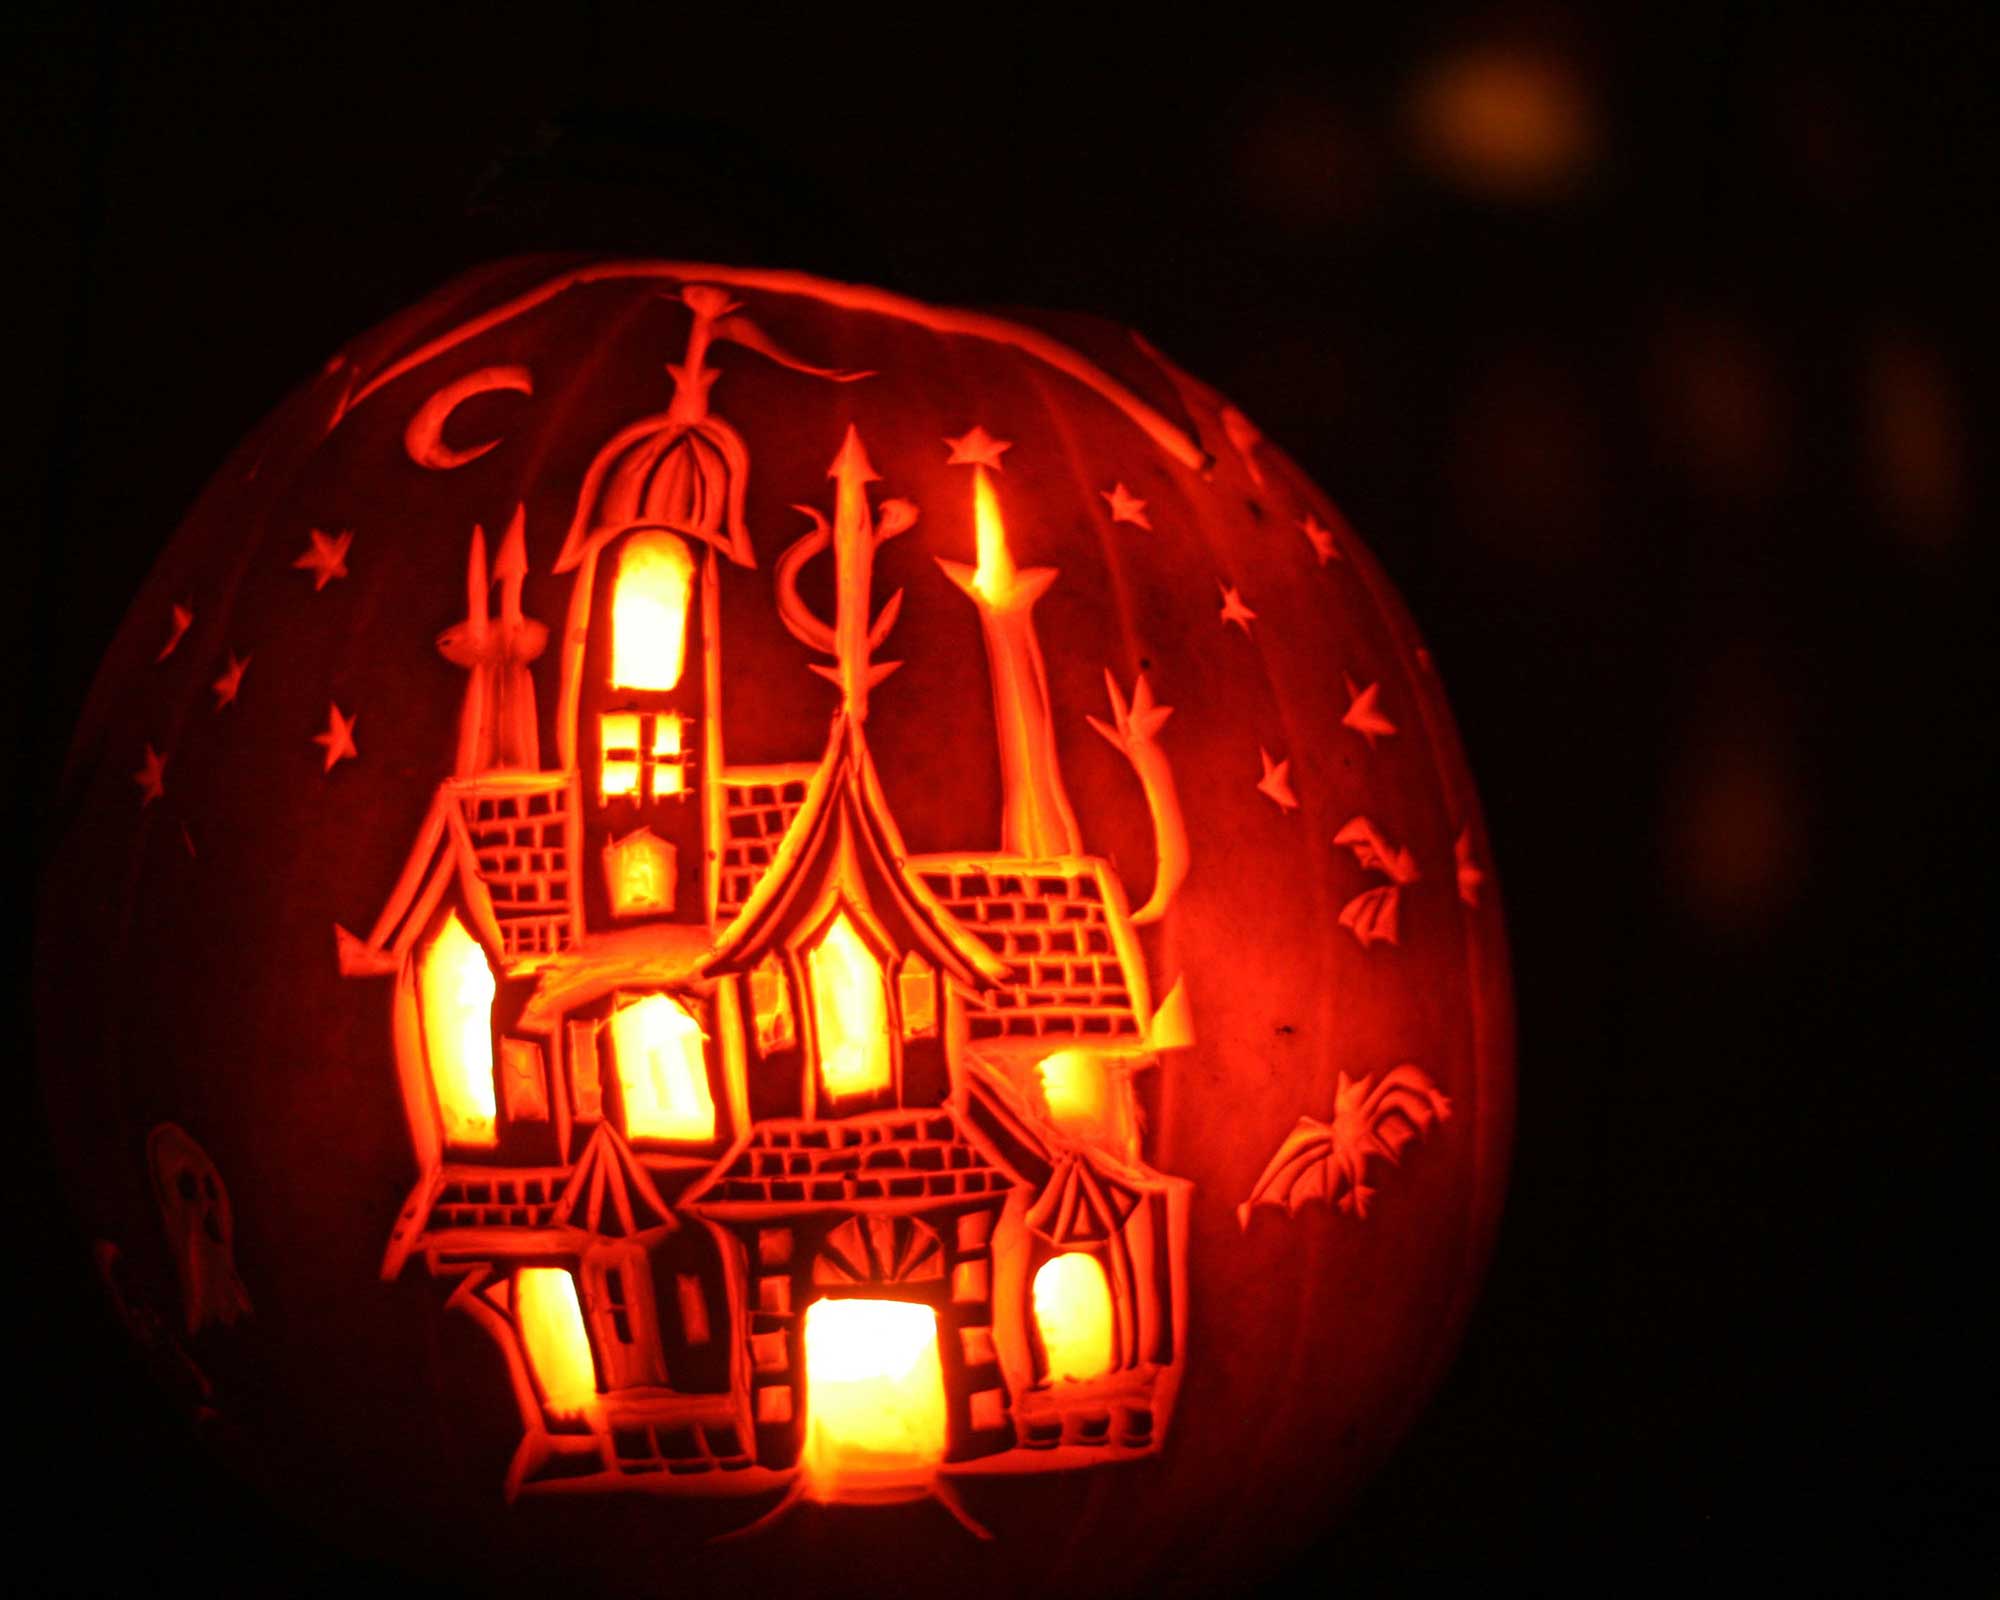
'There are many creative ways that you can carve a pumpkin, from the traditional scary faces to spooky patterns, to make your unique jack-o'-lantern come alive,' says Liam Lapping of Flowercard. And of course, if scary isn't really your scene, there are plenty of other options – a starry night's sky, autumnal leaves, or polka dots, for instance. And you don't have to be an award-winning artist. As long as you have the proper tools and the right approach, even a beginner can create something beautiful (or terrifying, in the right sort of way).

How to carve a pumpkin in 6 easy steps
To help you get started, we've put together a simple guide on how to carve a pumpkin below, with help from Liam Lapping.
- Choose a ripe pumpkin – you can find advice on spotting when a pumpkin is ripe to pick in our dedicated guide. Then, assemble the right tools – a serrated knife and large spoon or a pumpkin carving kit is best.
- Next, you'll need to cut a circular hole to hollow it out. You have two choices for where to do this: the top or the bottom of your pumpkin. Liam suggests cutting the bottom – 'this will stop the pumpkin from caving in from the top,' he says. If you do this and plan to use a real candle rather than an LED one, bear in mind that you'll need to cut away a small triangular hole in the top to act as a chimney. However, if you'd prefer to make a 'lid', cut a circle around the stalk at an angle, which will ensure it won't fall in.
- Use a large spoon to scoop out the innards, including all the seeds, making the pumpkin nice and hollow. Working in a spiral motion is generally the most effective way of doing this. Place these in a bowl to save for composting or using later.
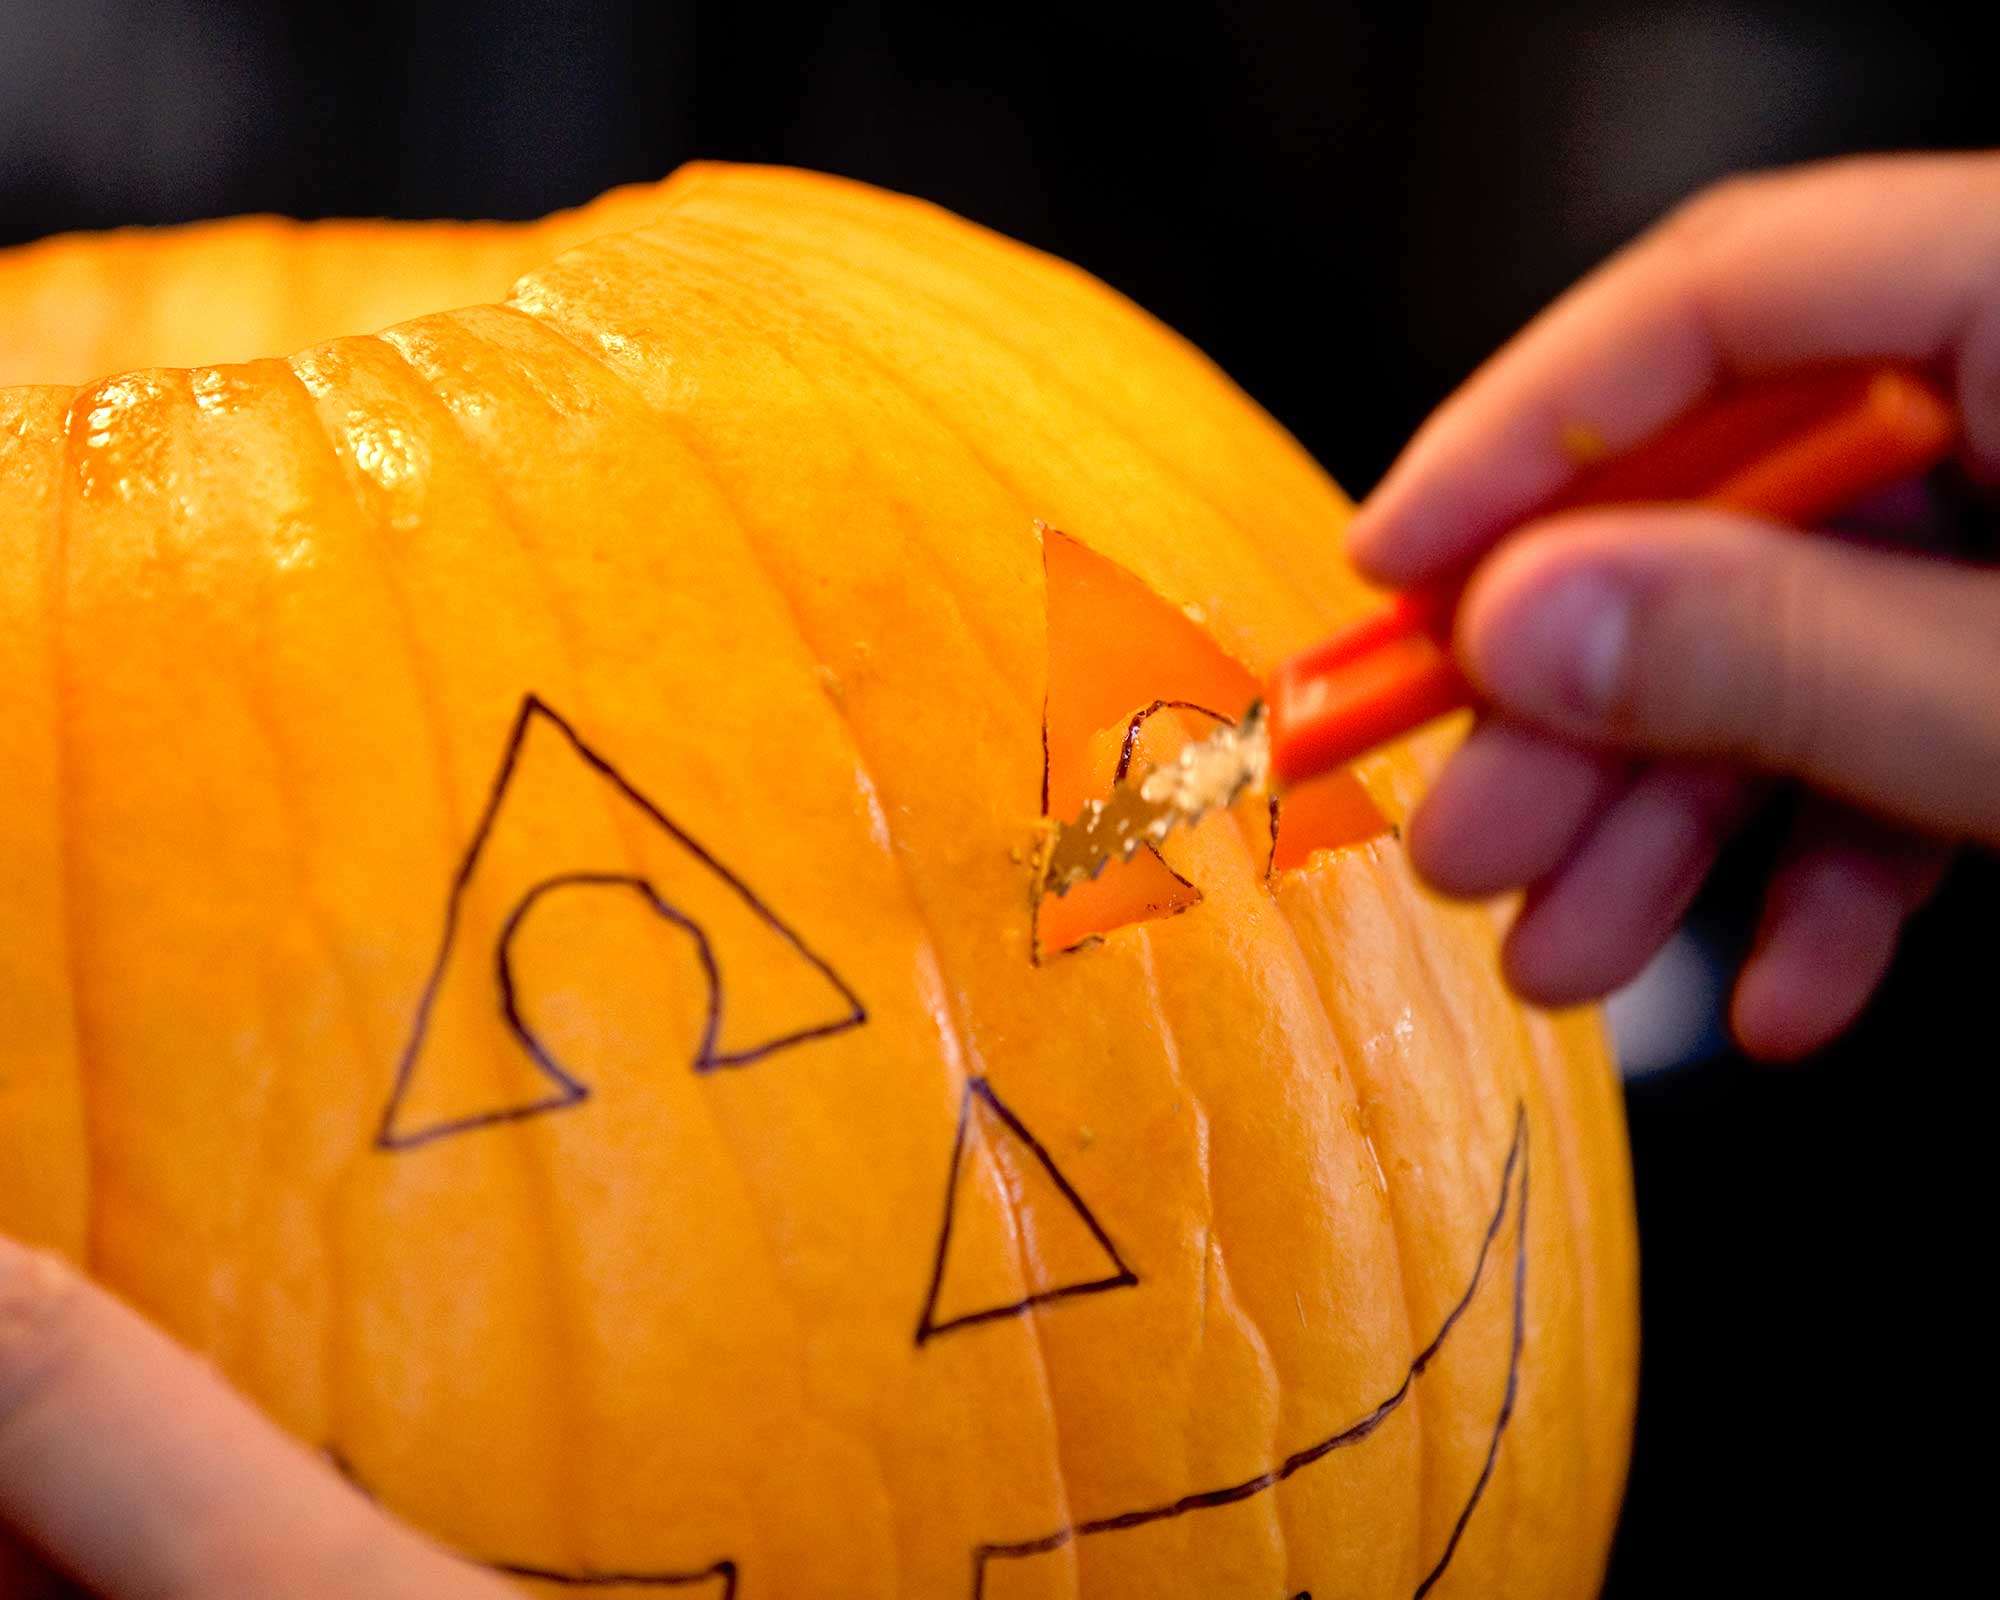
- Using a marker pen, draw out your spooky face or design.
- Cutting away from you with your serrated knife, carve out your design, removing any cut-out pieces as you go. Start with the smaller details to avoid breaking the pumpkin.
- Once your design is complete, add a tea light to the inside and voila, you have a perfect pumpkin!
What are the best tools to carve a pumpkin?
Using the right tools to carve your pumpkin not only makes the job easier but is safer, too.
A large serving spoon and your hands are all you need to scoop out the innards of your pumpkin. However, you can also buy special pumpkin scrapers with a serrated edge which will give you quicker results.
When it comes to cutting your pumpkin, your usual kitchen knife is probably not the best option. Instead, choose a small, serrated knife with a short handle. Even better – invest in a pumpkin carving kit from the likes of Amazon (most will include a scooper or scraper too).
The more elaborate of these kits will also include things like hole punches, engraving pens, and other tools more suitable for detailed work. If you really want to go all out for your Halloween porch decor, they're well worth it.
What is the best pumpkin for carving?
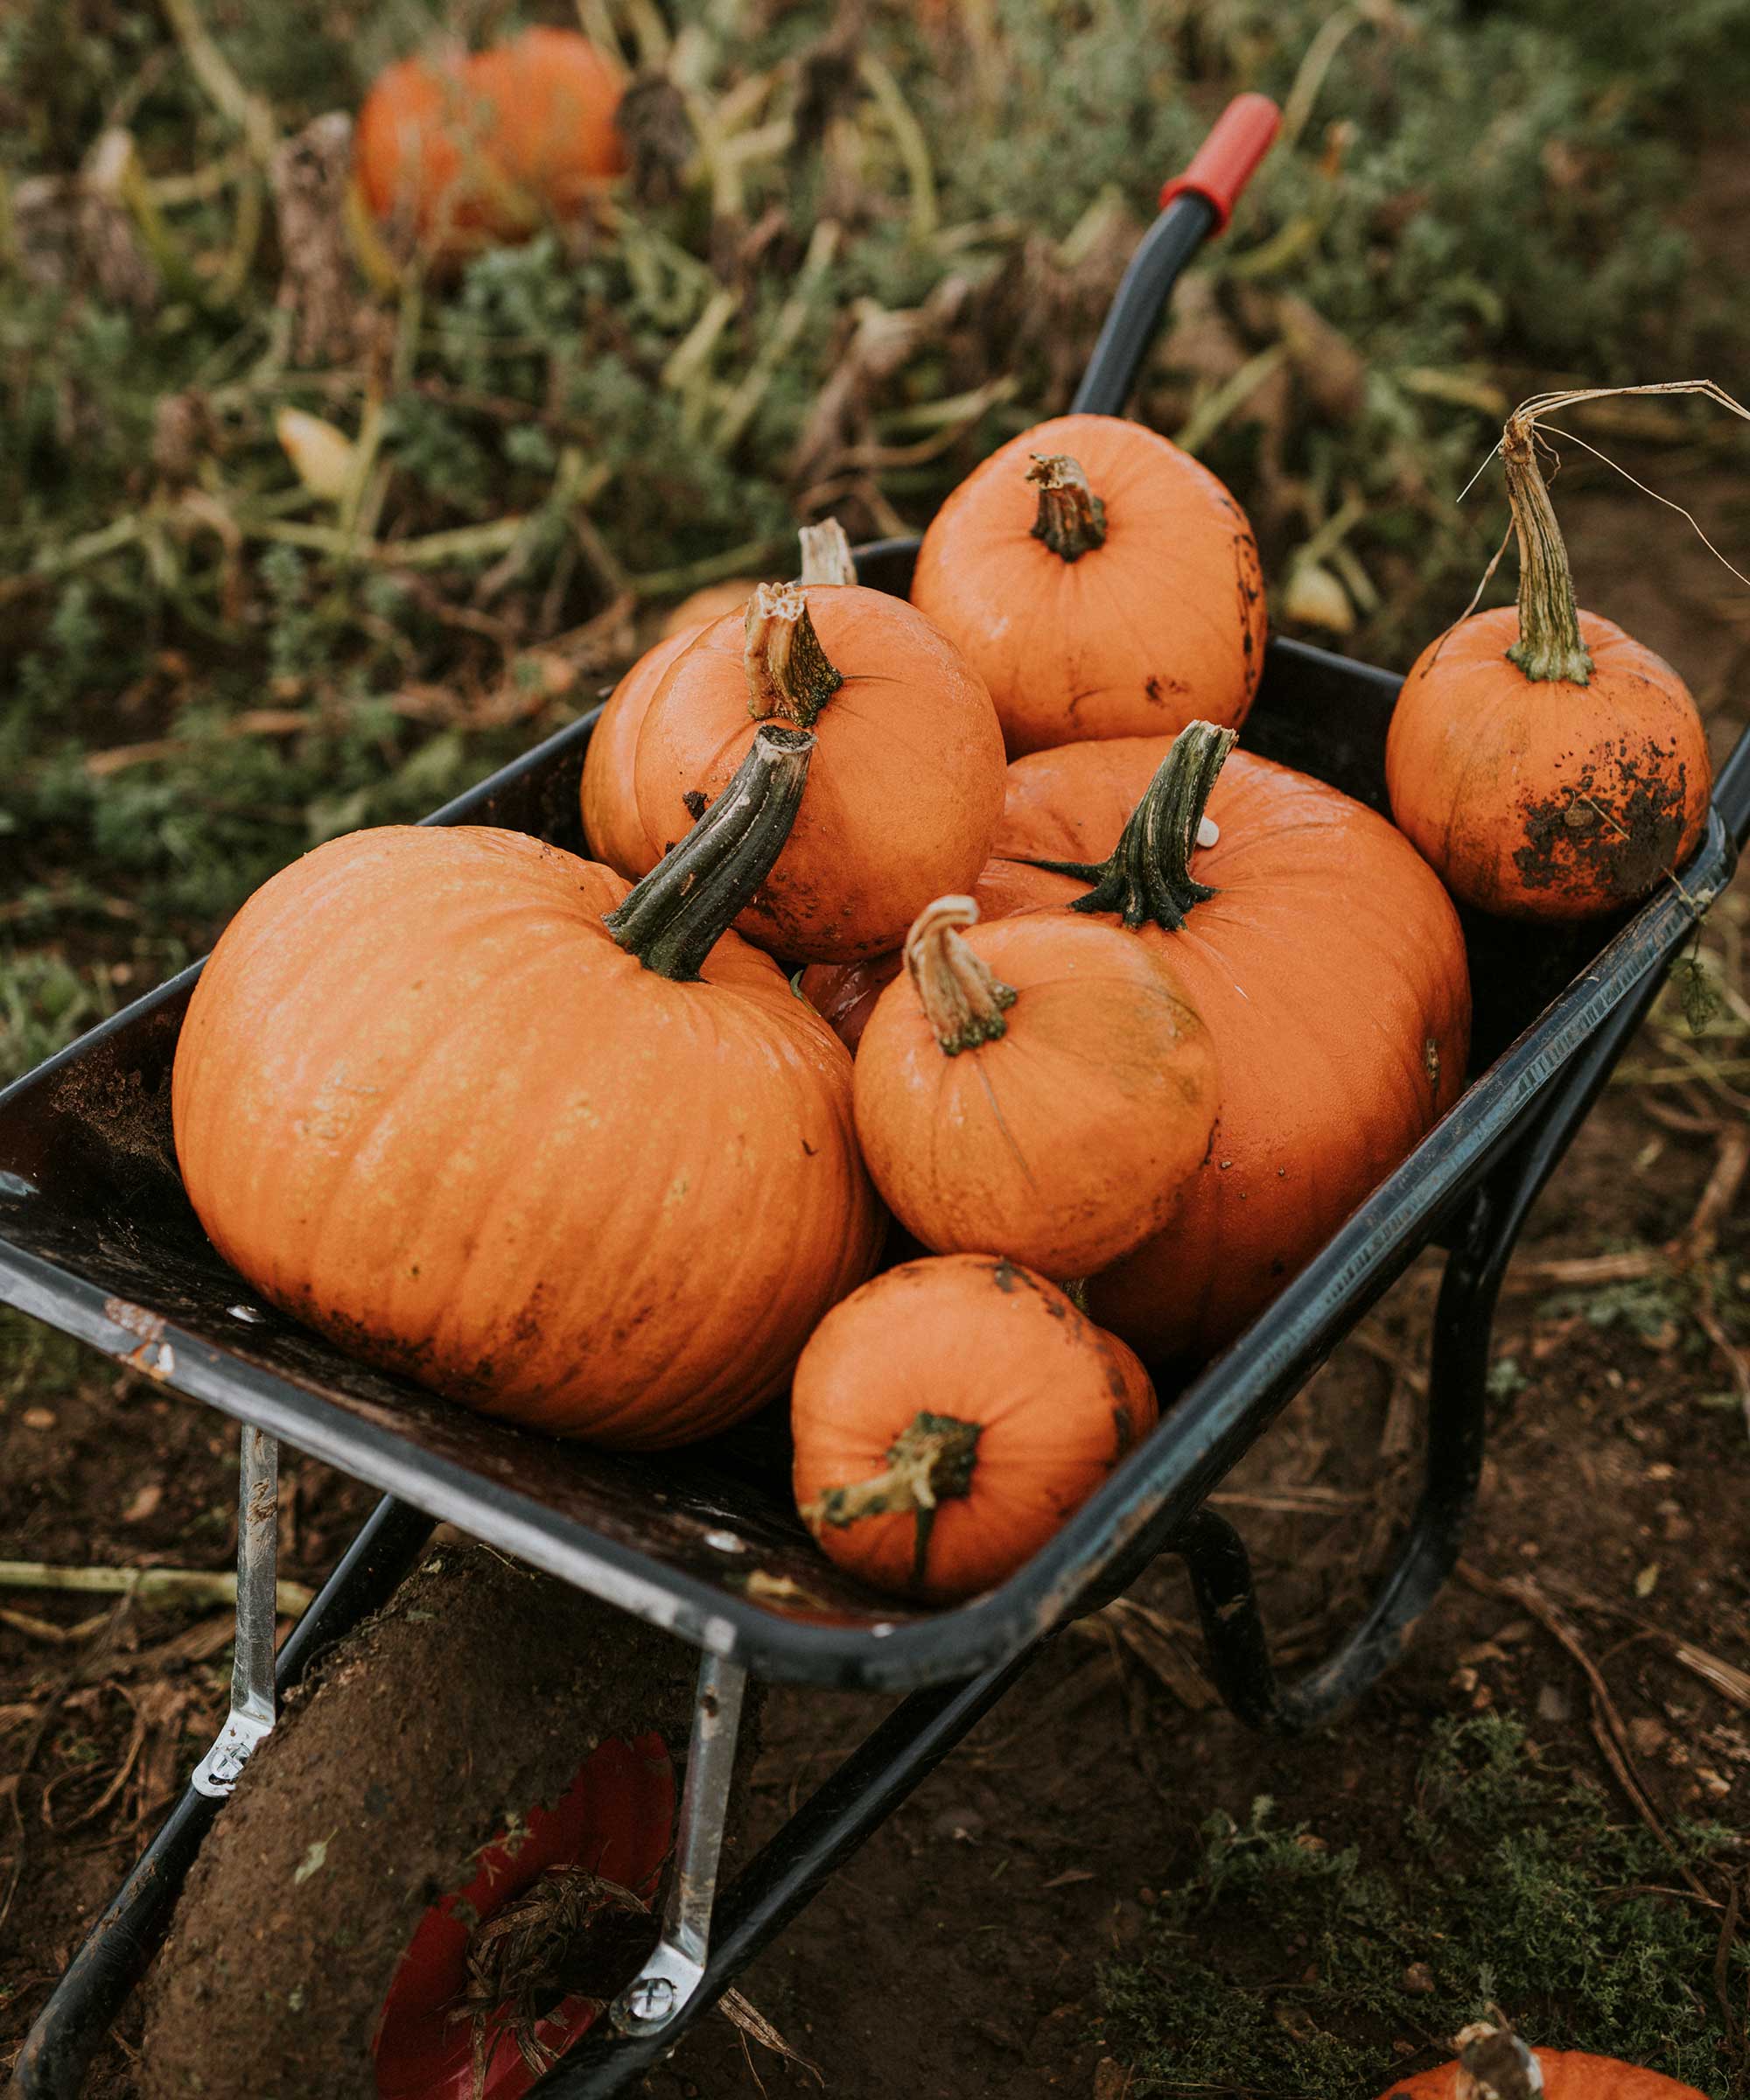
So, you're off to pick your pumpkin from the store or fresh from the patch. Or, maybe you've followed our tips on how to grow pumpkins and have some ready to go in your veg plot. Wherever you're sourcing it from, there are certain things to look out for.
'Pick the pumpkins that do not have any bruising and have a hard, deep-green stem,' advises Liam Lapping of Flowercard. 'Knocking on the pumpkin is the best way to make sure it is hollow and therefore ripe for carving.'
Bear in mind that some varieties of pumpkin are more suited for carving, whilst others are better for cooking. 'Many farmers and salespersons at the local stores leave labels that will lead you to the best ones for your task,' says Gheorghe Creanga from Fantastic Services. 'Usually, carving pumpkins are thinner and have fewer "guts" on the inside, which makes them easier to saw into.'
'The most popular variety of pumpkin during this time of the year is the "Jack-o'-lanterns",' continues Gheorghe. 'You will find these easily everywhere. They are a beautiful orange color, bred primarily for the holiday. Other types of pumpkins you can choose from are the "Cinderella" pumpkins, "Jill Be Little", "Gold Rush", "Wolf", "Hobbit" and "Autumn Gold".'
Liam adds, 'Another great spooky alternative to the traditional orange pumpkins are ghost pumpkins which are white in color.'
'Choose one with a flat base,' adds Gheorghe. You won't want it to sit crooked once you display it. And to make sure it gets home safely, don't carry it by the stem. Make sure to hold it from the bottom or put it in a bag instead.
What can you do with the leftover pumpkin after you've finished carving?
So, you've learned how to carve a pumpkin. But what can you do with all the leftovers? It seems a shame to waste them, however research conducted by surplus food experts Too Good To Go has found that more than two thirds of Brits don’t know what to do with the leftover pumpkin flesh and seeds.
The team share their tips on how to turn pumpkin seeds into a delicious and nutritious snack:
- Scoop the seeds from the pumpkin, then do your best to separate as much of the stringy pulp as possible from the seeds.
- Place the seeds in a bowl with water, and whisk quickly. The seeds will separate from the remaining pulp, and float to the top.
- Press the seeds with a tea towel to dry them, then place them on a baking tray. Drizzle with olive oil, sprinkle with salt and pepper, and toss to coat.
- Bake at 170°C (338°F) for 10–15 minutes, or until crunchy.
There are other yummy treats you can make with your pumpkin leftovers – our guide on what to do with a pumpkin after Halloween has more ideas.
More top tips for pumpkin carving
Try these additional tips for the best pumpkin in town:
- If a piece of your pumpkin falls off because you cut too deep, try using toothpicks to keep it in place, advises Gheorghe Creanga from Fantastic Services.
- Make sure to put a disposable tablecloth on the table where you are going to carve, adds Gheorghe. 'When you finish with the pumpkin, you can roll it up and throw it away.'
- 'If you are lighting your pumpkin with a candle, make sure to place it away from flammable objects and put a plate under it if it is on a wooden surface,' he adds. Never leave open flames unattended or in reach of young children. Of course, LED candles are always the safest option, as with all lantern-based outdoor lighting ideas.
- Speaking of safety, adults should take care of the carving part to reduce accidents. Kids can still get involved by drawing on their design. Looking for more fun ways to keep them entertained? Our guide to garden activities for kids has plenty.
- If you'd like to try a more detailed design, draw it on a piece of paper first, or print one out. Tape it to your pumpkin and carefully mark out the lines with a series of small holes using a thumbtack before removing the paper and carving.
- Try sprinkling a little cinnamon on the inside of your pumpkin once it's been carved, then blot with a paper towel so there's no excess (as this can be flammable). If you use a real tea light, your pumpkin will then offer a delicious autumnal scent once lit.

The garden was always a big part of Holly's life growing up, as was the surrounding New Forest where she lived. Her appreciation for the great outdoors has only grown since then. She's been an allotment keeper, a professional gardener, and a botanical illustrator – plants are her passion.
