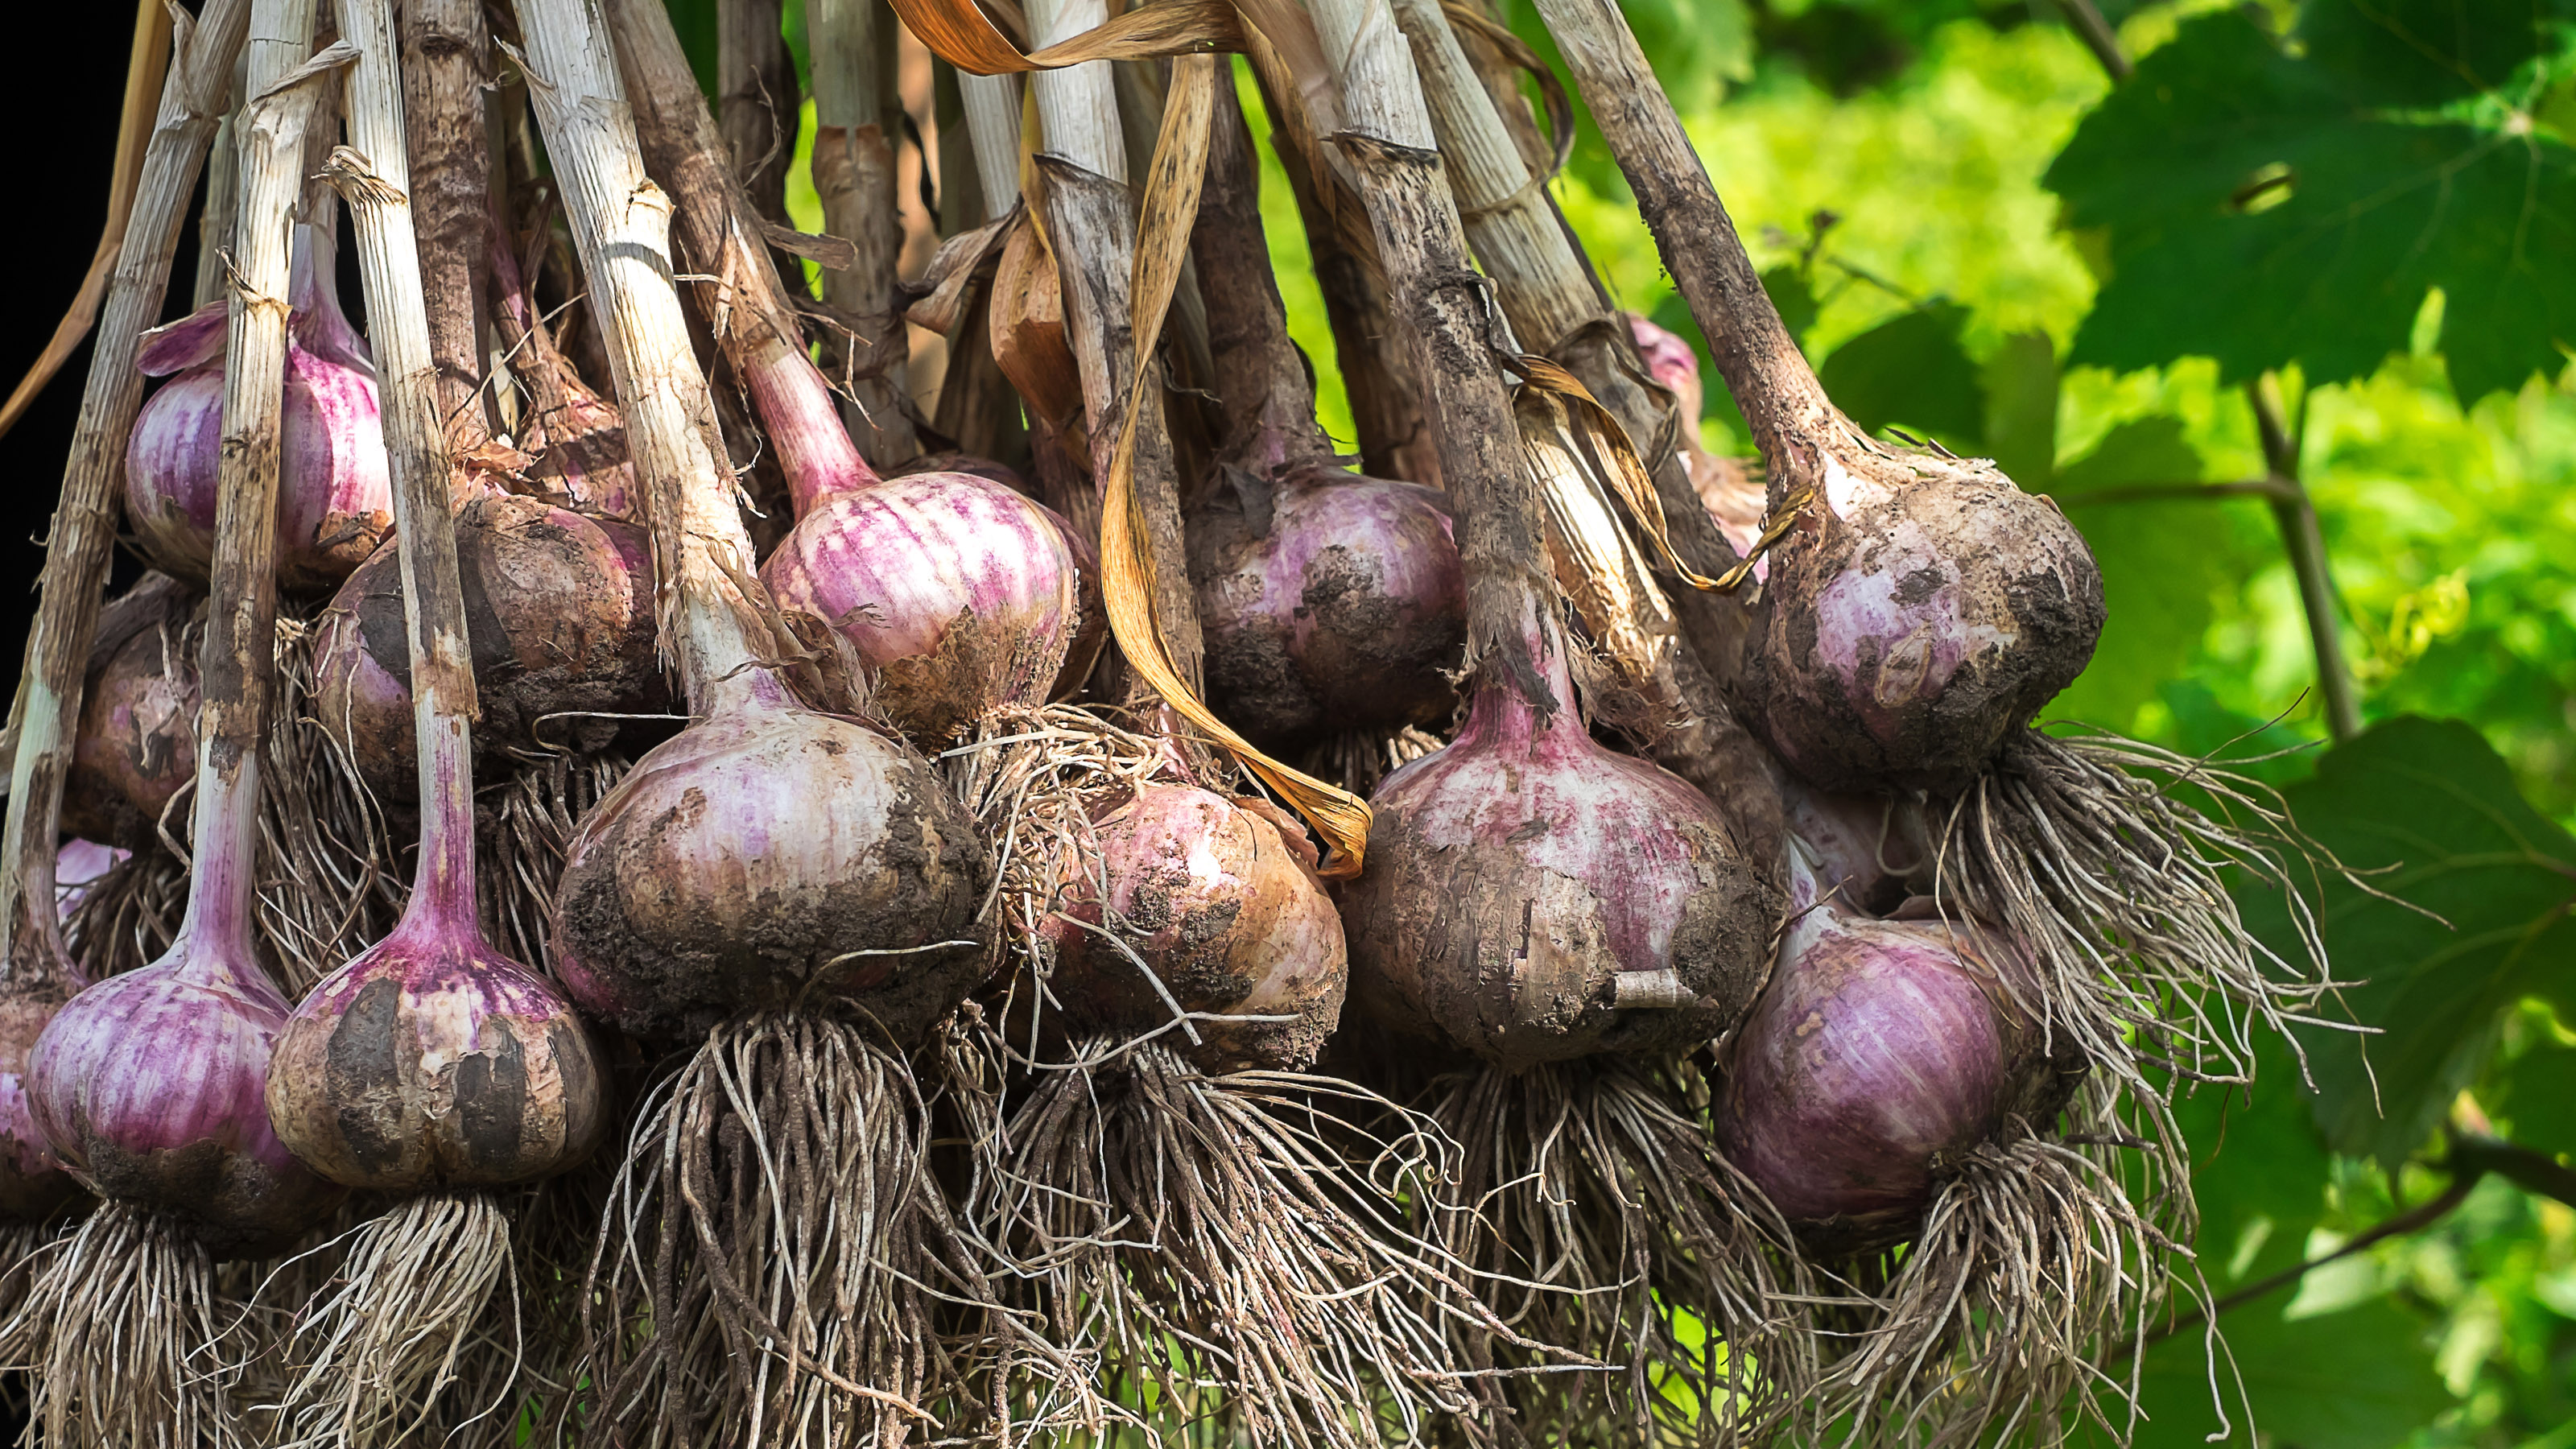
Monty Don’s top tips on harvesting garlic and shallots successfully
Make the most of the delicious produce from your kitchen garden with Monty Don’s top tips for harvesting garlic and shallots


The July garden has bounty galore for all grow-your-own fans. New potatoes, along with peas, beans, carrots and salad crops are ready for harvesting and enjoying in summer meals that taste infinitely better for being so fresh, as well as the results of your own efforts.
And gardening expert Monty Don has reminded us of two more kitchen garden favorites that are ready right about now: garlic and shallots, and shared his advice on harvesting them both.
For Monty’s top tips on a successful garlic and shallot harvest, just scroll down. And if you’re still buying yours in the store and love the idea of getting it from your own garden instead, discover all you need to know in our special feature on how to grow garlic.
Monty Don’s top tips on harvesting garlic and shallots

Monty Don provided the inside track on harvesting garlic and shallots on his website. Now we’re sharing his top tips plus some advice of our own.
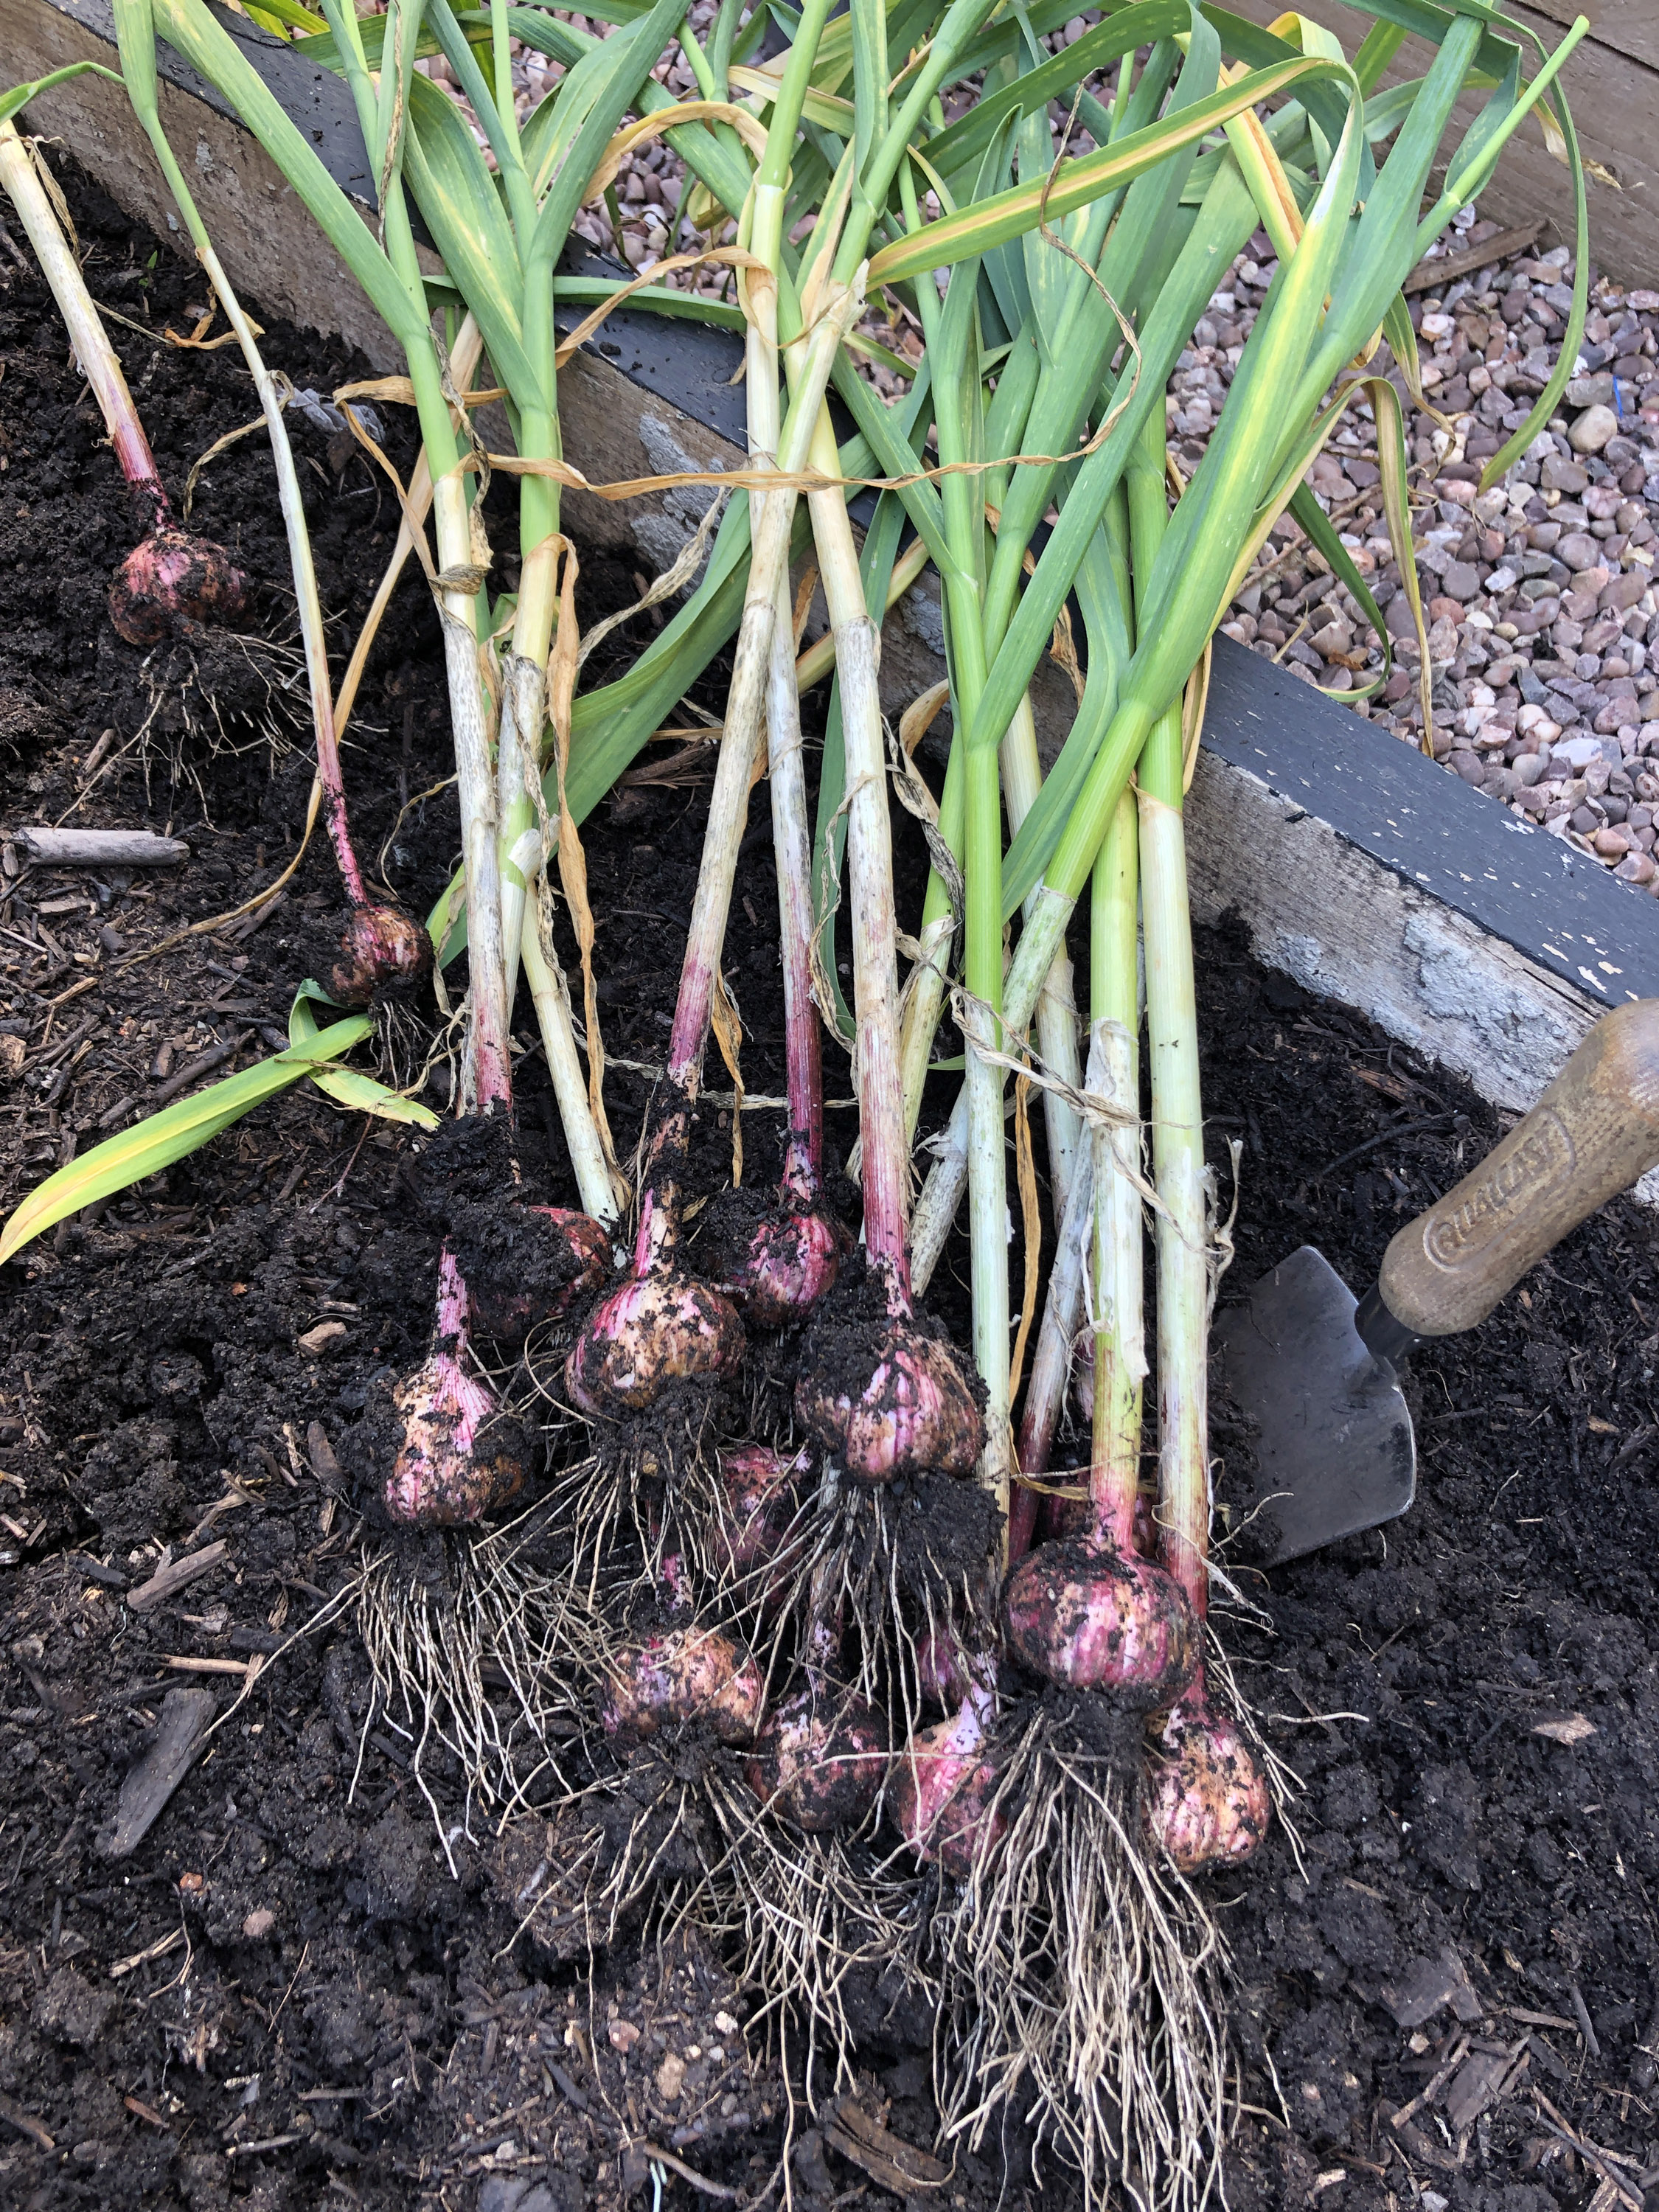
1. What are the signs that garlic and shallots are ready to be harvested from your kitchen garden? According to Monty if the leaves are going yellow and seed heads are forming then that’s a good indication that both garlic and shallots are ready to harvest.
2. If you’re also growing onions in your raised garden bed ideas, look out for the same signs, Monty says, but reminds us that these might need a few more weeks still. There's more tips in our guide on how to grow onions.
3. To get garlic and shallots out of the ground, Monty stipulates that you should use a fork. Don’t pull them out by hand, he says. The reason for careful lifting is to avoid causing damage to the roots and what’s called the root plate where they are attached to the bulb.
Shallots will be clustered, and you should carefully separate them into individual bulbs.
4. The next step is to clean off any surplus soil, explains Monty. As for the foliage and roots he says you shouldn’t remove them.

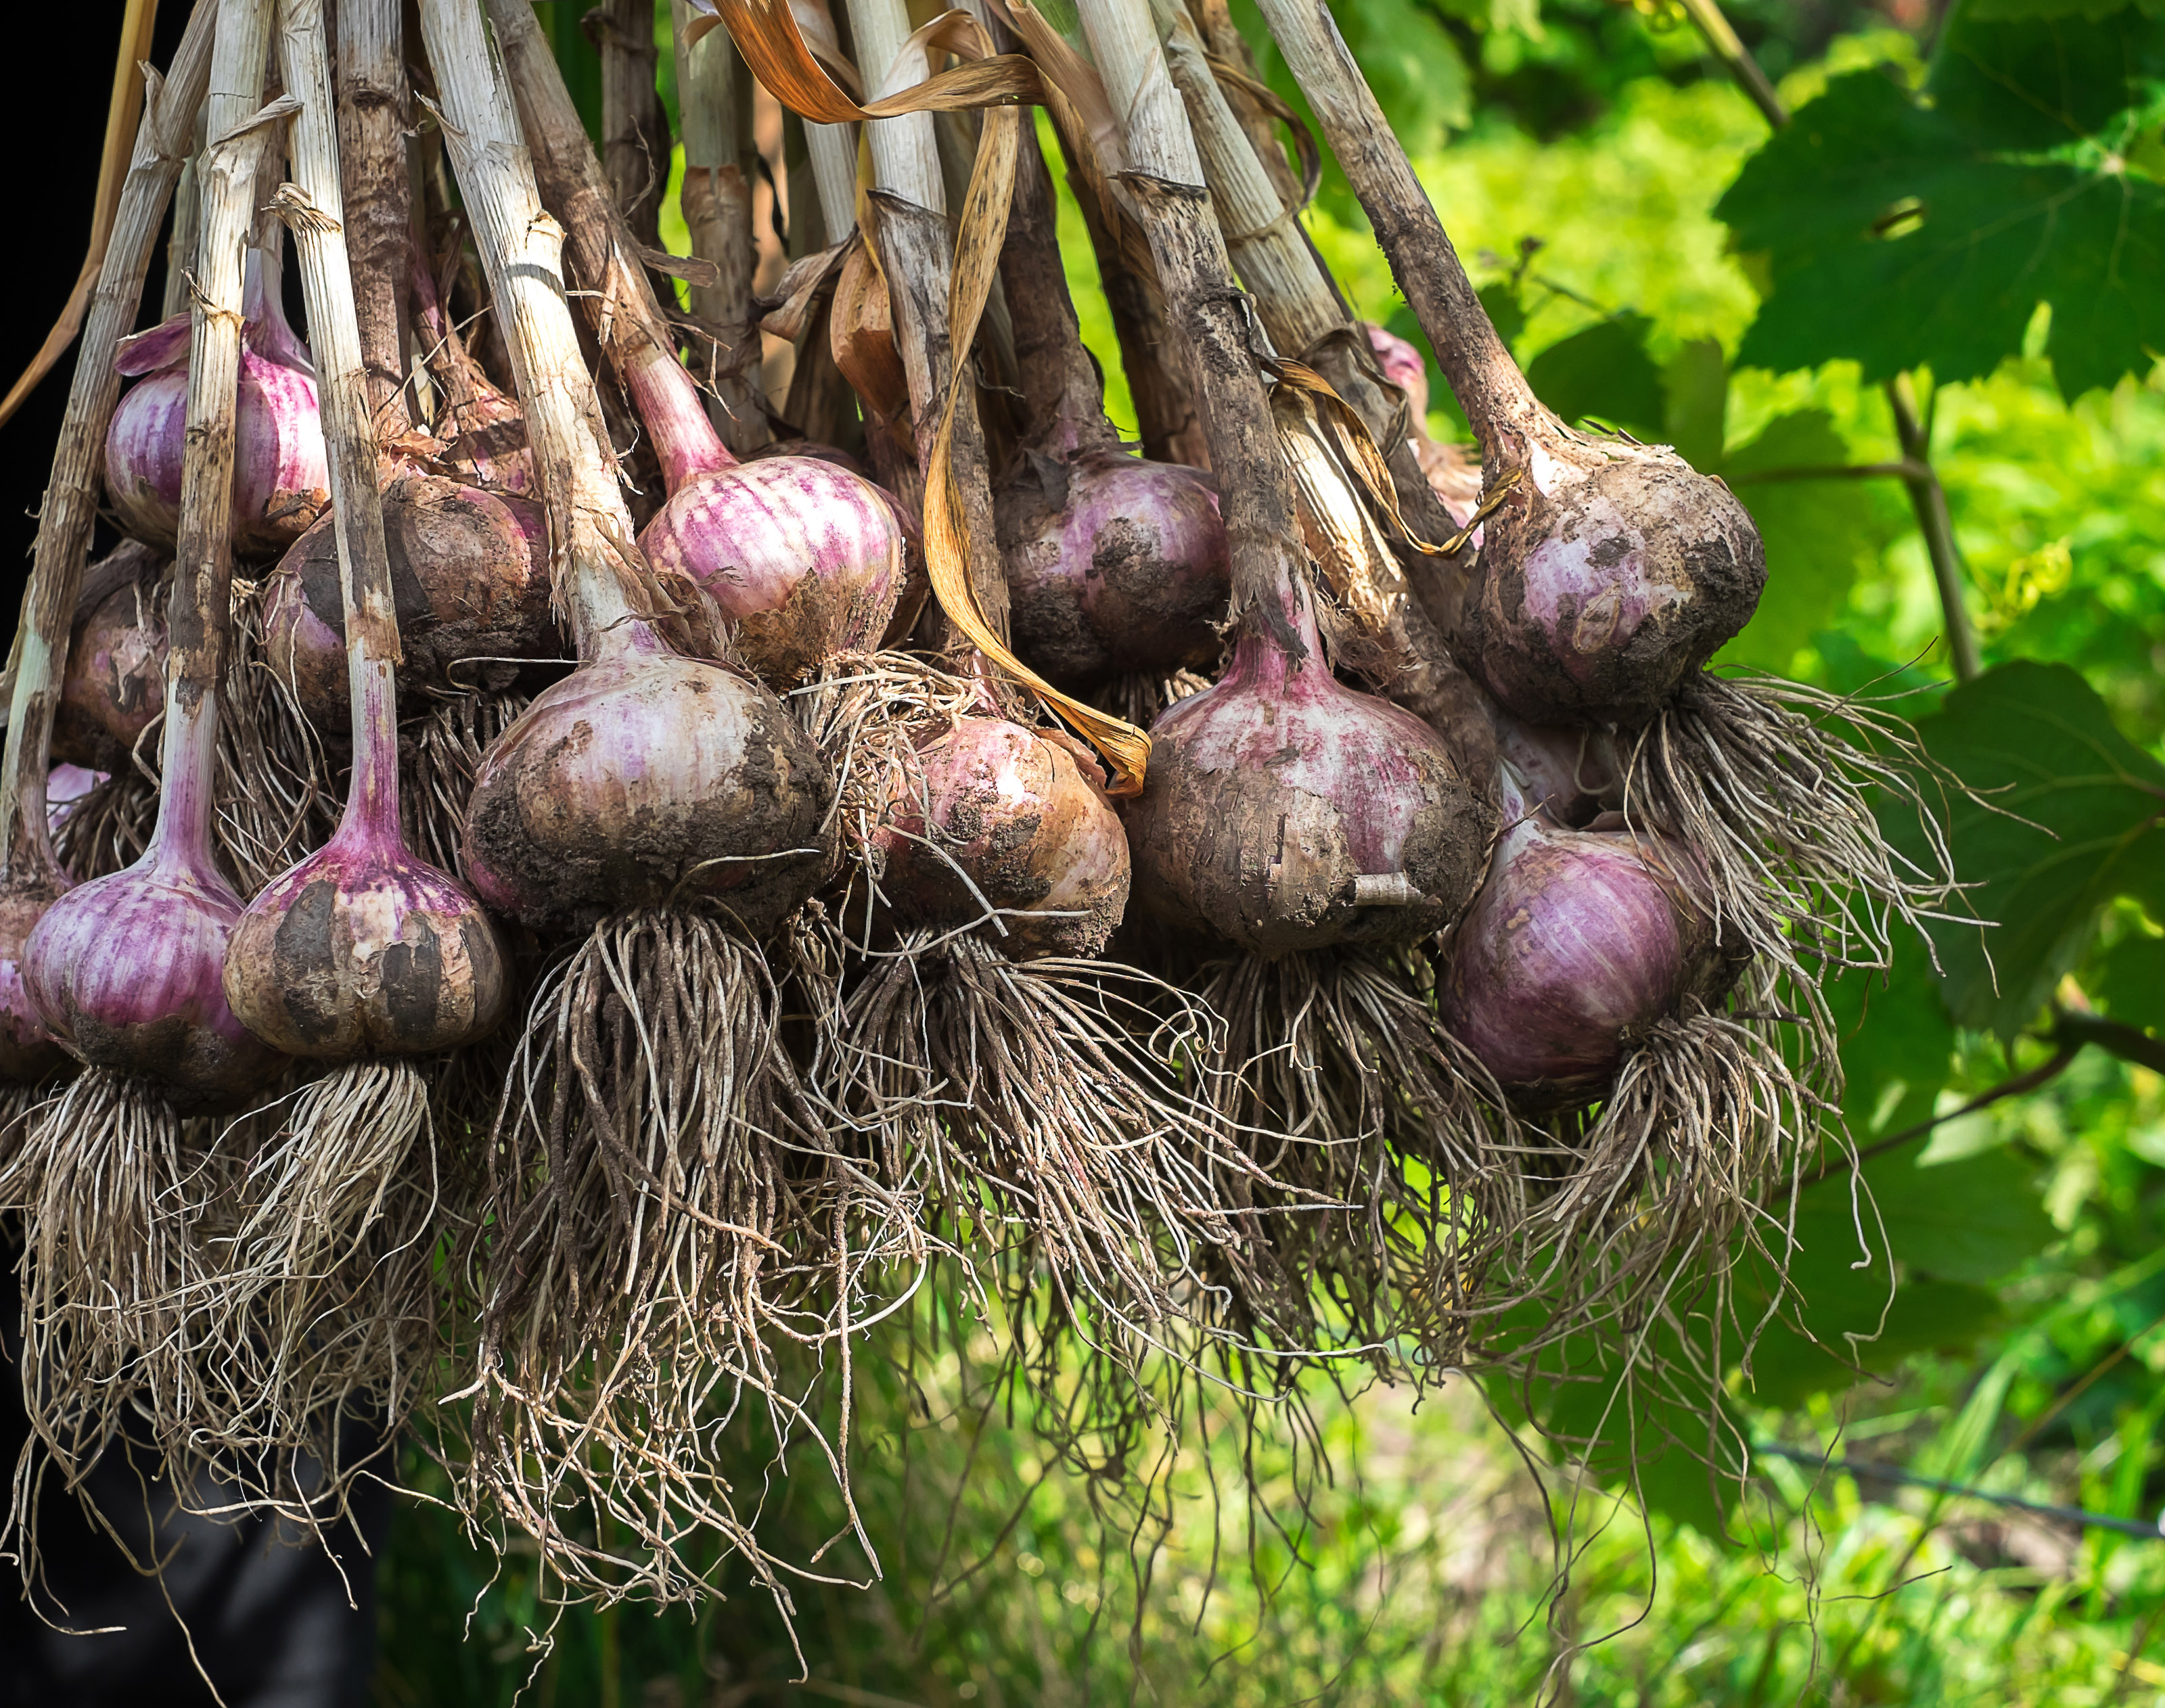
5. After that Monty dries both garlic and shallots. If the soil is dry and warm, you can leave them there in your kitchen garden ideas, he says. However, you might prefer to use his suggestion of making a drying rack from chicken wire stretched over posts. Alternatively, dry them in the greenhouse, he says.
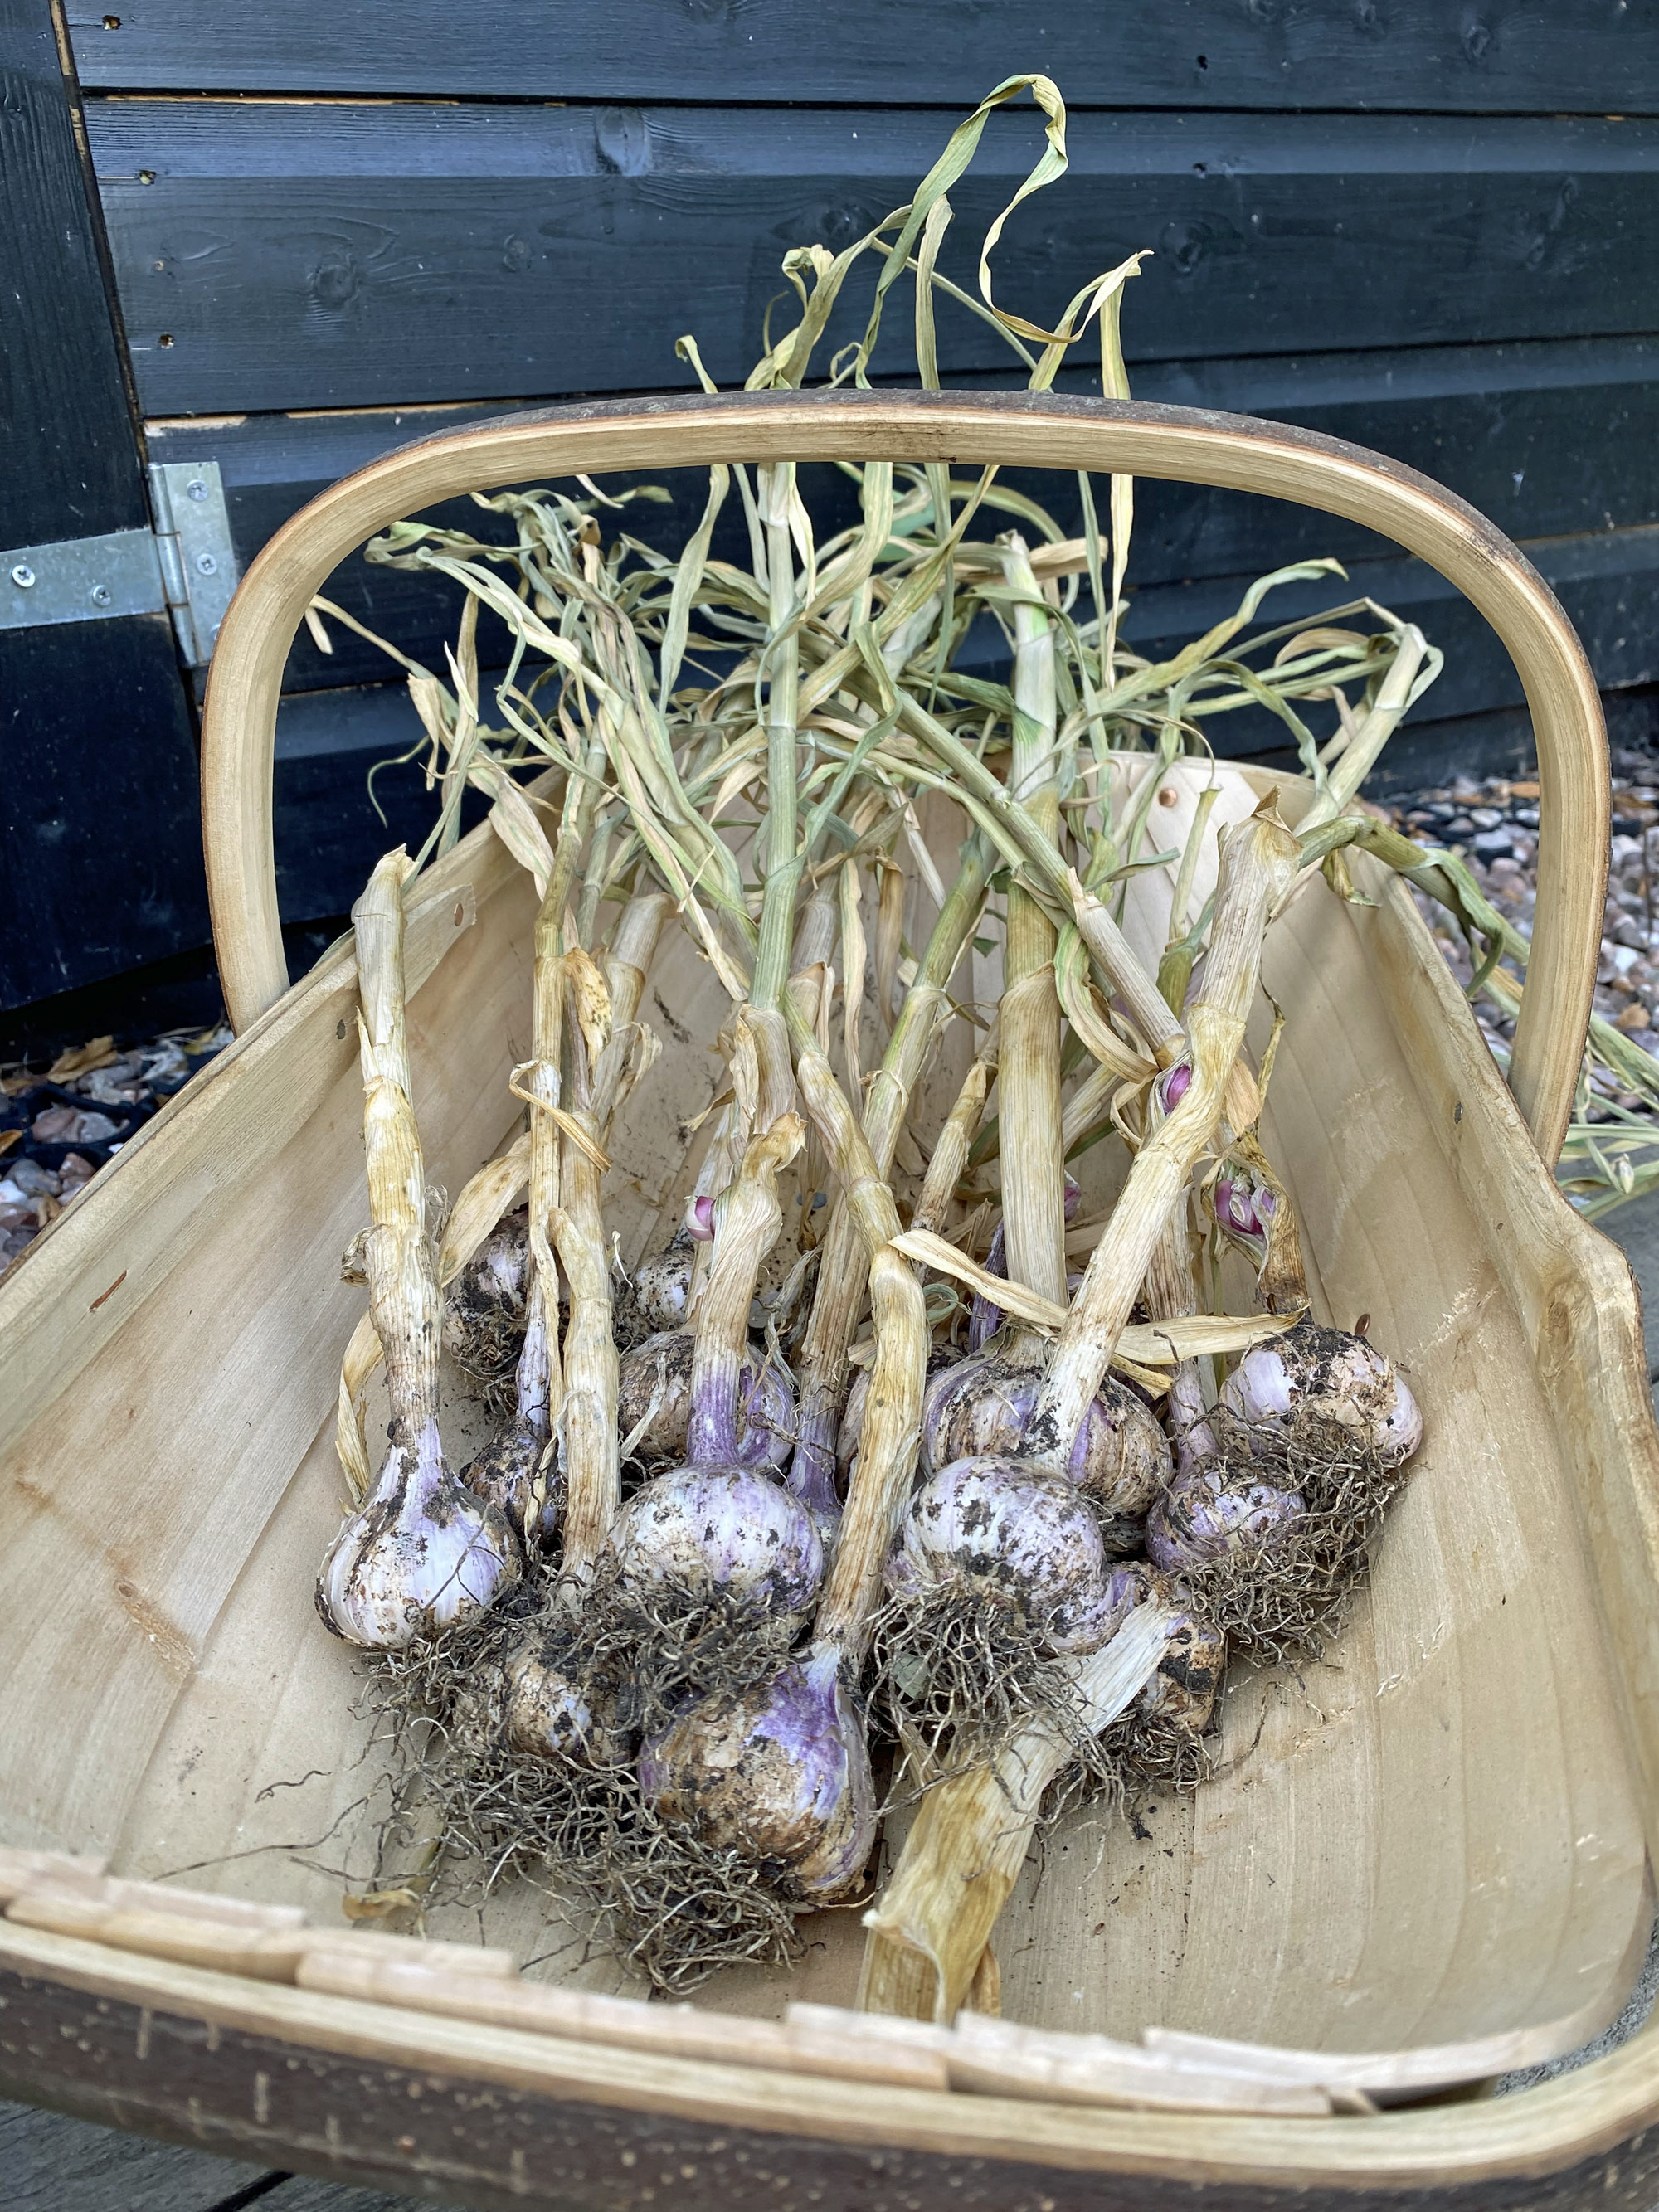
6. Thorough drying of garlic and shallots usually takes a few weeks, Monty explains. Only then can they be topped and tailed ready to be stored.

7. Keep shallots in trays or nets somewhere that’s cool but free of frost. The location should also be dry, light and well ventilated. They should be fine for a minimum of six to eight months.
8. As for garlic, that needs to be stored in a dry, cool place at a temperature of 41 to 50ºF (5 to 10ºC) in a net. It should keep for several months.

Sarah is a freelance journalist and editor writing for websites, national newspapers, and magazines. She’s spent most of her journalistic career specialising in homes and gardens and loves investigating the benefits, costs and practicalities of home improvement. It's no big surprise that she likes to put what she writes about into practice, and is a serial house revamper.
