Revamp and revive your terracotta pots in just five simple steps
Feeling creative? Add a burst of colour to your terracotta planters this weekend with this simple DIY paint project


Container gardening is a great way to add plant life to patios or balconies. But without the freedom of being able to plant directly into the ground, it can feel a little restrictive. If you're desperate to add some creative flair to your garden, look to the plant pots themselves!
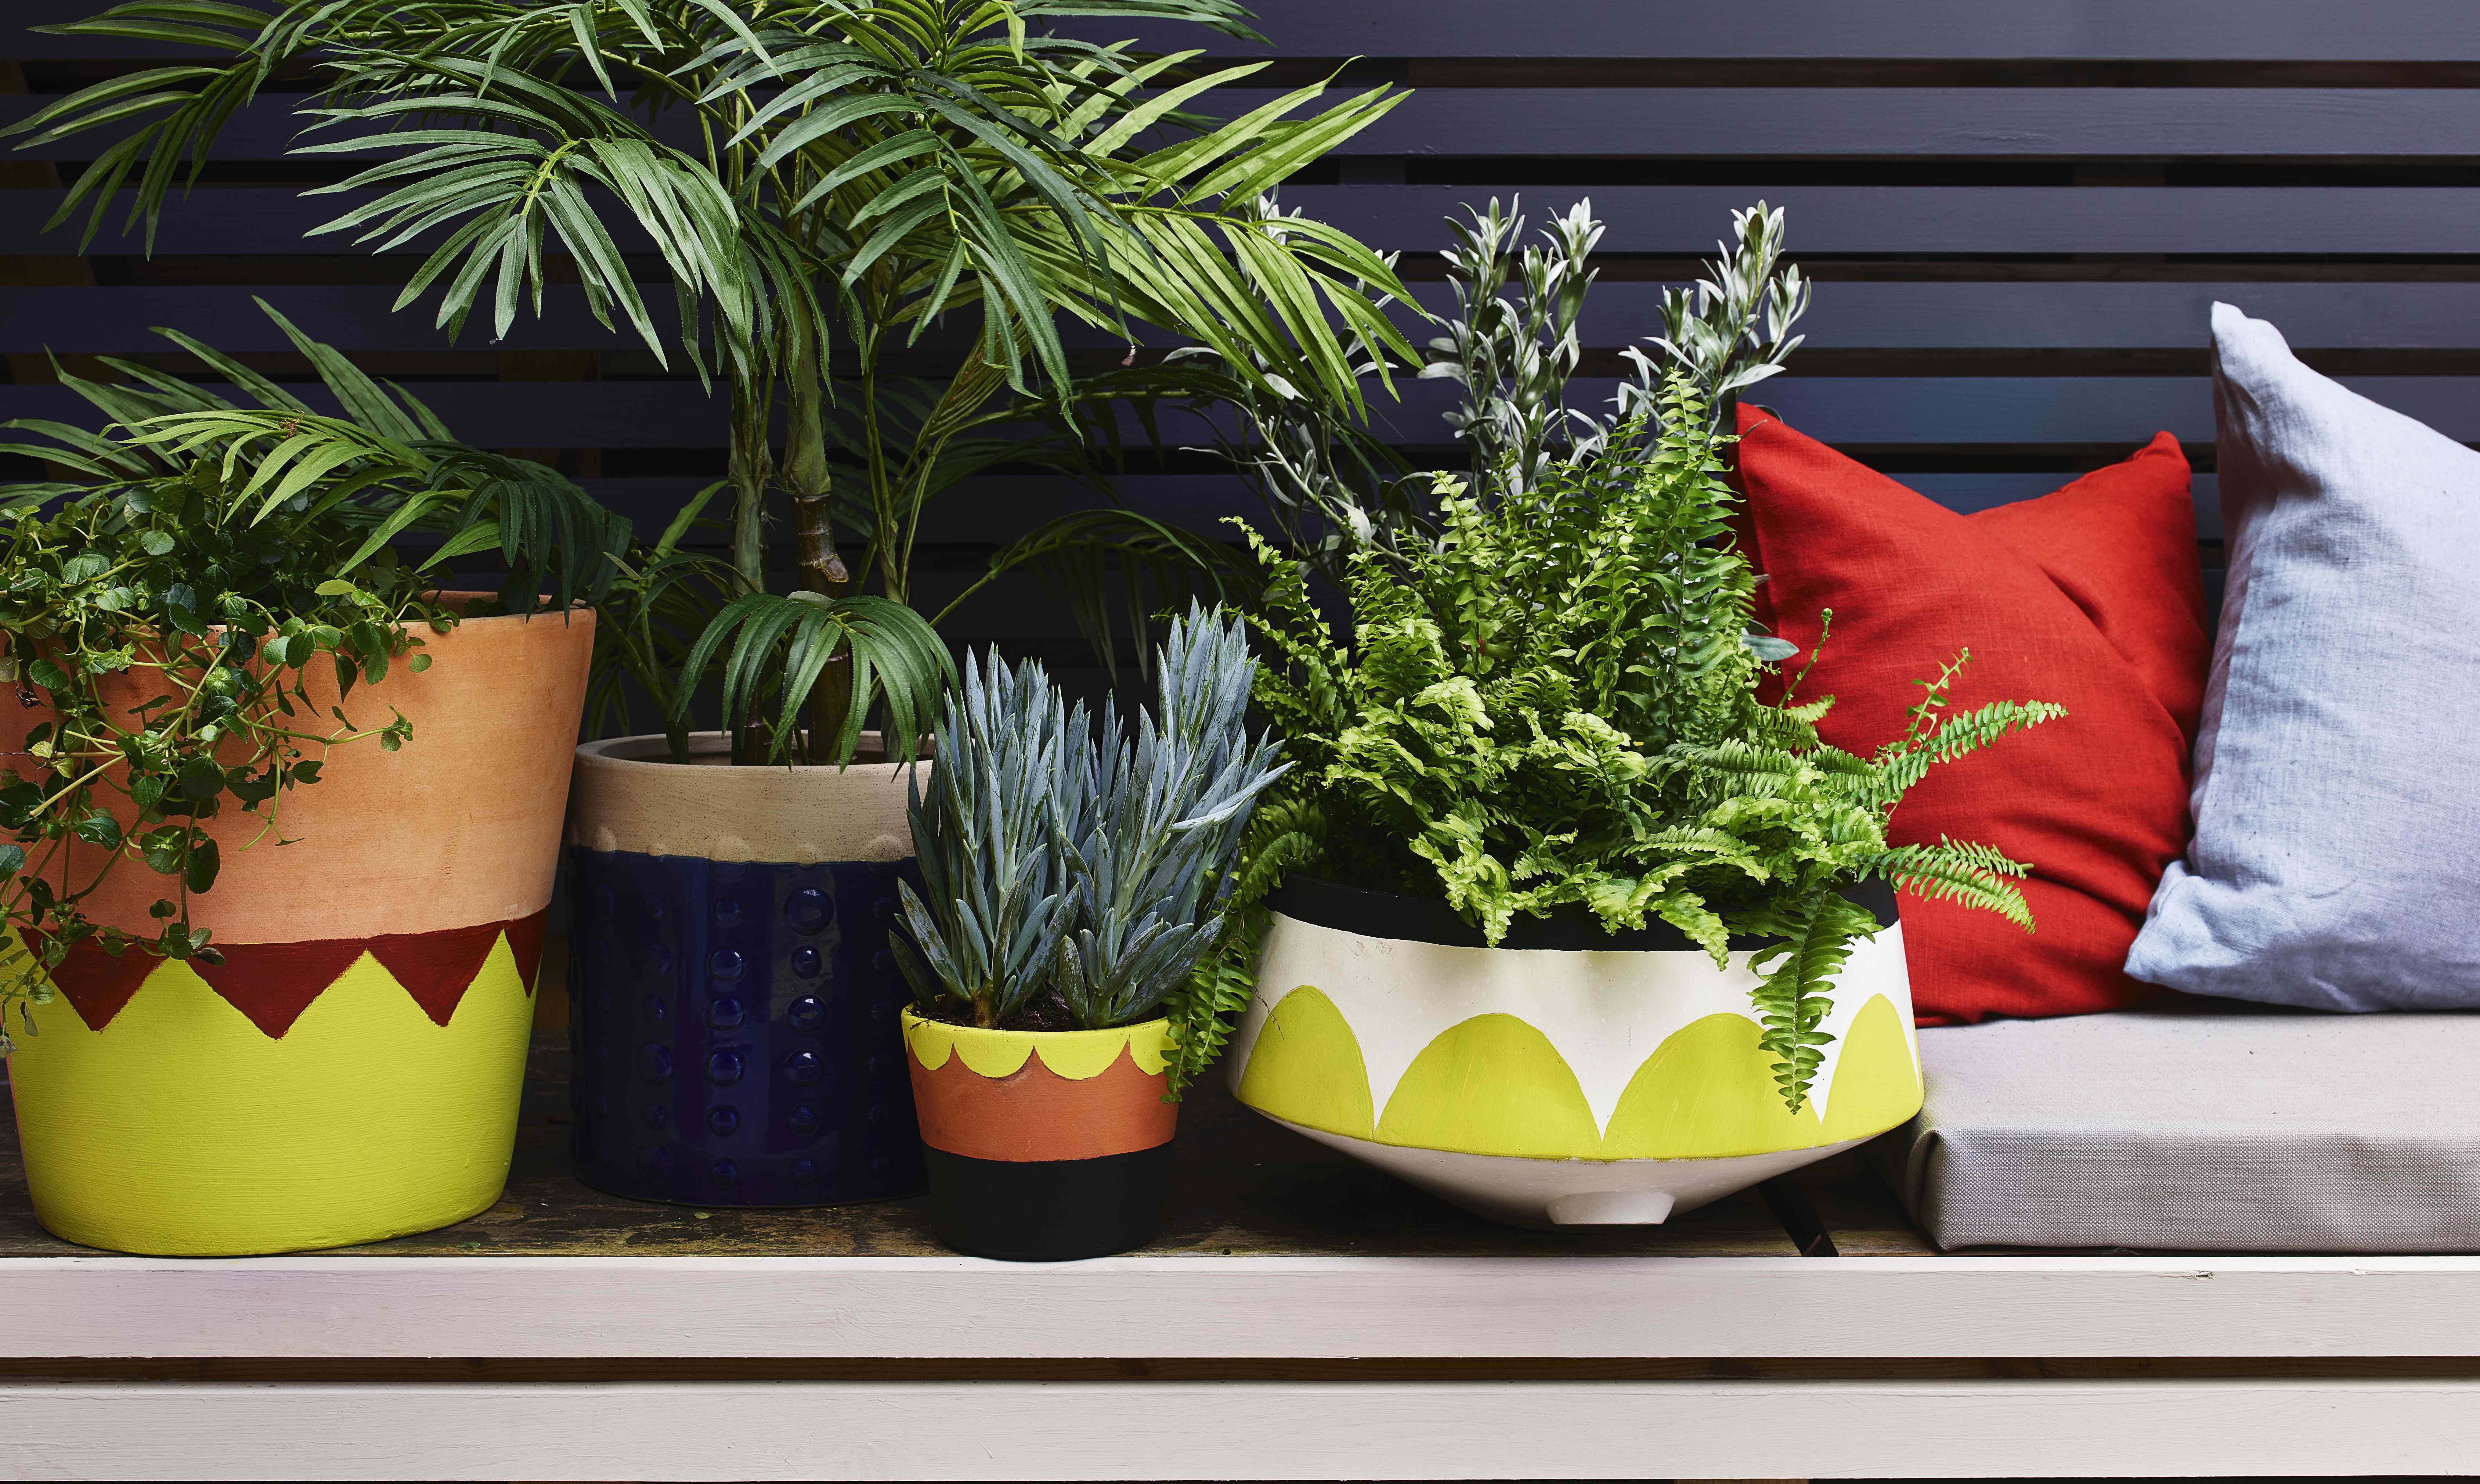
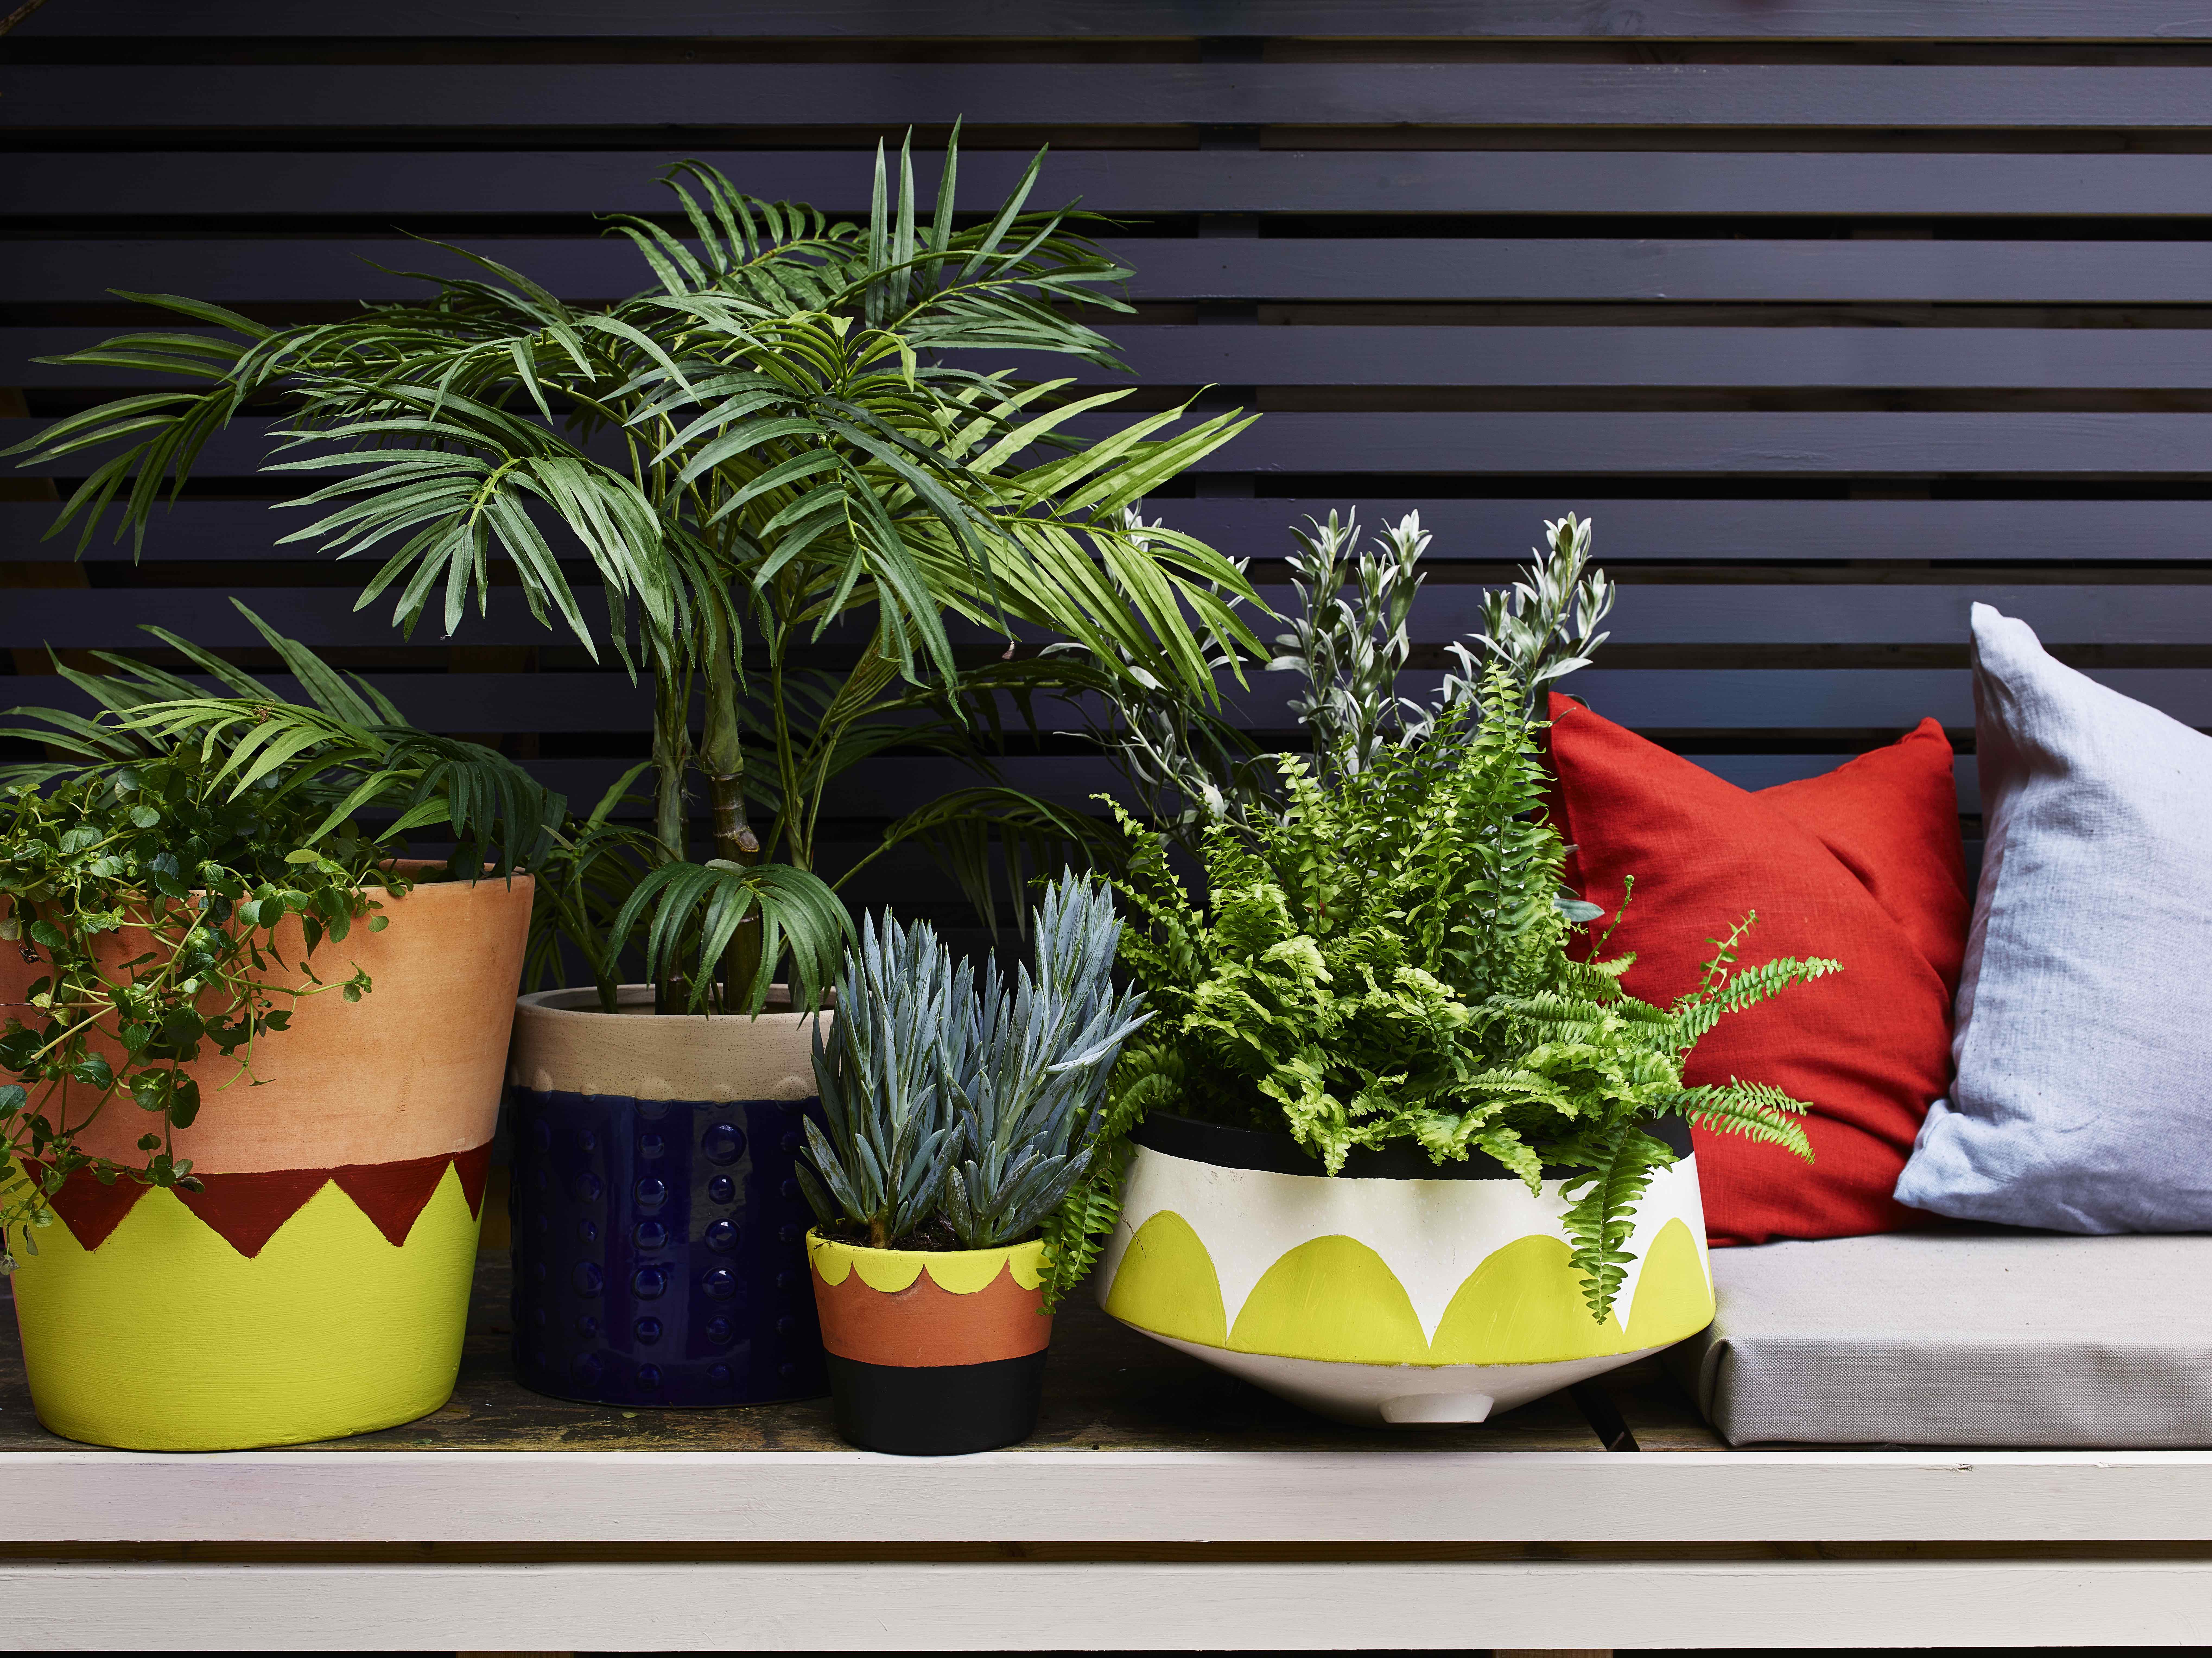
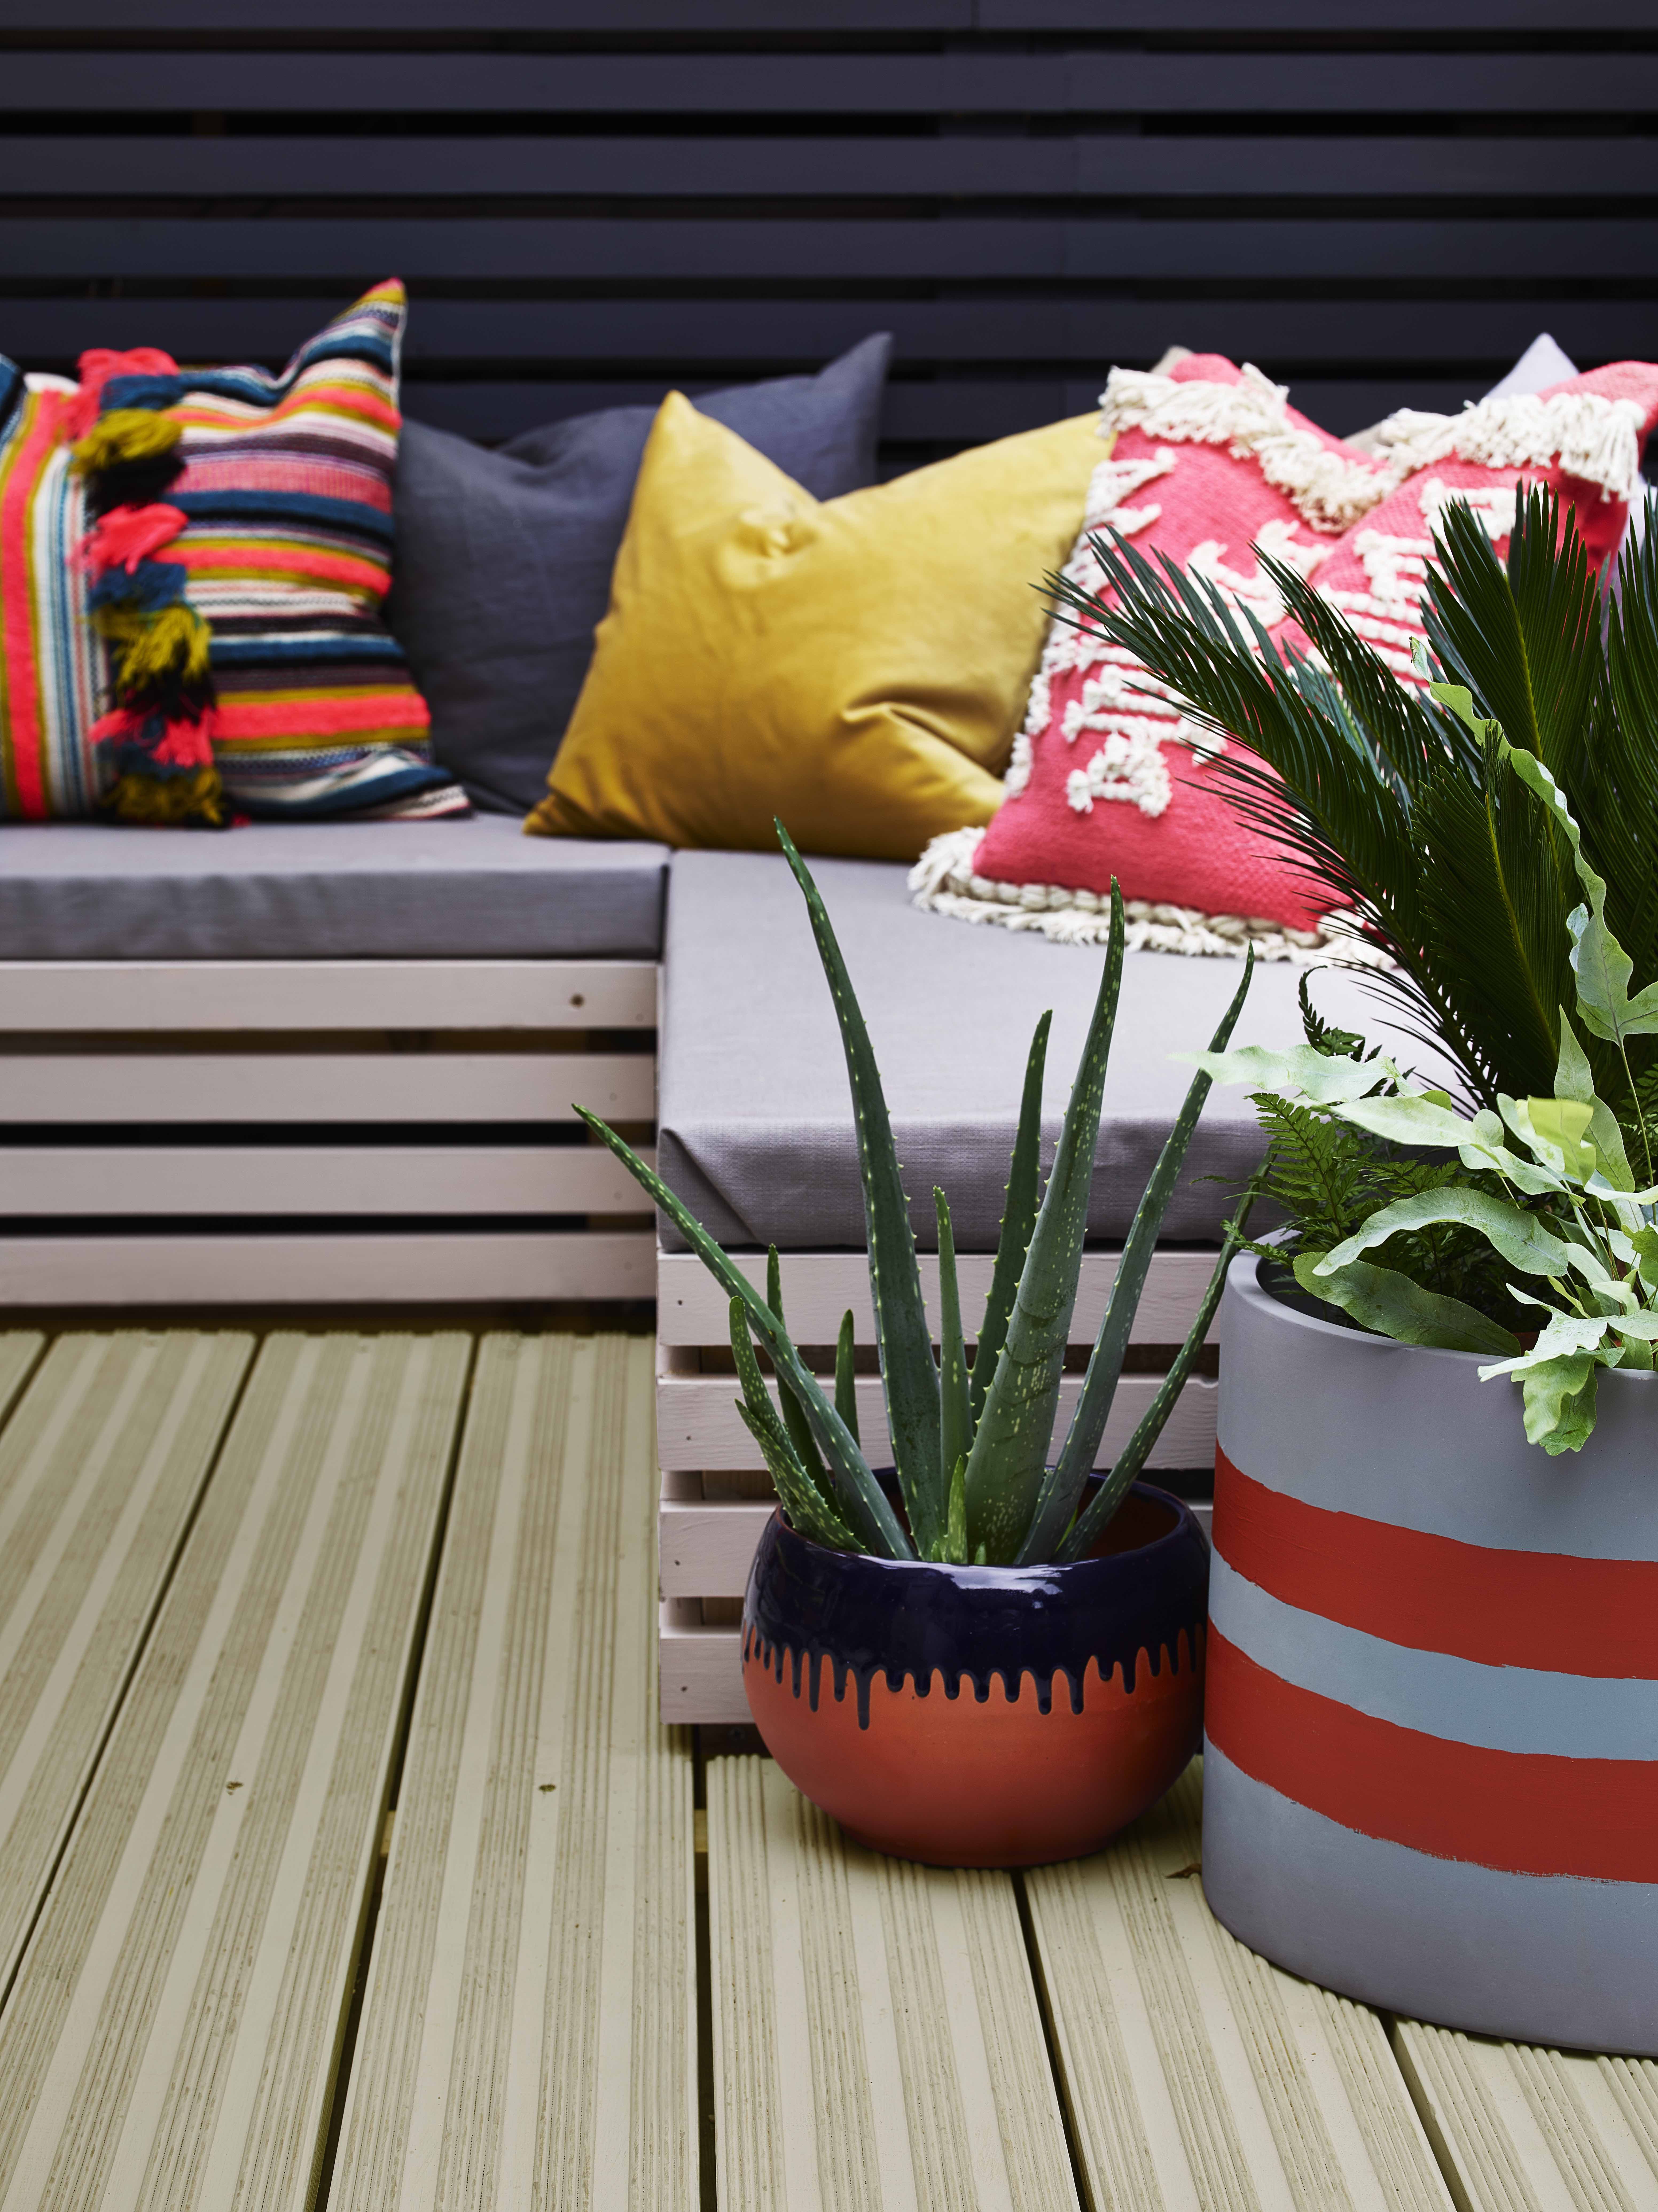
Terracotta pots are a failsafe choice that we trust to keep our plants safe whatever the weather. But let's face it, they're not exactly striking statement pieces. Whether you're a fan of bold and vibrant colours, or sweet and subtle pastels are more your thing, there's an outdoor paint colour for you.
Follow these simple steps to painting terracotta pots and transform a basic design into a feast for the eyes. It's a great way to inject your personality into your outside space, while giving your precious plants a stylish new home, too.
If you want even more inspiration like this, check out our best patio gardening ideas.
You will need:

- Terracotta pot
- Paint brush
- Sealant
- Pencil
- Masking tape (optional)
- Paints
- Paint sealant
- Newspaper
1. Clean your pot
Use warm soapy water and brush off any dust or dirt. Brand-new terracotta pots will have a layer of dust, so sit the pot in warm water to remove this. Once clean, allow to dry out completely. Terracotta is very porous, so depending on the size of your pot, this could take up to two days.
2. Apply a sealant
Paint or spray a sealant all over your pot, both inside and out. This will help to create a smoother paint finish and make your design last longer. Apply two or three coats, allowing time to fully dry in between each layer.
It's worth noting here that while terracotta planters allow your soil and plants to breathe, a sealant will limit this breathability. This means that your soil may retain water for longer, and so may need watering less often.
3. Map out your design
Draw on the design you want to create in pencil. Let your imagination run wild and have fun with it, the possibilities are endless! If you haven't got a steady hand, use masking tape to act as a stencil and mark out straight lines.
We recommend trying out a striped design with masking tape at first – it's an easy route to a professional look!

4. Get painting
The fun part! Use a small paint brush to paint on your design. Begin with your lightest colour. This means that if you make a mistake, you can cover it over later on with a darker colour. Keep the bottom of your pot paint free, so you always have at least one dry surface to sit the pot down. Plus, no one will ever see the bottom anyway!
For a complete finish, be sure to paint at least up to soil level on the inside of your pot too. Allow to dry fully.
5. Seal your paint
Protect your handiwork by spraying a paint sealant all over your design. Choose a high-gloss or matt finish depending on the look you want to create. Allow to dry fully.
Settle your plant into its lovely new home and position in pride of place on your patio or balcony. Sit back, relax and admire your colourful creation!
Read more:
- Find out how to paint an outdoor rug
- Check out more easy ways to update your garden for under £70
- Discover the best exterior wood paint
Amelia has worked on Real Homes magazine since 2016 and is now Deputy Style Editor. She's a flower lover, and her dining table is never without a bright and blousy bunch of blooms. She loves the excitement of planting seeds in her container garden, and watching beautiful flowers appear from nothing. This year she’s on a mission to enhance her new rented garden with a colourful bistro set, a patterned outdoor rug and plenty of fairy lights. Her favourite houseplant is a Calathea, as she loves how they lift their leaves at night, as if tucking themselves into bed!

