How to build decking: use our step-by-step guide for DIY success
Discover how to build decking and create a fabulous space that's perfect for outdoor living


Learn how to build decking and you can introduce a stylish new feature to your garden. Decking can complement both contemporary gardens and more traditional spaces, and with both timber and composite versions on offer you can pick the material you prefer, the colour that best fits your garden’s palette, and opt for a level of maintenance that suits you.
A deck can create space for dining out, relaxing in the fresh air, or, if you size up, both. It can also be a brilliant solution for a sloping garden, transforming an unusable part of the space into a level area on which you can locate furniture and where kids can play.
If you’re a competent DIYer, there’s no reason you can't learn how to build decking yourself, and our step-by-step guide will deliver all you need to know to lay ground-level timber decking that’s not attached to a building. You can find the right products for your revamped space too in our best decking guide.
Step one: Work out what size deck you need

A deck needs to be in proportion to your home and garden, as well as fit the furniture you want to locate there. Take planning permission rules into account as well. Building decking won’t require an application provided it is no more than 30cm above the ground, and together with other extensions, outbuildings and so on, it covers no more than 50 per cent of the garden area.
In the UK, rules are different when it comes to national parks, the Broads, areas of outstanding natural beauty (AONBs), World Heritage sites, and for listed buildings. You can find out more on the UK government’s planning portal.
To create enough space for a dining table on a deck, add 2m to the width and length of the table to calculate the space needed. For living room-style seating, add around 1m of clearance all round to allow free movement.
Head over to our decking ideas gallery to get inspired by the latest looks and designs to try in your space.
Step two: Think about the position of the decking
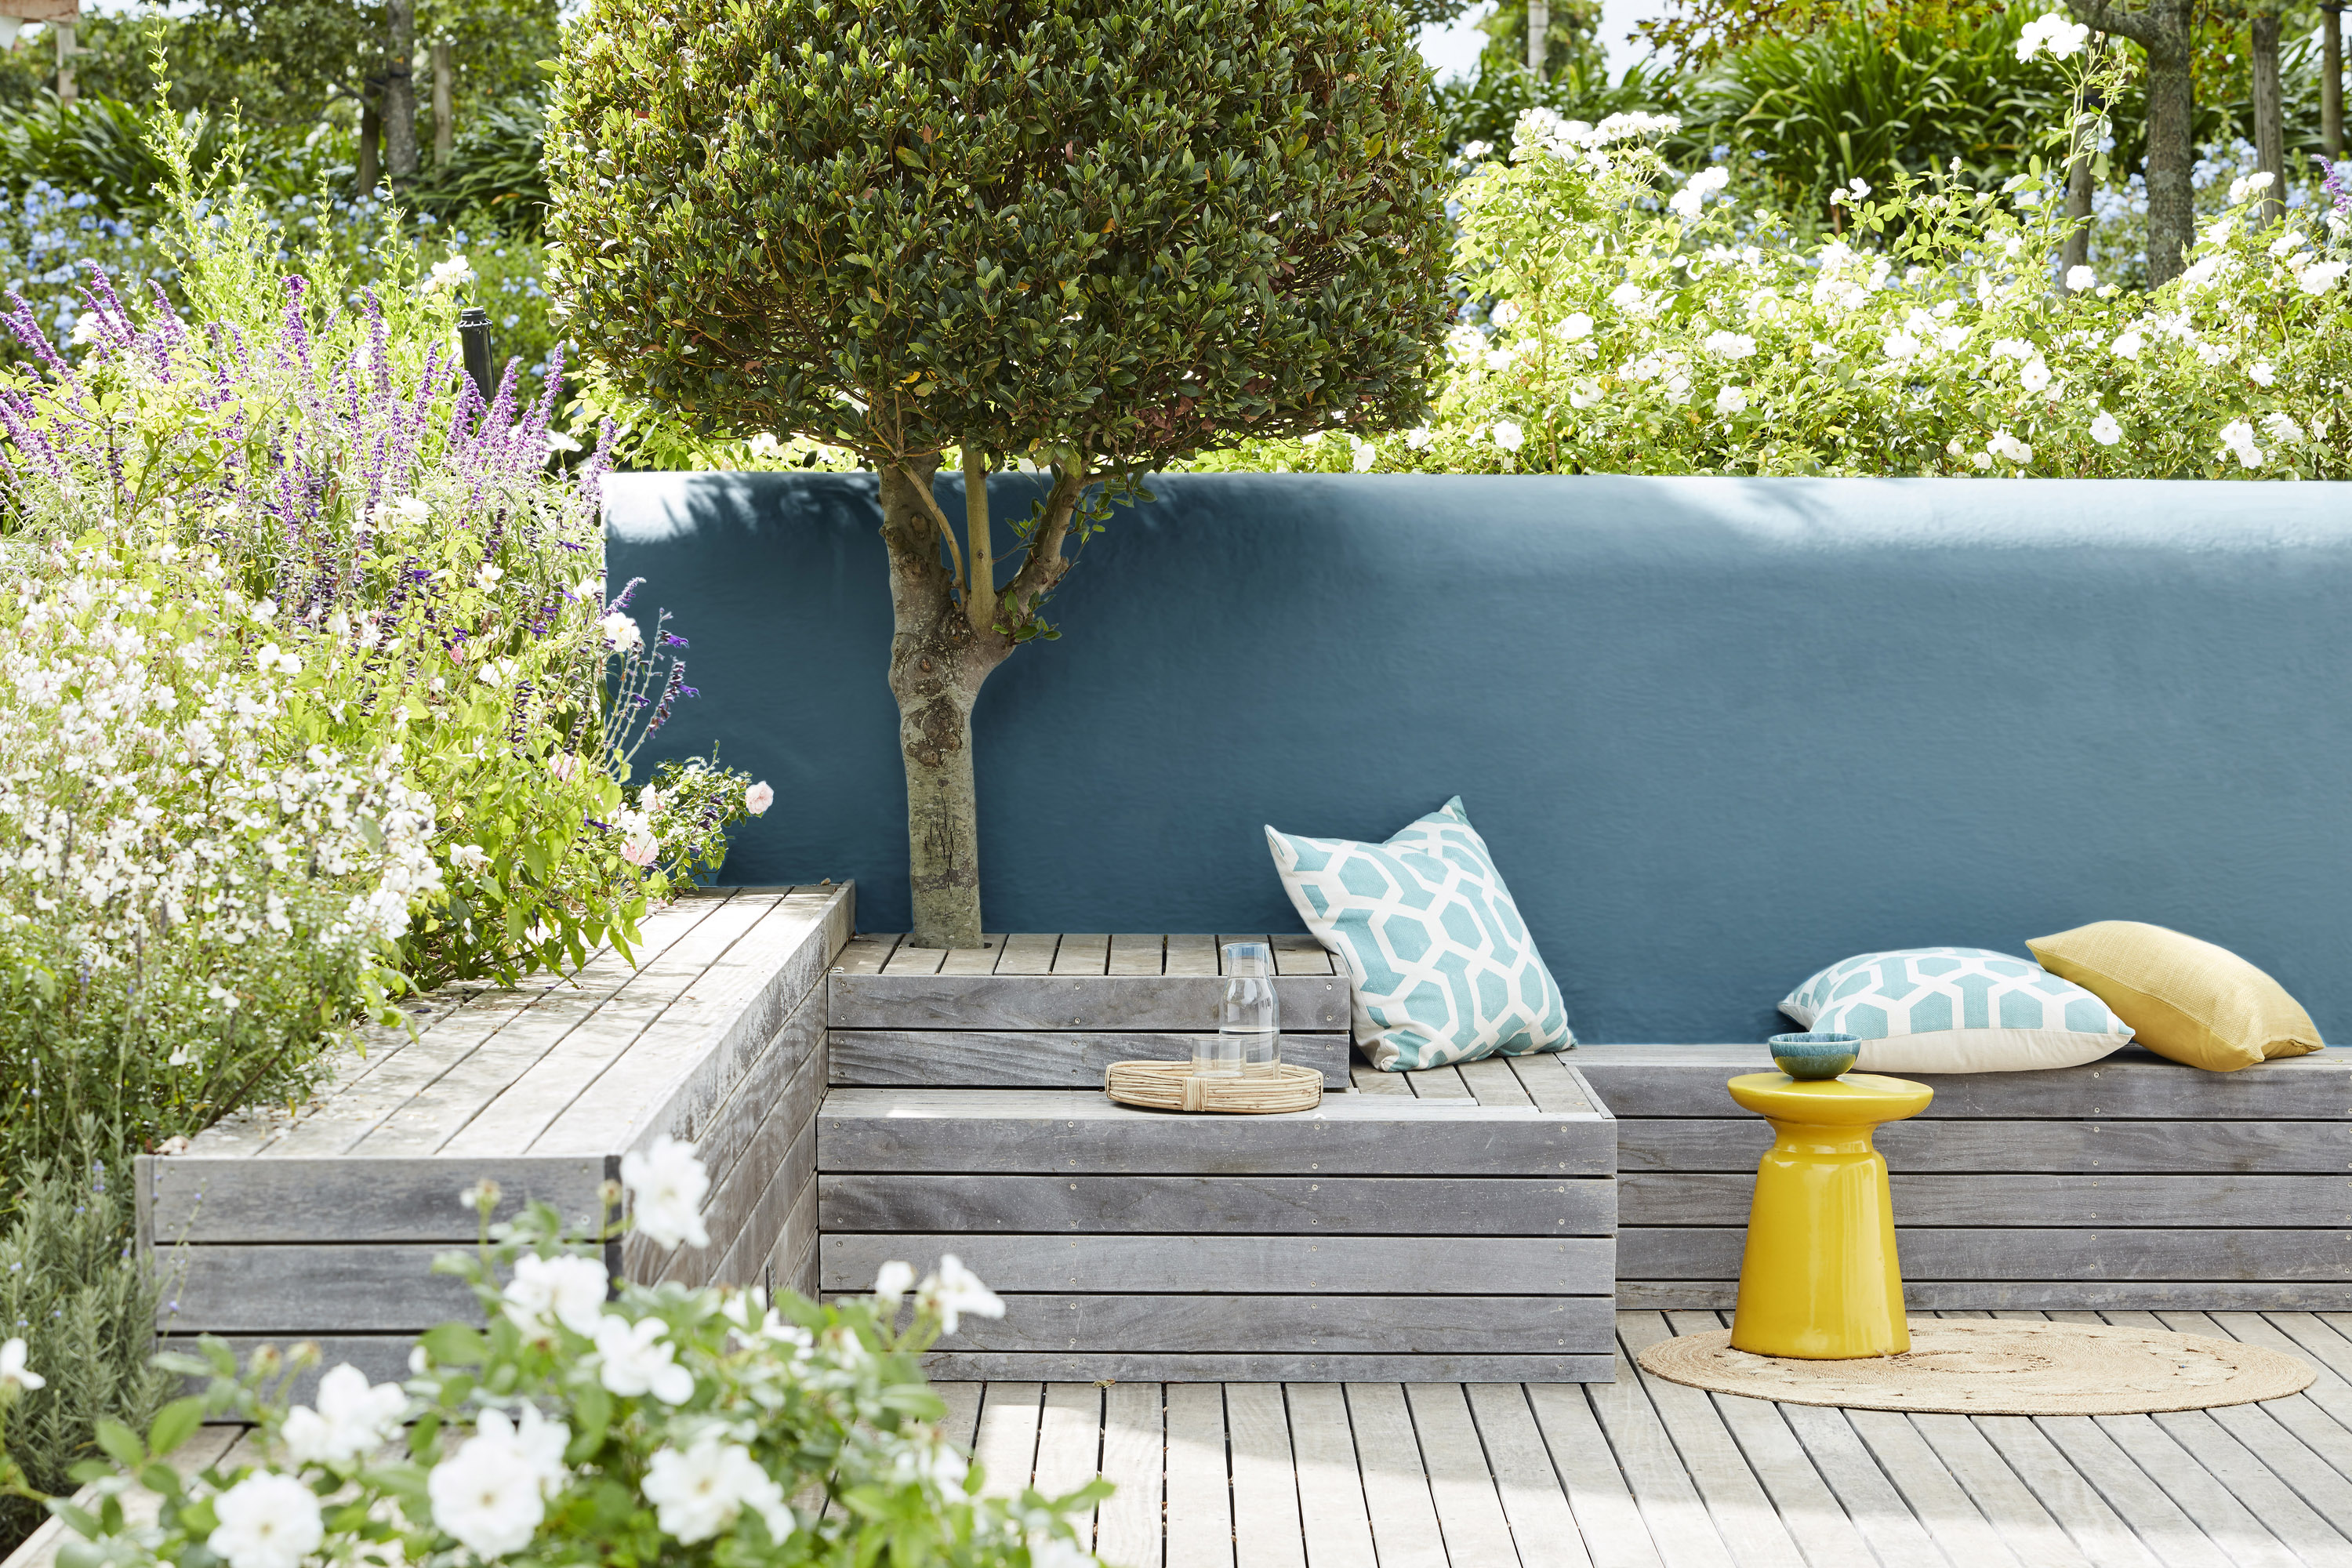
Look for a spot that offers the level of sun, or shade, you prefer for dining or relaxing when you’re considering the location of the deck. It’s best to avoid areas that are very shady, though, as this will impact on the maintenance of the deck. Avoid damp ground.
You’ll also want to take privacy into account so you’re not overlooked. Think about the view from the deck, too, as this could help you plan the best location.
Step three: Choose the pattern of your decking
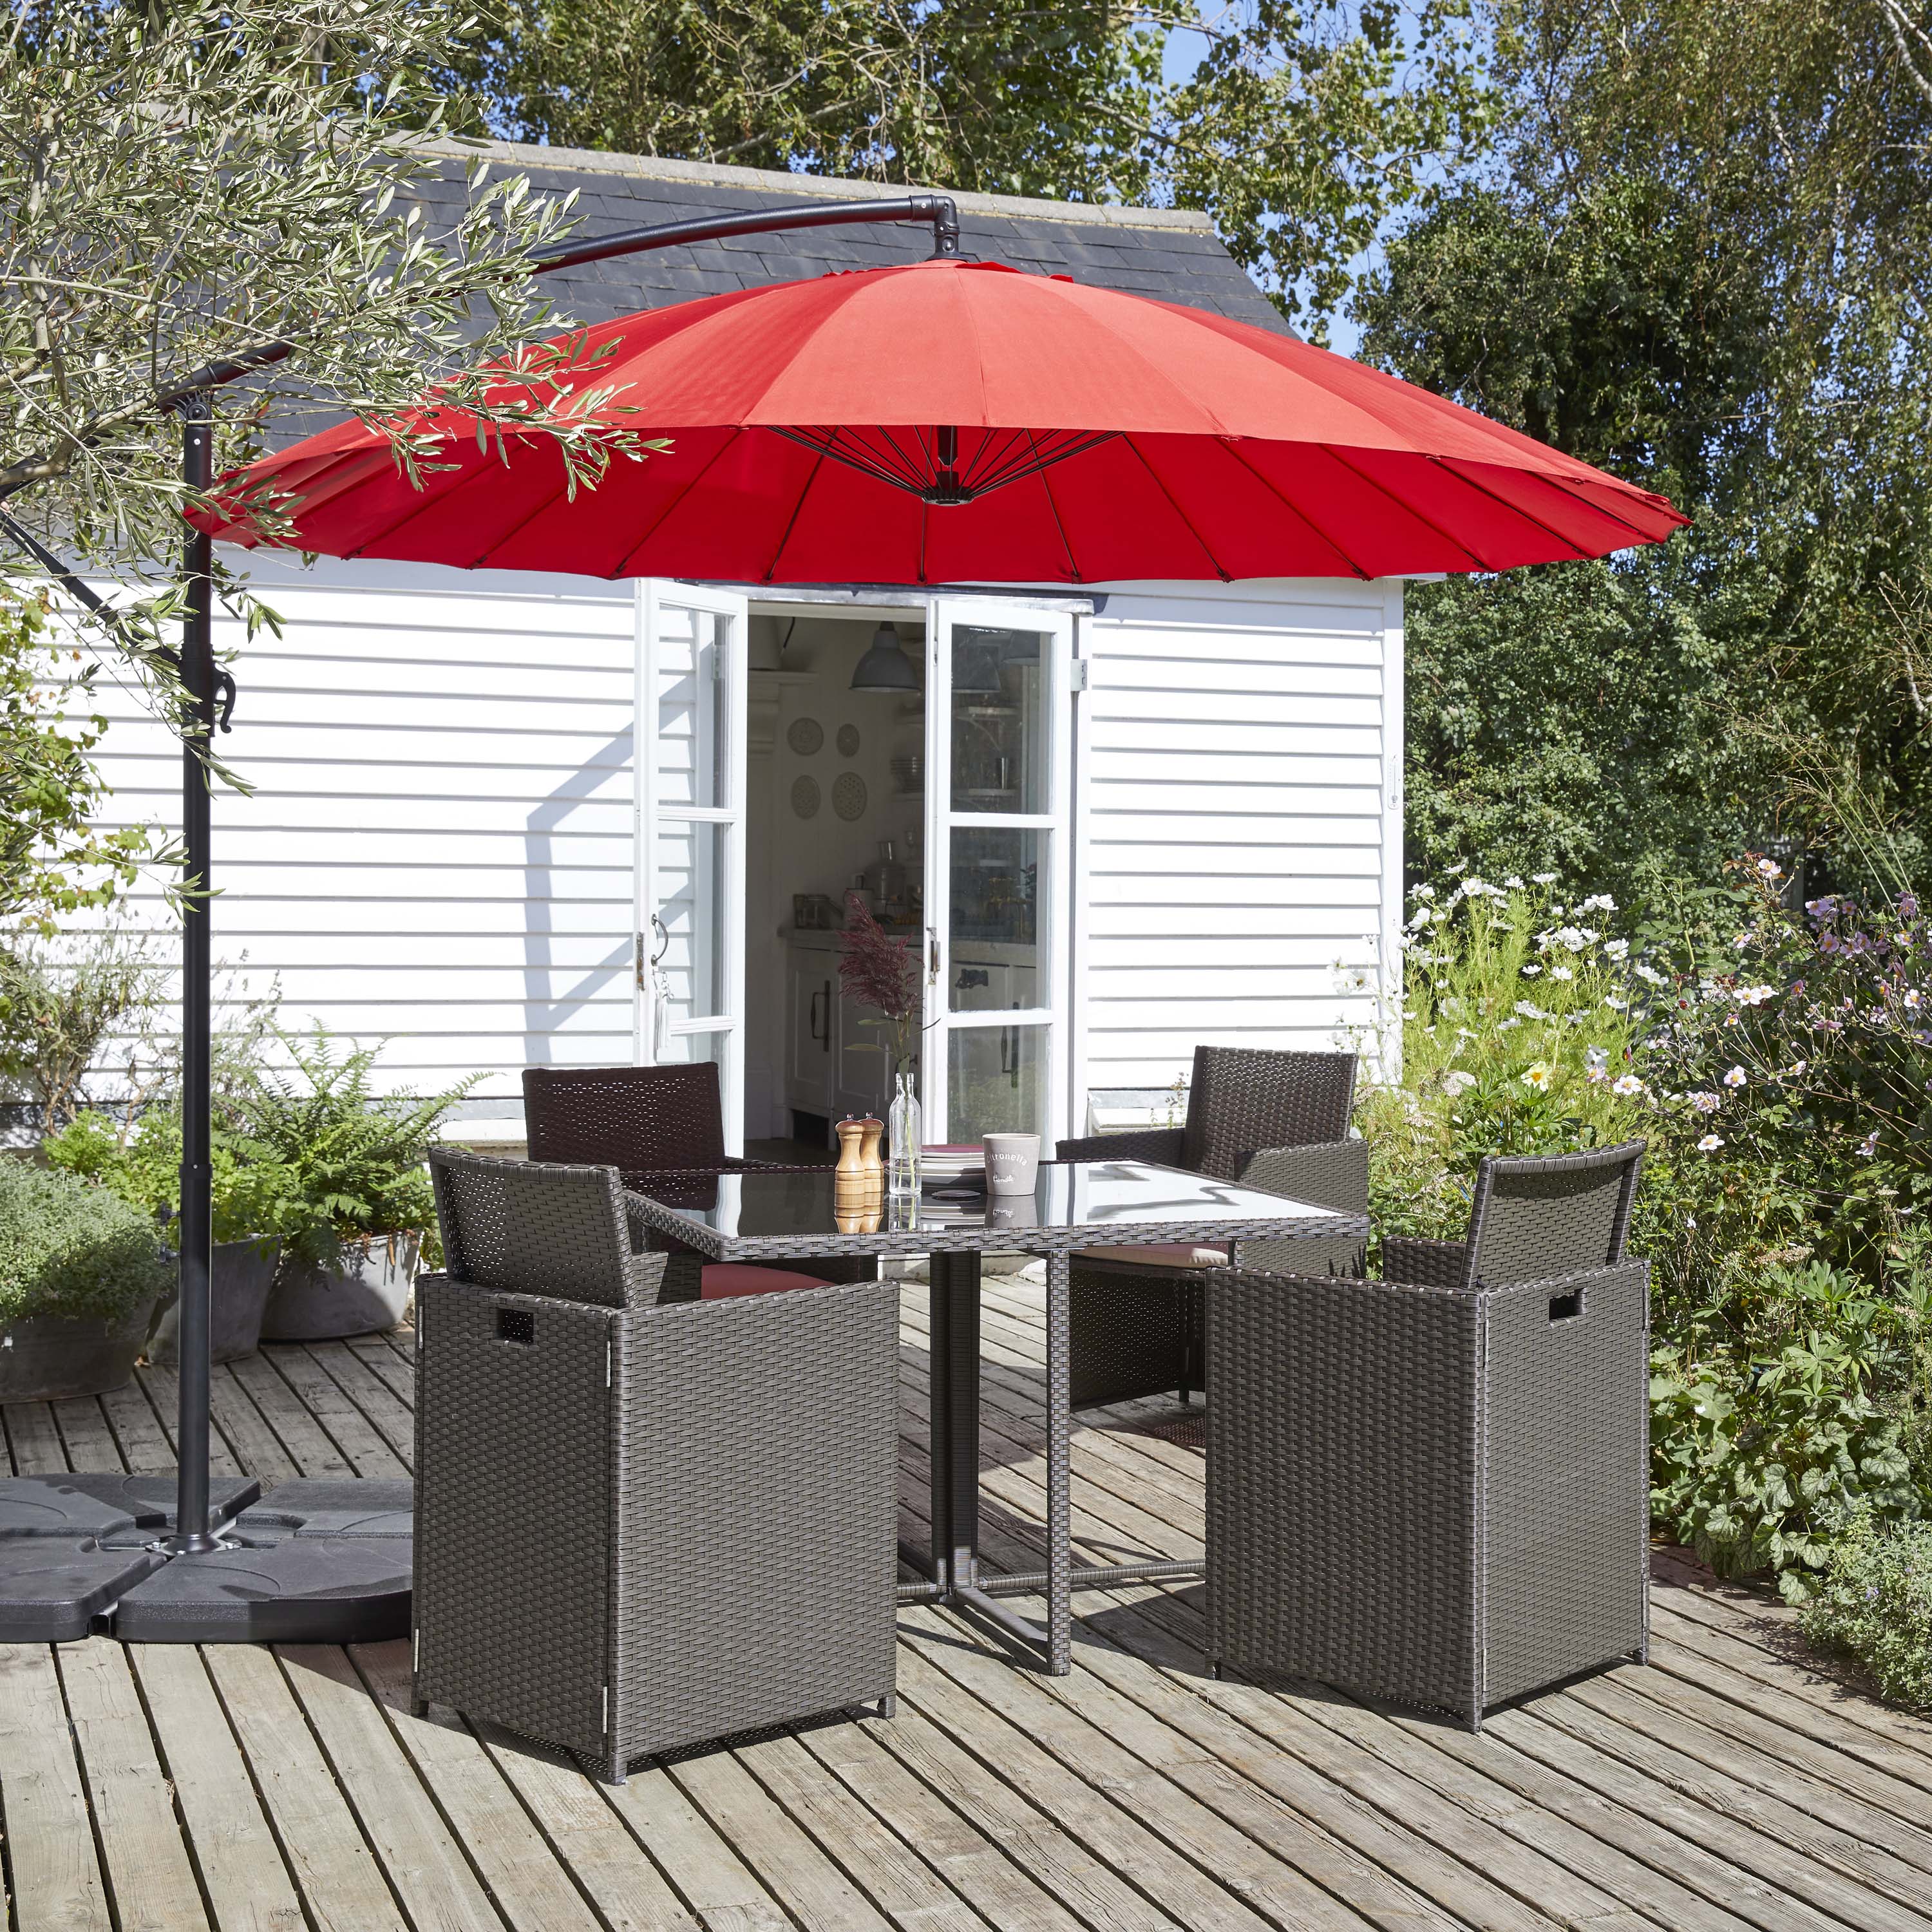
Deck boards can be laid horizontally, on the diagonal, or in a chevron pattern. There is also the option to create a border around the deck. If you pick reversible deck boards, which have smooth and ridged sides, you can choose which to lay uppermost, or lay them so some of each are on show for textural contrast. Our guide covers laying decking boards horizontally at right angles to the joists below.
Step four: Assemble your deck-laying kit
As well as the deck boards, you will need a range of tools plus other materials:
- Steel tape measure
- Builder’s line
- Wooden pegs
- Builder’s square
- Spade
- Straightedge
- Spirit level
- Weed control fabric
- Gravel
- Concrete paving slabs (optional)
- Combination square
- Decking joists
- Decking boards
- Decking screws
- Drill and drill bits
- Coach screws
- Socket set
- Panel saw
- Sandpaper (if required)
- End-grain preserver
- Paintbrush
Step five: Measure and plan the space
Draw a plan showing your house and garden and mark the deck on to it. You could actually mark the space out in your garden if it helps.
Planning a deck that uses whole deck boards will make things easier so you don’t have to cut one lengthways. Draw a scale plan and calculate the area of the deck in square metres so you can order the correct amount of boards. You will need to allow a 5 to 8mm expansion gap along the length of the deck boards, and 3mm at the ends.
Step six: Prepare the site for the deck
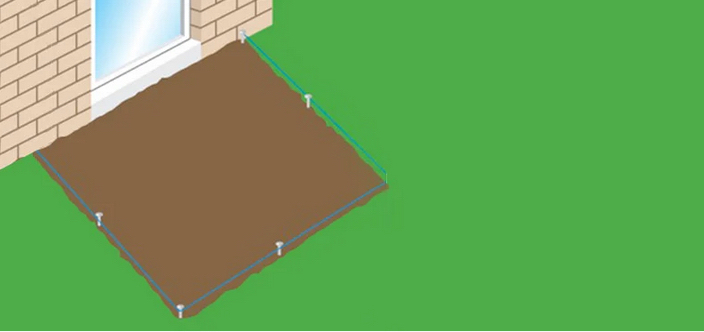
Measure the site for the deck following the scale plan. Mark the area out with wooden pegs at each corner and builder’s lines to show the perimeter. Check the corners are square.
Clear the site of turf or plants, and firm the ground. Using a straightedge and a spirit level, check that the ground is level and even it out if necessary.
A deck can be laid straight on to the ground if you’re looking for the simplest laying solution. However, if the ground is soft, or to create a more durable feature, you can use concrete paving slabs below.
Either way, you’ll need to prevent weeds appearing through the boards. Lay weed control fabric over the site then follow this with a layer of gravel 40 to 50mm deep.
If you’re using paving slabs, put these down on top of the gravel. Check they’re level and that the corners are square.
Step seven: Assemble the frame
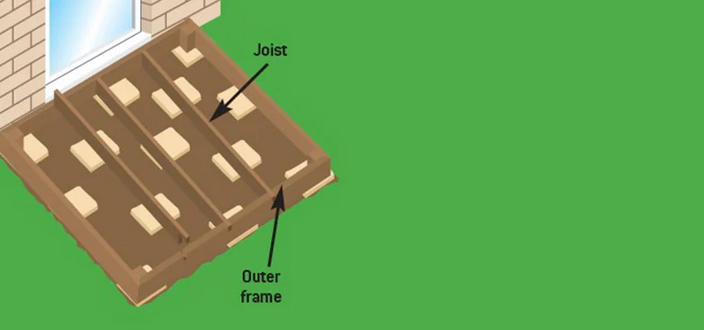
The deck’s sub-frame consists of the outer and inner joists. Measure and cut to size if necessary. Fix the outer frame first using two countersunk coach screws at each corner. Fit the inner joists next. These should be fitted so that they will lie at right angles to the finished deck boards.
Measure and mark 400mm intervals on the outer frame and fit the inner joists at 400mm centres, using two countersunk coach screws through the outer frame into each end.
Step eight: Lay the deck boards
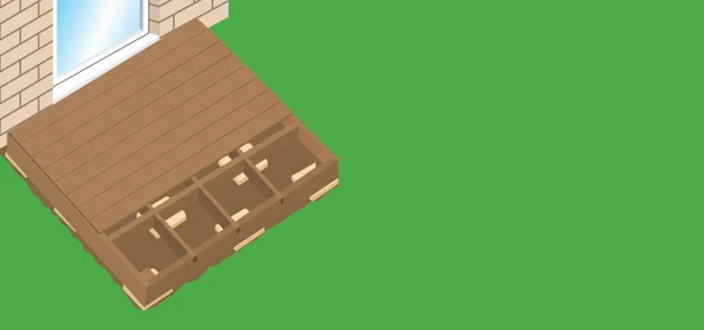
Start in one corner of the sub-frame, and position the first deck board across the inner joists at a right angle to them and flush with the frame. If any join is required, make sure this is positioned halfway across the joist, so that both of the boards can be secured to the join, and add in the 3mm expansion gap before you cut to fit.
You will need to fit two decking screws where each deck board meets a joist. Mark the locations for the screws first, then drill pilot holes to help avoid splitting the wood. Secure the deck board with decking screws.
Repeat with the next row, using a spacer to create the expansion gap between them. You can make a spacer from an offcut of timber.
You should stagger the joins between boards for a stronger deck, but bear in mind that creating a regular pattern will give the decking the best finished look.
Coat all cut ends with end grain preserver sanding down the timber first if necessary.
How to maintain your deck

Timber decking should be cleaned regularly to keep it in good condition. All you’ll need for this is a stiff brush. Use it to get rid of debris – especially dead leaves – dirt, and moss.
You should clean decking more thoroughly on an annual basis. Before you begin, remove all furniture and planters. Begin by brushing it with a stiff brush. Then clean it using either a washing-up liquid solution or a specialist decking cleaner. Use a stiff brush to apply the detergent solution, then rinse with clean water. For a specialist cleaner follow the instructions.
You can use a pressure washer as an alternative to a hose if you own one, but reduce the pressure as well as standing back, and always make sure you work evenly area by area.
If the deck needs re-staining or oiling, leave it to dry thoroughly first. You can then strip it of old treatments before application of a fresh one. You can find more top tips in our how to clean decking guide.
More landscaping ideas:
- The best composite decking
- Inspiring landscaping ideas for gardens big and small
- Garden fence ideas for creating a stylish boundary

Sarah is a freelance journalist and editor writing for websites, national newspapers, and magazines. She’s spent most of her journalistic career specialising in homes and gardens and loves investigating the benefits, costs and practicalities of home improvement. It's no big surprise that she likes to put what she writes about into practice, and is a serial house revamper.
