How to plan garden borders in 8 easy steps
Want to add some new garden borders to your plot? Follow our expert tips for the best results

Holly Crossley
Creating new garden borders is always exciting. But, there are a few factors to bear in mind before you start adding plants to your plot.
Even within the same garden, beds can have different growing conditions. And some plants will be better suited than others. You'll also need to think about the best size, shape, and location for your border, and how you can get them looking great all year round.
We've rounded up everything you need to know. So, if you're looking to update your garden design ideas with new beds, this advice will help make sure they're a success rather than a disappointment.
Get beautiful garden borders with this easy guide
Creating beautiful garden borders isn't too tricky once you've got the know-how. These tips are sure to give you a helping hand.
1. Consider your soil type
Soil type is a key consideration when planning new garden borders. Your soil might be clay, sandy, chalky, or loam. Each of those possibilities comes with specific characteristics that some plants will love, but others won’t tolerate. And, although it’s possible to change or improve the soil a little, it’s always better to choose plants that will be happy with what you’ve originally got.
You'll also need to check whether you have acid, alkaline or neutral soil, which also has implications for the best plants to choose. You can do this with a simple soil pH testing kit, available online (try Amazon) or from a garden center.
2. Work out how much sun your garden borders get
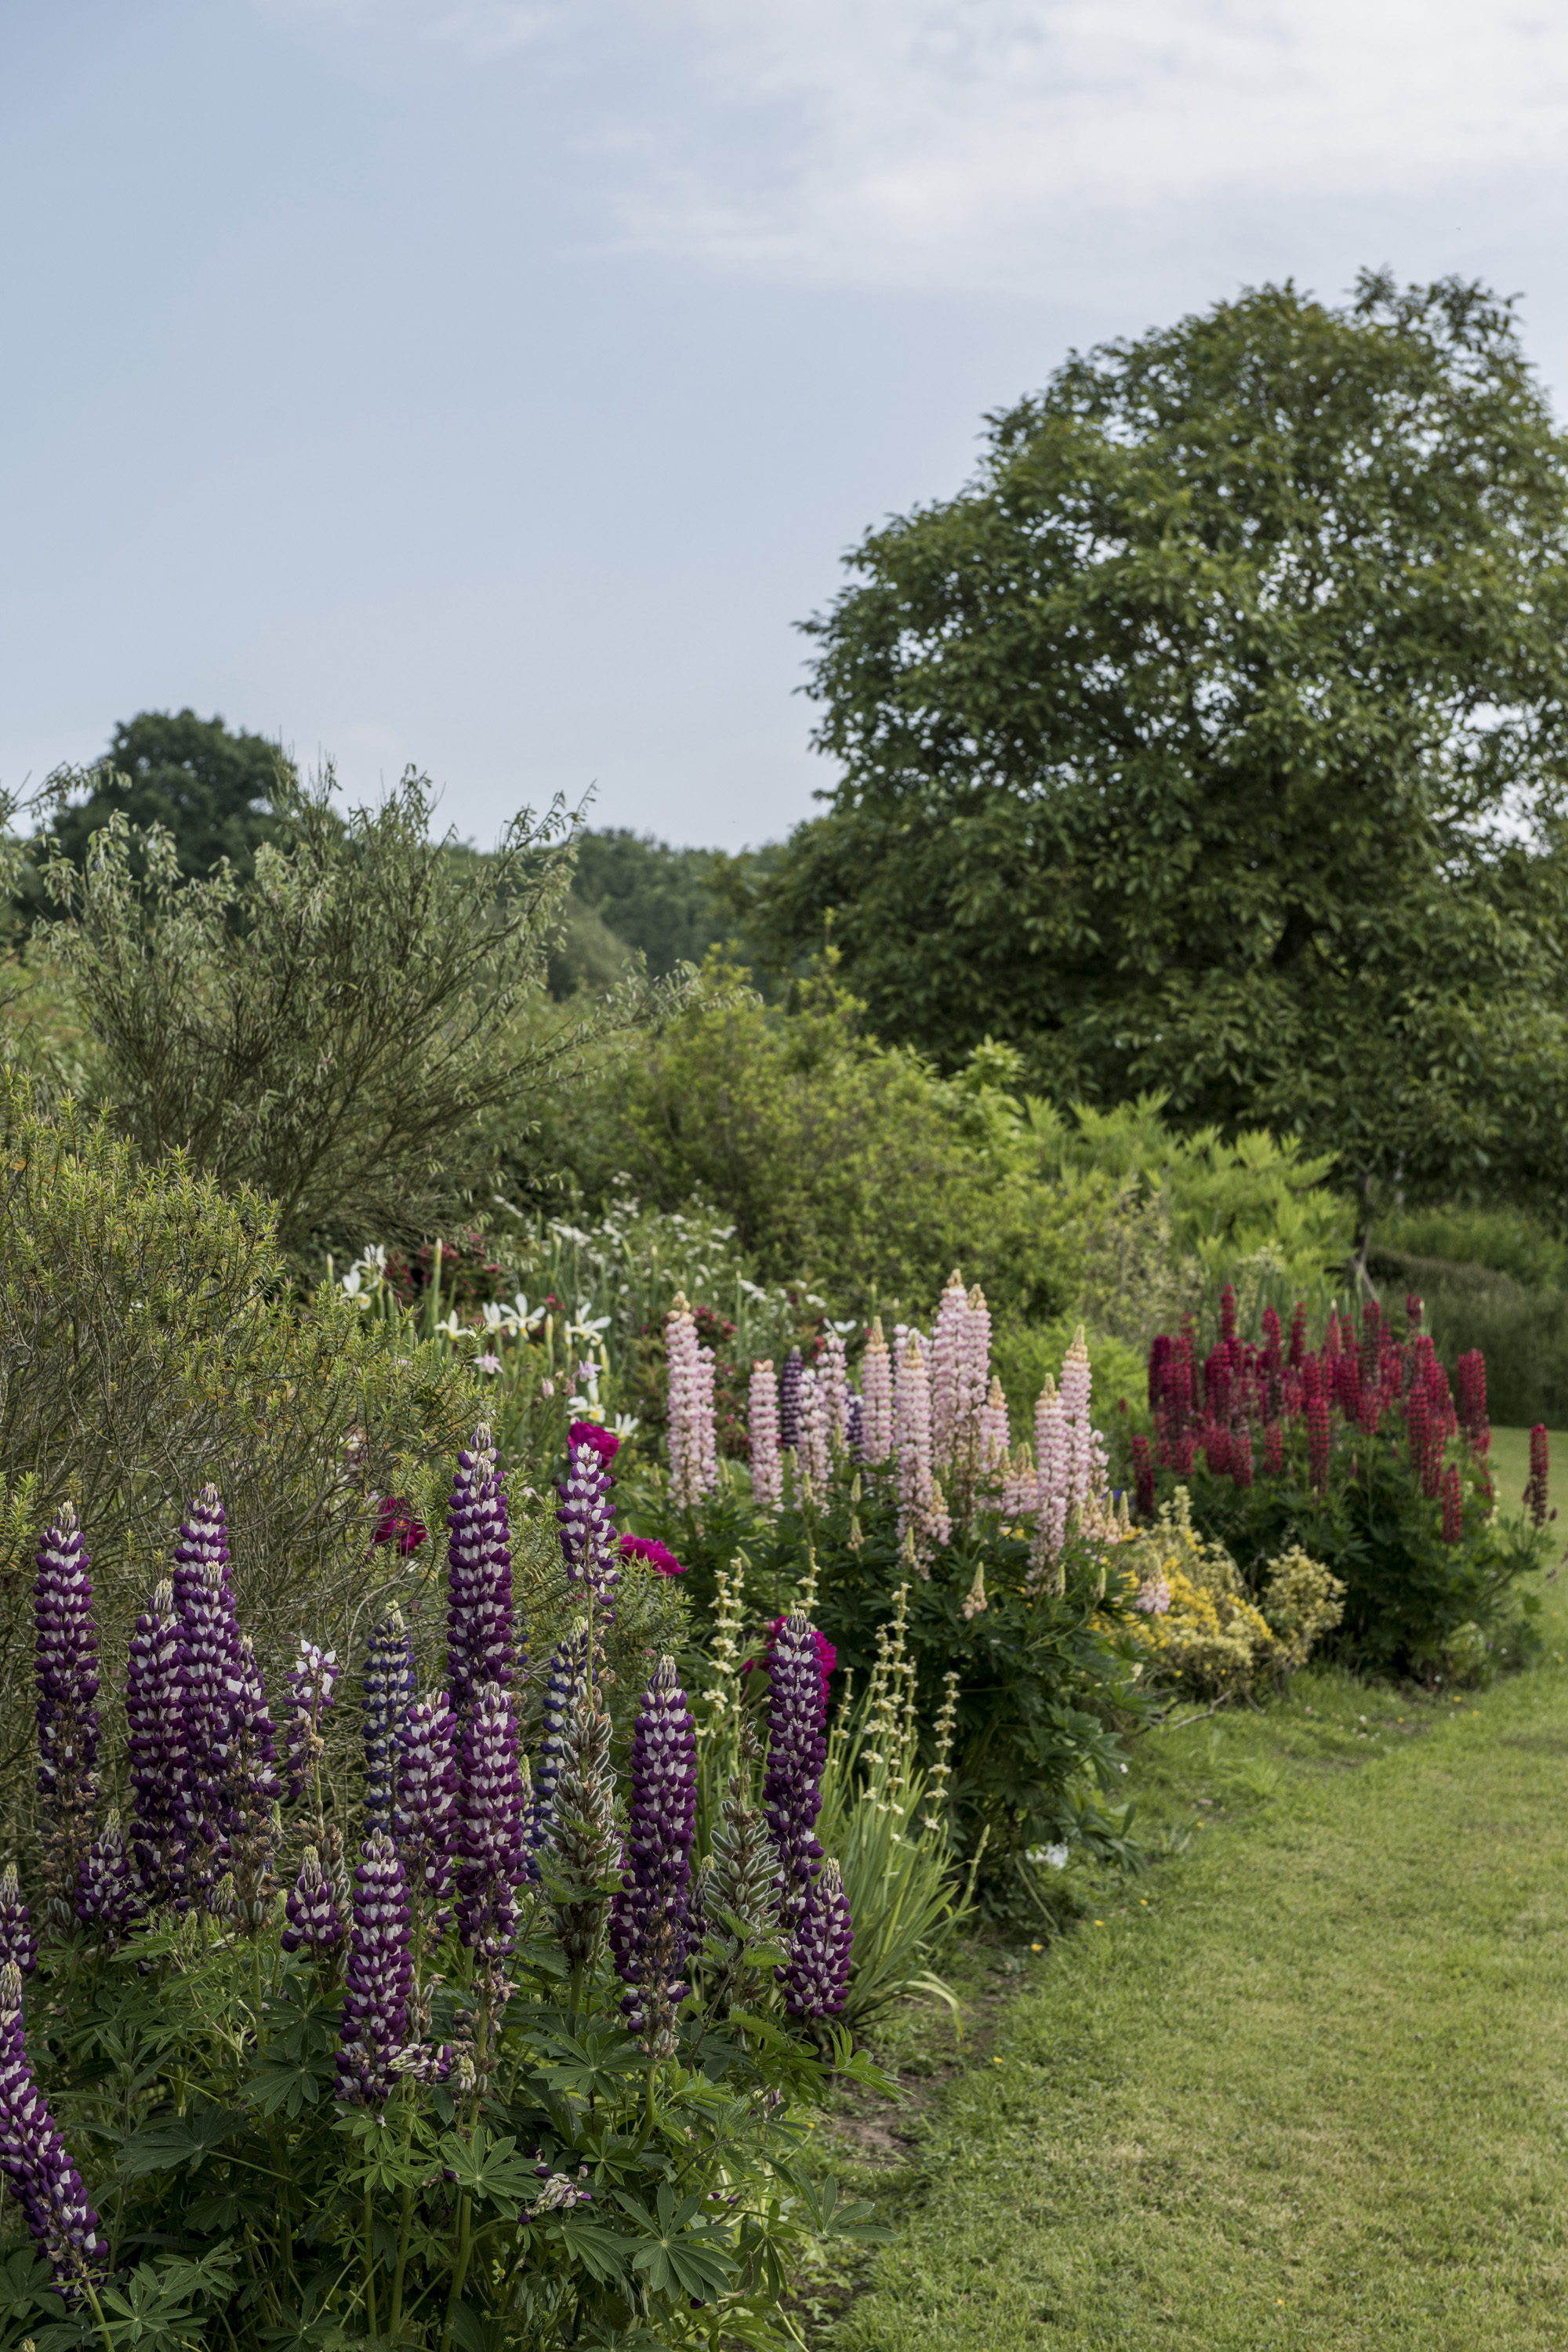
You also need to work out whether your garden borders are going to be in full sun, or in part or full shade (and if it’s shady, whether it’s dry shade or damp shade). This will have as much of an impact on the plants that will thrive there as the kind of soil you have.
To be classed as being in ‘full sun’, a border needs to get more than six hours of direct sun every day in summer. ‘Part shade’ means between four and six hours of sun every day, while a ‘shady’ border is in sun for zero to four hours a day.
Don't worry too much if your garden border gets limited sunshine, however. There are plenty of beautiful, shade-loving plants that will thrive in these conditions.
3. Think about the size and shape of your new garden borders
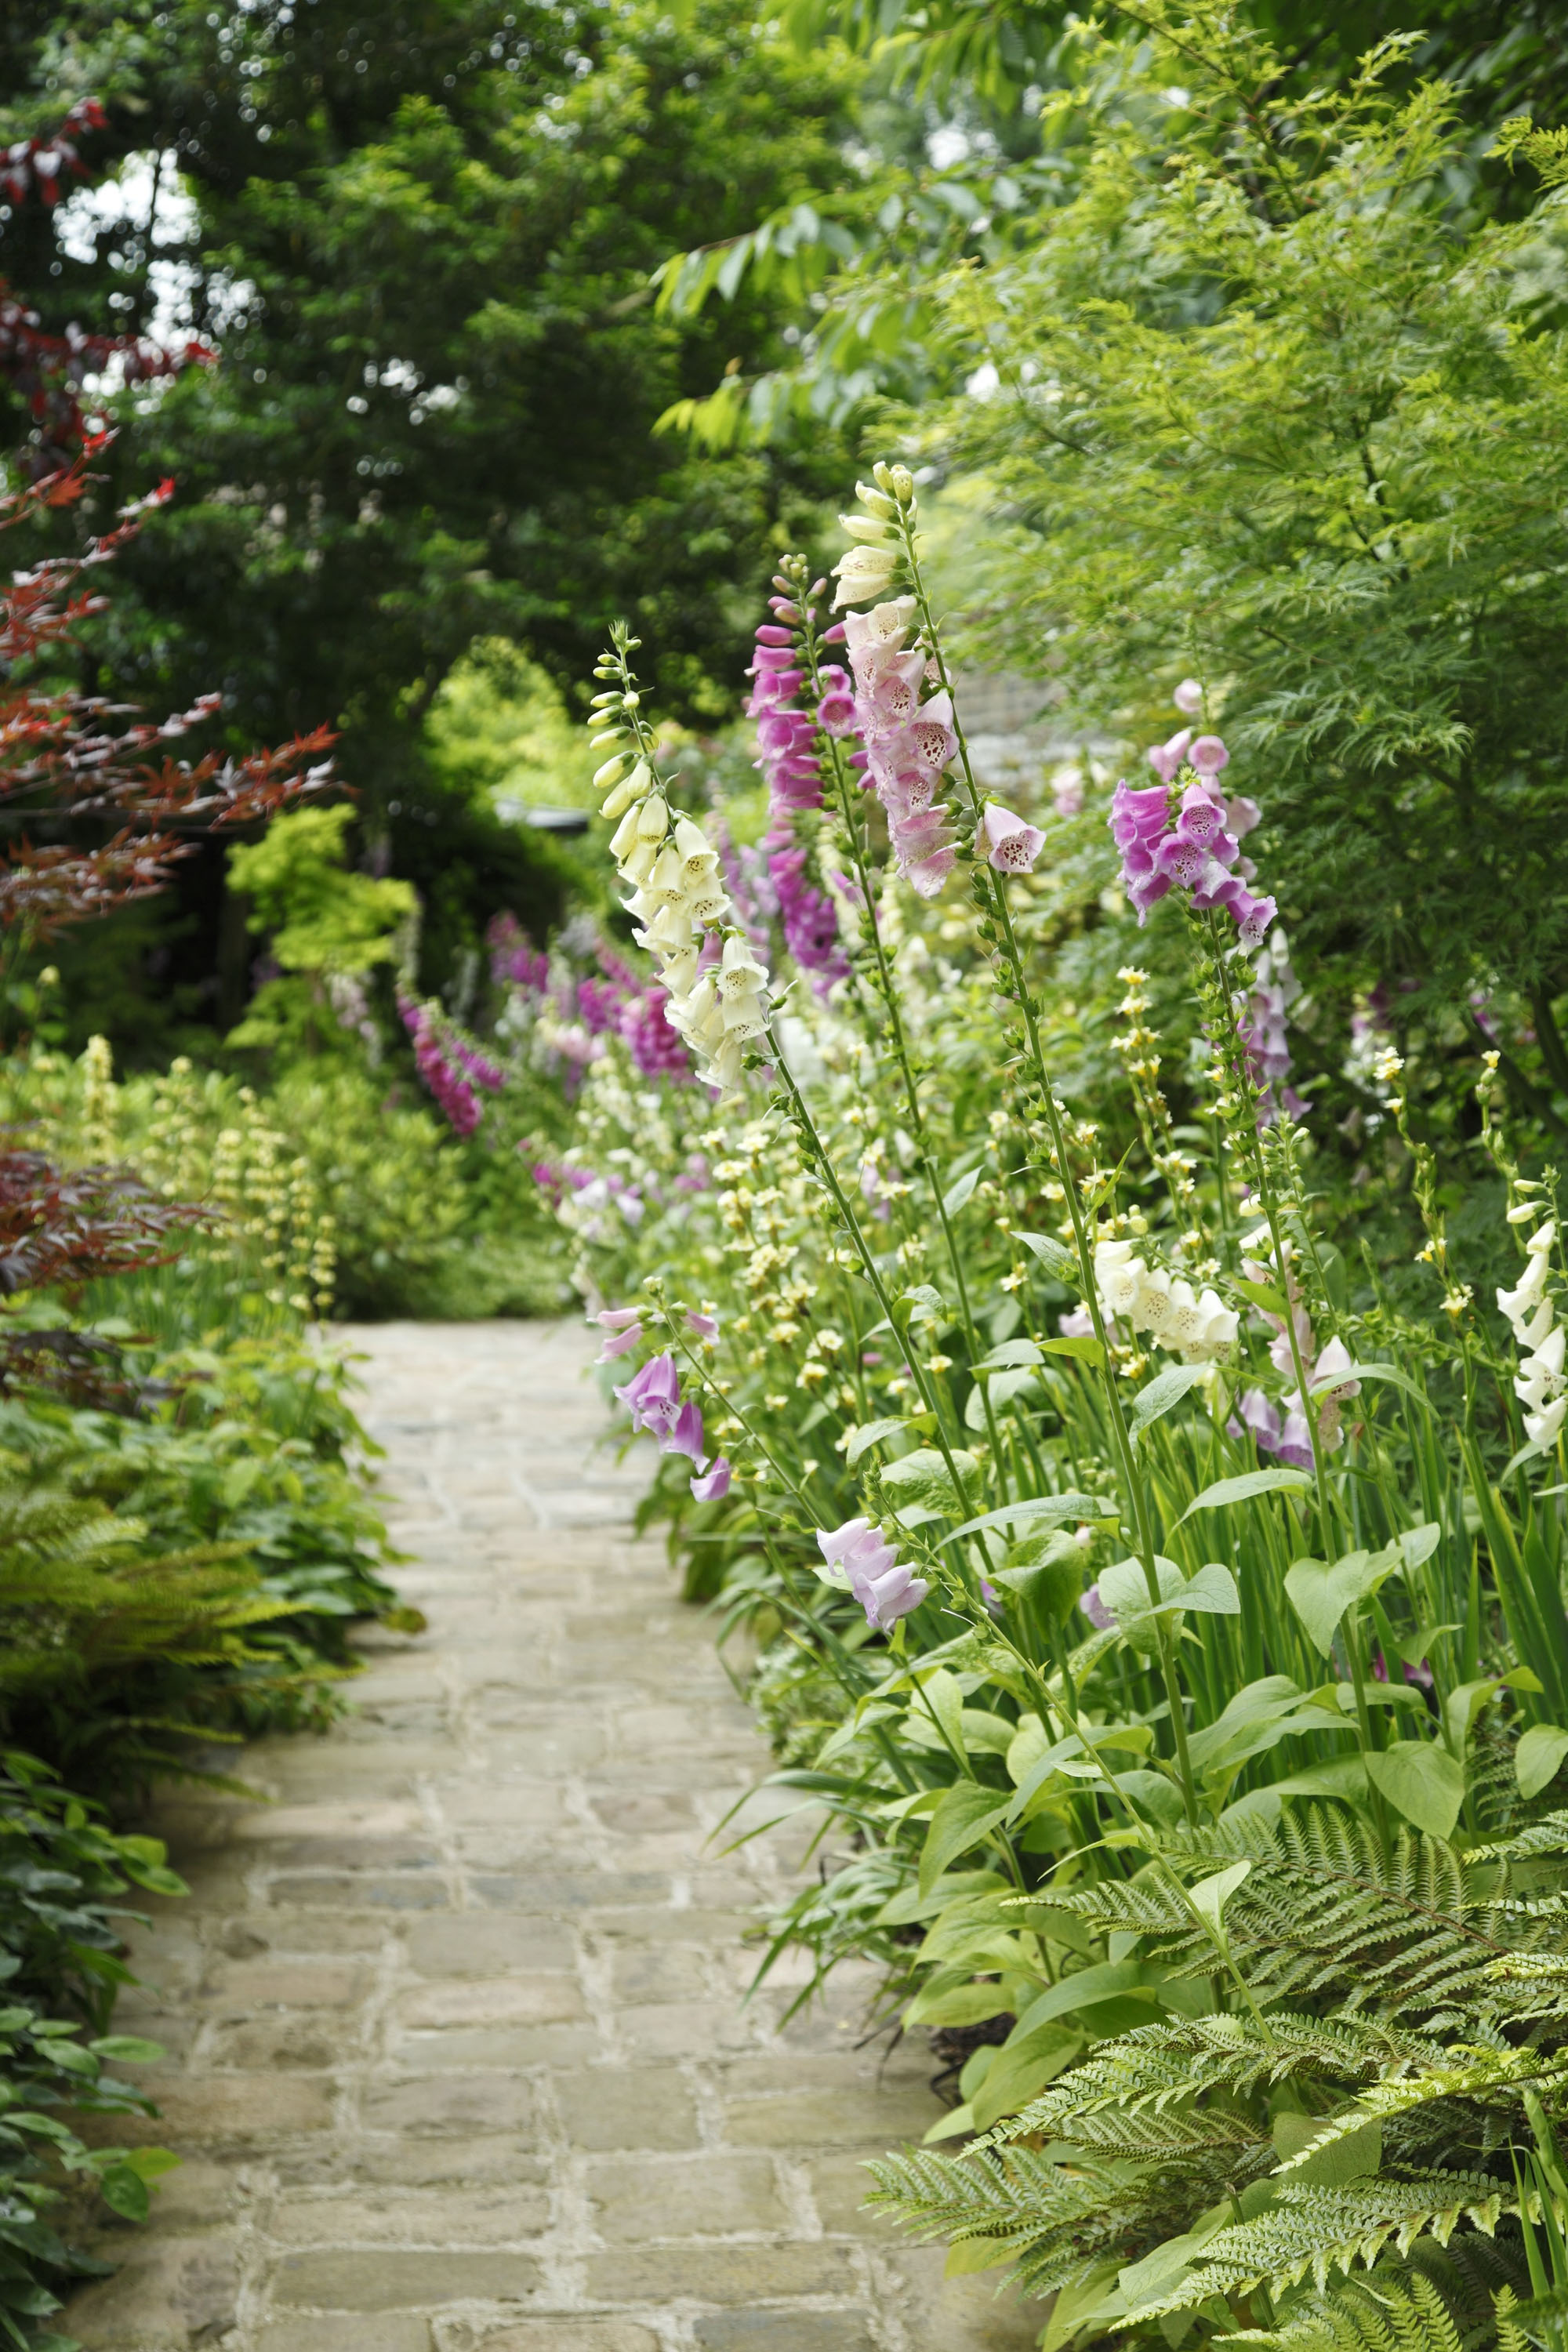
Another important step in planning garden borders is to decide on how big they're going to be, and what shape. This will largely depend on the size of your plot, but also the style of your garden and how much time you have available for maintenance.
For instance, large, billowing borders with soft, curved edges are well-suited to a cottage garden. However, if you're looking to create a smart divide between a patio and lawn in an urban, contemporary garden, a smaller, neater, rectangular bed may be better suited.
It's a good idea to map out the design, using a length of string or a garden hose, before you start digging. Think about how you're going to access plants for maintenance, too – it may be that you need to add a small stepping stone path to meander through a particularly large bed, for instance.
There's also garden edging to think about, which is useful in keeping soil, plants, and mulch in their place as well as adding to the overall look.
4. Choose the best plants
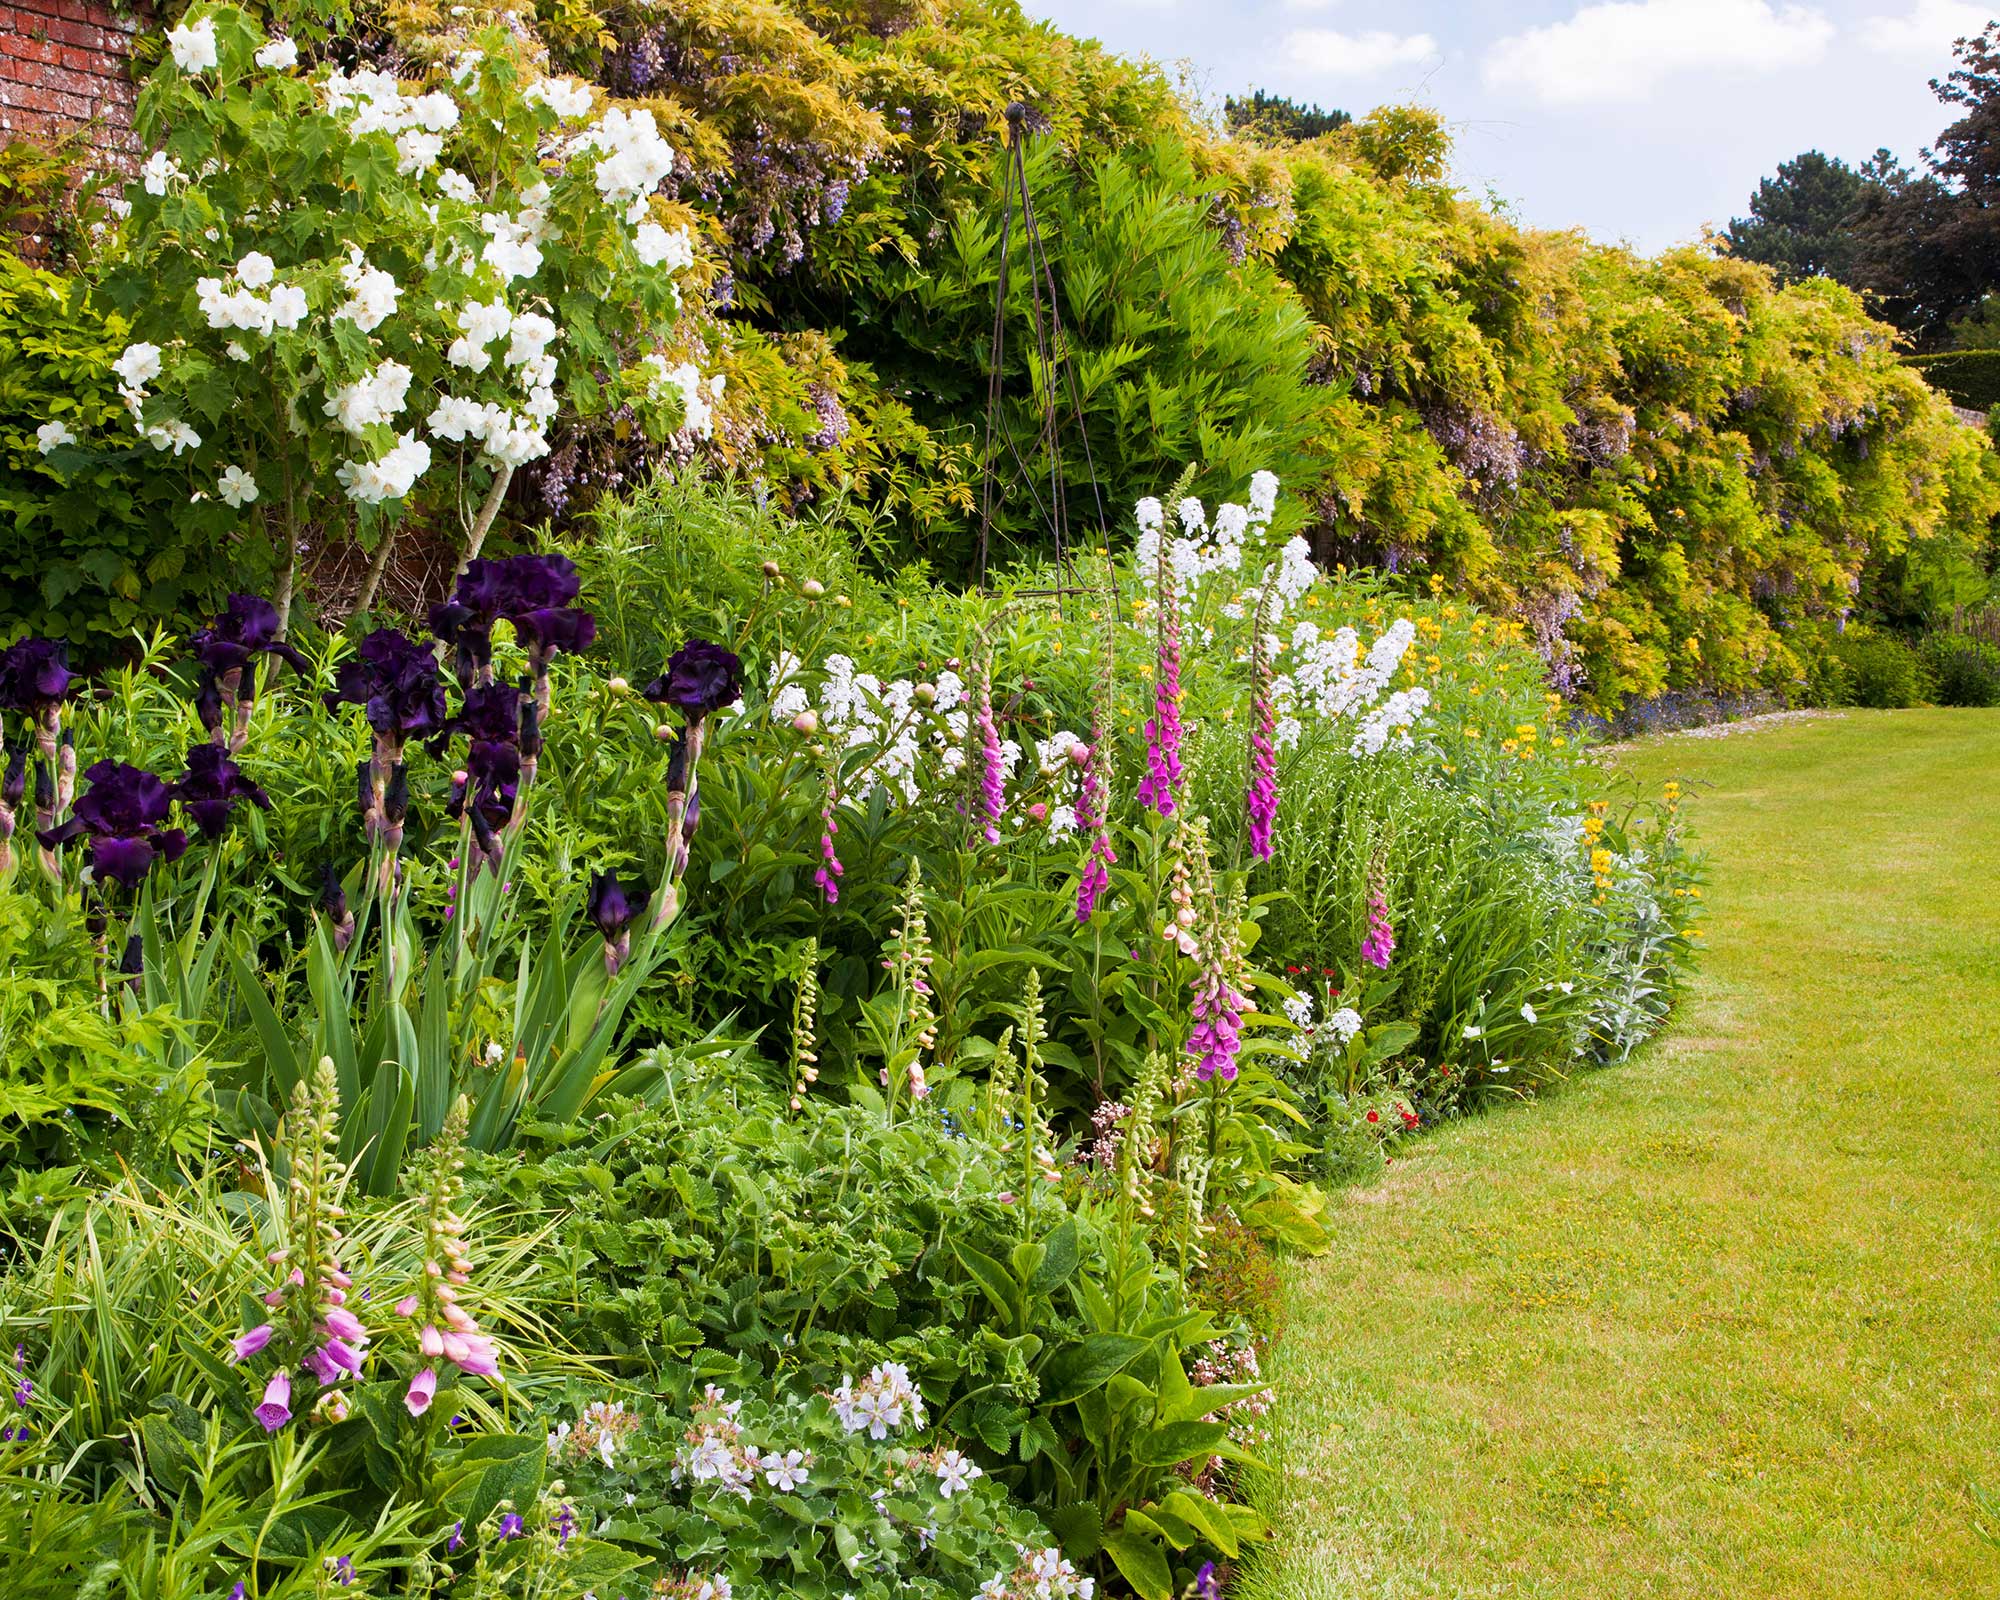
Now for the fun part! Once you know the soil and sun conditions you’re dealing with, and how large your border is going to be, you can draw up a long list of suitable plants. Use the information on plant labels, the internet, books, and magazines to find out which plants are likely to work best for you.
If there are particular plants you already have your heart set on, research the conditions they like before you commit to including them. Think about how much time you have to spend on garden jobs too – if you don't have much to spare, opt for low-maintenance garden border plants. And, if you want to encourage plenty of pollinators into your garden, be sure to include lots of bee-friendly plants.
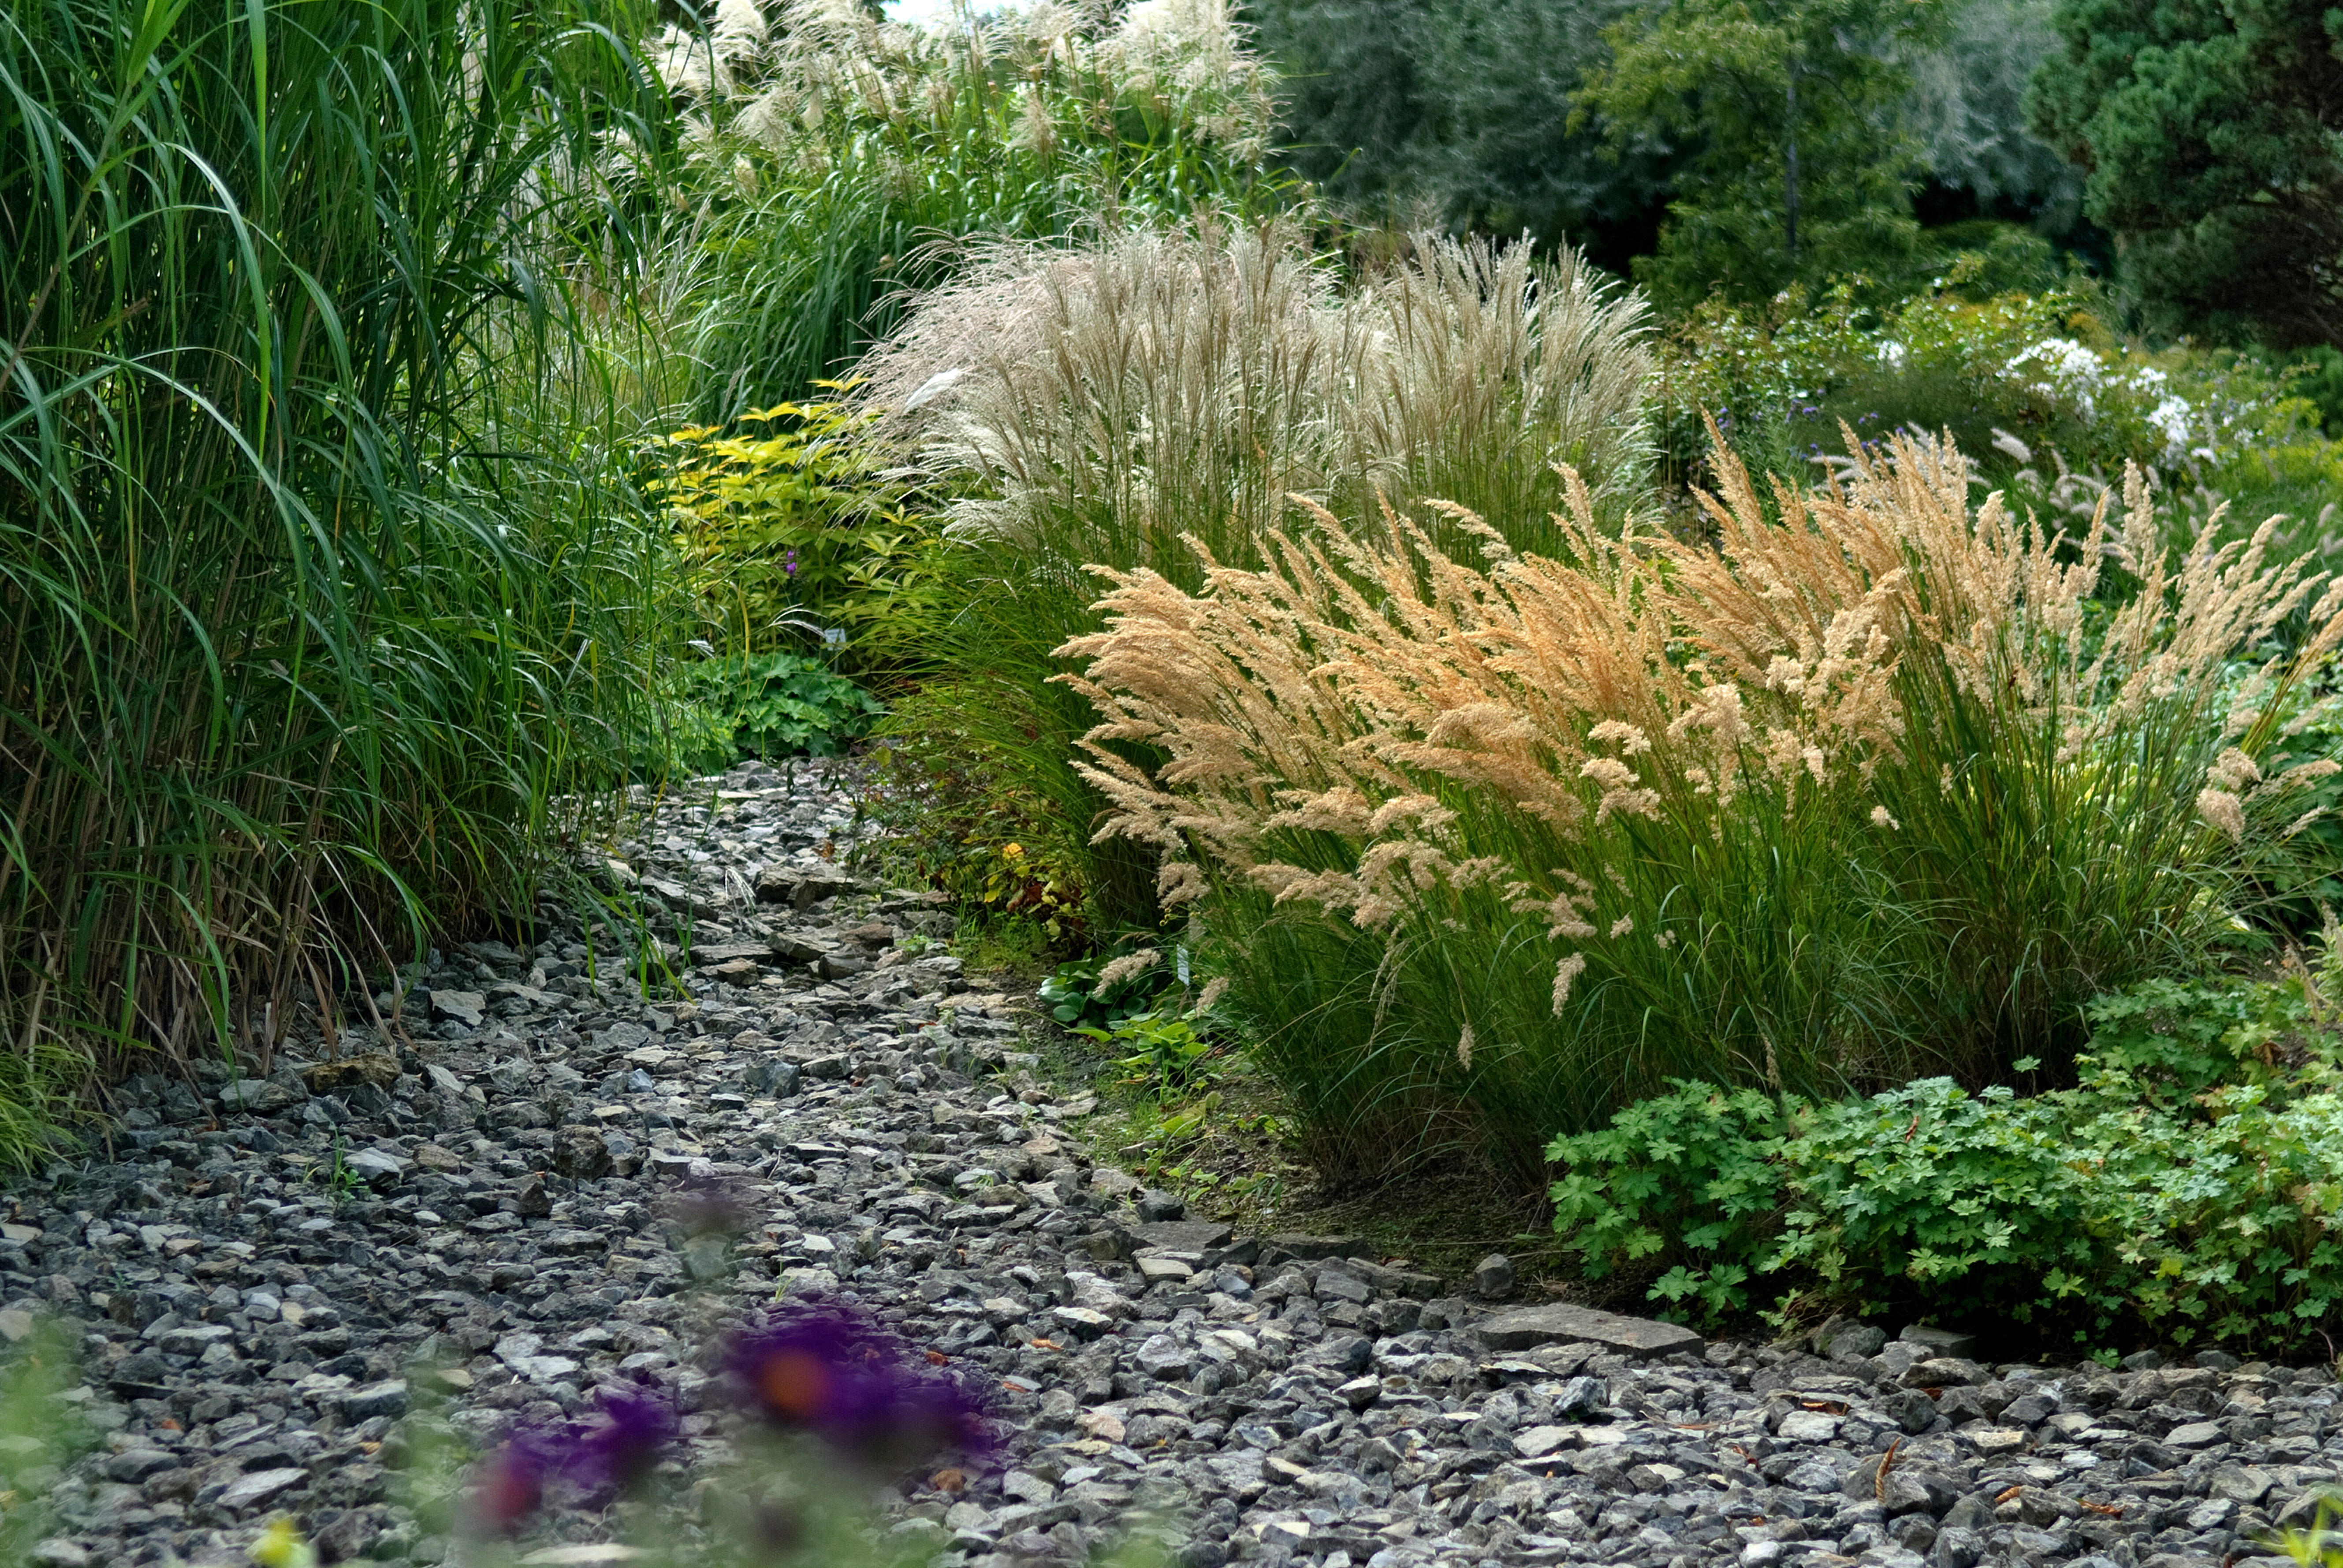
When choosing, it also pays to think long-term and include a succession of seasonal stars so that your border has year-round color. And, you need supporting acts for your seasonal divas, too. So, add in a good proportion of plants that perform well over a long period of time, whether that’s because they have an extended flowering season, seedheads that stay in place over winter, or just because they have good structure all year.
Take the tall, upright grass Calamagrostis ‘Karl Foerster’, for example. Plant something like this with veronicastrum, sanguisorba, and nepeta for summer; asters, rudbeckias, and heleniums for later in the year; and then low-growing irises and primroses for spring.
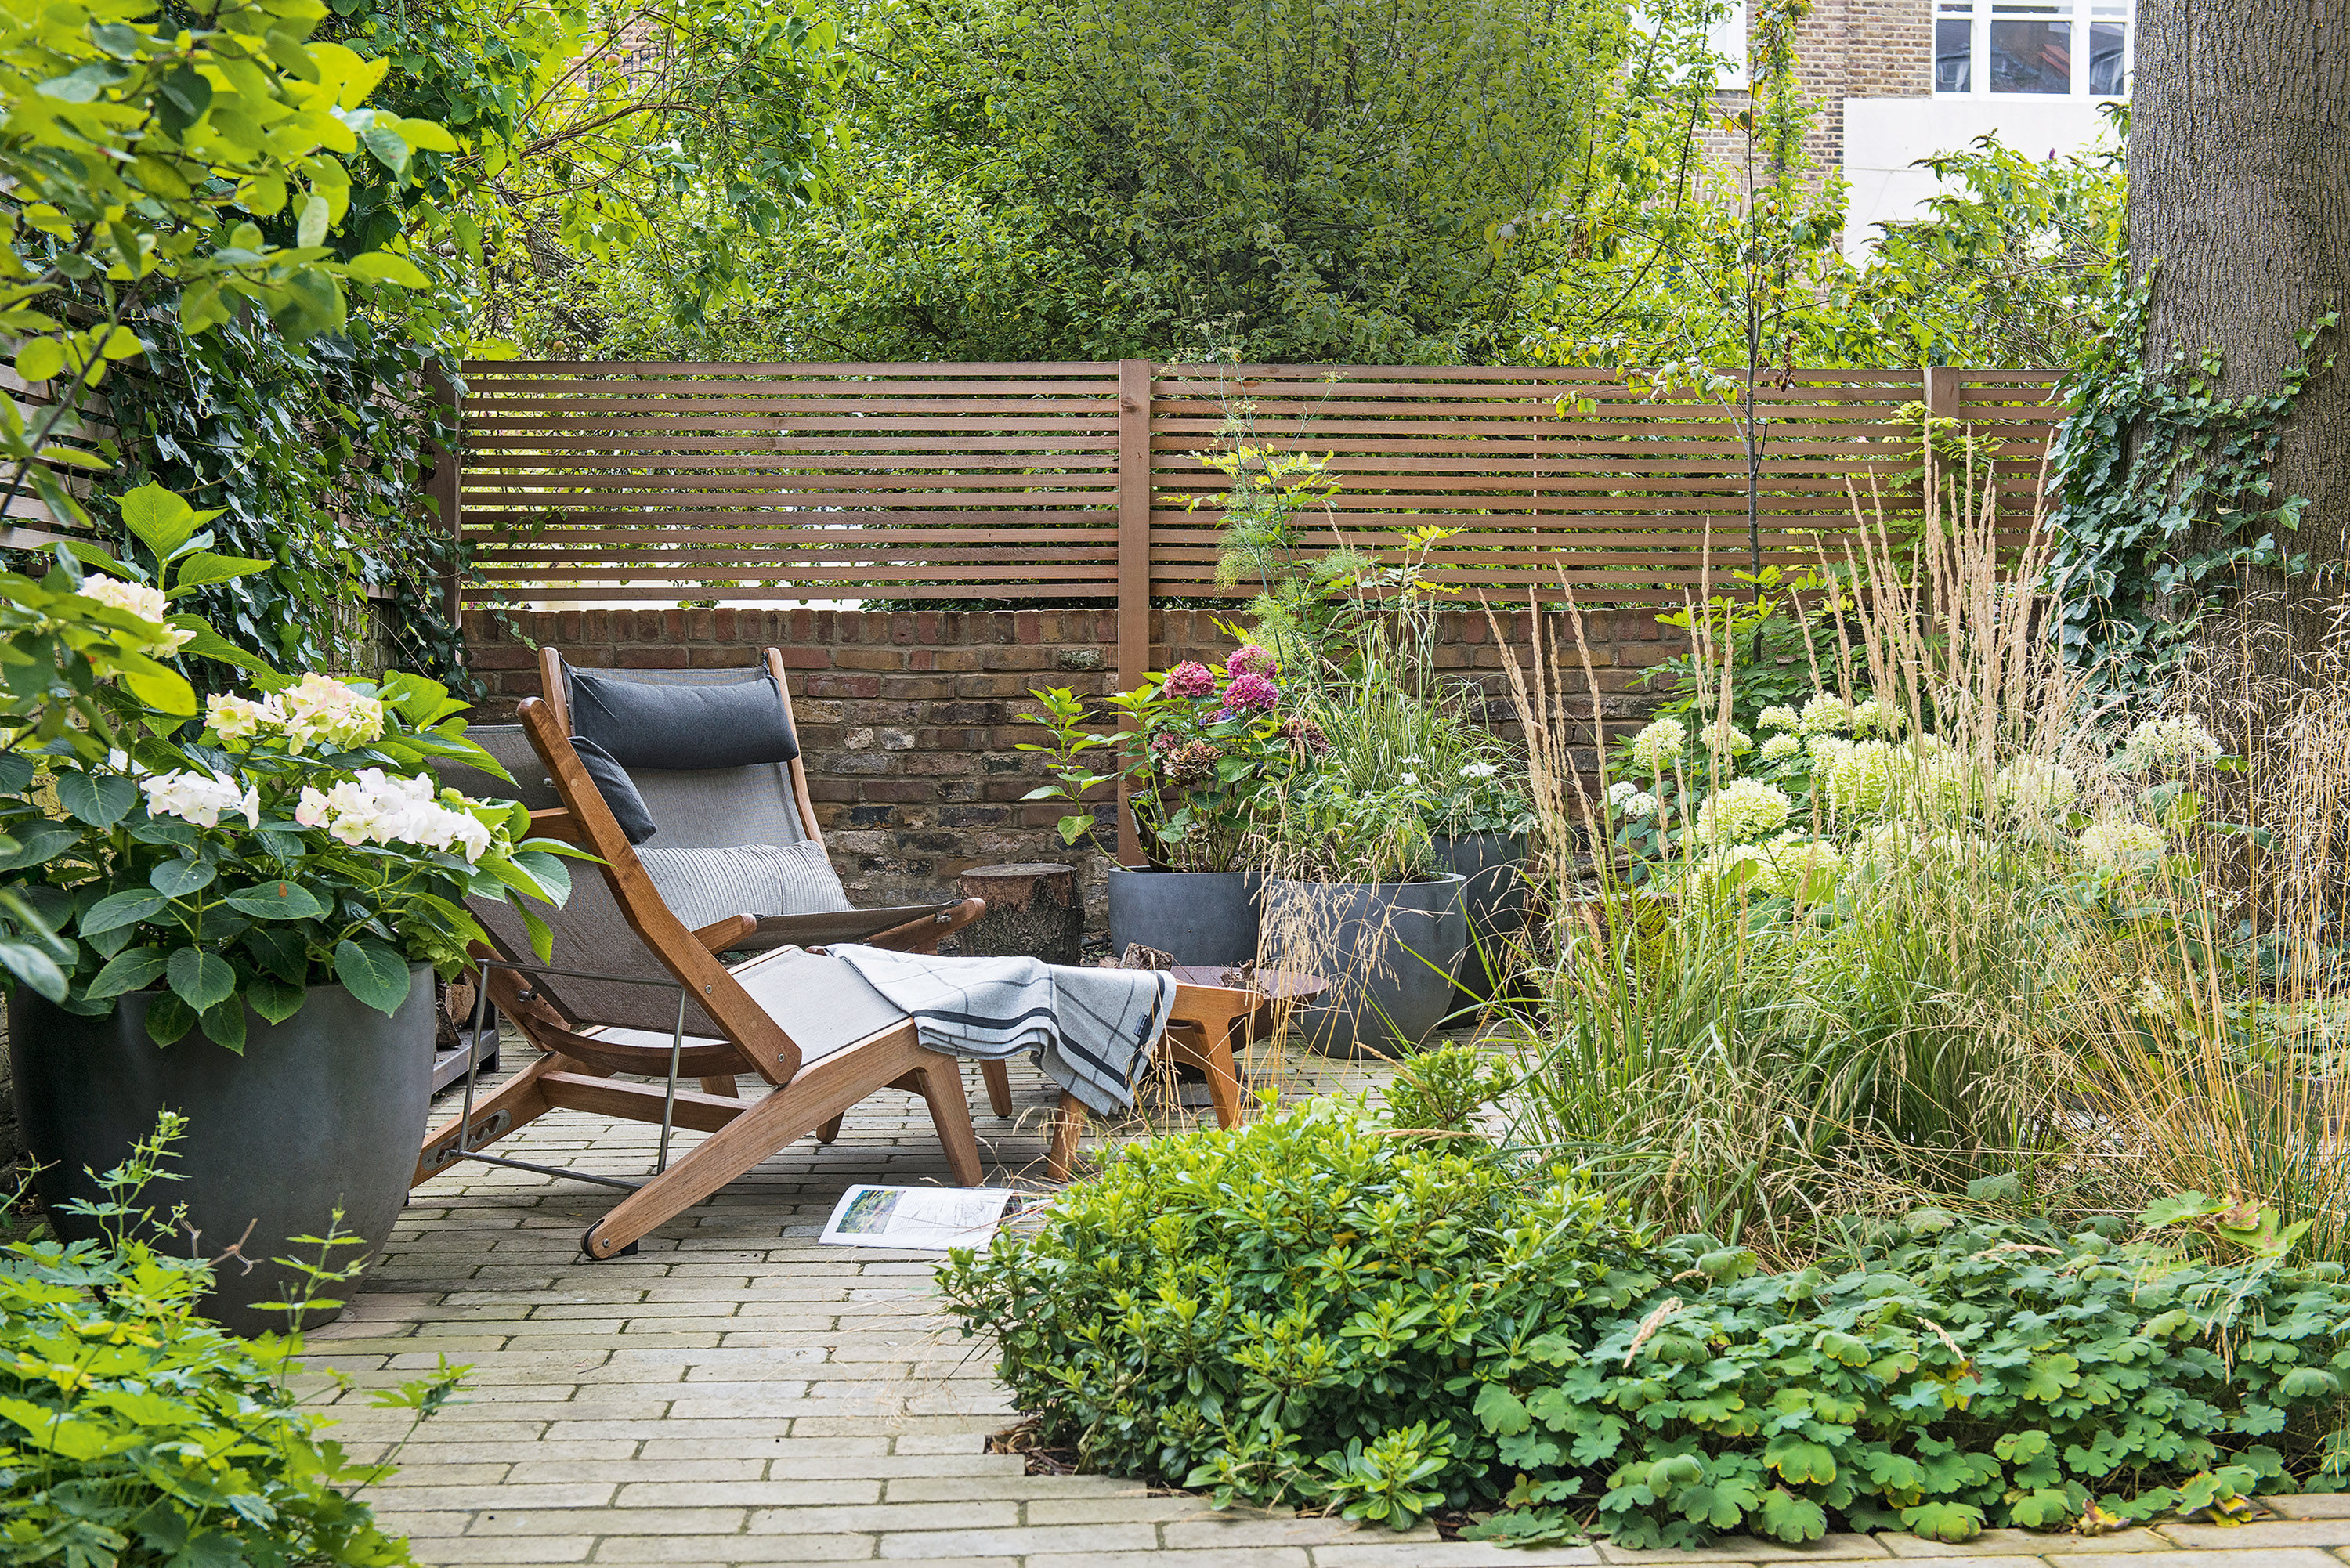
5. Pick a theme
If you already have a garden color scheme in mind, you’ve got a head start. But, if you’re undecided on the look and feel you want to go for, the ideal planting scheme will become easier to home in on once you’ve drawn up a list of potential candidates that will thrive in the conditions on offer.
Think about the overall vibe of your garden, too. A modern plot may suit more muted, structural plants with plenty of architectural foliage, or perhaps a cottage or Mediterranean garden scheme is more your style.

6. Maximize the impact of your borders with different heights
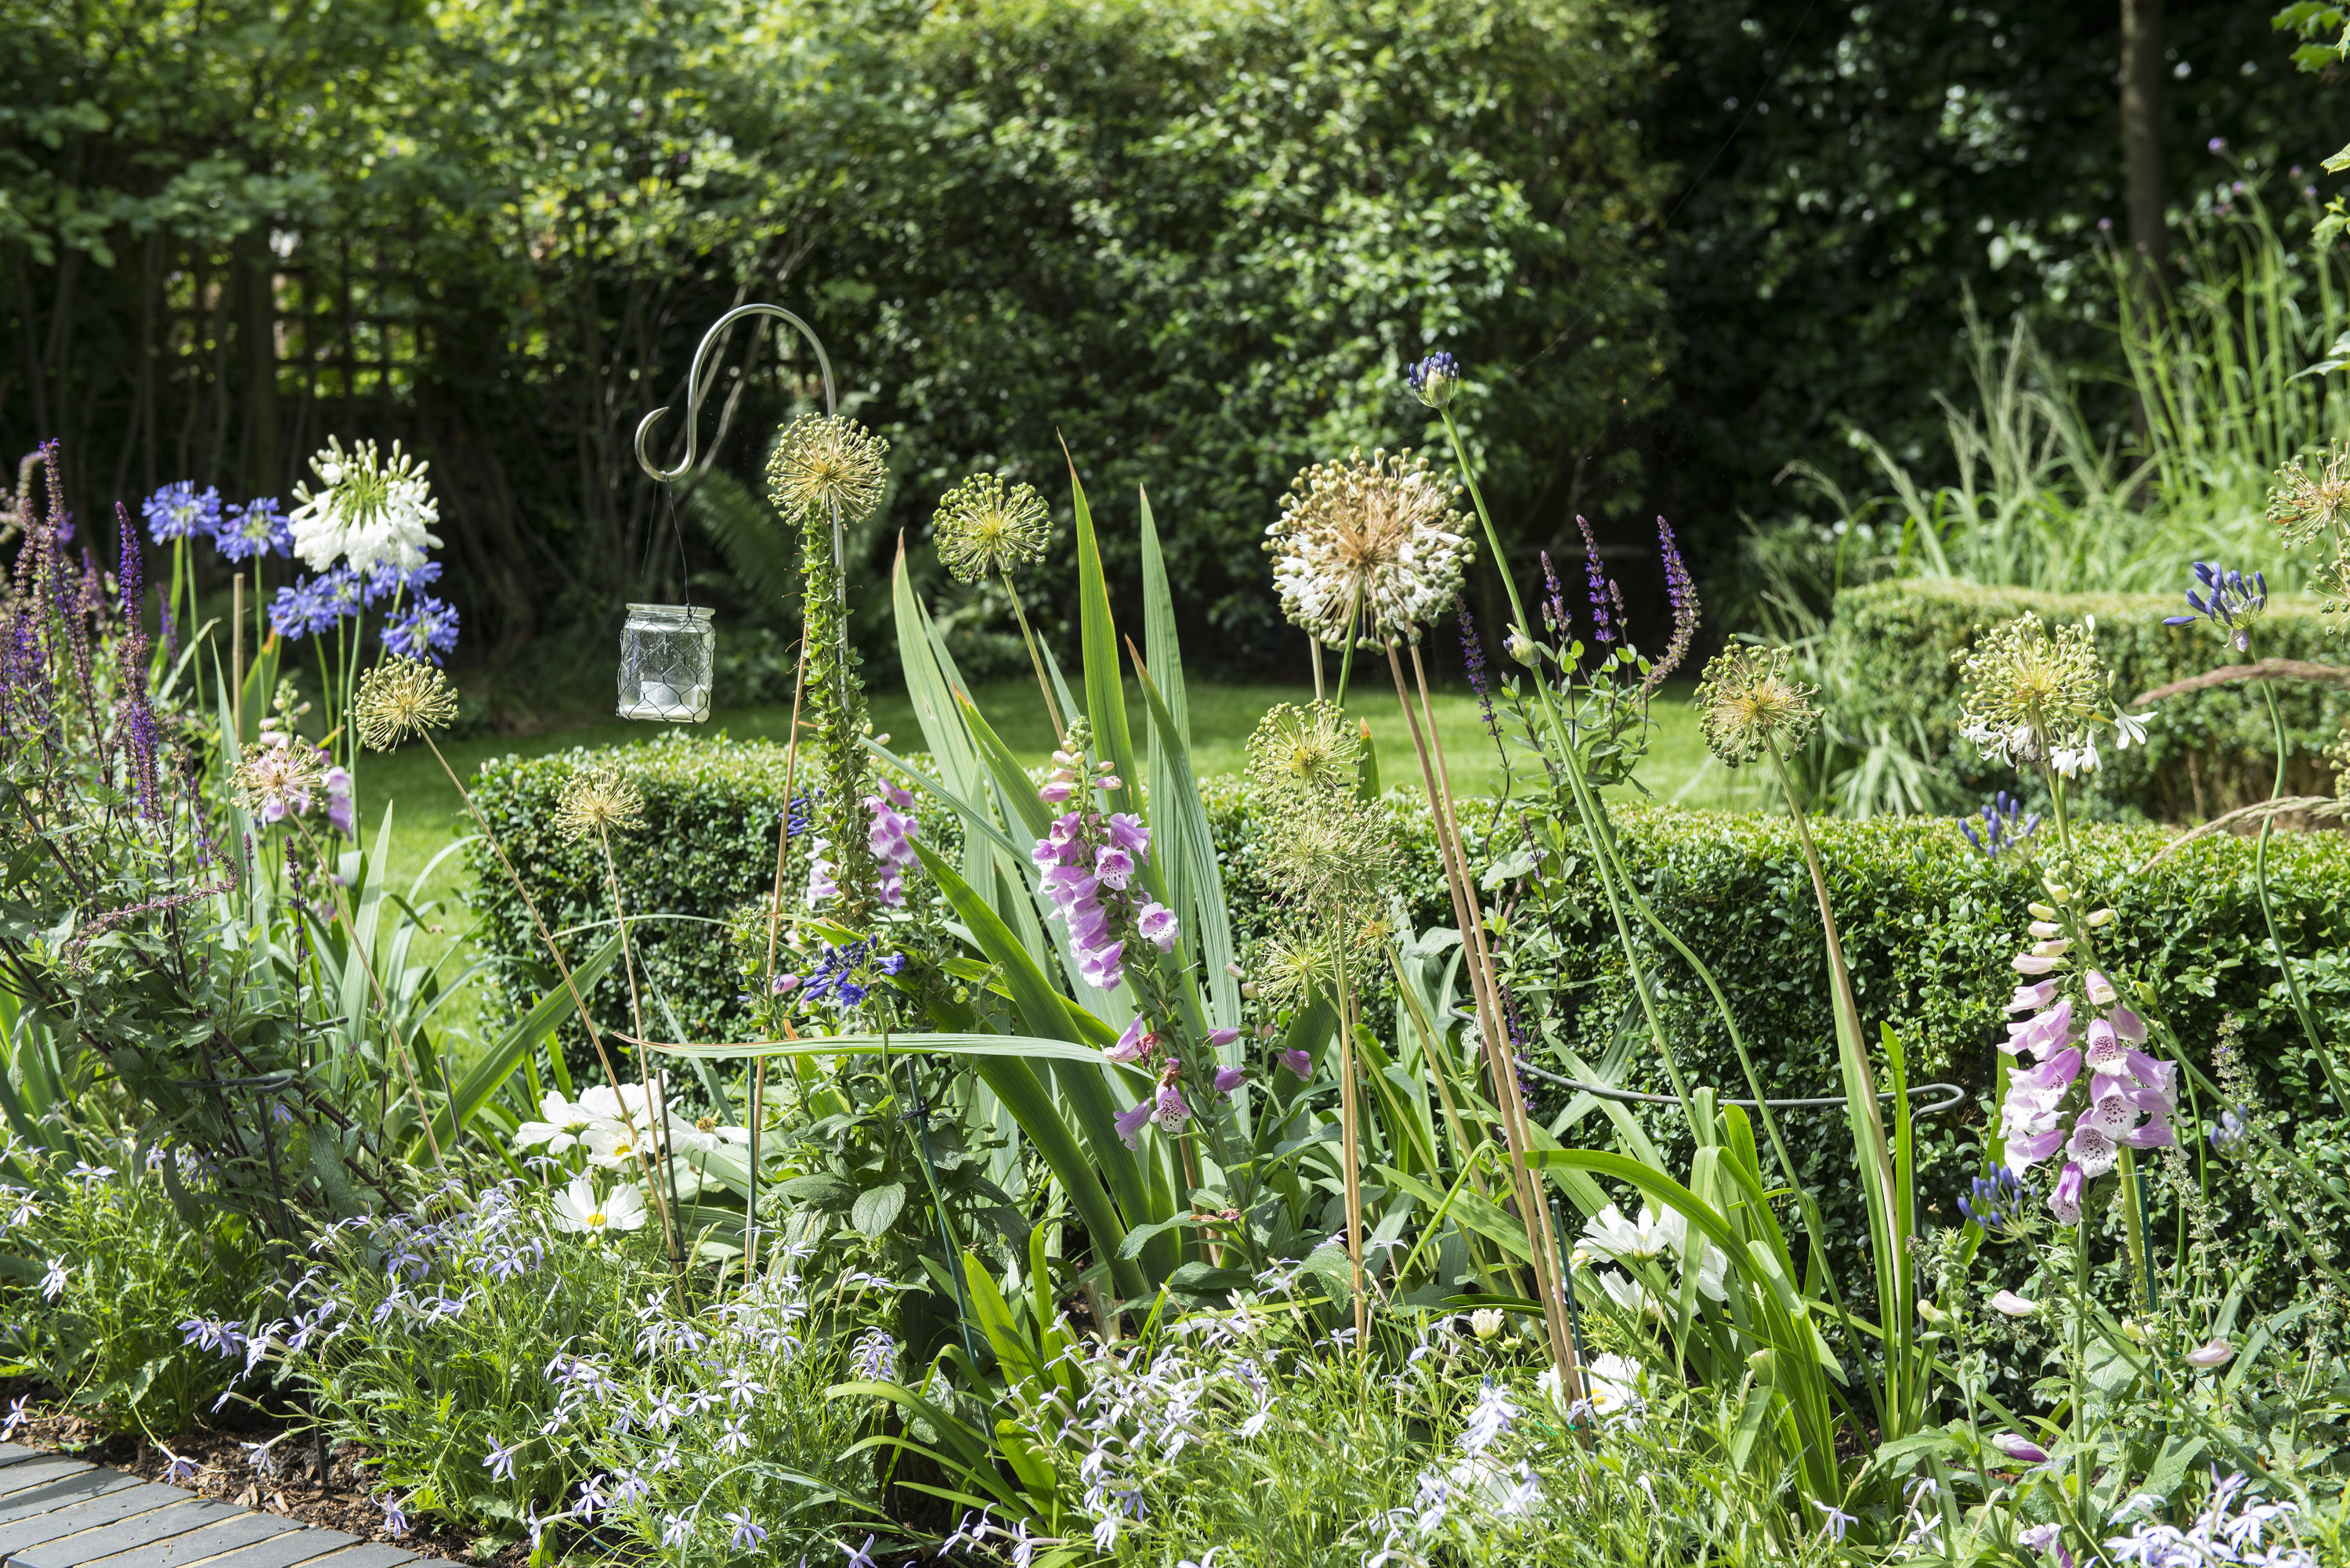
There are some tips and tricks you can apply when planning the layout of your garden border planting ideas – and one is to consider different heights. One or two plants that stand head and shoulders above the rest will draw the eye and give it somewhere to rest, making it easier to take in everything else.
In larger borders, the best trees for small gardens can take on this role (crab apples, for example, which have a naturally attractive, open shape and lots of character). In smaller spaces, large shrubs or perennials, such as ornamental grasses or the taller varieties of salvia, are ideal. Gardening guru Monty Don is a huge fan of using salvias for show-stopping late summer displays.
To give the border a sense of rhythm and cohesion, try repeating tall ornamental grasses or shrubs such as wintersweet (Chimonanthus praecox) three or four times at intervals, as punctuation. And there’s no need to relegate these taller plants to the back of the border, especially if you choose those that have an overall ‘see-through’ character. Take lofty, airy Verbena bonariensis for example, or those that have clear stems – these too can act as punctuation points.
7. Build up a pattern
Once you’ve chosen your plants, having a clear planting plan from the start will produce a much better end result than randomly putting in plants wherever there’s a gap. Lay them out when they're still in their pots to get an idea of what the final result will look like before you plant them.
It’s worth knowing a few tricks of the trade as you do so. For example, garden designers often get breathtaking results by grouping plants of the same variety in threes or fives, then using ‘filler plants’ to hold the groups together visually.
Then, to give your border a more relaxed, natural feel, it works well to offset a few single plants outside of these groups of three or five. You might, for example, have a swathe of persicaria in the center of the border and then weave in single persicaria plants on their own towards the back. The impression this gives is of them having self-sown there.
Airy ornamental grasses like deschampsia and molinia make perfect fillers and their veil-like, transparent quality makes them very versatile. Or, you may prefer to employ the more solid shapes of evergreens as your fillers – the choice is yours.
8. Design the perfect backdrop
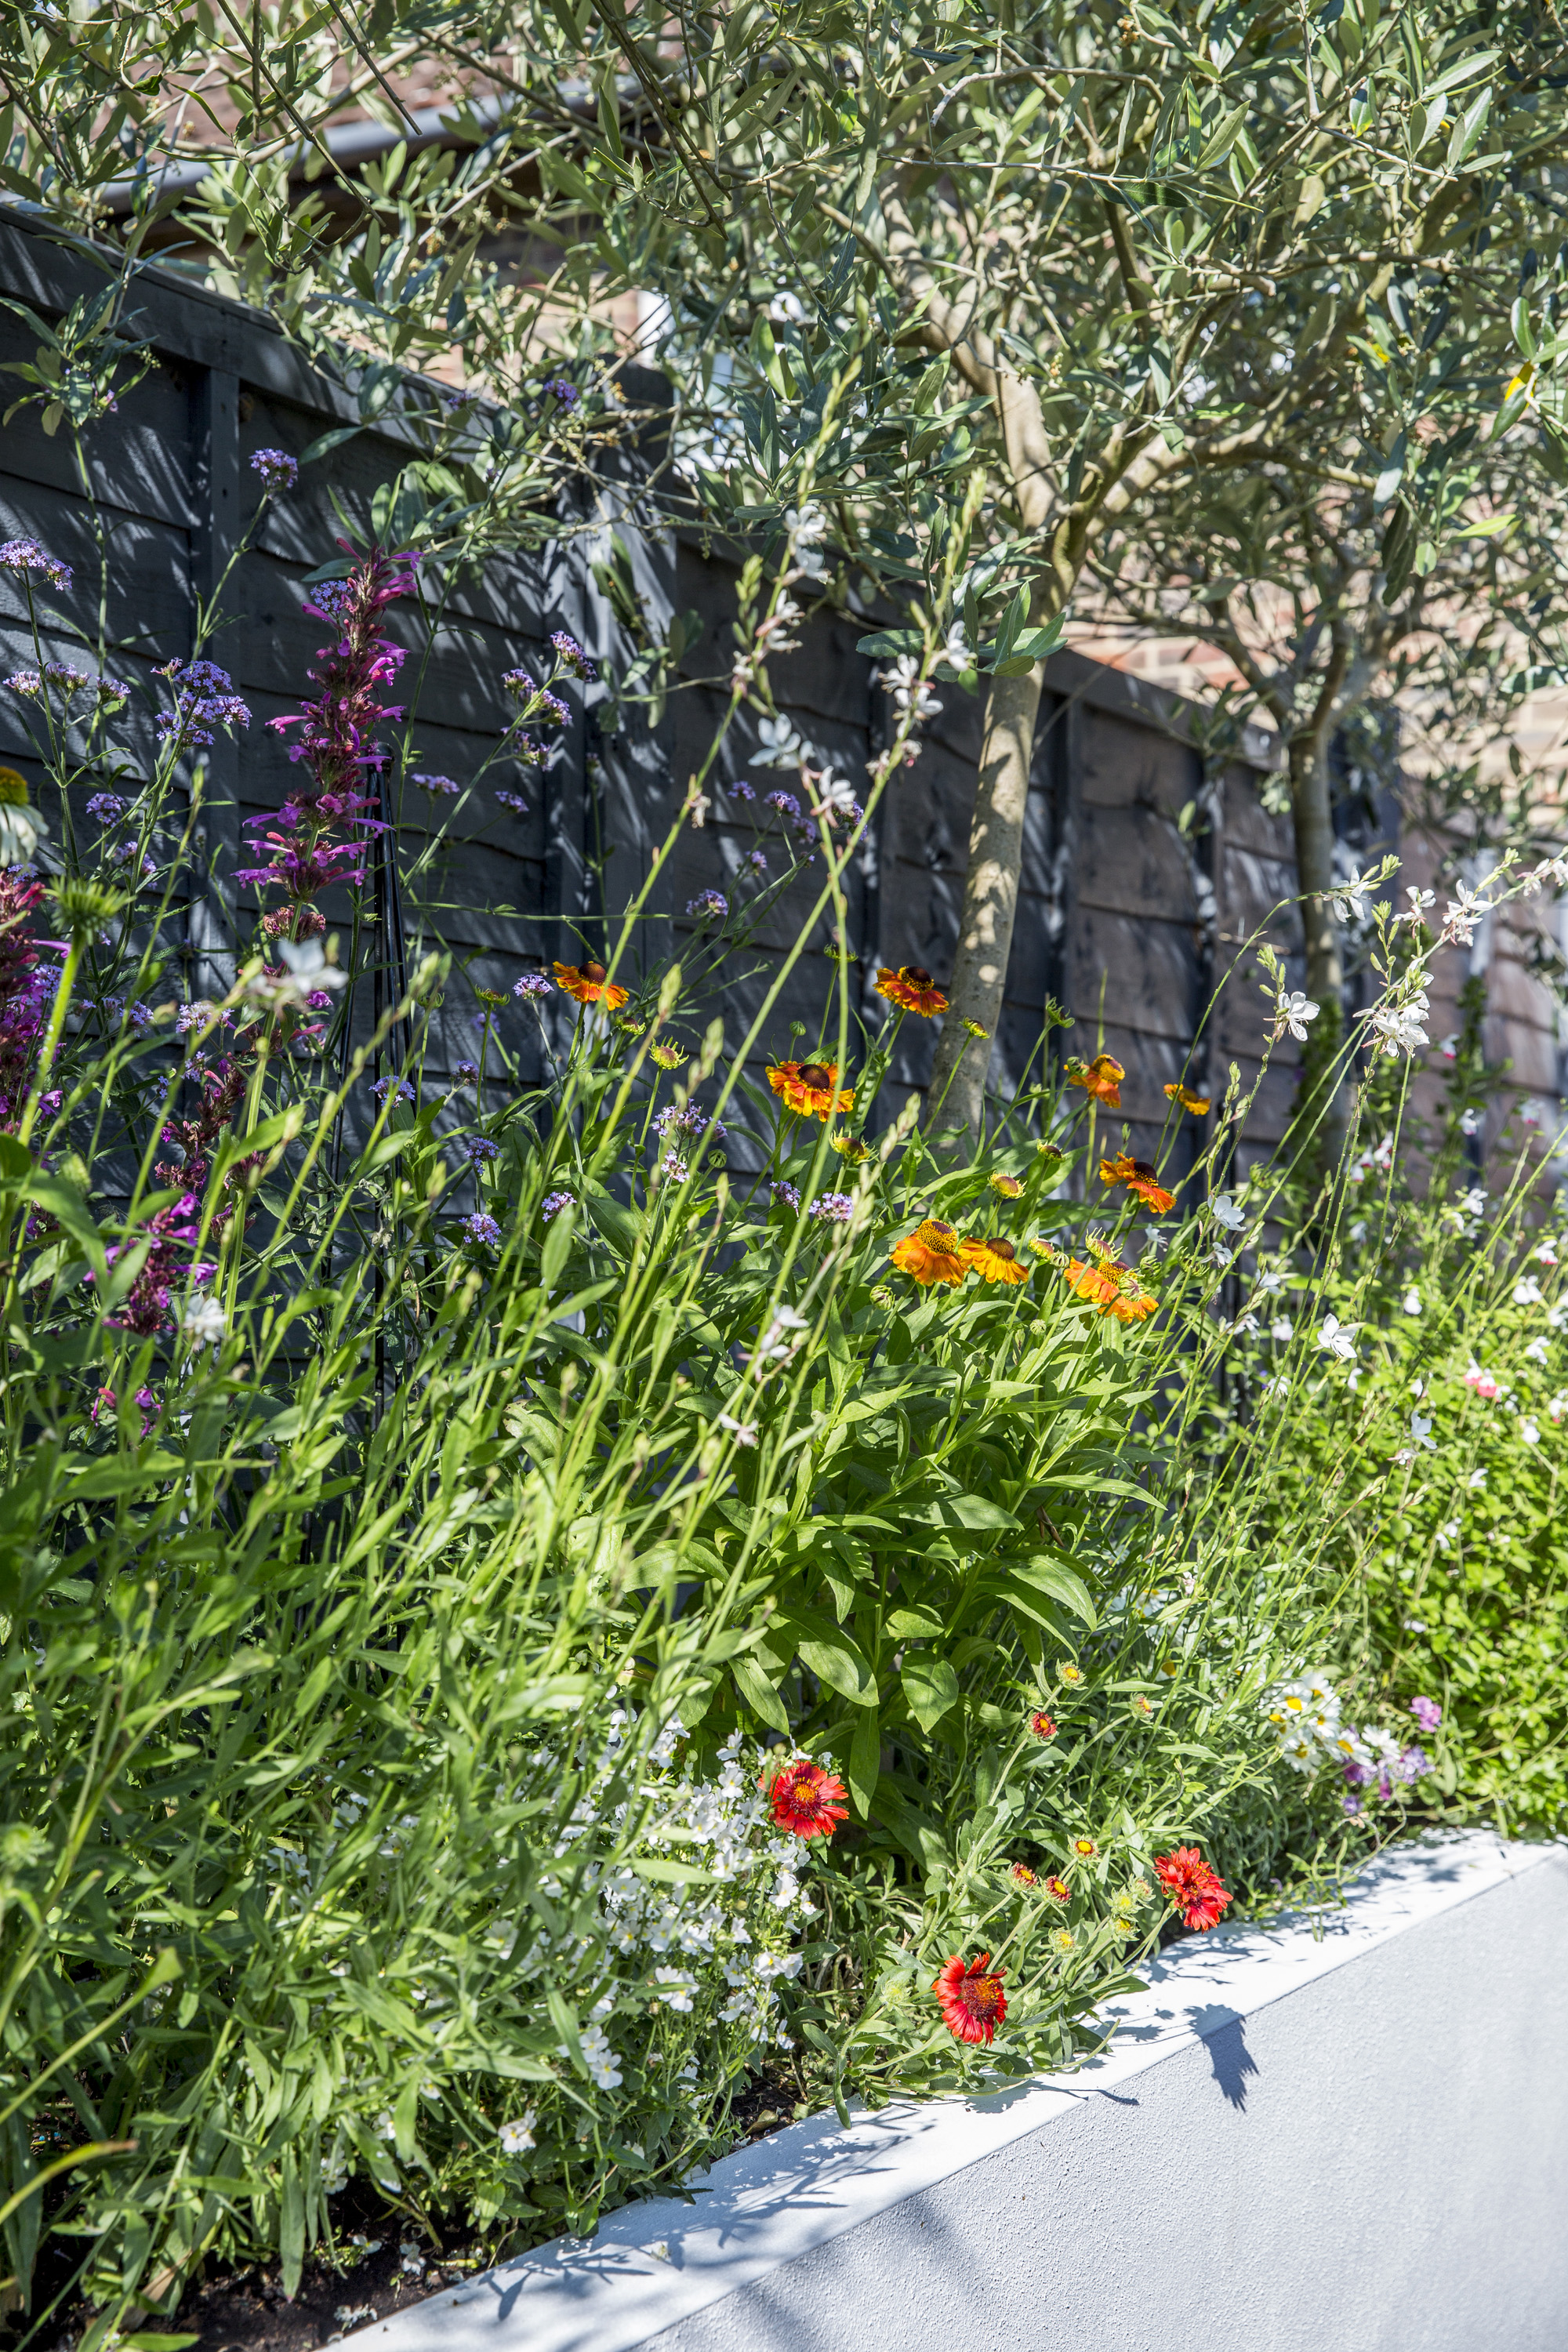
Most garden borders have a boundary wall or garden fence as their backdrop. These can be things of beauty in their own right and complement the planting in front. For instance, a lick of charcoal paint can help lush foliage and vibrant blooms really stand out.
If you'd rather disguise yours, however, you can help it recede from view by training climbers up and over them. Finding out how to grow clematis, honeysuckle and passionflower is a good idea if the boundary gets a reasonable amount of sun during the day.
There are lots more good planting picks for fence lines, including tall grasses, shrubs, or even a row of slender silver birches or pleached trees. Just be sure to keep anything you plant well-watered until it’s established, as walls and fences tend to create 'dry rain shadows'.
How do you make a new garden border?
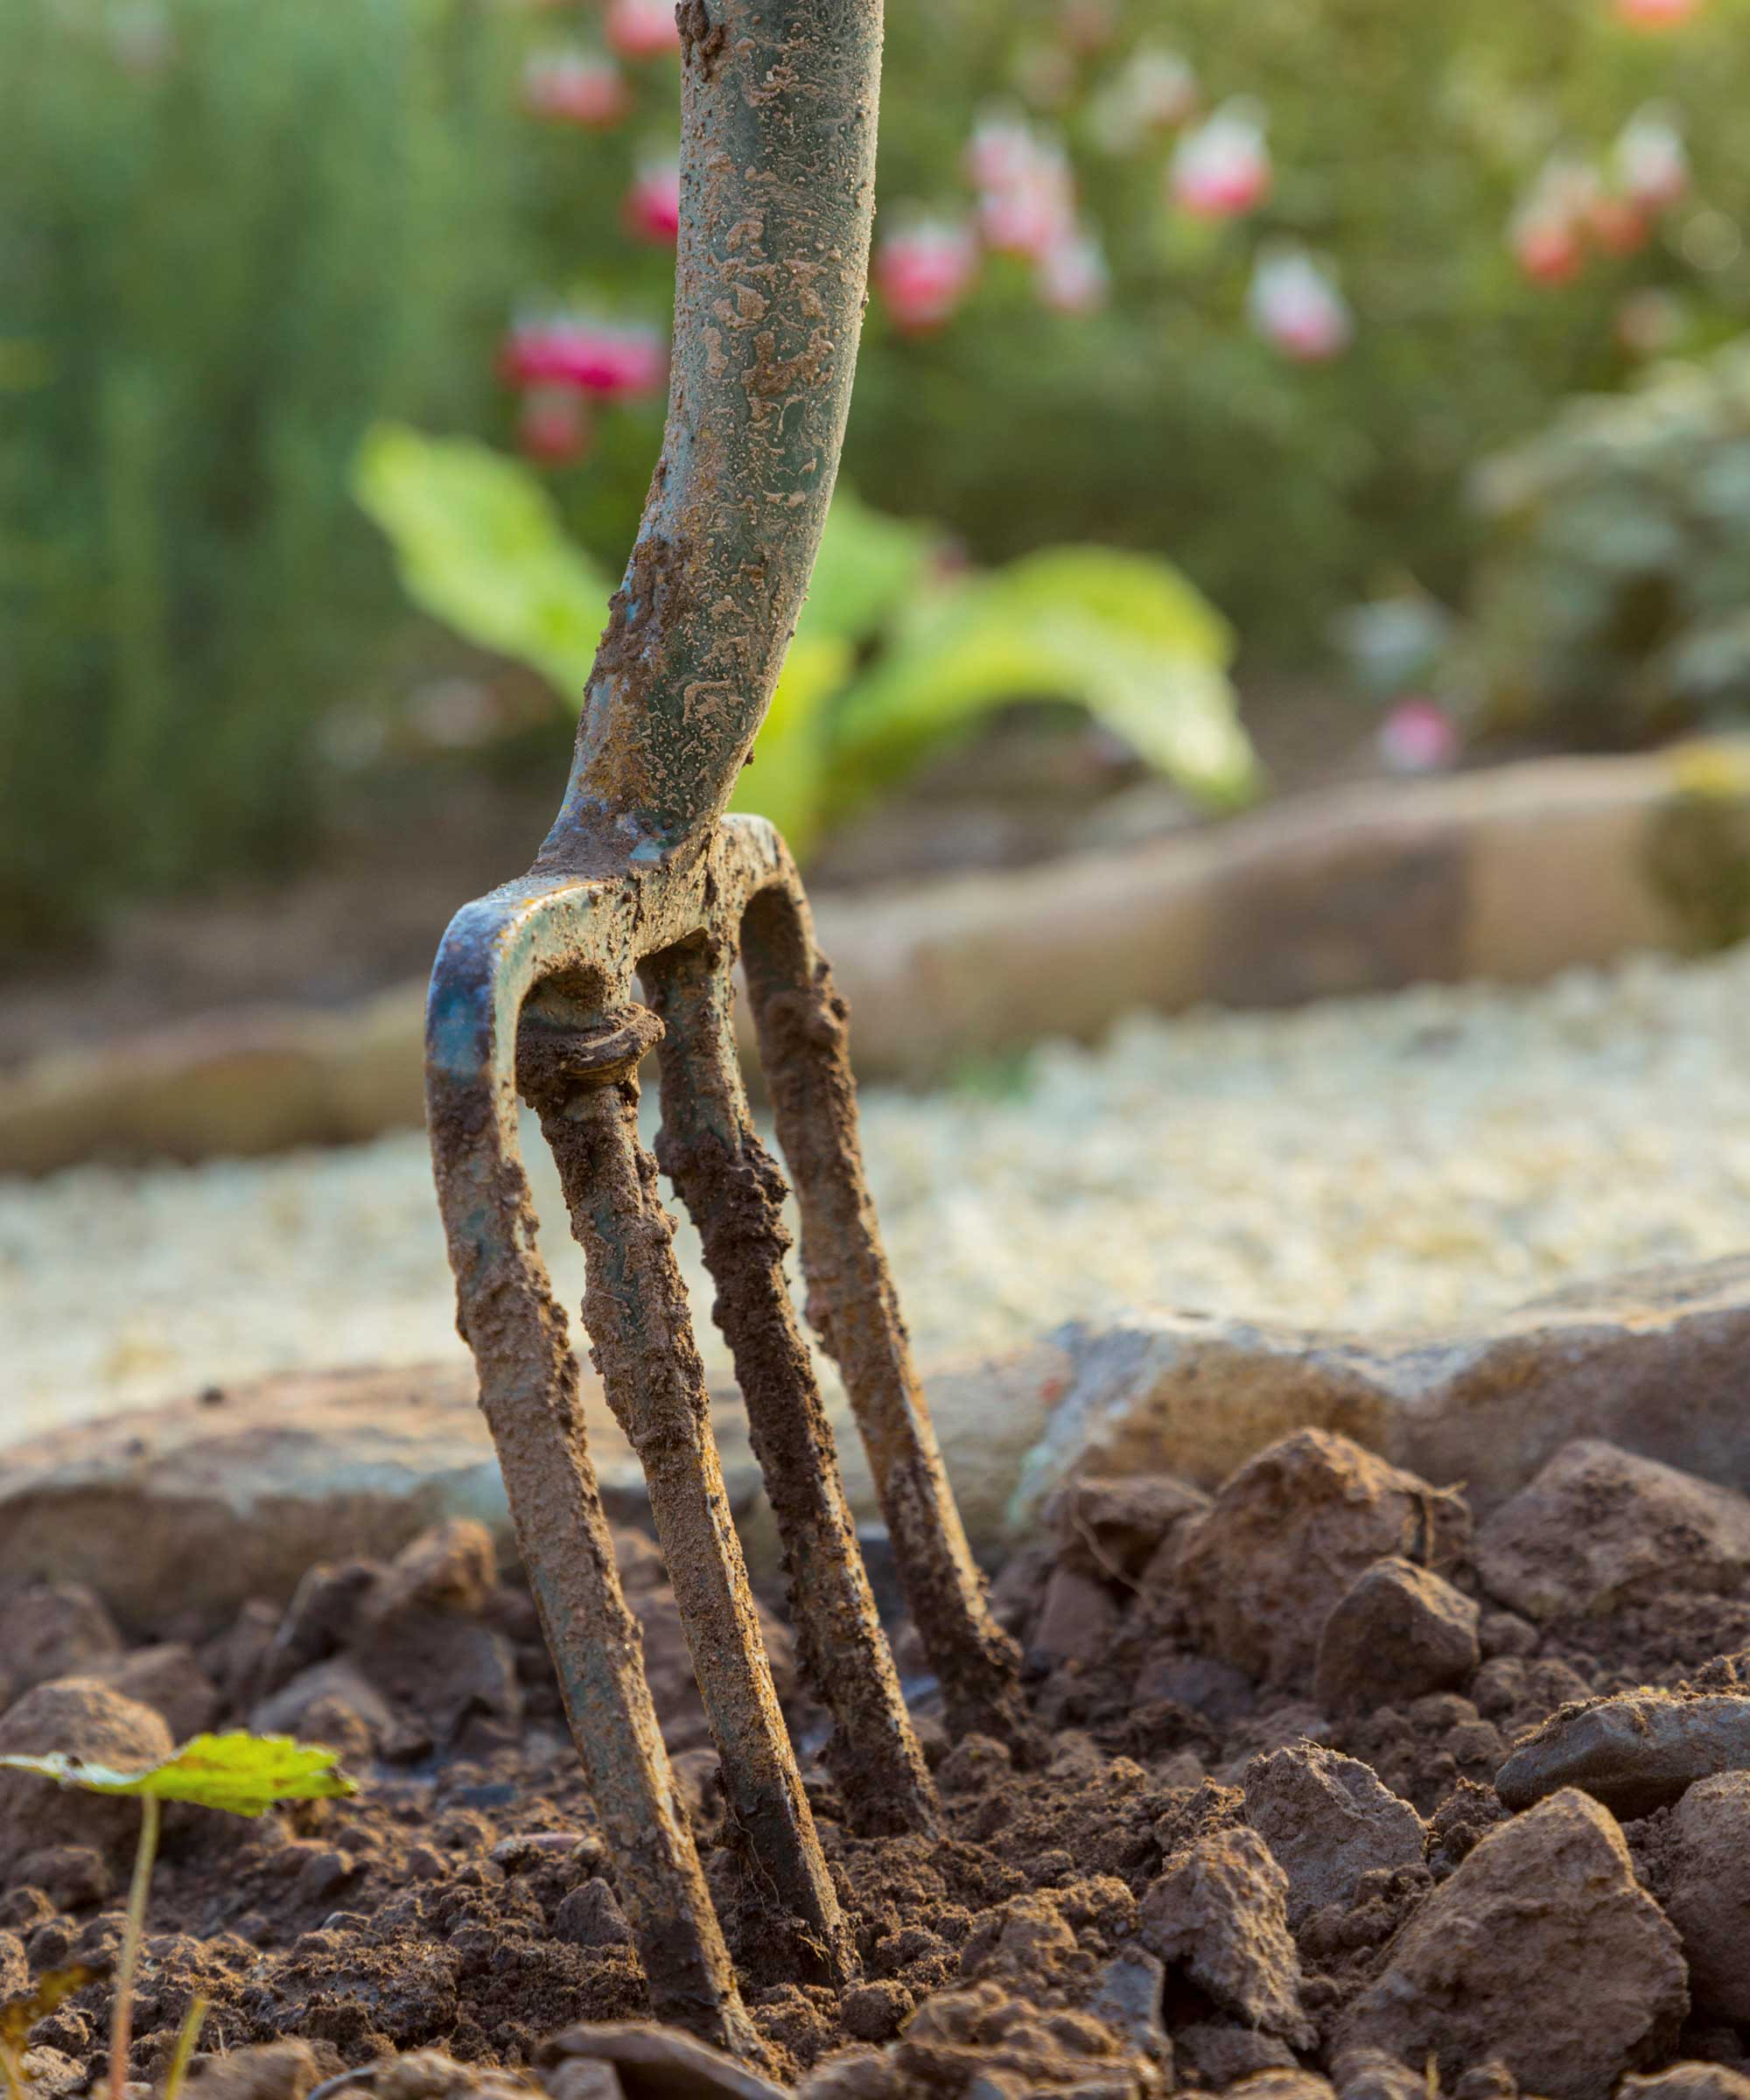
Ready to add your new garden borders? It's time to grab your best garden spade or fork and get digging: just follow these steps and you'll have a fabulous new flower bed in no time.
- 'Start by clearing the area, digging out the dead shrubs, brambles and nettles, and removing any debris and stones,' says John Negus, a gardening expert from Amateur Gardening. You may also need to cut out and remove sections of turf. Be sure to get rid of any weeds, too.
- Dig organic matter, such as some garden compost, into the soil to add nutrients and improve its structure. 'Then, smooth the surface, removing bumps and filling hollows,' says John.
- If you want to keep weeds to a minimum, lay a heavy-duty weed-control membrane over the entire area, pegging it down, John suggests. You can then cover it with bark chips, gravel, pebbles or slate chips. Plant up the area by scraping back the bark or whatever else you have used and cutting X-shaped slits through the membrane to plant though, he says.
- Alternatively, skip the membrane and add your plants directly into the soil. Remember to consider how large each plant will get once it's grown to its full size, so give each enough space around it.
- Once you have planted your plants, firm them in with soil and water well. If you haven't done so already, add mulch to retain moisture.
When is the best time to plant a garden border?
'The best time to plant shrubs and perennials depends on the prevailing weather conditions and soil structure,' says John Negus. 'If your garden is prone to early frosts and prolonged cold, and if the soil is heavy and likely to sit wet, then you are probably wise to leave planting until spring.'
However, if feasible, planting in autumn can have its benefits. The soil will still be warm from summer but is also likely to be moist. And, it means that plants will have six to eight weeks of root growth available, when they can start to make themselves at home before winter weather hits.

Sarah is a freelance journalist and is lucky to be able to write about her two main passions: gardening and food. She recently took on an allotment too, and is really loving growing all her own fruit and veg then bringing it home to try out in new recipes for her food and gardening blog, A Cook's Plot.
- Holly CrossleyActing Deputy Editor
