How to felt a shed roof: simple steps for protecting your shed from the elements
This guide covers all the advice you need on how to felt a shed roof – whether you're replacing an old design or are starting from scratch
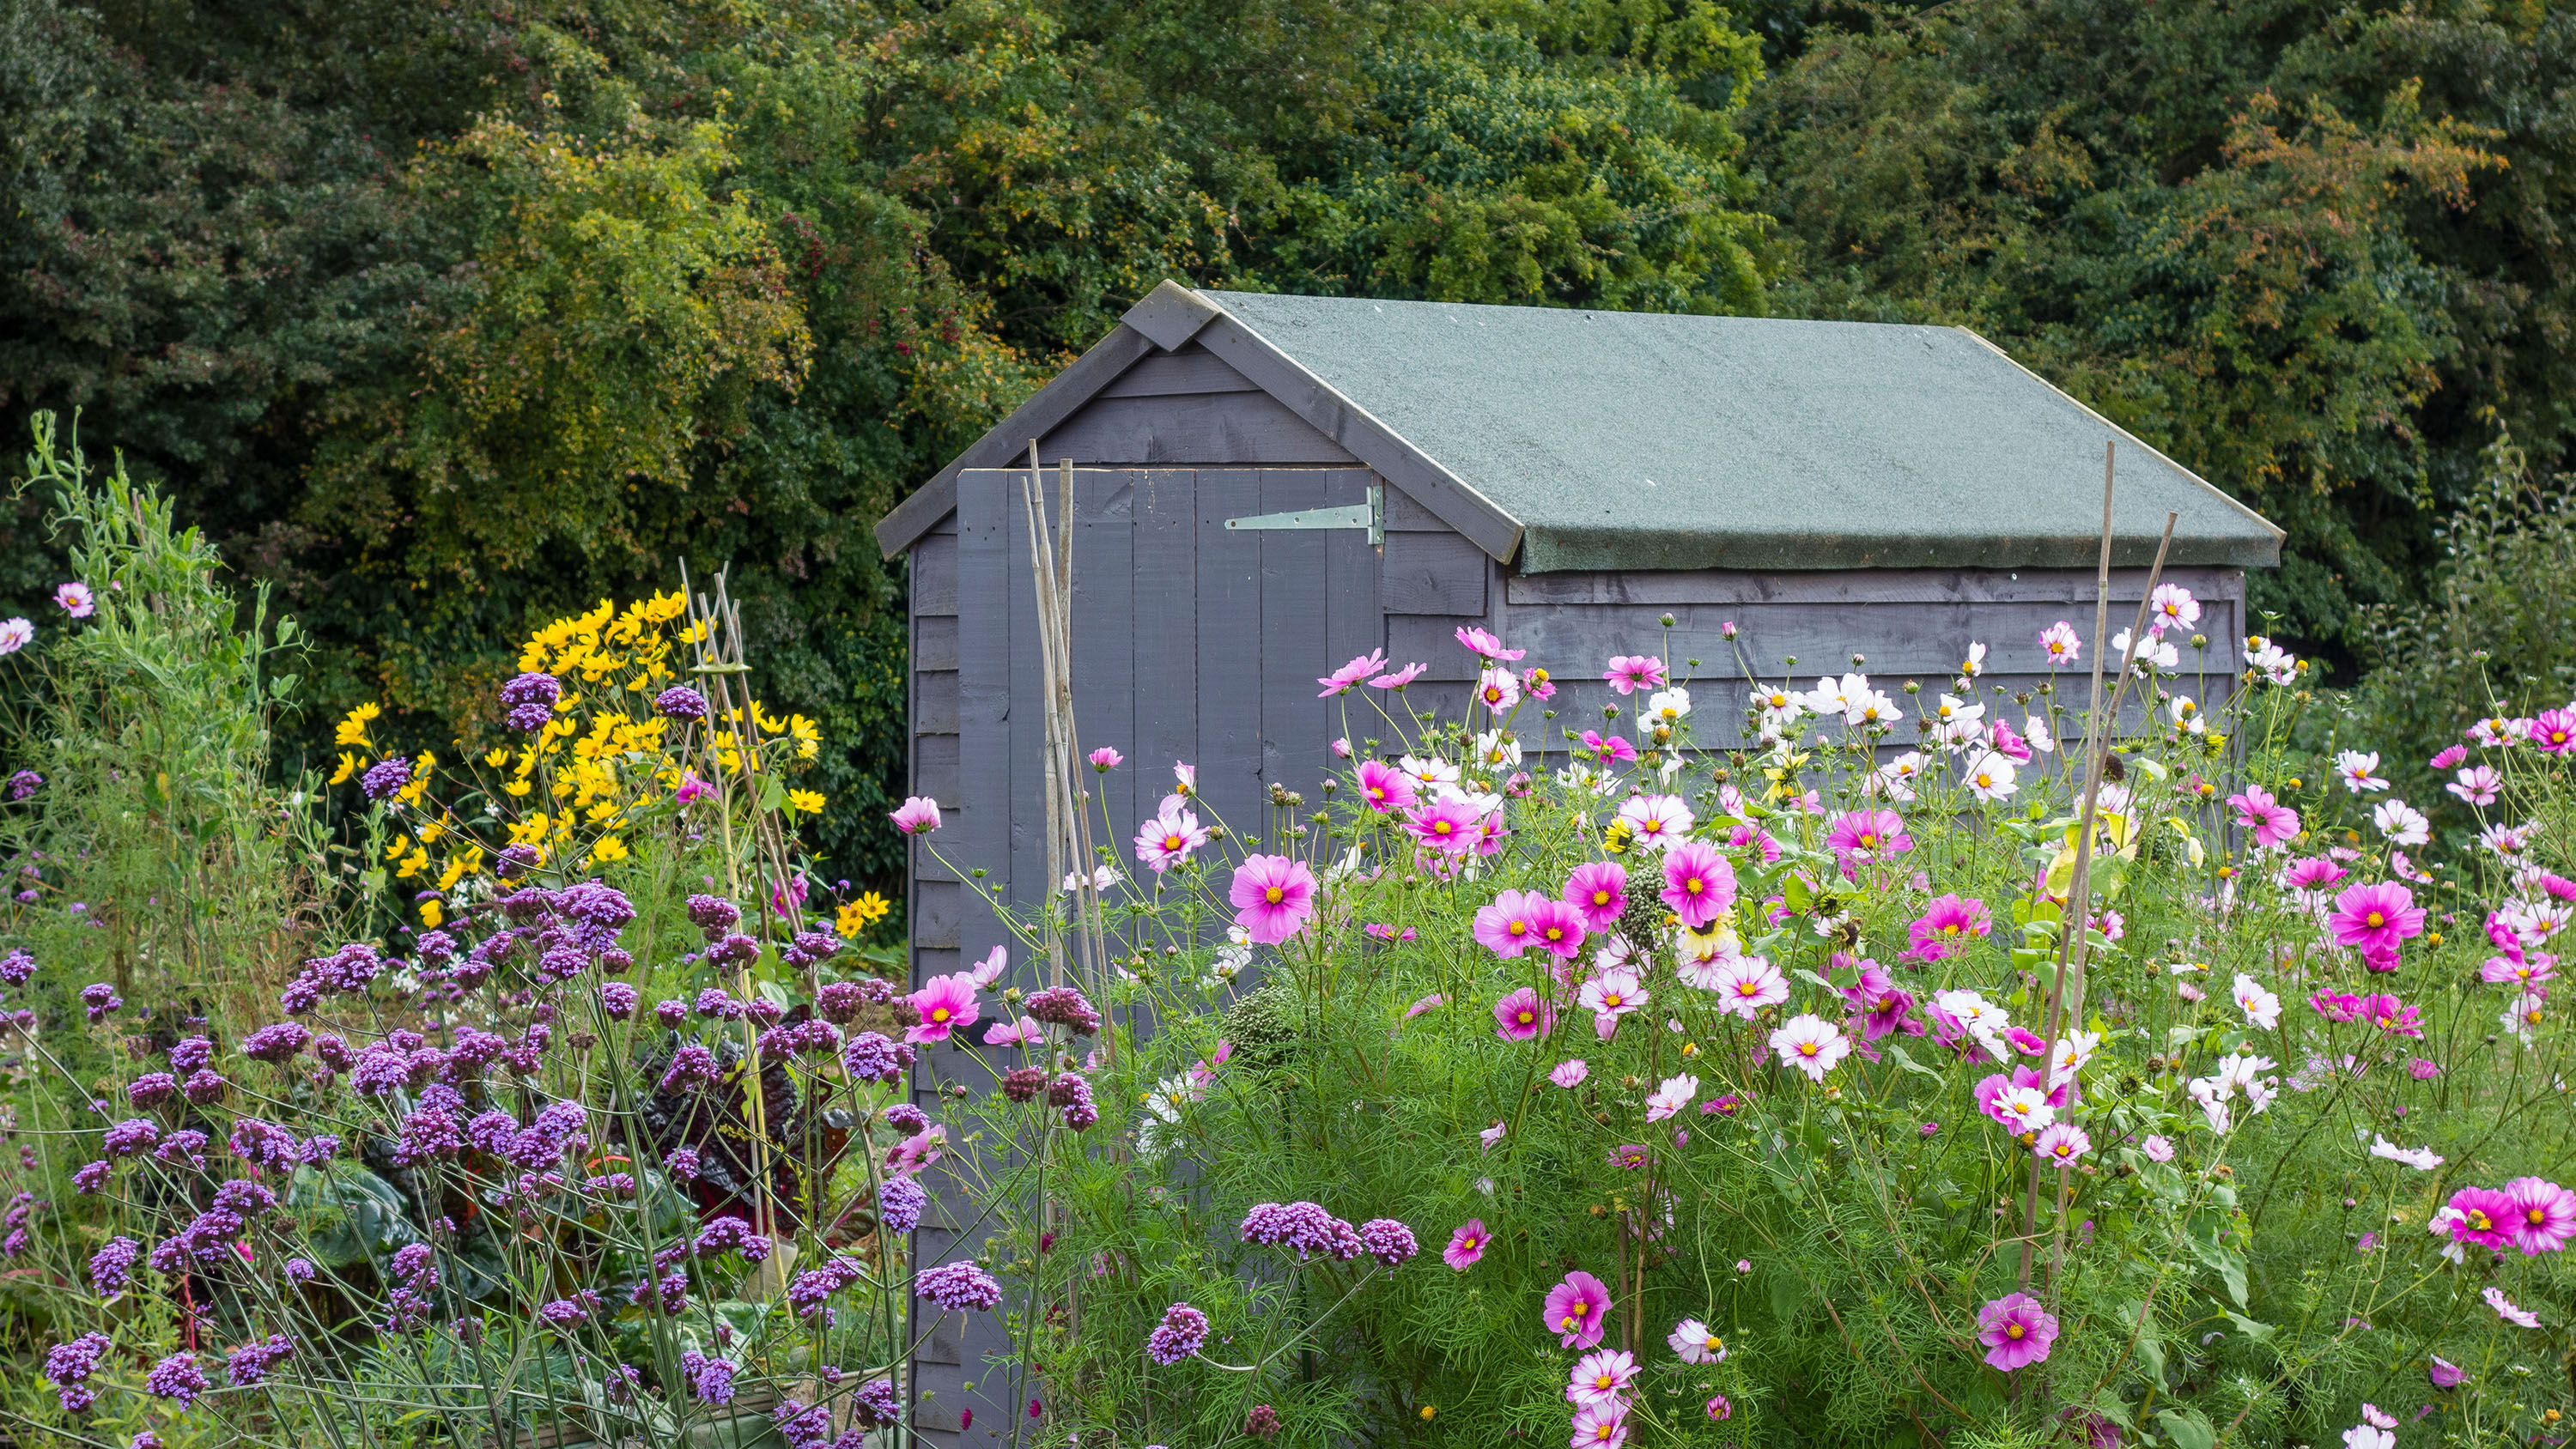

Have you ever wondered how to felt a shed roof? If you want to keep your garden building in tip-top condition, it's a useful skill to have. And, as you'll soon see, it's really rather straightforward.
Whether our shed ideas have got you inspired for a new garden build or you've had one for years, learning how to felt – or refelt – its roof is a simple way to make it last longer. And, as they're often home to important (and expensive) garden features such as power tools and furniture, keeping your shed's roof strong and leak-free is crucial.
Wind, rain, snow and sun can all take their toll over time, so it's well worth keeping an eye on your shed's roof throughout the year. But, knowing how to felt a shed isn't just useful for when it's time to make a replacement – if you're building a shed from scratch – this guide will come in handy too.
How to felt a shed roof: 8 easy steps
With the help from the experts at Homebase, we've pulled together all the tips you need when it comes to learning how to felt a shed roof.
You will need:
- Good quality roofing felt
- Claw hammer
- Tape measure
- Utility knife with hook blade
- Decorator's scraper
- Galvanized steel clout nails
- Good quality felt adhesive and a brush
- A sturdy stepladder
- Safety goggles
1. Get prepared
Ready to learn how to felt a shed roof? Start by picking a dry day, with little wind and temperatures ideally above 41°F (5°C).
Grab your felt and roll it out at least 30 minutes before you need to use it – this will help to flatten it. Avoid doing so over your lawn ideas though, as this can cause the turf beneath to turn temporarily yellow. Instead, lay it out over a patio, driveway or stretch of gravel.
2. Remove any existing felt and check the roof for signs of damage
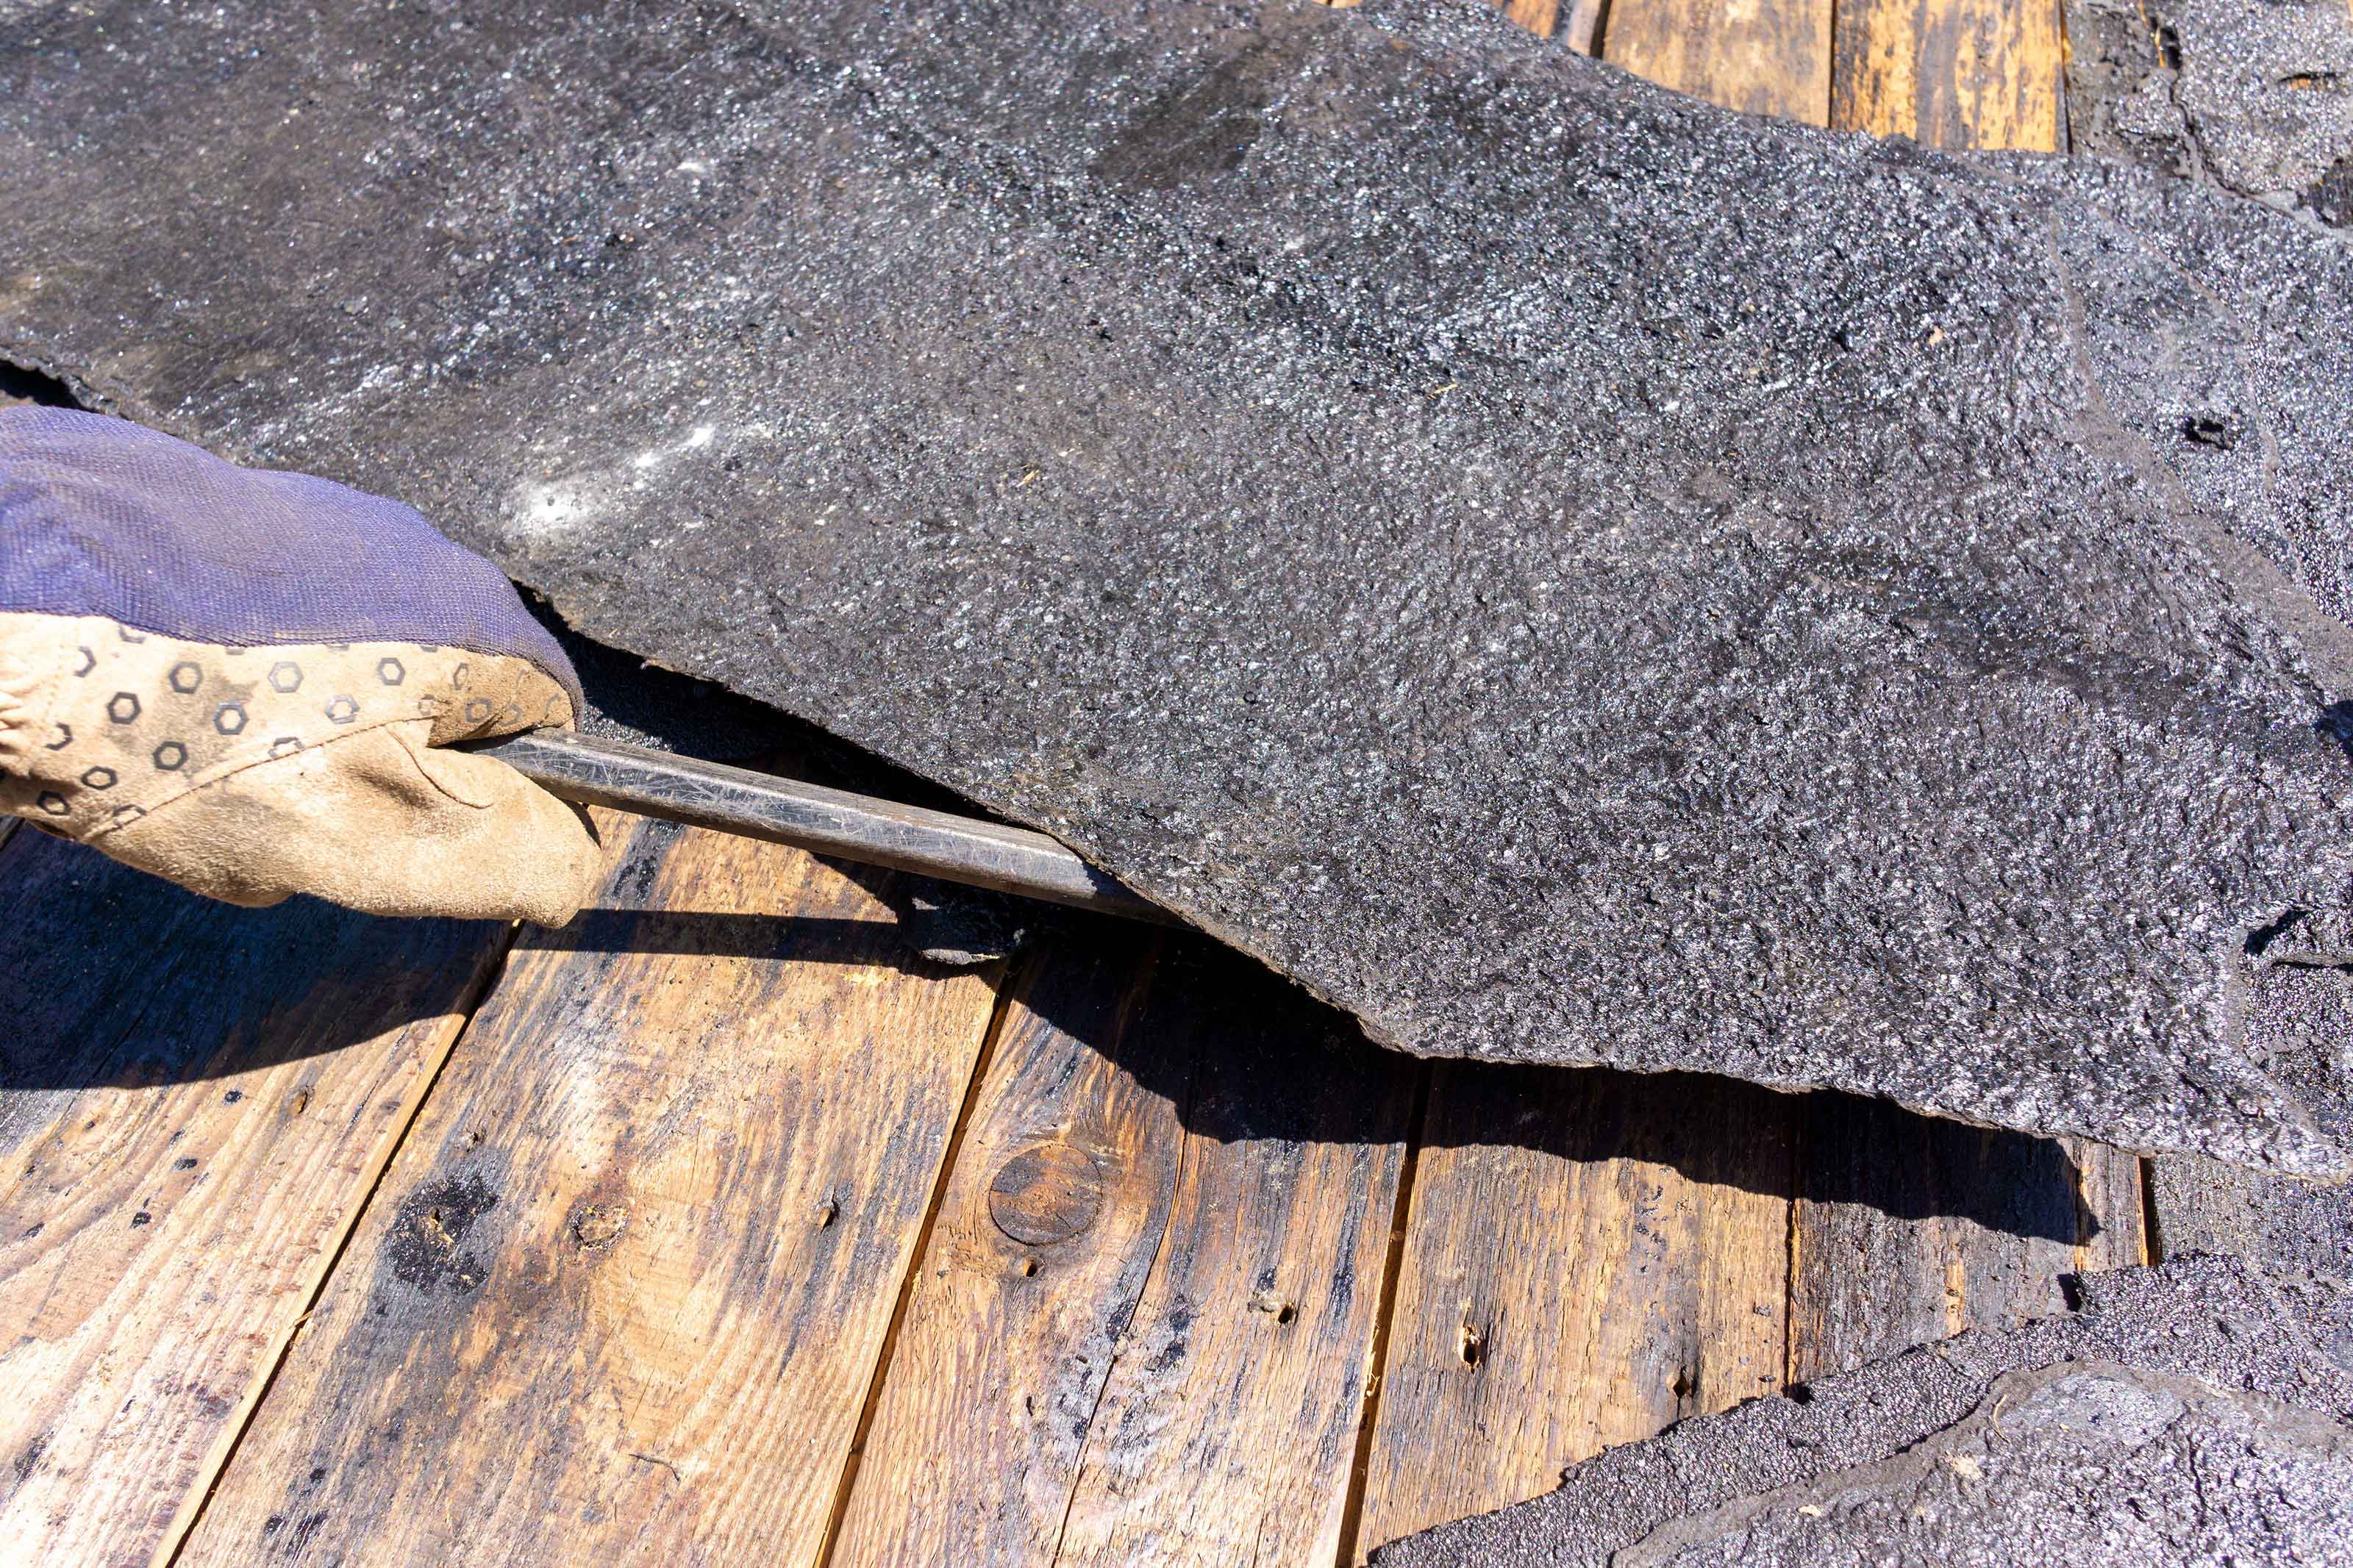
You'll probably now need to climb up onto a stepladder, so that you can reach the shed roof. Remember to take all necessary safety precautions when working at a height.
If you're replacing old felt, start by removing any timber fixing strips from the roof of your shed (the fascia boards). Then, pull up the old roofing felt. Your knife and a decorator's scraper will come in handy for this, as will a claw hammer for removing nails. Wearing safety goggles as you remove the felt is a good idea as they will protect your eyes from any flying debris.
Once the old felt is off, check the condition of the surface of the roof. Even the best sheds can show signs of wear and tear over time. Remove any protruding nails or bang them in flat, repair any holes, hammer down any uneven boards, and remove any debris so you have a sturdy and clean structure to work from.
3. Cut your felt to size
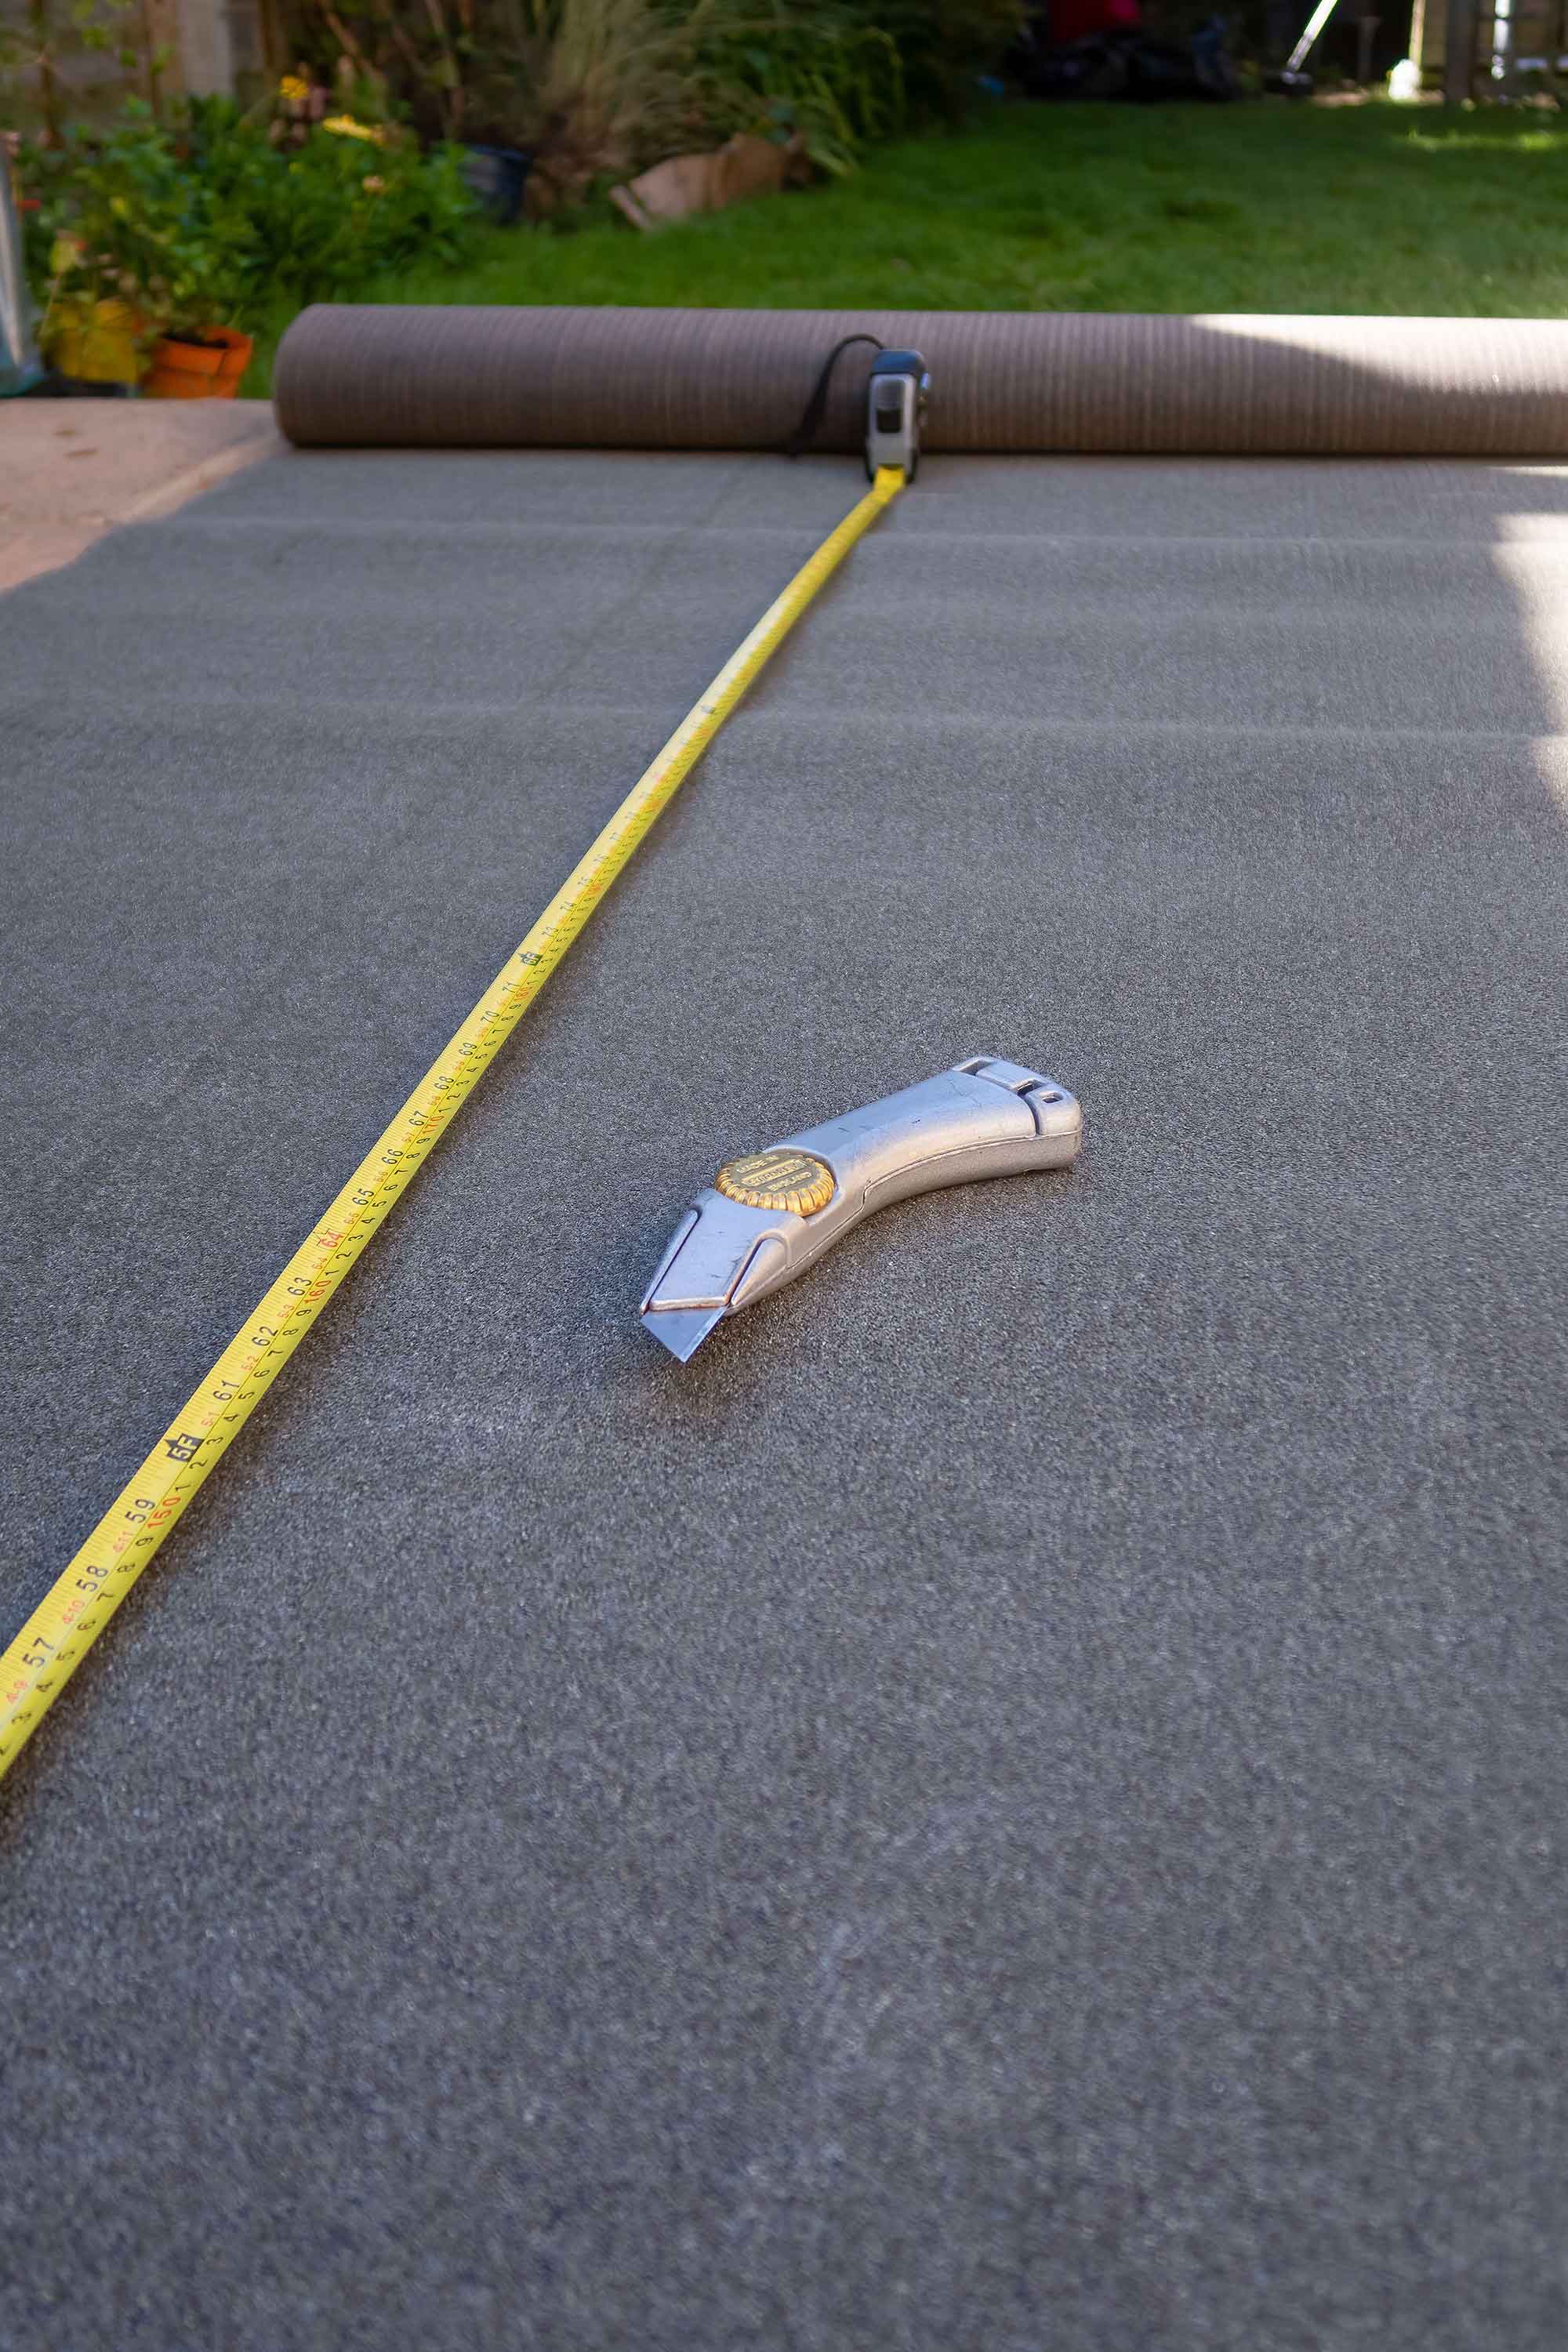
Most sheds will require you to cut three pieces of felt – two large pieces for either side of the roof, and one narrower piece which goes over the apex and overlaps the other two.
Start by cutting the two larger pieces. Using a tape measure, measure the length and width of each side of your shed's roof. Cut each piece of felt so that it covers the entire area of one side of the shed, with a little extra on each edge (around 2" or 5cm) to allow for overlaps at the eaves and at the gable ends (approximately 3" or 7.5cm). Be sure to cut it on a sound and stable surface, and use a straight piece of timber or a chalk line and steel ruler to get a clean edge.
4. Secure the felt
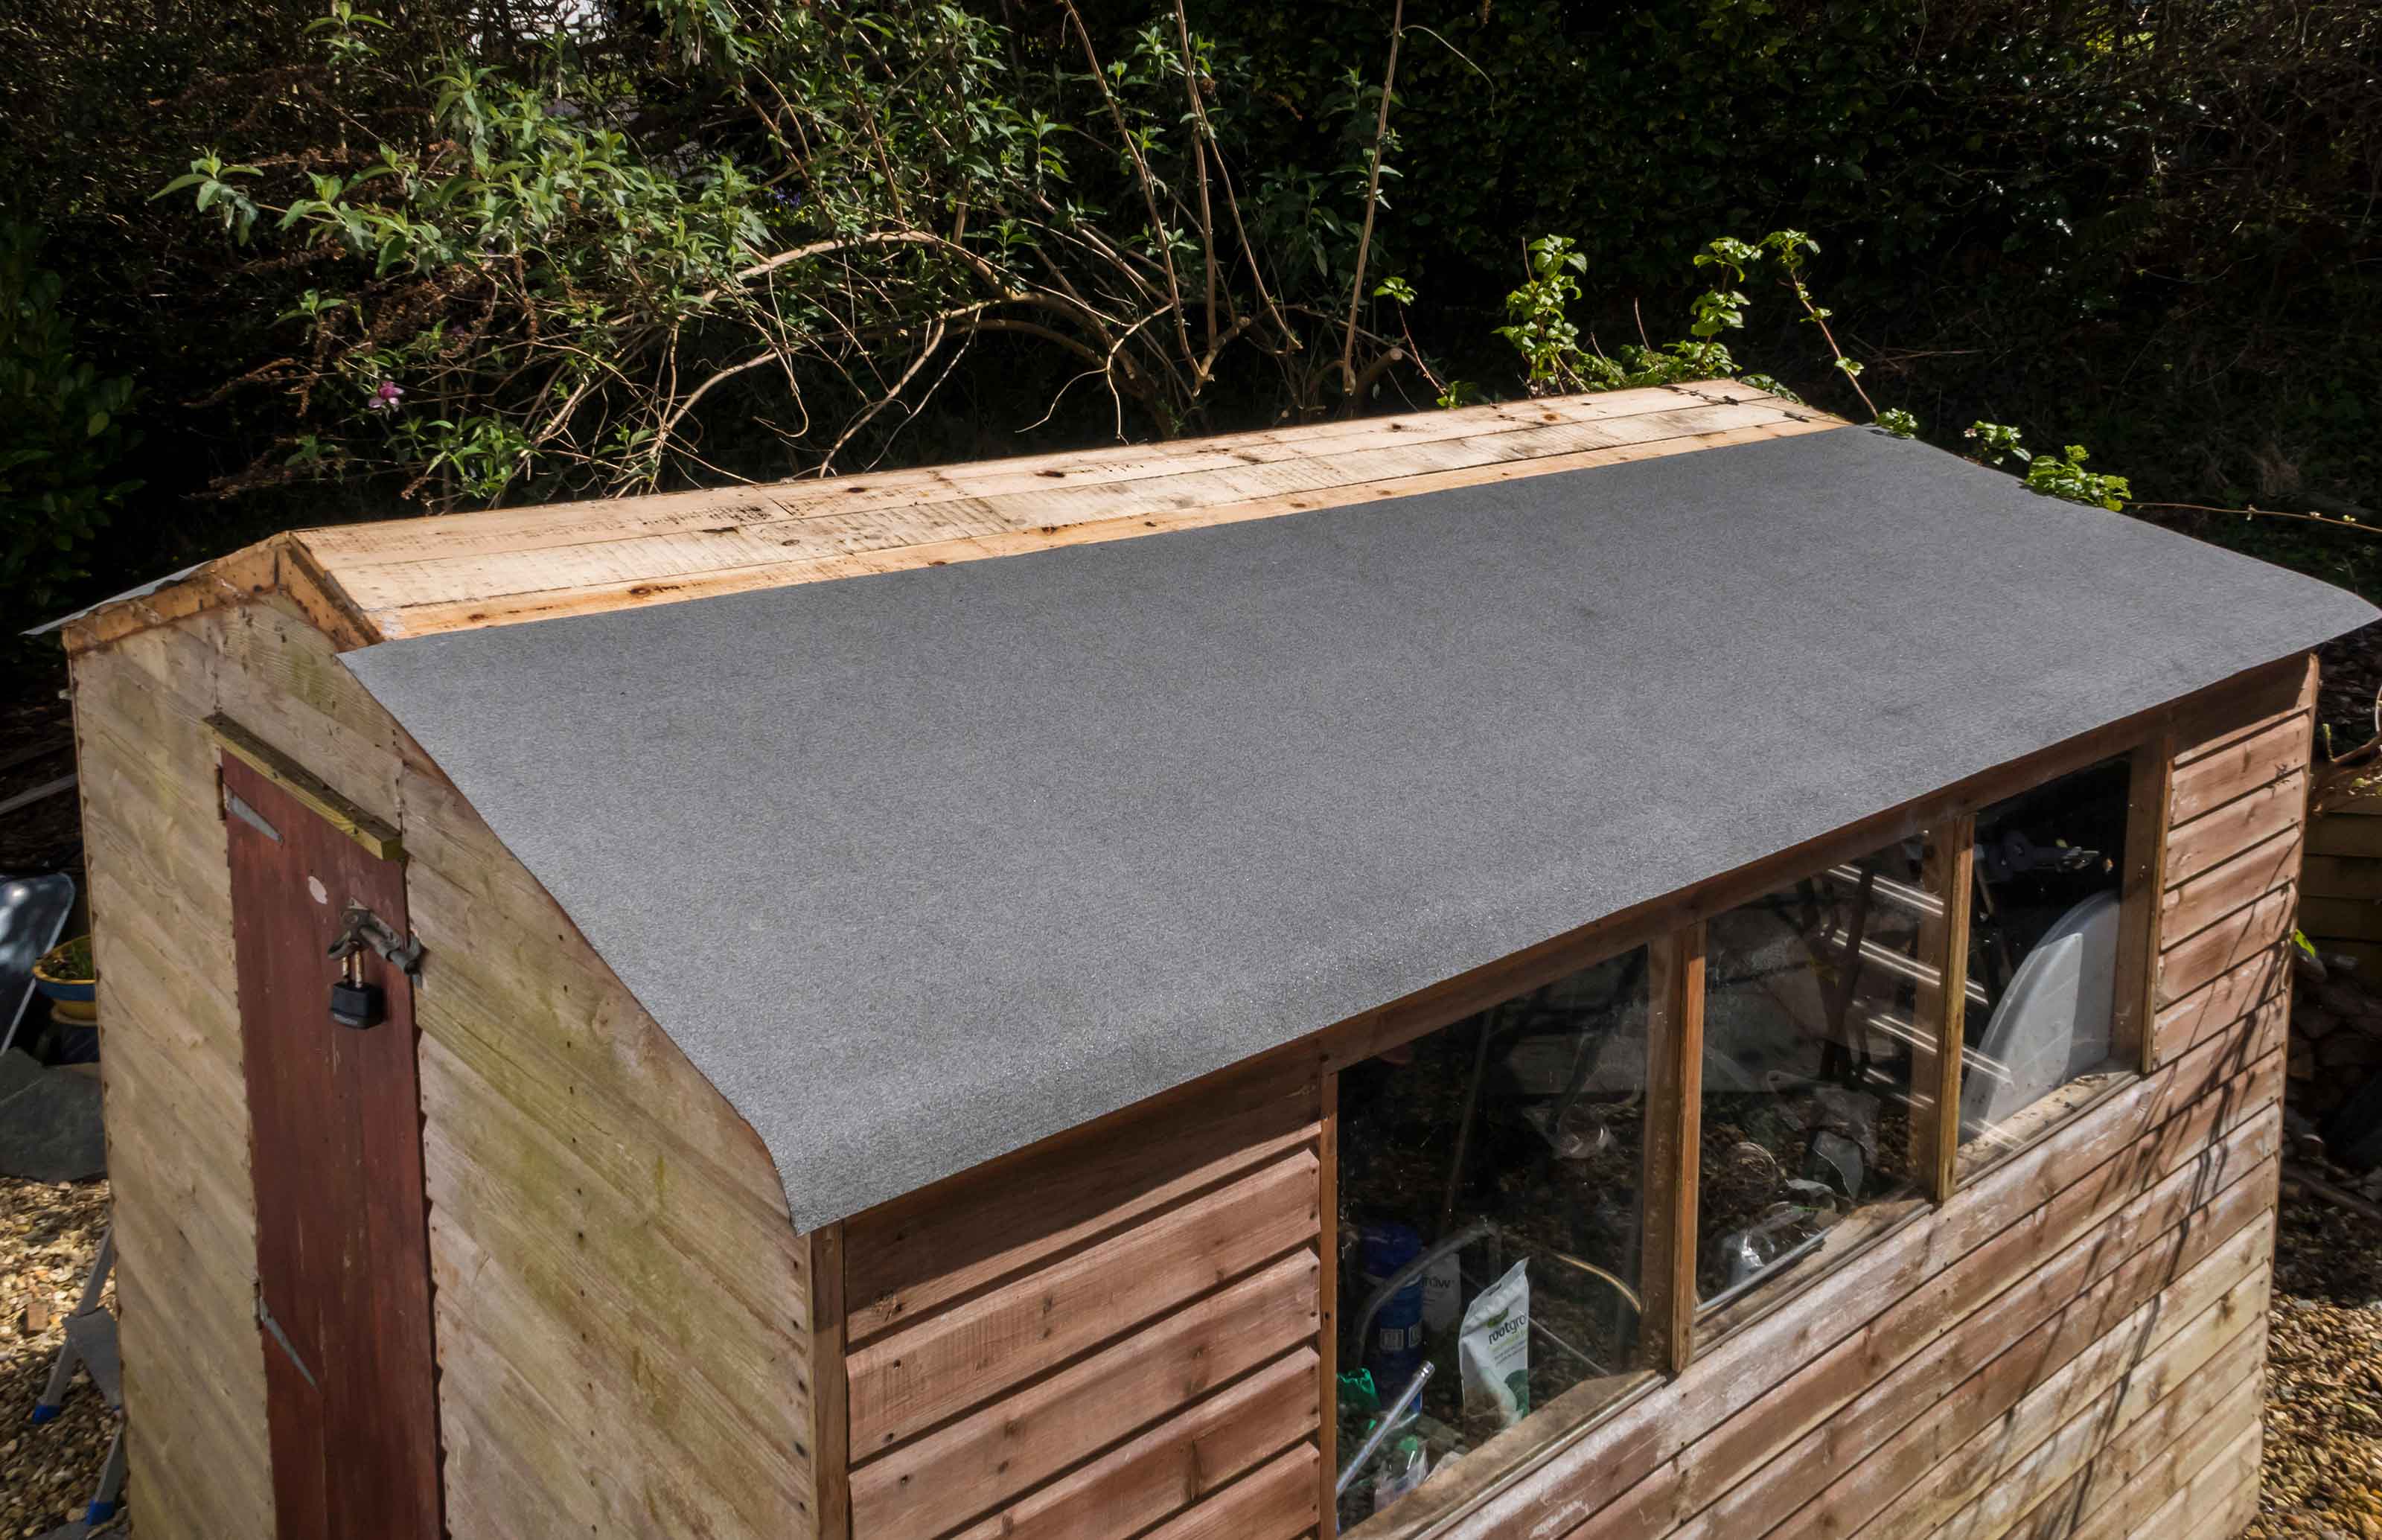
Roll the first large piece of felt over one side of the roof, allowing the excess to overhang. Pull the felt tight so that it lies flat and straight.
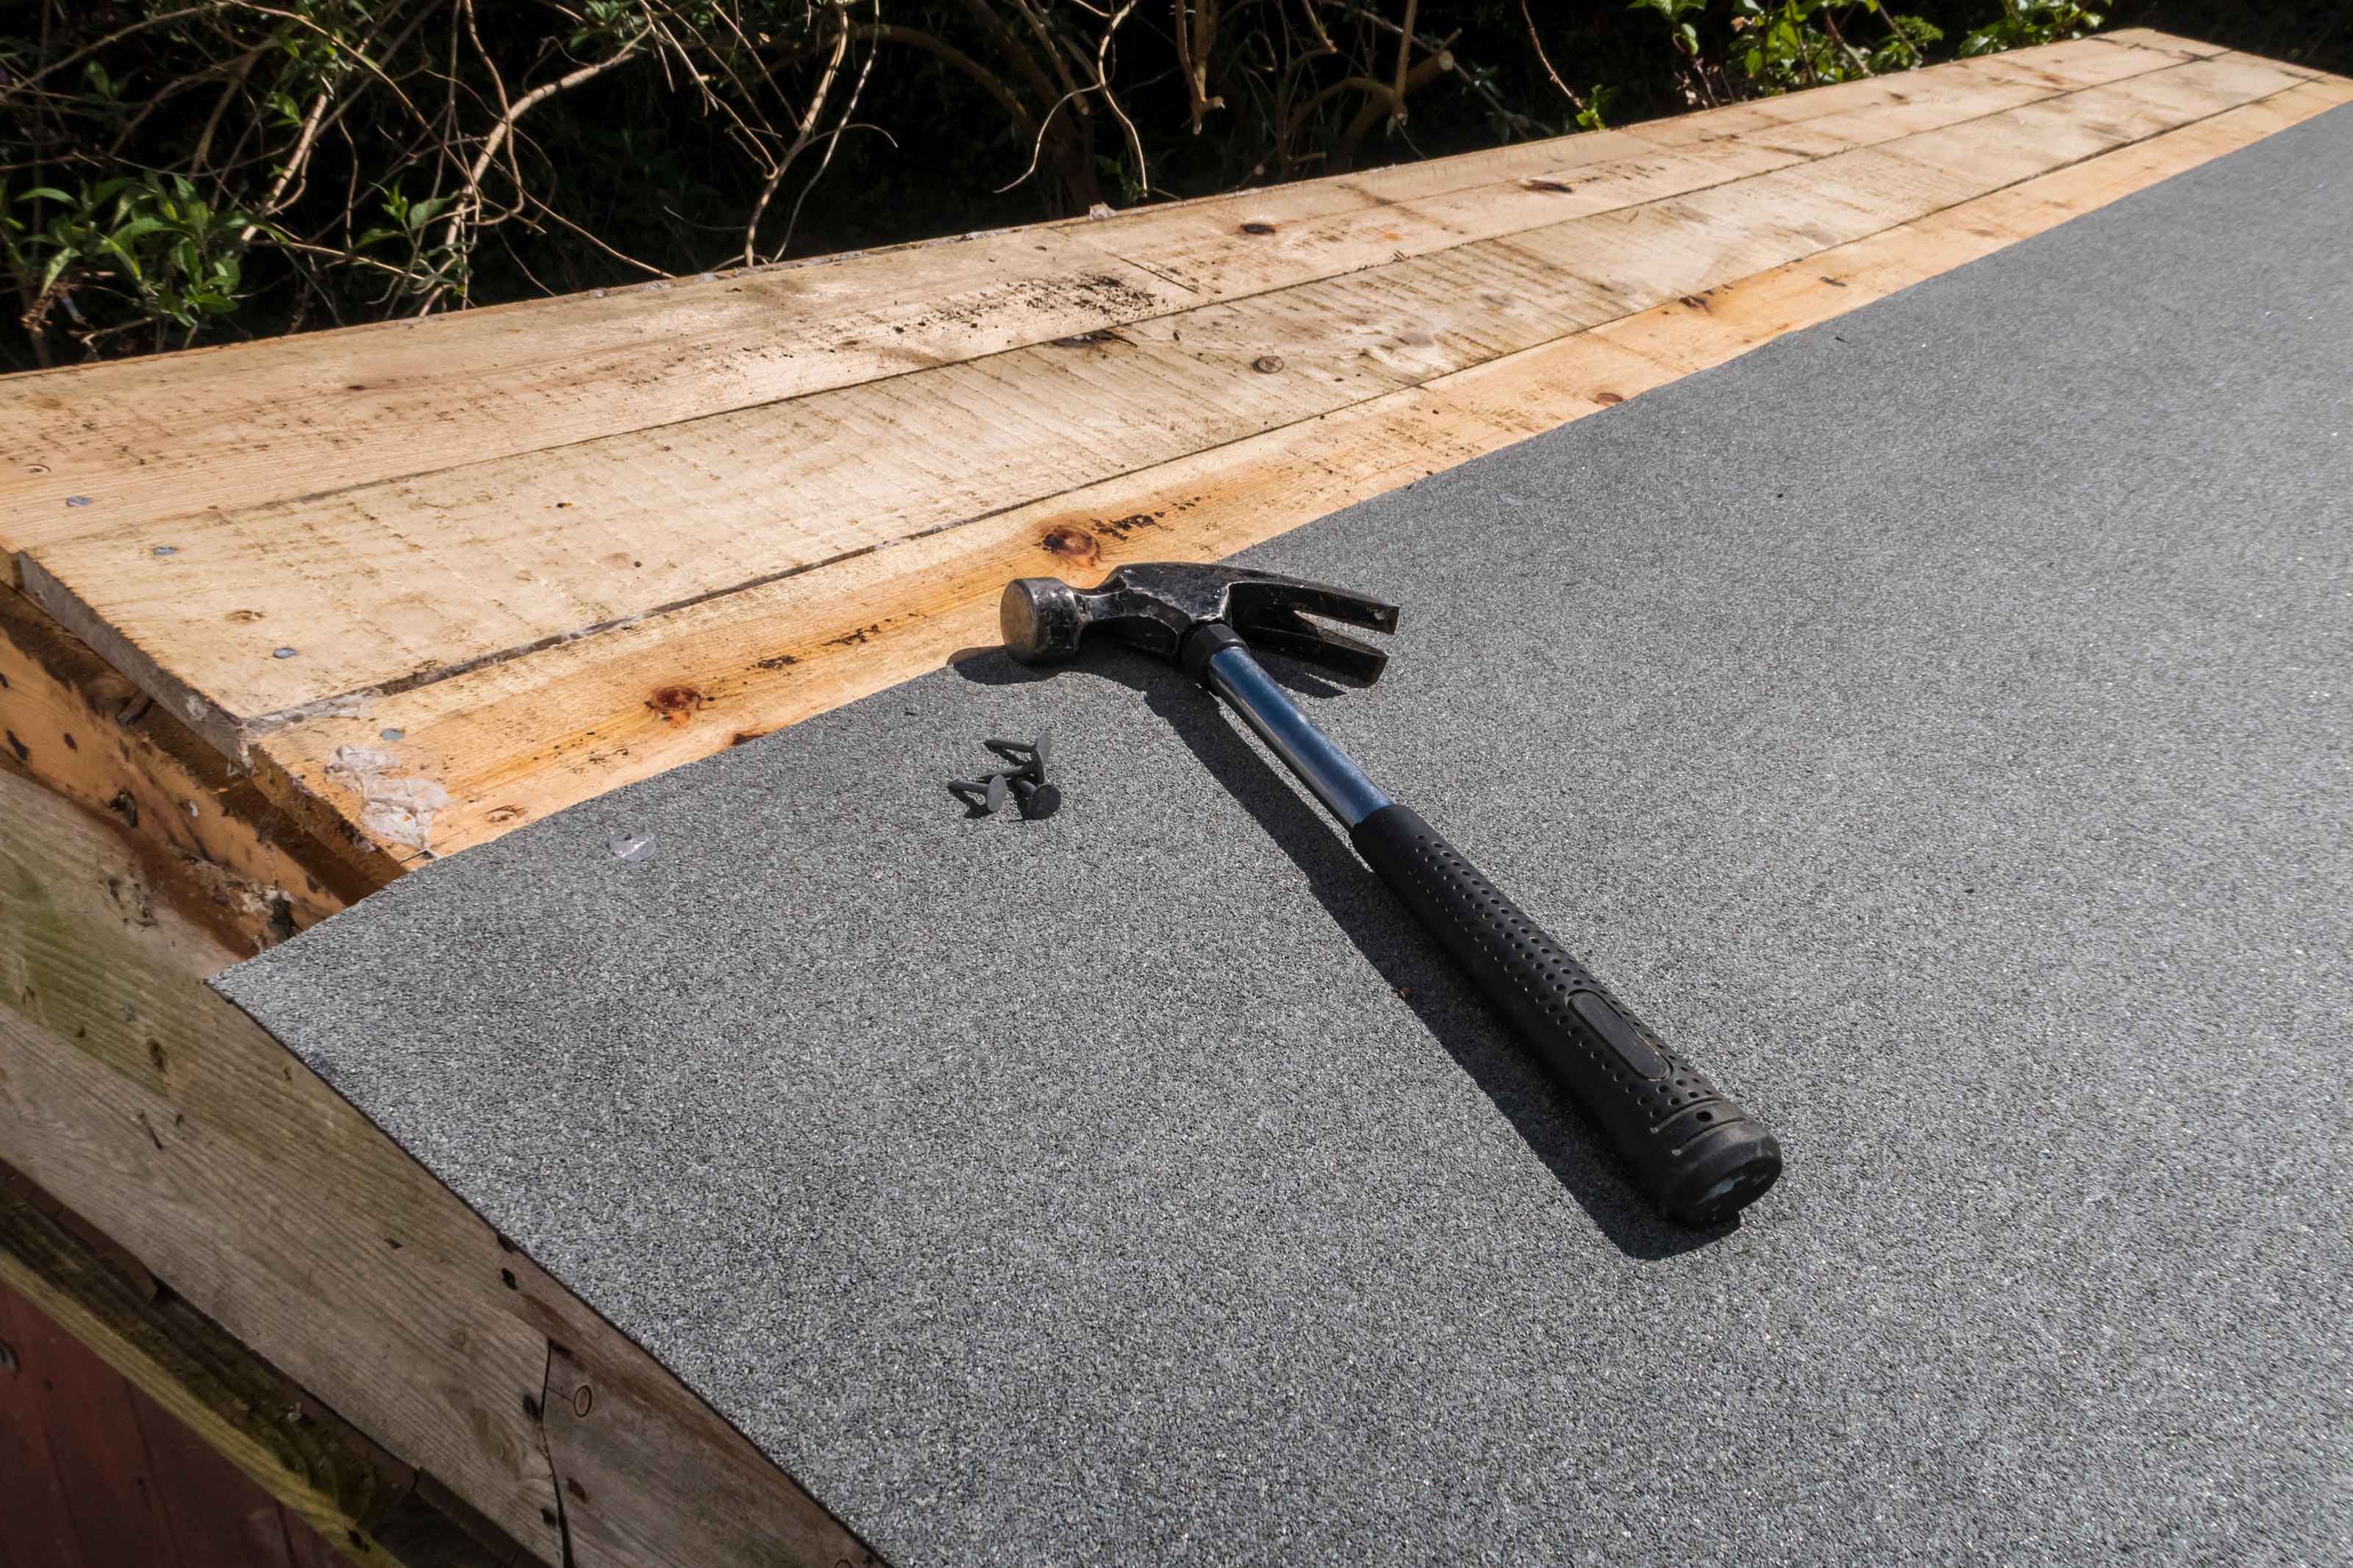
Then, fix the top edge of the felt just below the apex of the shed's roof, using galvanized steel clout nails at 4" or 10cm intervals. Secure the felt along the bottom edge of the roof too; these can be wider apart – a spacing of around 12" or 30cm should work well.
5. Repeat on the other side of the shed
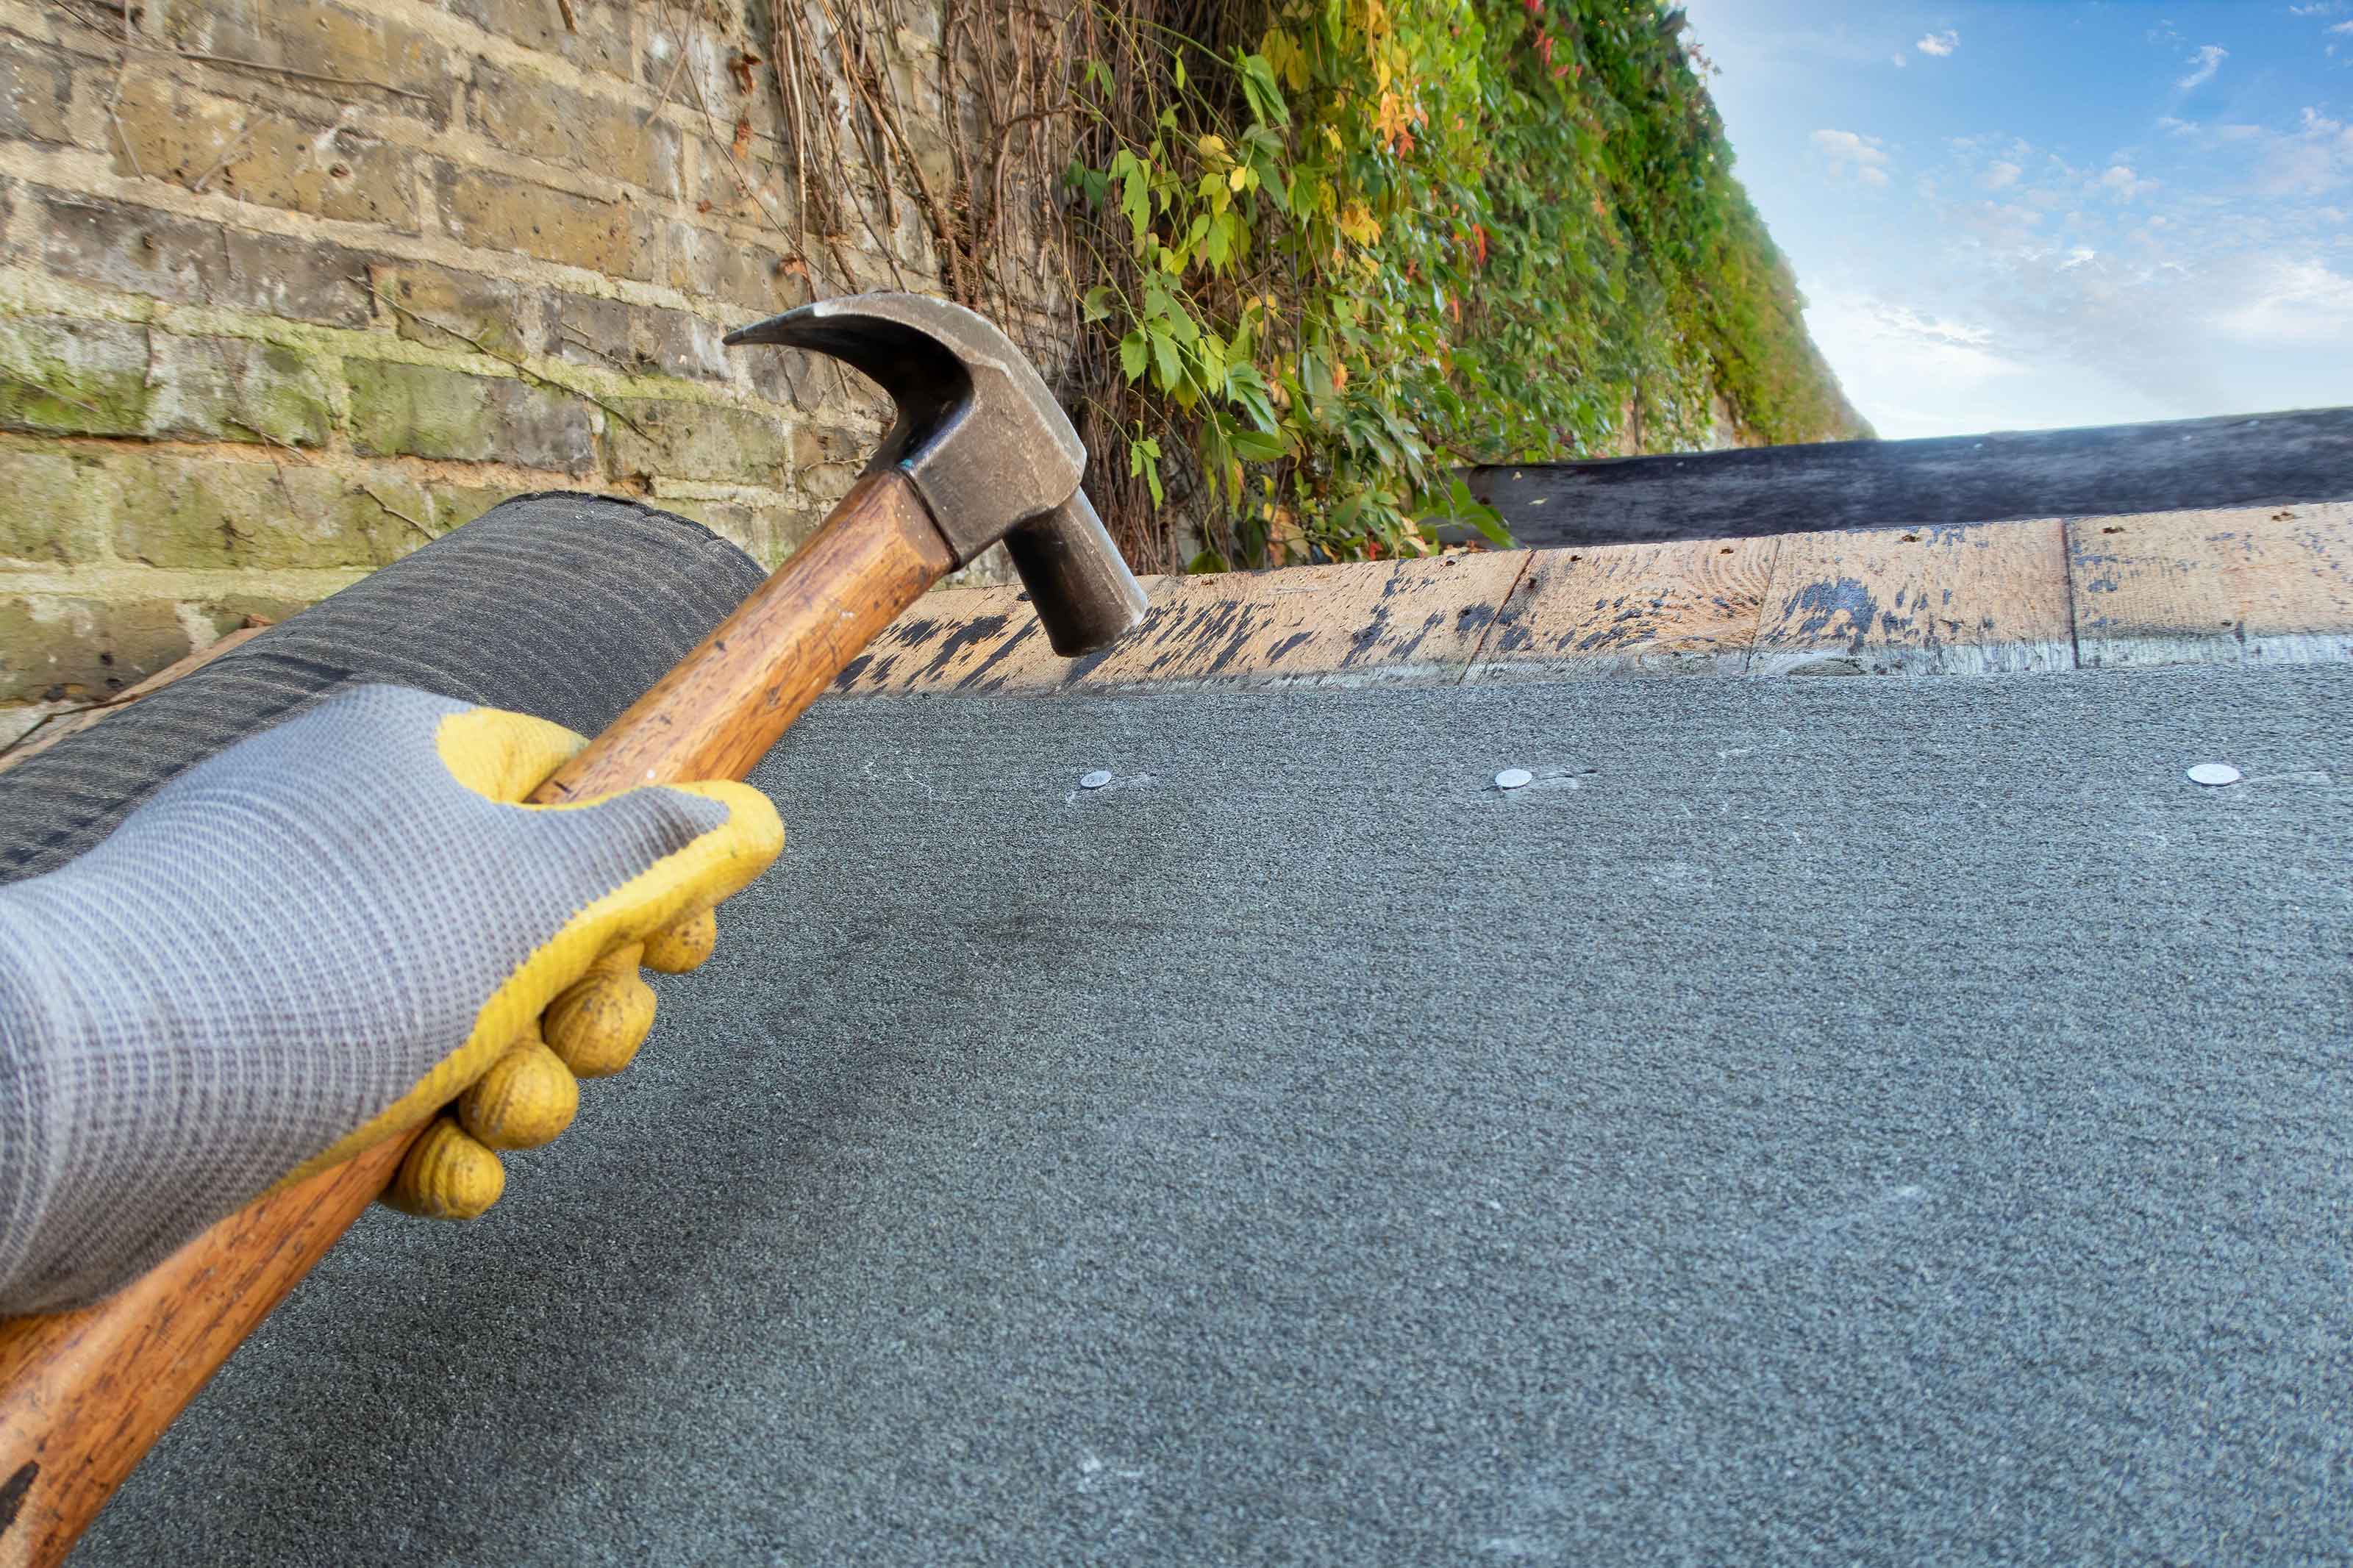
Position your second large piece of felt on the other side of your shed's roof and secure it into place as above.
6. Apply the top section of felt
Now you can add the top section of felt. Cut this final piece so it's large enough to cover the ridge and overlap around 12" or 30cm of the side felt panels on each side. Again, add an extra 3" or 7.5cm to each end so that it slightly overhangs the shed's gables.
Brush felt adhesive over the back, push it down into position, then nail down the lower edges at 2" or 5cm intervals to secure it.
7. Fold over the sides and secure
Now it's time to tidy up the overhanging felt by folding it down and nailing it into place.
Using your knife, make a slit in the felt's overhang at the apex to be able to fold it neatly. Secure the corners too, then work along the gables, adding nails at 4" or 10cm intervals. Then, secure the bottom lengths to the shed's roof, tucking any overhang up and under and nailing into place.
8. Fix new timber strips to the gable ends
Fix timber strips to the gable ends using wood nails for a professional look. Use your knife to carefully trim off any leftover felt that's hanging down for a neat finish.
And there you have it: a step-by-step guide on how to felt a shed roof. Want to go a step further? Our guide on how to paint a shed will help you get picture-perfect results.
If you're looking to transform your humble garden building into something even more special, our she shed ideas are sure to inspire, too.
Can you felt over old felt on a shed roof?
If you're after quick and low maintenance garden ideas or you're strapped for time, you might be tempted to simply lay new felt over old. However, it's best to avoid this.
Taking off the old felt first allows you to check for any structural damage such as holes, unsteady boards and loose nails, and gives you the opportunity to fix them before they get worse. Sorting these will help your shed last even longer.
If you must add another layer of felt on top of the existing layer, make sure to use long enough nails to penetrate through the additional thickness.
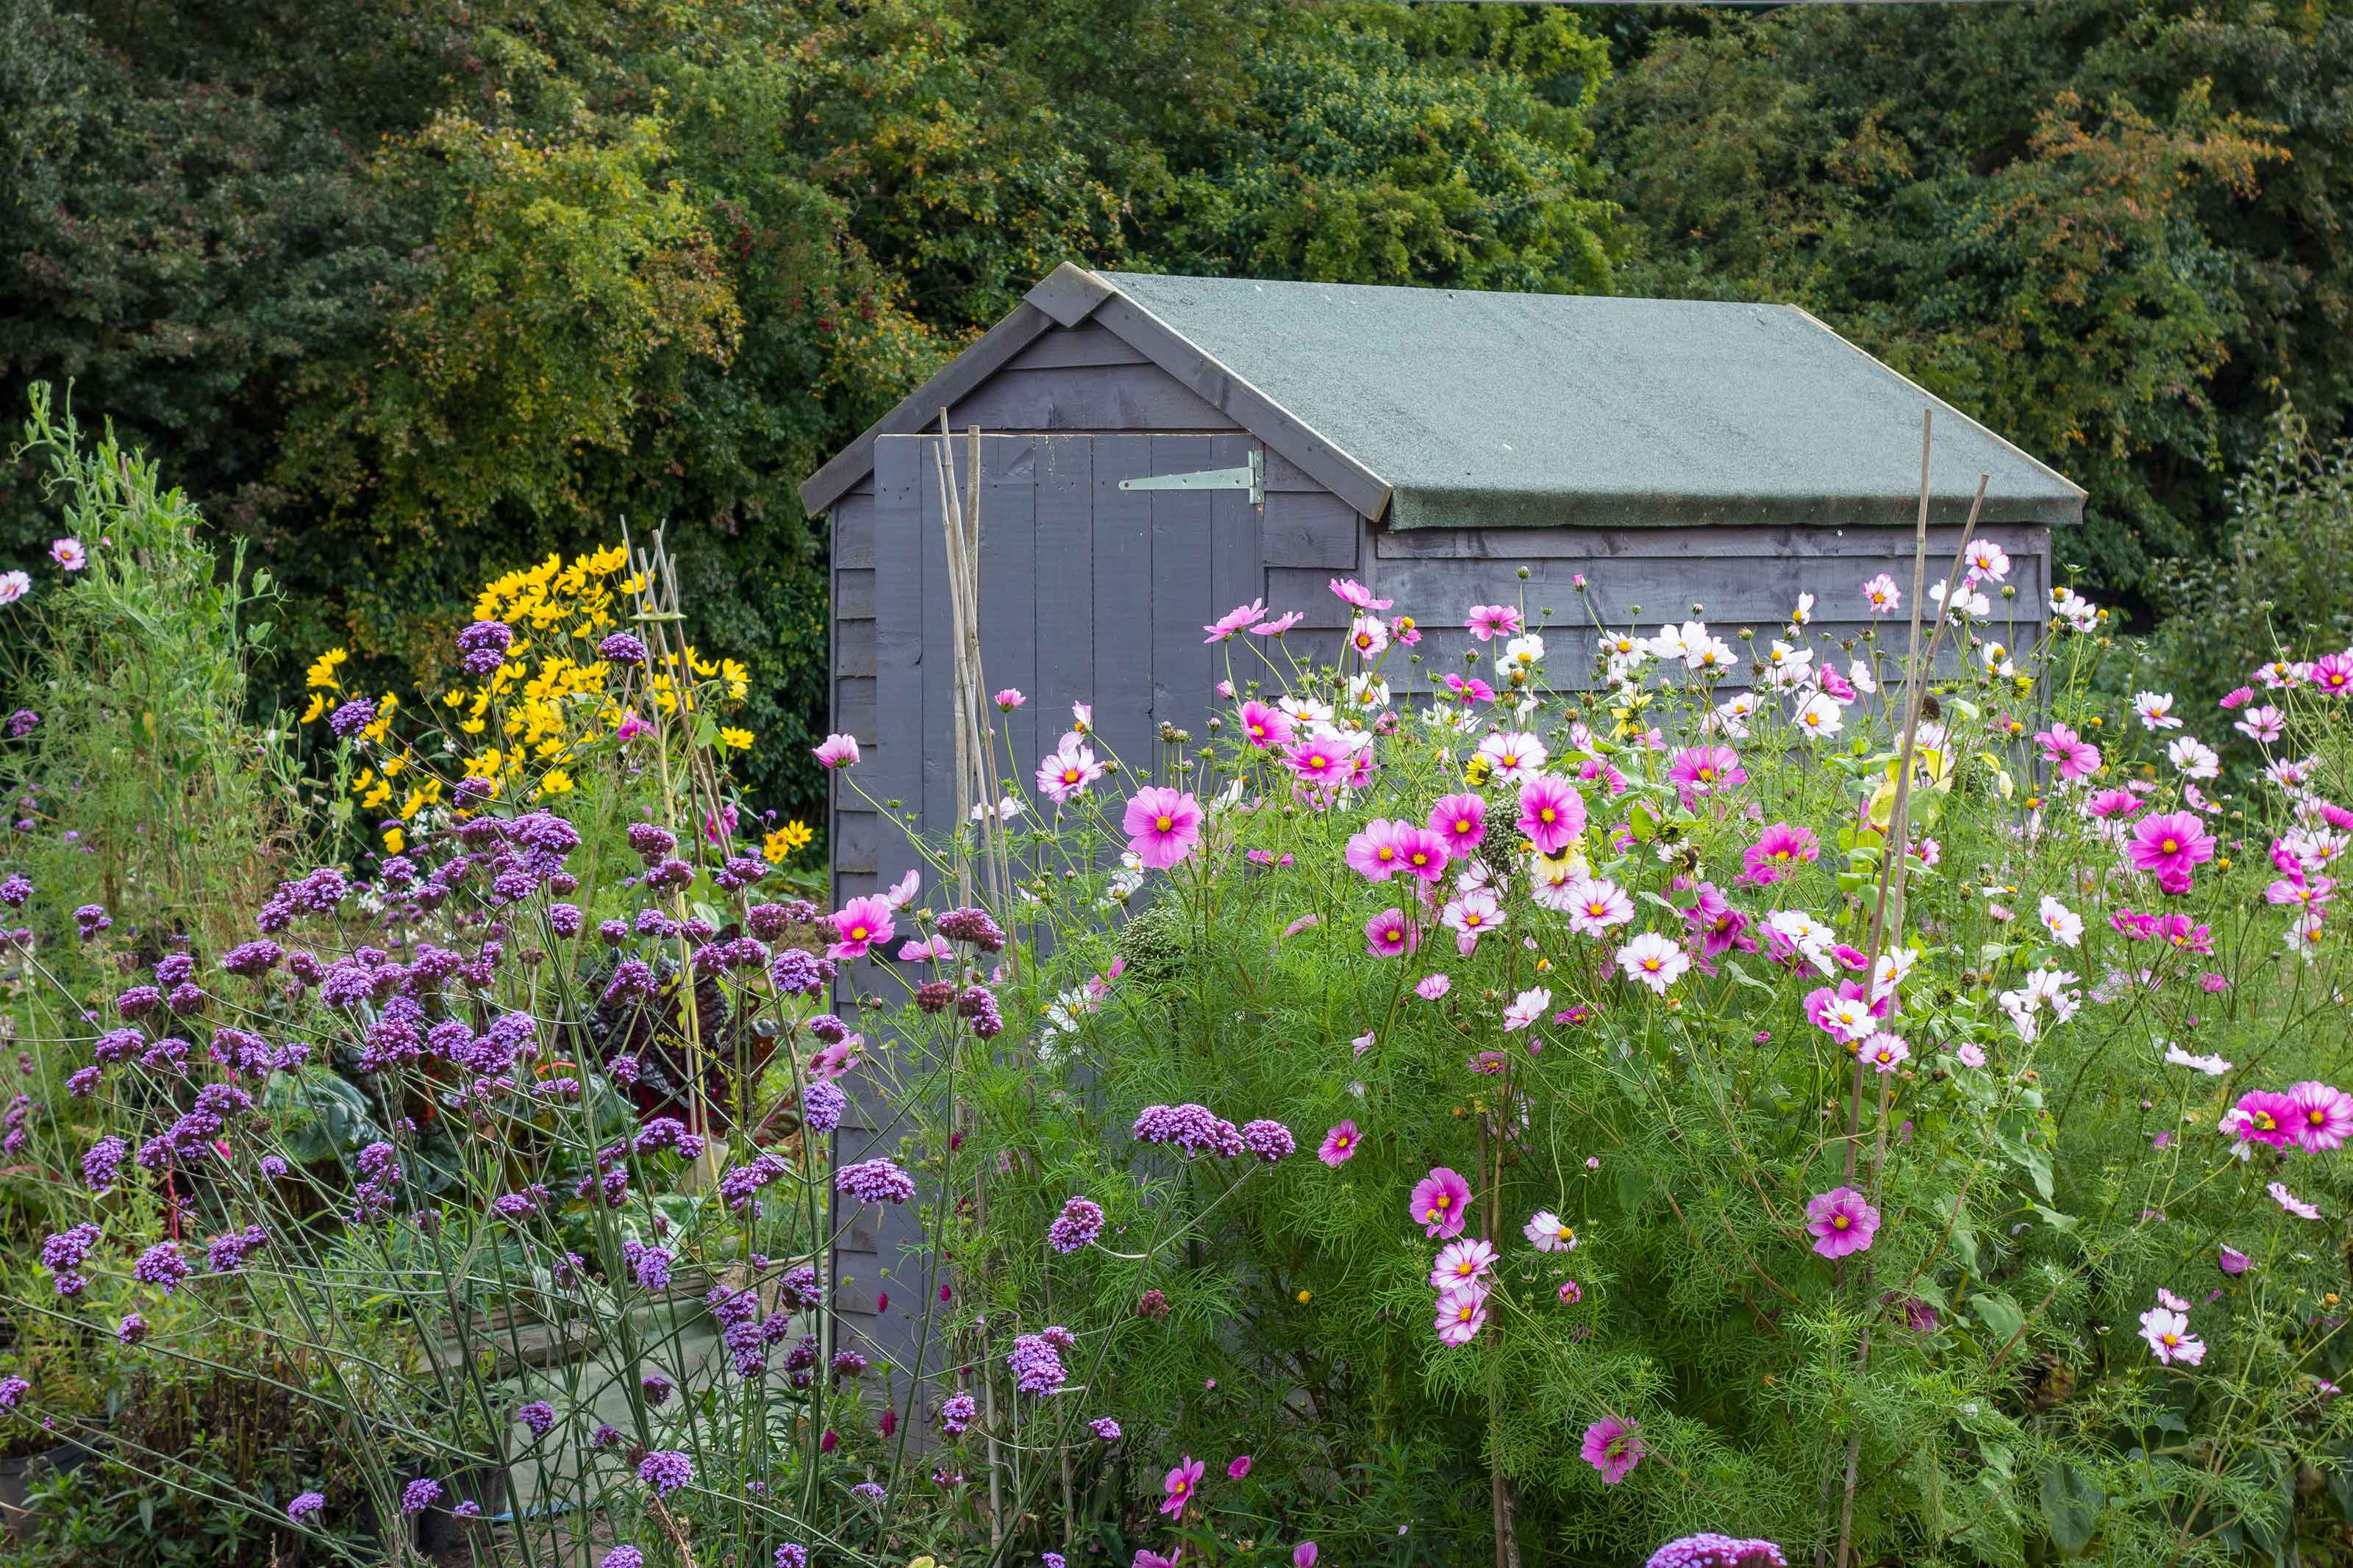
What is the best felt to use for a shed roof?
As Stihl says on their blog: 'Try to buy the best felt you can afford – ideally professional grade roofing felt – rather than the cheaper, tissue-thin varieties.
'Look for felt that has been reinforced with polyester for a superior, weather-foiling finish that will last for years.' It may be pricier, but it will last much longer so will be a worthwhile investment.
If you are looking to make a saving when it comes to your backyard, our cheap garden ideas will provide tons of inspo.
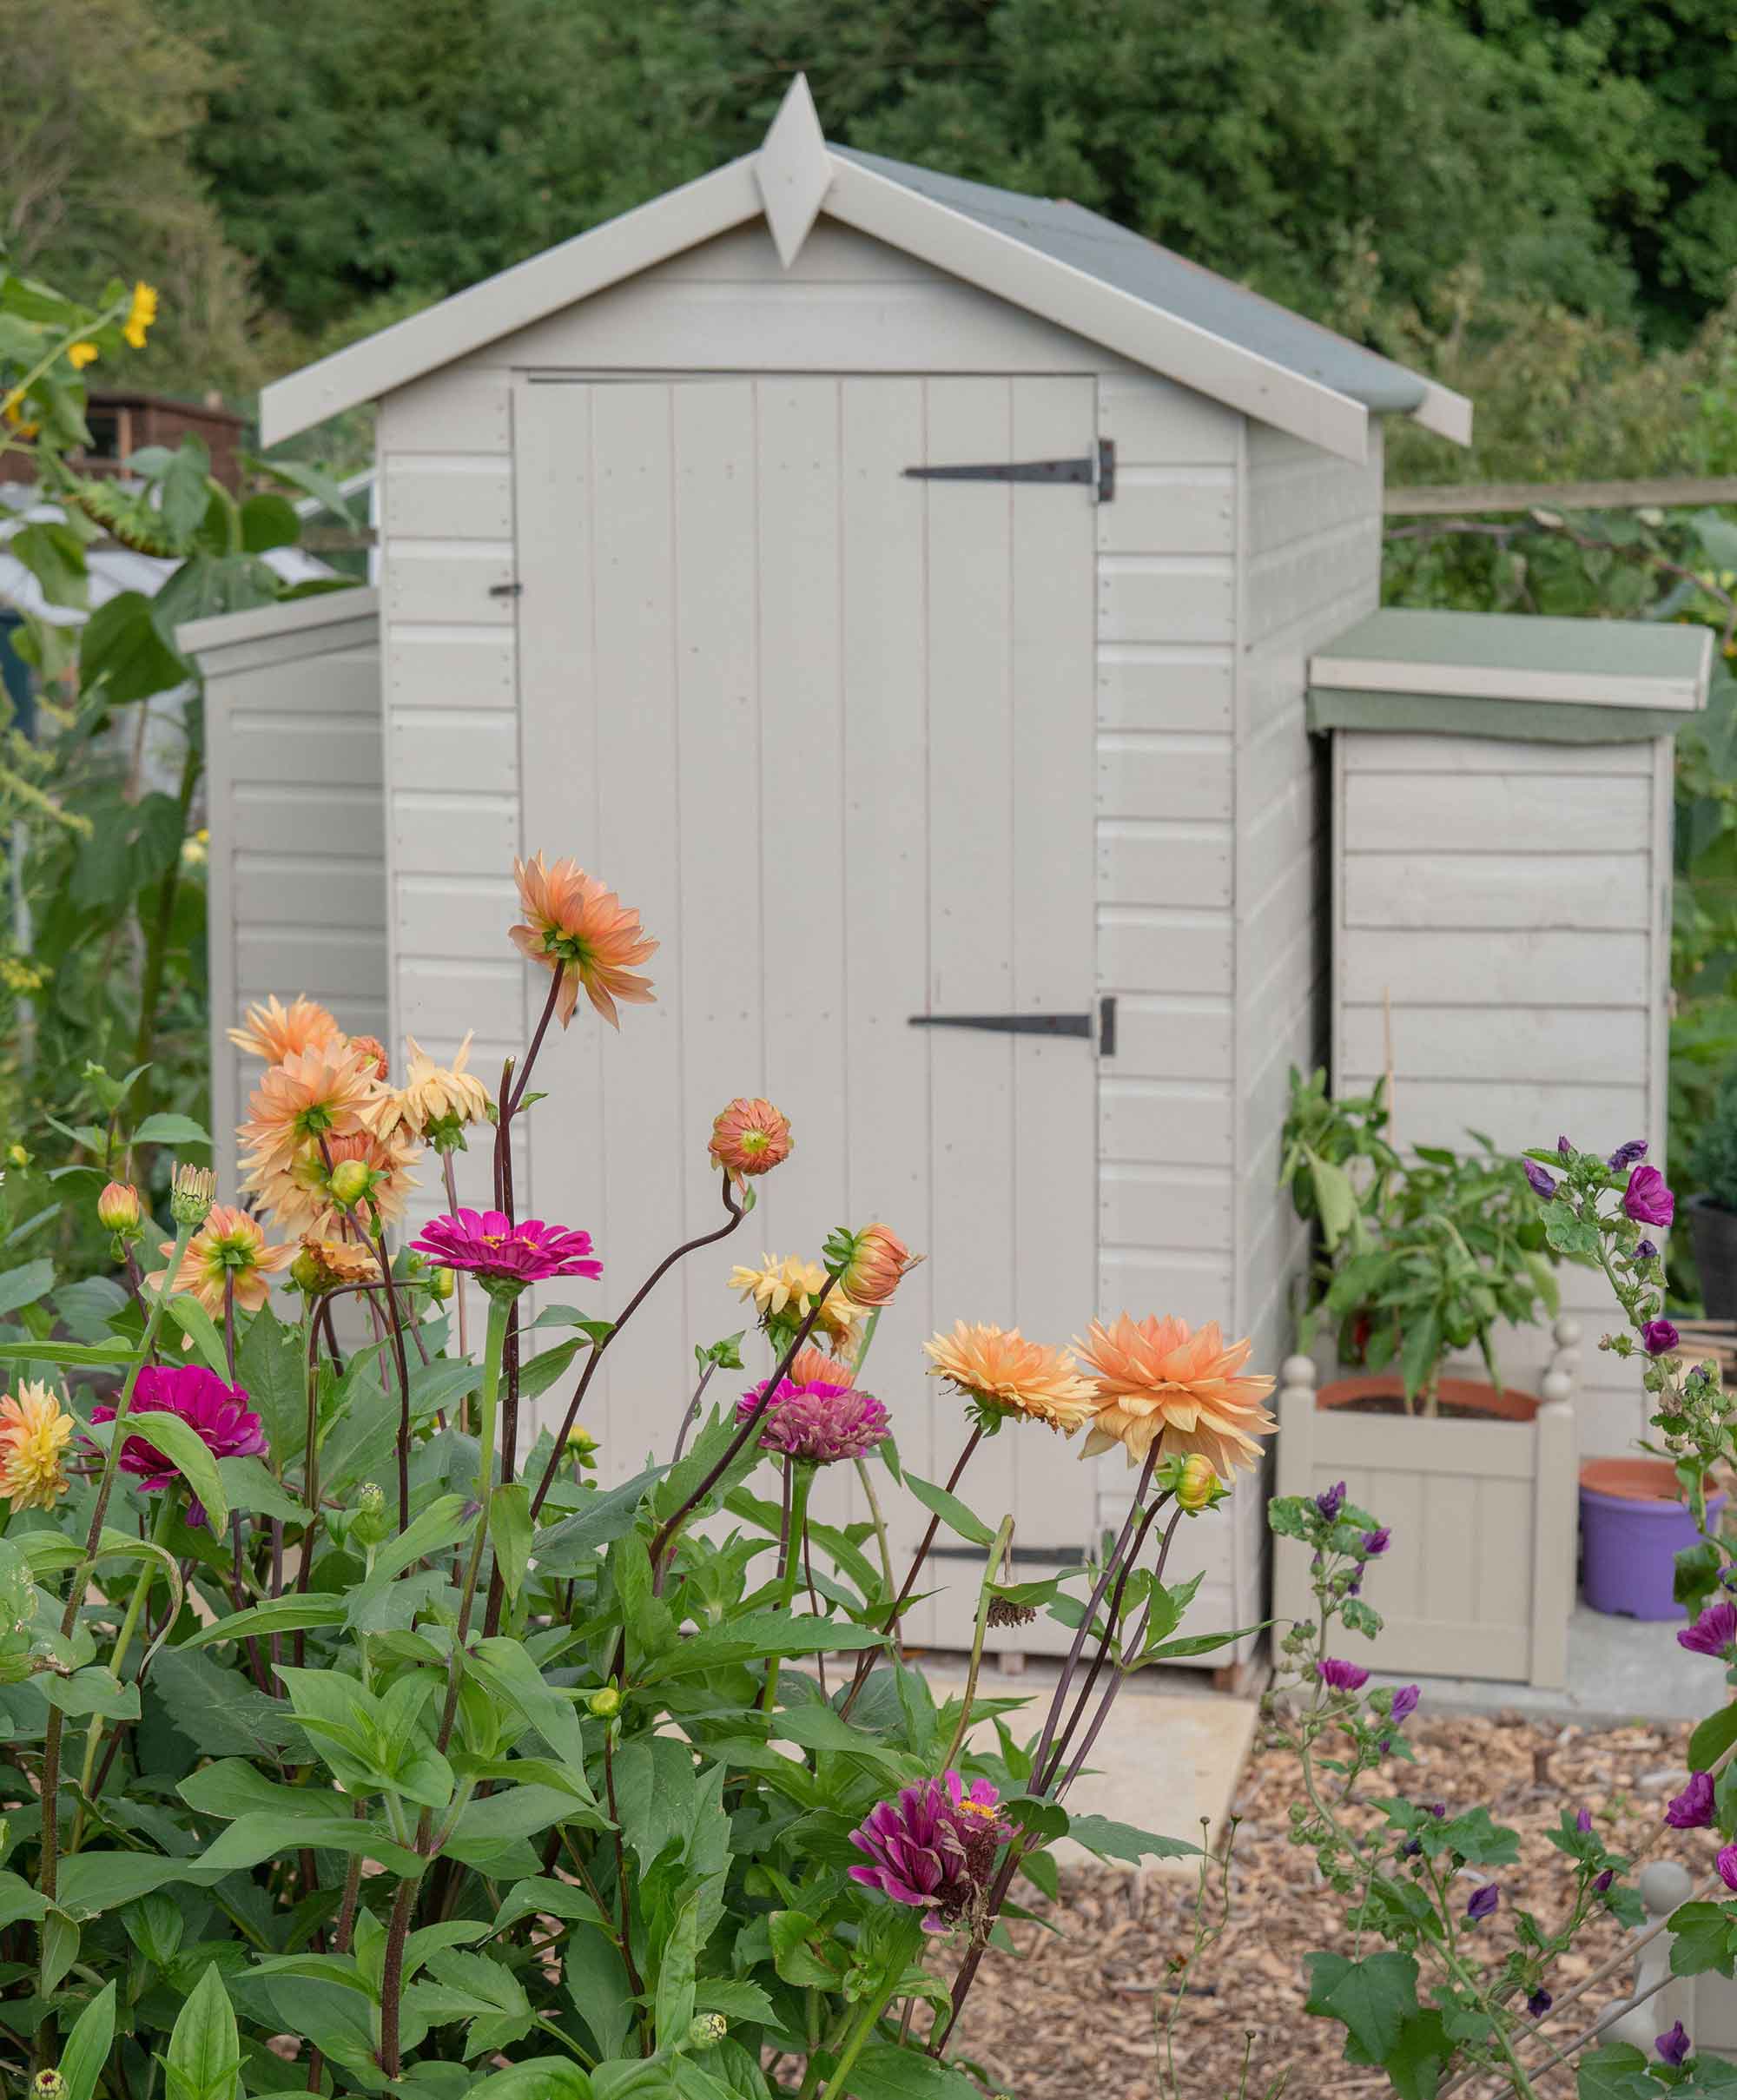
How often should you replace the felt on a shed roof?
Some felts last longer than others, explains Homebase. Standard waterproof green or red mineral felt will last up to five years, but the types that are reinforced with polyester are stronger and will last much longer – up to around 15 years in some cases, providing it's installed correctly.
However, it's best to check the felt roof of your shed annually for leaks or any sign of wear and tear. And, if you notice any damage before this, take action as soon as possible to keep your best lawn mower and other tools safe and sound.
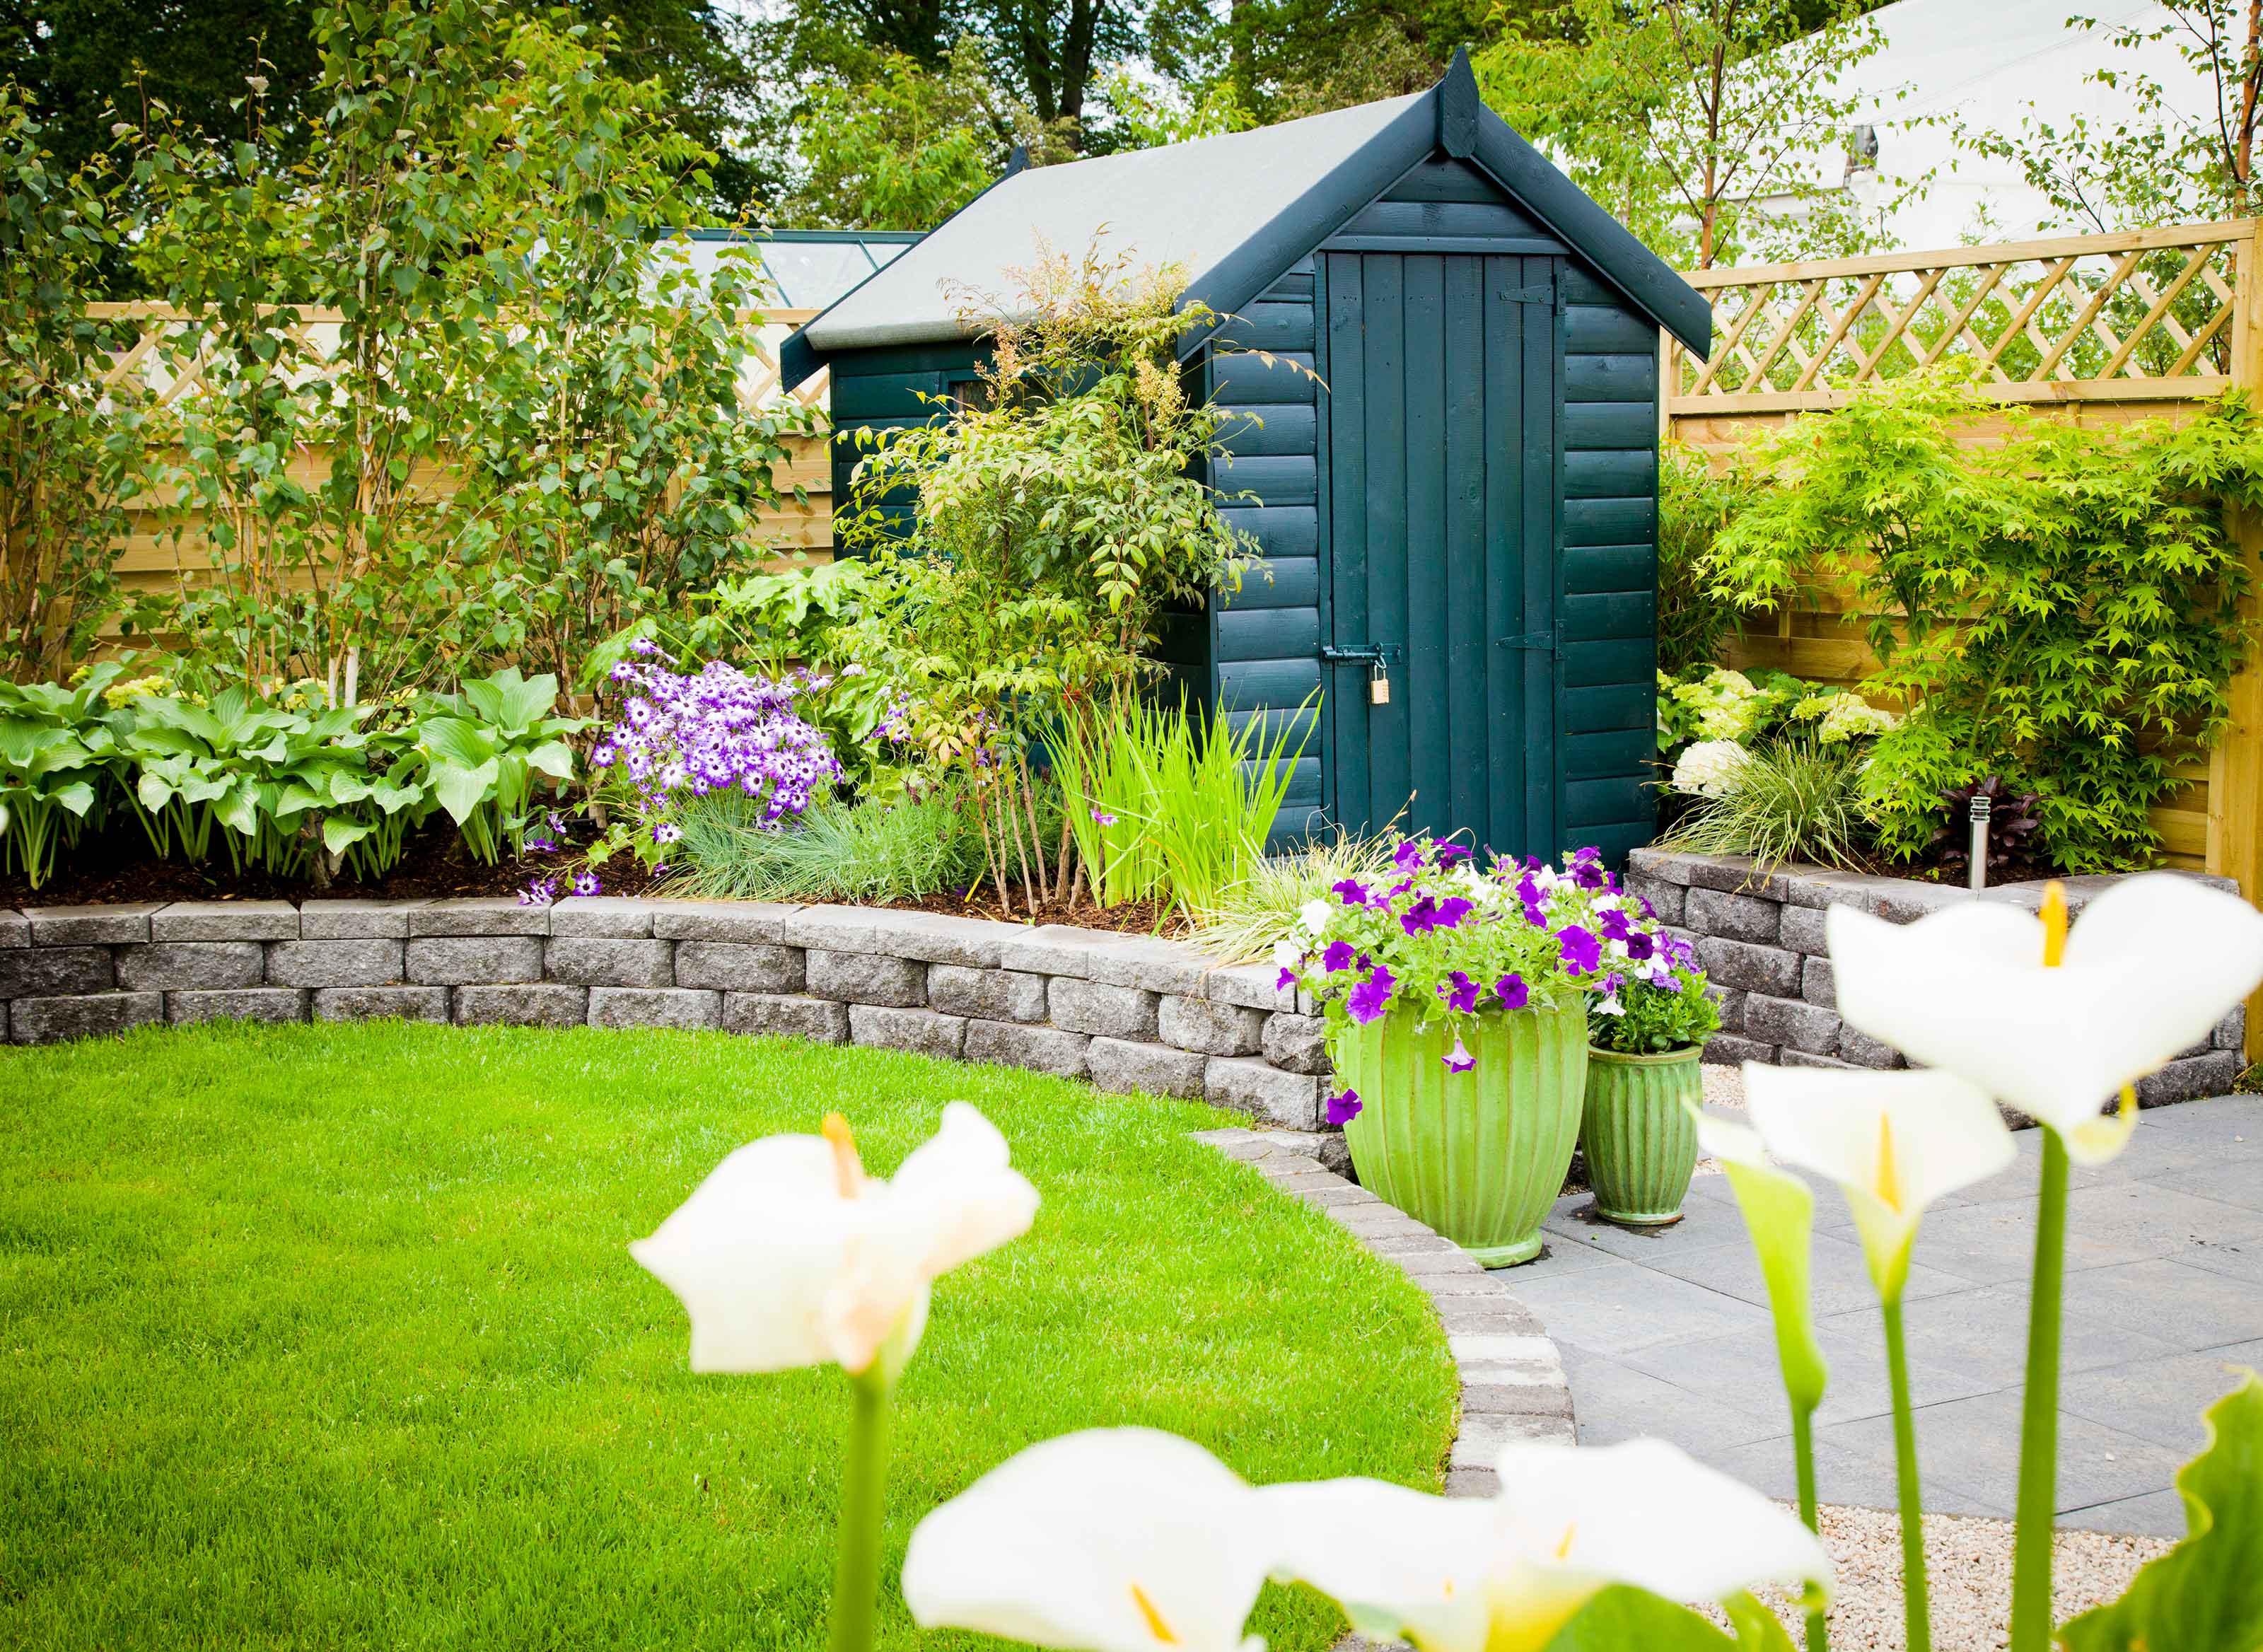
Can you just use adhesive to secure felt to your shed's roof?
You've stocked up on felt adhesive, so why not skip the hammering and nails altogether? It may seem like a nifty shortcut, but the team at Buildworld.co.uk advise against it on their blog.
They recommend using the adhesive only on certain areas of shed felt rather than trying to glue the whole piece of felt to the roof. There's an important reason behind this, and it's all to do with the felt expanding in heat and contracting in the cold.
Timber does this at a different rate to shed felt, the team explains. If the felt is glued directly to the timber roof, the adhesive does not allow the timber any give. This can result in the felt cracking or tearing.

The garden was always a big part of Holly's life growing up, as was the surrounding New Forest where she lived. Her appreciation for the great outdoors has only grown since then. She's been an allotment keeper, a professional gardener, and a botanical illustrator – plants are her passion.
