How to grow calabrese: our green broccoli planting guide
Once you know how to grow calabrese broccoli, you’ll enjoy months of nutritious green goodness with these chunky champions

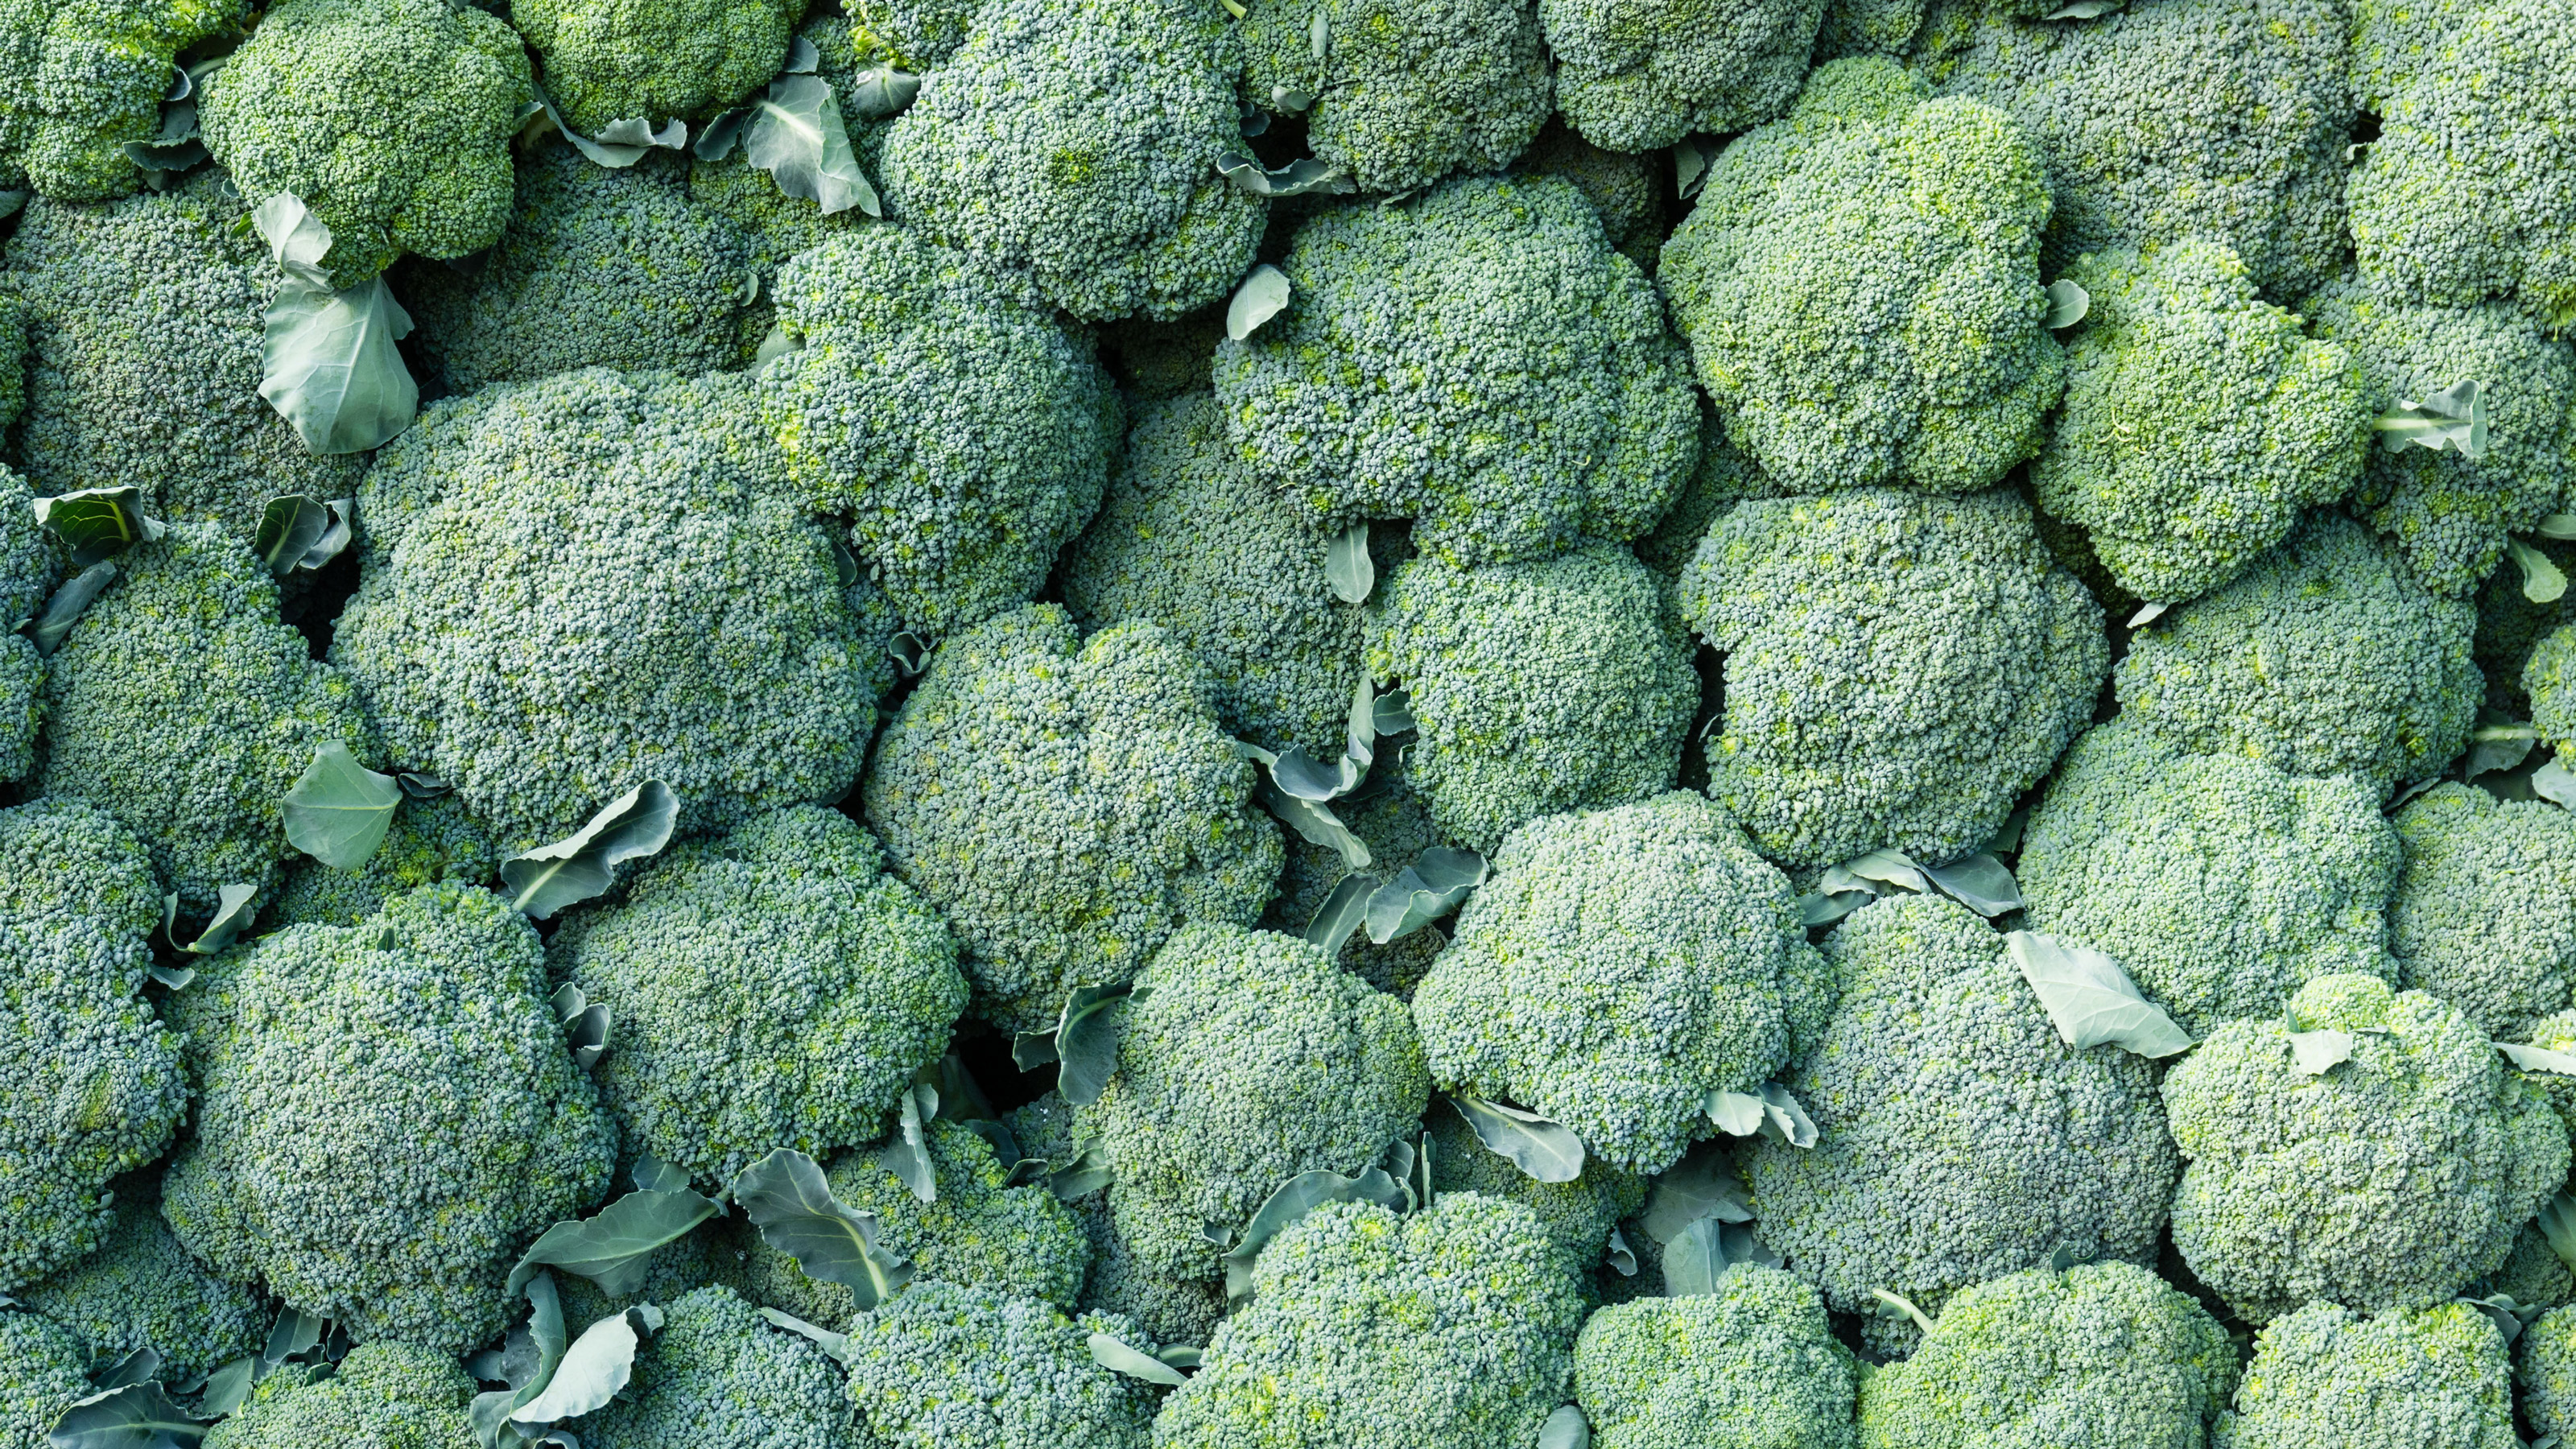
Before we show you how to grow calabrese, you’re probably wondering… what is calabrese? And why does it look like broccoli? Well, the thing is: calabrese is bizarrely what the supermarkets refer to as ‘broccoli’. We’re not sure why this appellation is used primarily for the big green floret-filled bundles we know and love: it’s confusing, we’ll admit.
In fact, true ‘broccoli’ is the group of vegetables with smaller ‘sprouting’ heads, which includes purple sprouting (hence the name). Both calabrese and true broccoli are part of the Brassica family, but while they have certain visual similarities, they are distinct in growing habits. Still, once you get to grips with this, there are lots of very obvious reasons why you should know how to grow calabrese.
These bulky yet milder-tasting cousins to the sprouting broccoli clan pack plenty of punch. As well as being easy to start off and cultivate, these gentle giants are fast-growing and prolific croppers. And if you get it right, you are rewarded with multiple calabrese harvests from the same plants through late summer and autumn. All you need is space for these delicious green bad boys to reach their full potential.
So what are you waiting for? Here we’ll explain the simple sowing, planting and harvesting secrets to growing a feast of calabrese that’s loaded with nutritional loveliness. And to find out how to grow other hearty kitchen favorites, visit our guides on everything from how to grow garlic to how to grow potatoes.
Know your calabrese broccoli
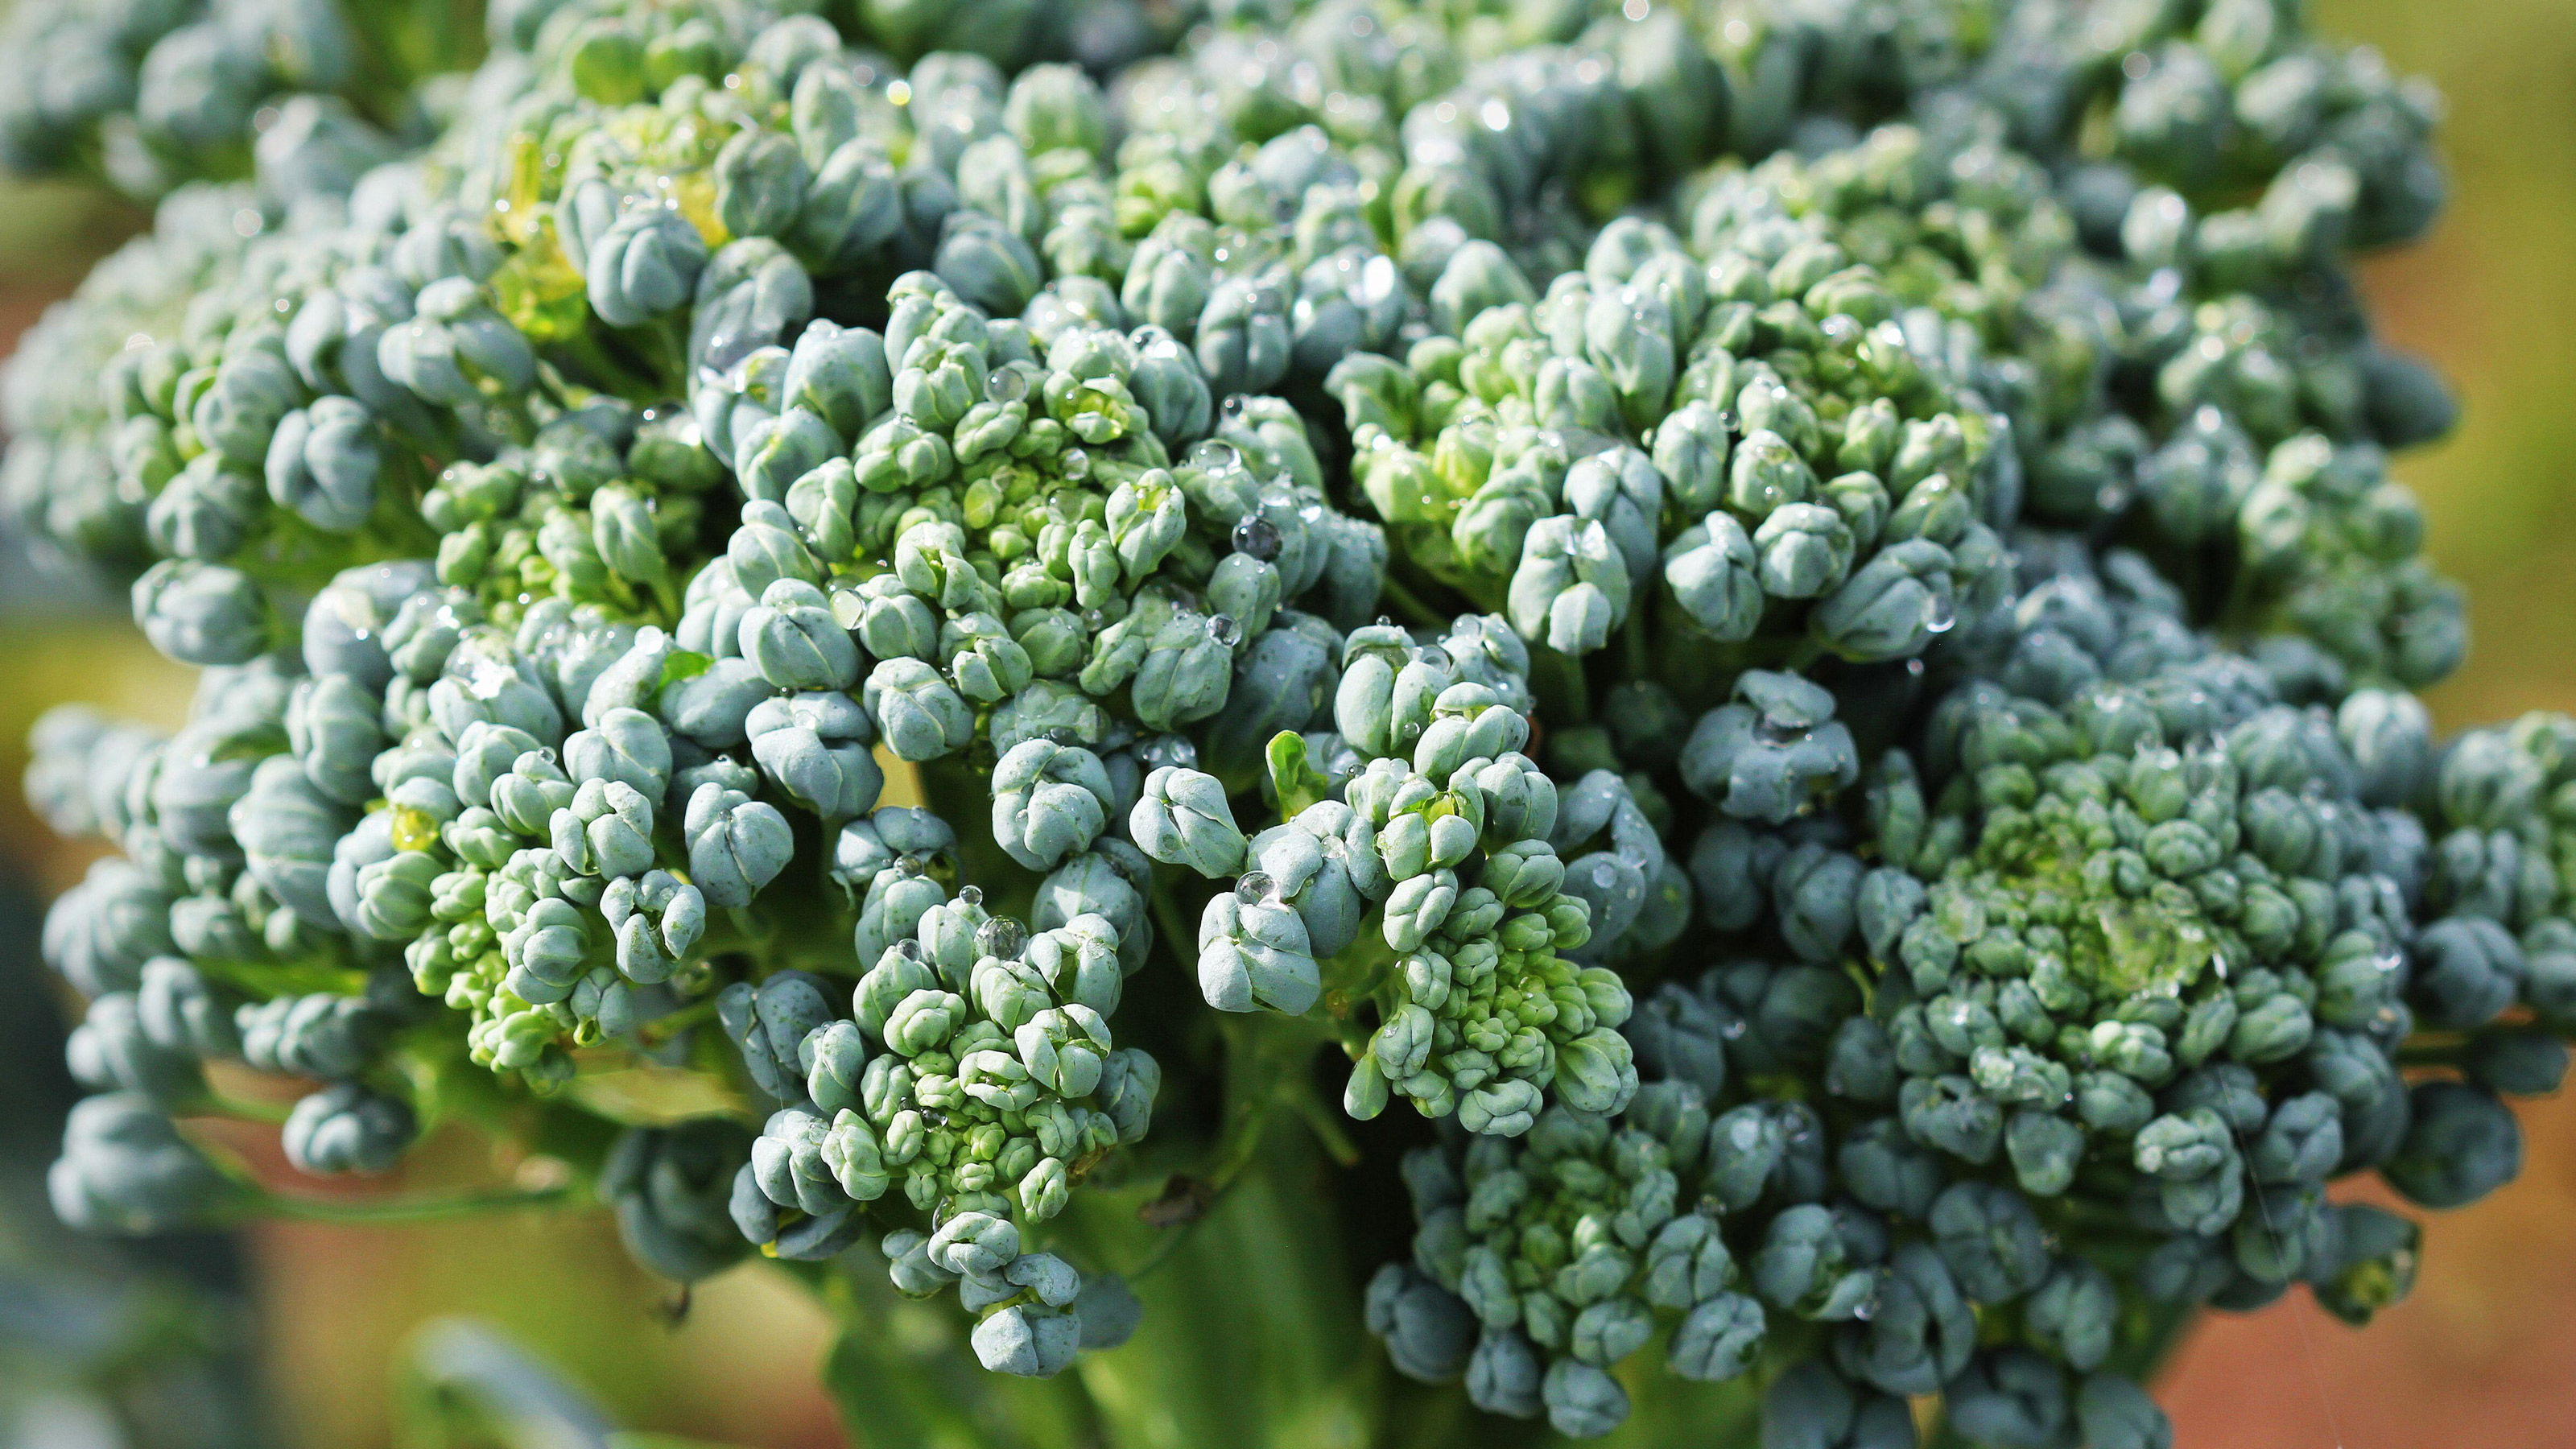
We should all be making room on our plots to grow calabrese, purely on the grounds that it is one heck of a superfood. Loaded with anticarcinogens as well as a host of vitamins and minerals, it’s arguably one of the most beneficial veggies to grow in your garden. And the good news is that it isn’t that tricky to know how to grow calabrese.
Just bear in mind that calabrese – named after the Italian region of Calabria – is a summer-cropper. So while it is one of the same family of veg (Brassica oleracea) that gives us our big winter brassicas (Brussels sprouts, Savoy cabbage, kale and purple sprouting broccoli), it has slightly different growing needs. Our guide on how to grow winter brassicas has info on growing purple sprouting and other members of the brassica family.
Whereas true broccoli such as purple sprouting peak in the cooler months, calabrese prefers to develop its bountiful bundles in warmer climes. Sown, grown and harvested within four or five months, calabrese is a quick grower. However, if you want to eke a little more out of the season, you’re in luck.
You can make a few successive sowings of a variety such as ‘Belstar’ from early March onwards, for harvests as late as October. Or mix it up and try early (‘Kabuki’ and ‘Green Magic’) and later ‘main-crop’ varieties (‘Chevalier’ and ‘Spiridon’) to extend your calabrese harvests. Another thing to bear in mind is that healthy calabrese plants go on to produce secondary heads once the main head has been harvested.
And of course, if you grow calabrese with the likes of purple sprouting, you can fill your kitchen table with broccoli for even longer!
When to grow calabrese broccoli
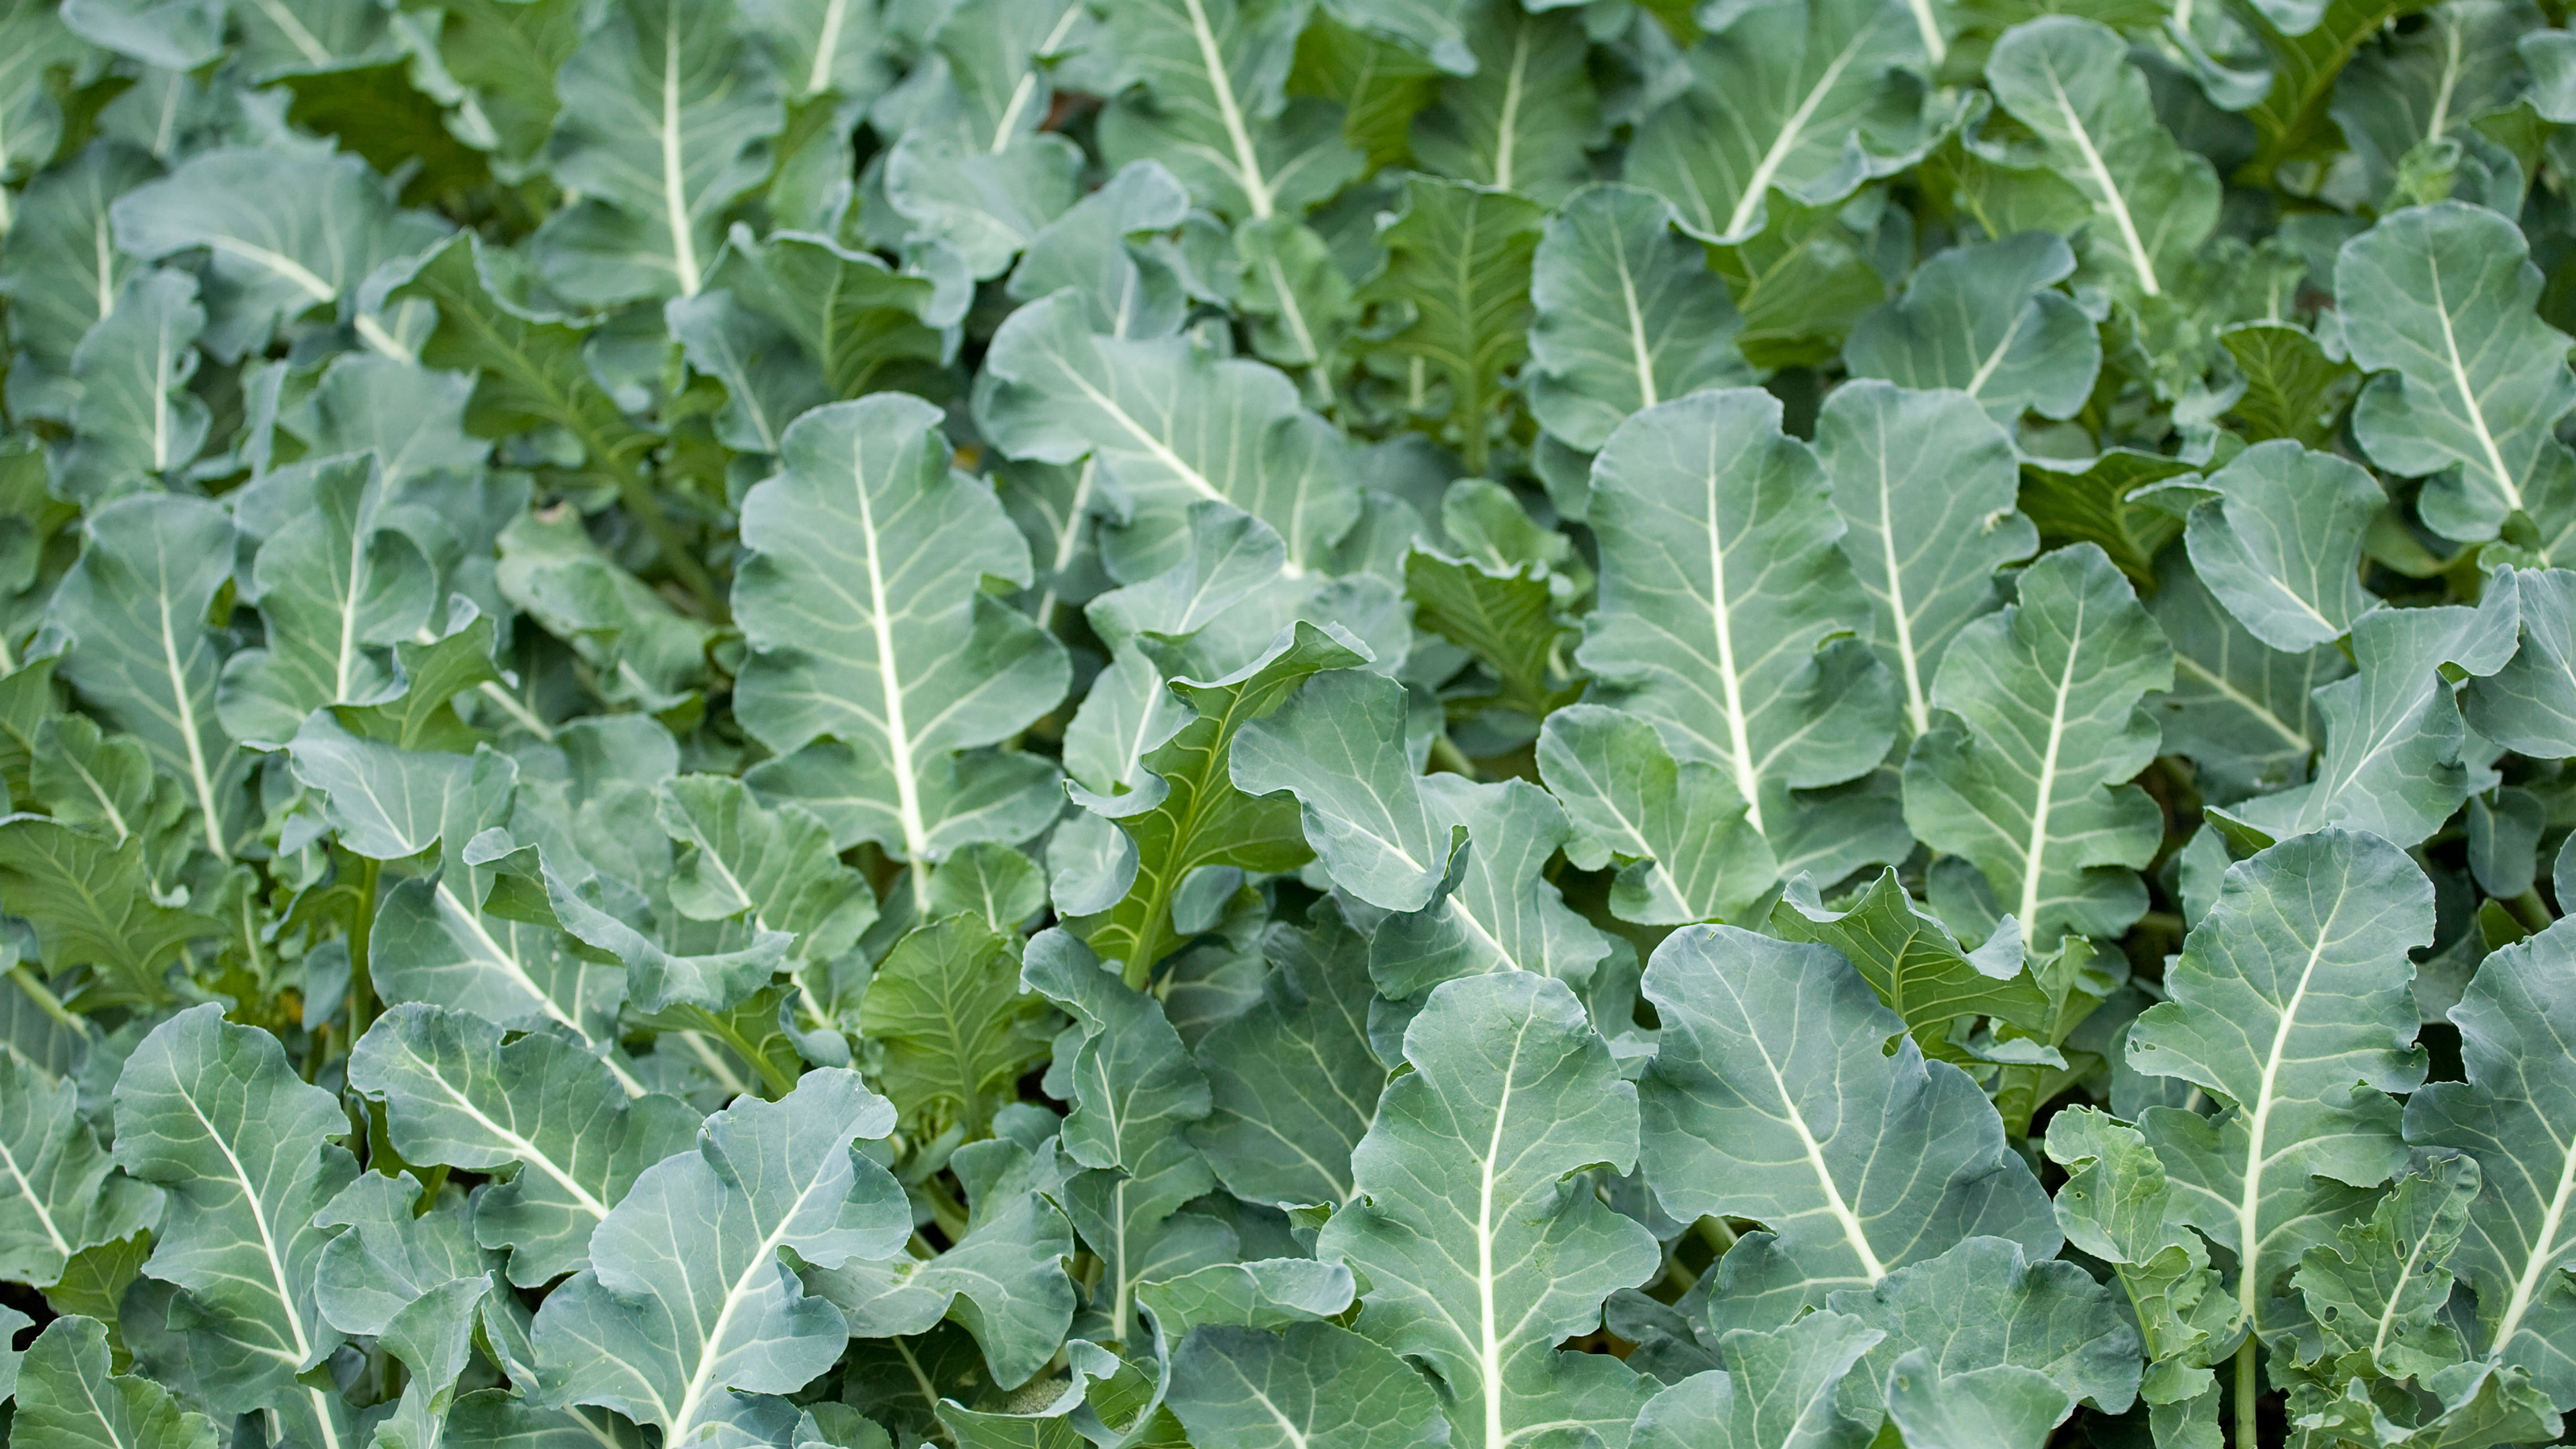
One of the best things to bear in mind as you find out how to grow calabrese broccoli is what a generous cropping vegetable it is. Get your timings right, and summer-loving calabrese can be one of your five-a-day well into autumn. This is especially true if you stagger sowings, or sow different varieties for multiple harvests.
With the potential to sow from March to August, you have a large sowing window for starting off. Similarly, you can plant out any time from May to July. Once you’ve figured out the best strategy (and space) for extending your sowing and growing times, you can reap the rewards for months from July to October.
'The age-old issue of gluts is easily avoided if you sow small batches once a month from March until June,' says Amateur Gardening’s fruit and veg expert Lucy Chamberlain. 'You can even store transplants in a fridge to plant out once a fortnight.' Choose varieties that are frost-hardy for second crops. Sown as late as summer, you can be nibbling on tender green goodness well into the fall.
Looking for other veg options you can grow with successive sowings as late as June and July? Find out how to grow carrots with the help of our growing guides.
How to grow calabrese broccoli
The process of knowing how to grow calabrese broccoli starts with soil preparation. Although this crop is less fussy than its winter counterpart, purple sprouting broccoli, it responds best to some preliminary ground essentials. So make sure the ground is primed for sowing and planting: this means it needs to be fertile, firm and well drained.
Start by digging over the soil and adding some well-rotted garden compost, leaf mould or manure. This will help to boost fertility and structure. Fork over the area a few days before sowing or planting. Add lots of bulky, well-rotted organic matter or garden compost - you can find out how to compost in our guide. Work in an organic fertilizer such as fish blood and bone if you can.
You must also make sure your soil has the correct pH before sowing and planting calabrese. If you know your soil is acidic, add some garden lime about a week beforehand. And if you aren’t sure if this applies to your soil, check! Read our guide to soil types to find out how to identify and correct soil issues.
For the best results, your soil needs to be pH7.5 (just above neutral). If you aren’t sure how much lime to add, err on the side of ‘more’ – it’s unlikely you’ll add too much. Conversely, if you think you might need to lower the pH, add some sulphur chips.
Finally, walk over the plot to firm it up. This will help prevent windrock, which can often happen with leafy brassicas. So take time to do this as it will help with planting, especially if your soil is on the fluffy side.
1. Sow calabrese broccoli seeds indoors
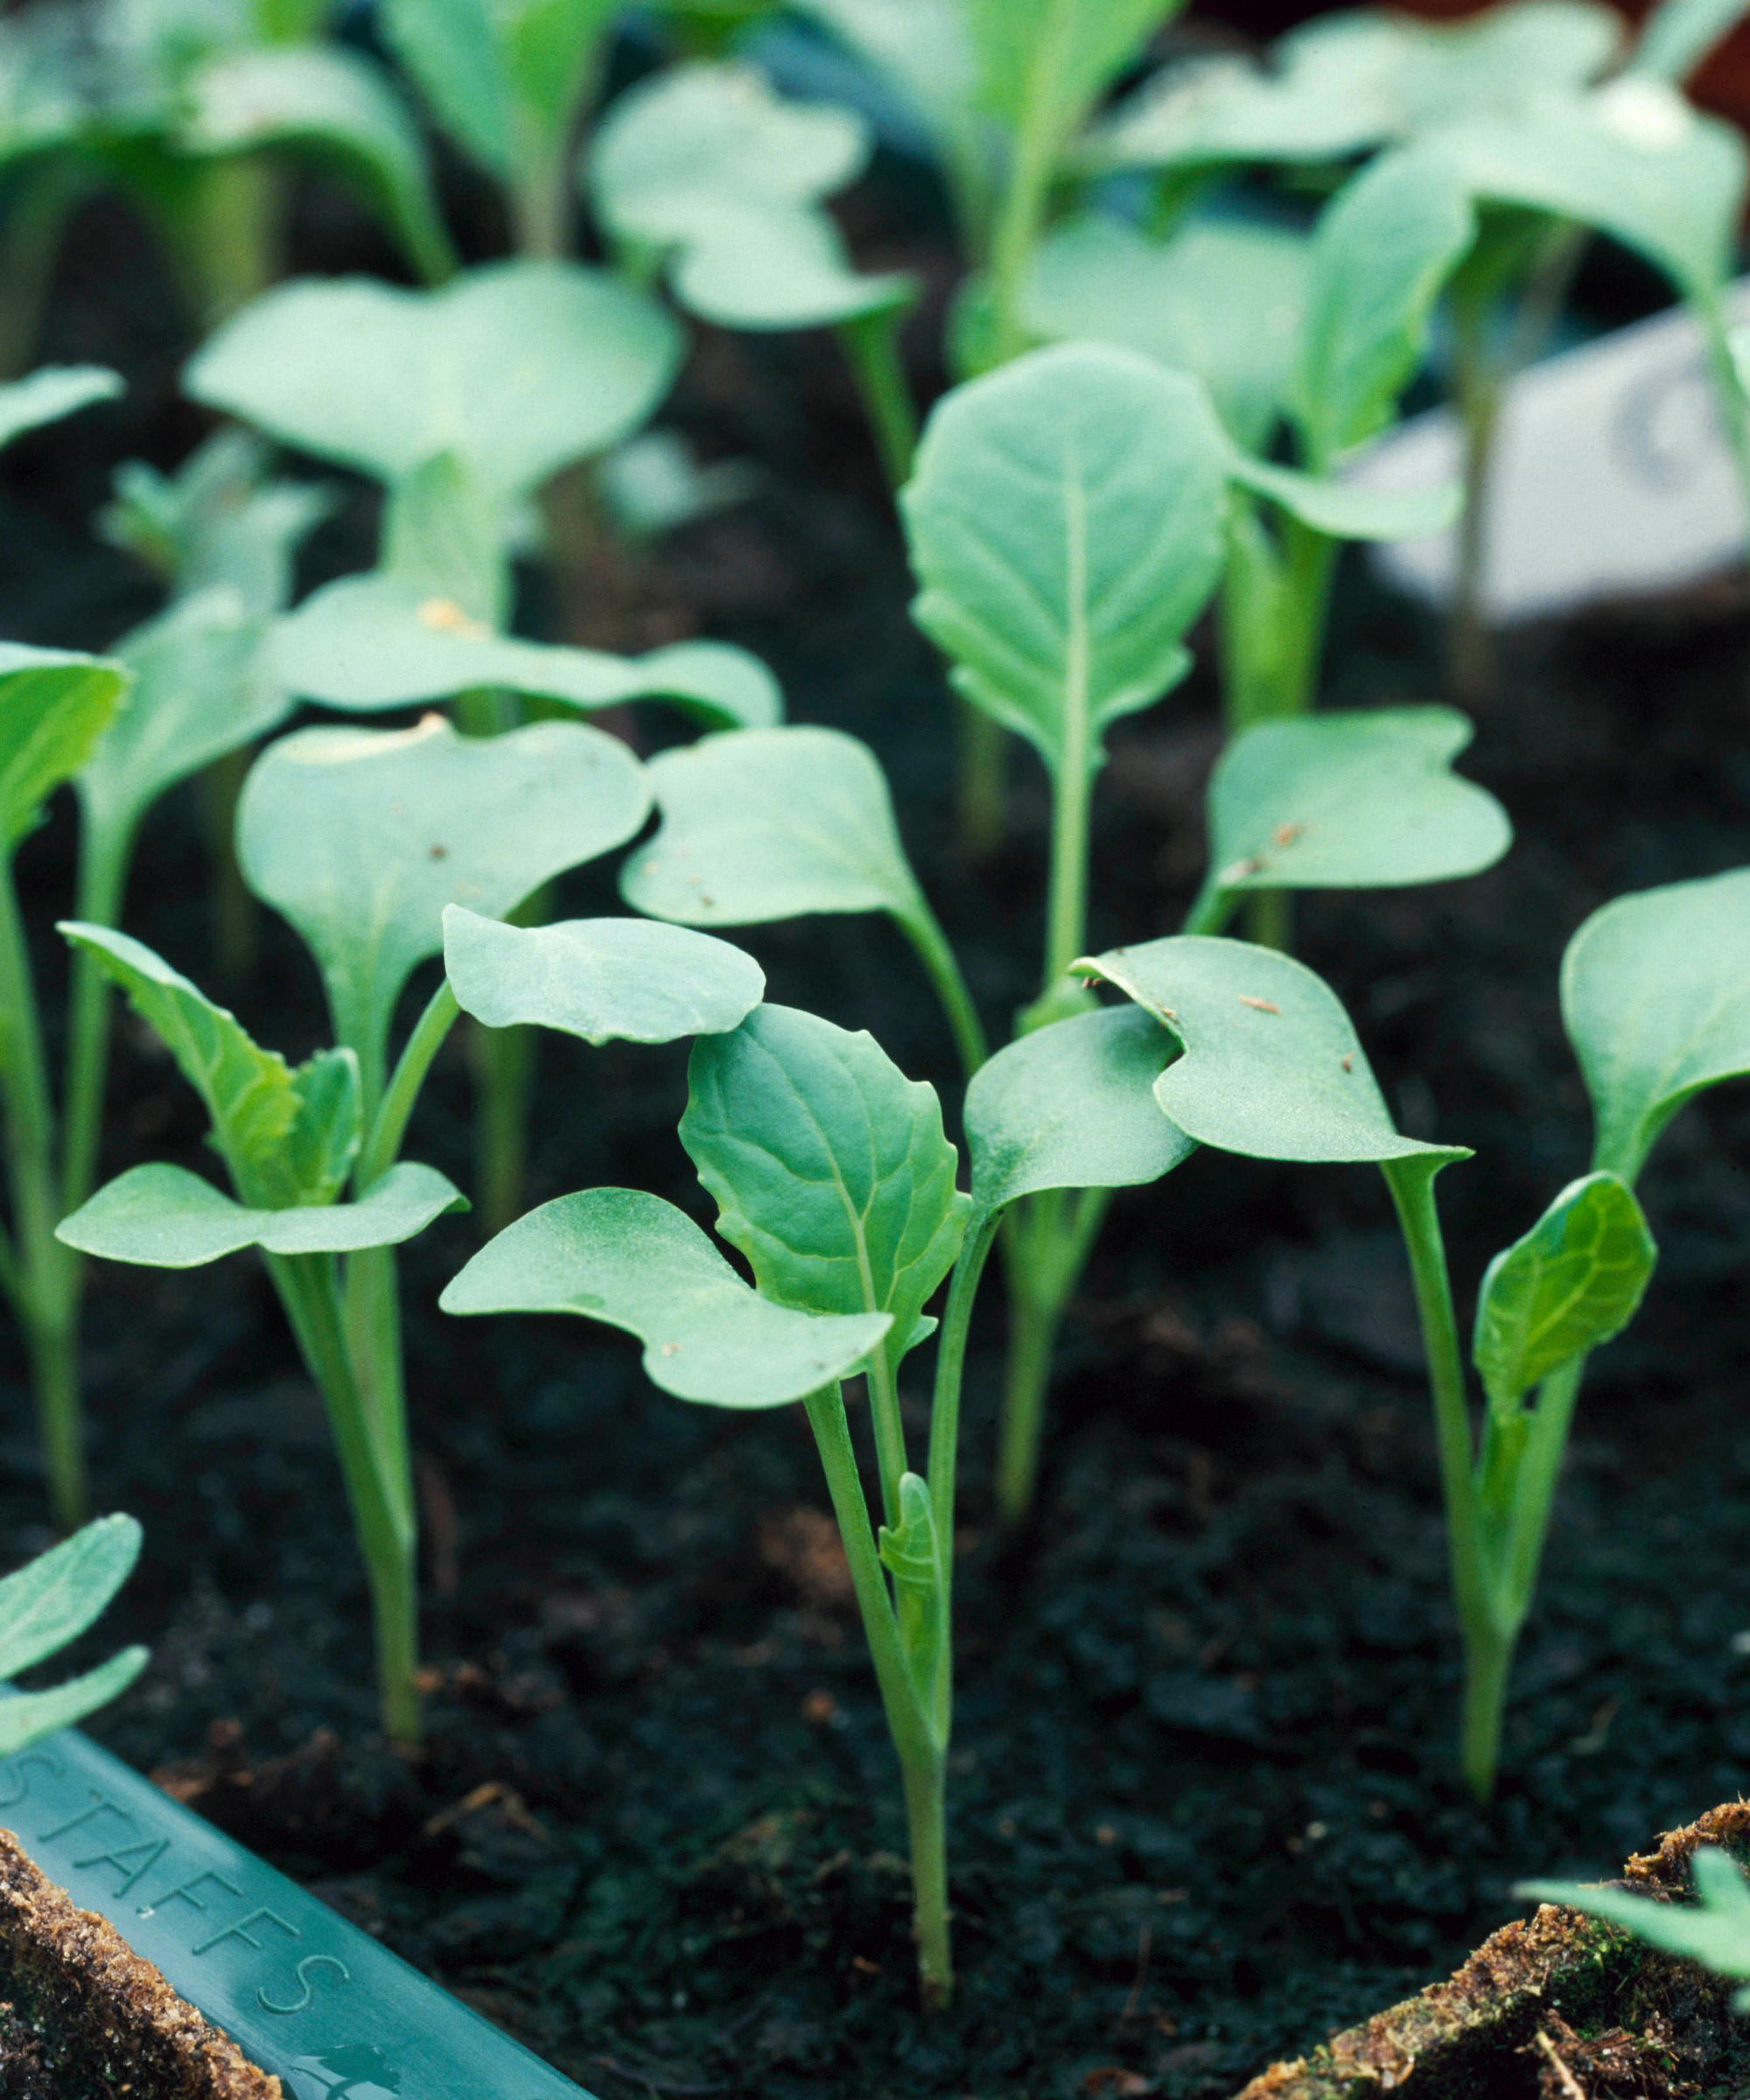
As you learn how to grow calabrese, you’ll see that the more care you can devote at the beginning, the smoother things are further down the line. These are not fussy crops to grow if they are started well. As with other brassicas, you can start off calabrese outdoors or inside. The best option for you may come down to timing, weather, location and space, or a combination of all of these factors.
It may be better to sow outside if starting in late spring or early summer. But if sowing in March-April, you’ll get the best results if you start undercover in modules. Bear in mind calabrese don’t like any root disturbance. So the less you compromise this aspect of growth, the better – whichever sowing option you choose.
- Fill modules with compost. Make small central holes in each cell, half an inch (1.5cm) deep. Sow two seeds per module and cover lightly with compost. Gently water, then place on a windowsill or in a greenhouse.
- If both seeds in a cell germinate, thin to just the strongest. Remove the weaker seedling by nipping out with scissors (again, do your best not to disturb the roots of the young plants you want to keep).
- Take care that growing seedlings don't get ‘leggy’ (spindly). This happens when seedlings get too much heat and not enough light. Alleviate this by making sure they get as much daylight as possible.
- Also take care with watering. The roots of calabrese seedlings do better if they are made to ‘search’ for water in the compost. So underwatering is better than overwatering, apart from on really hot days.
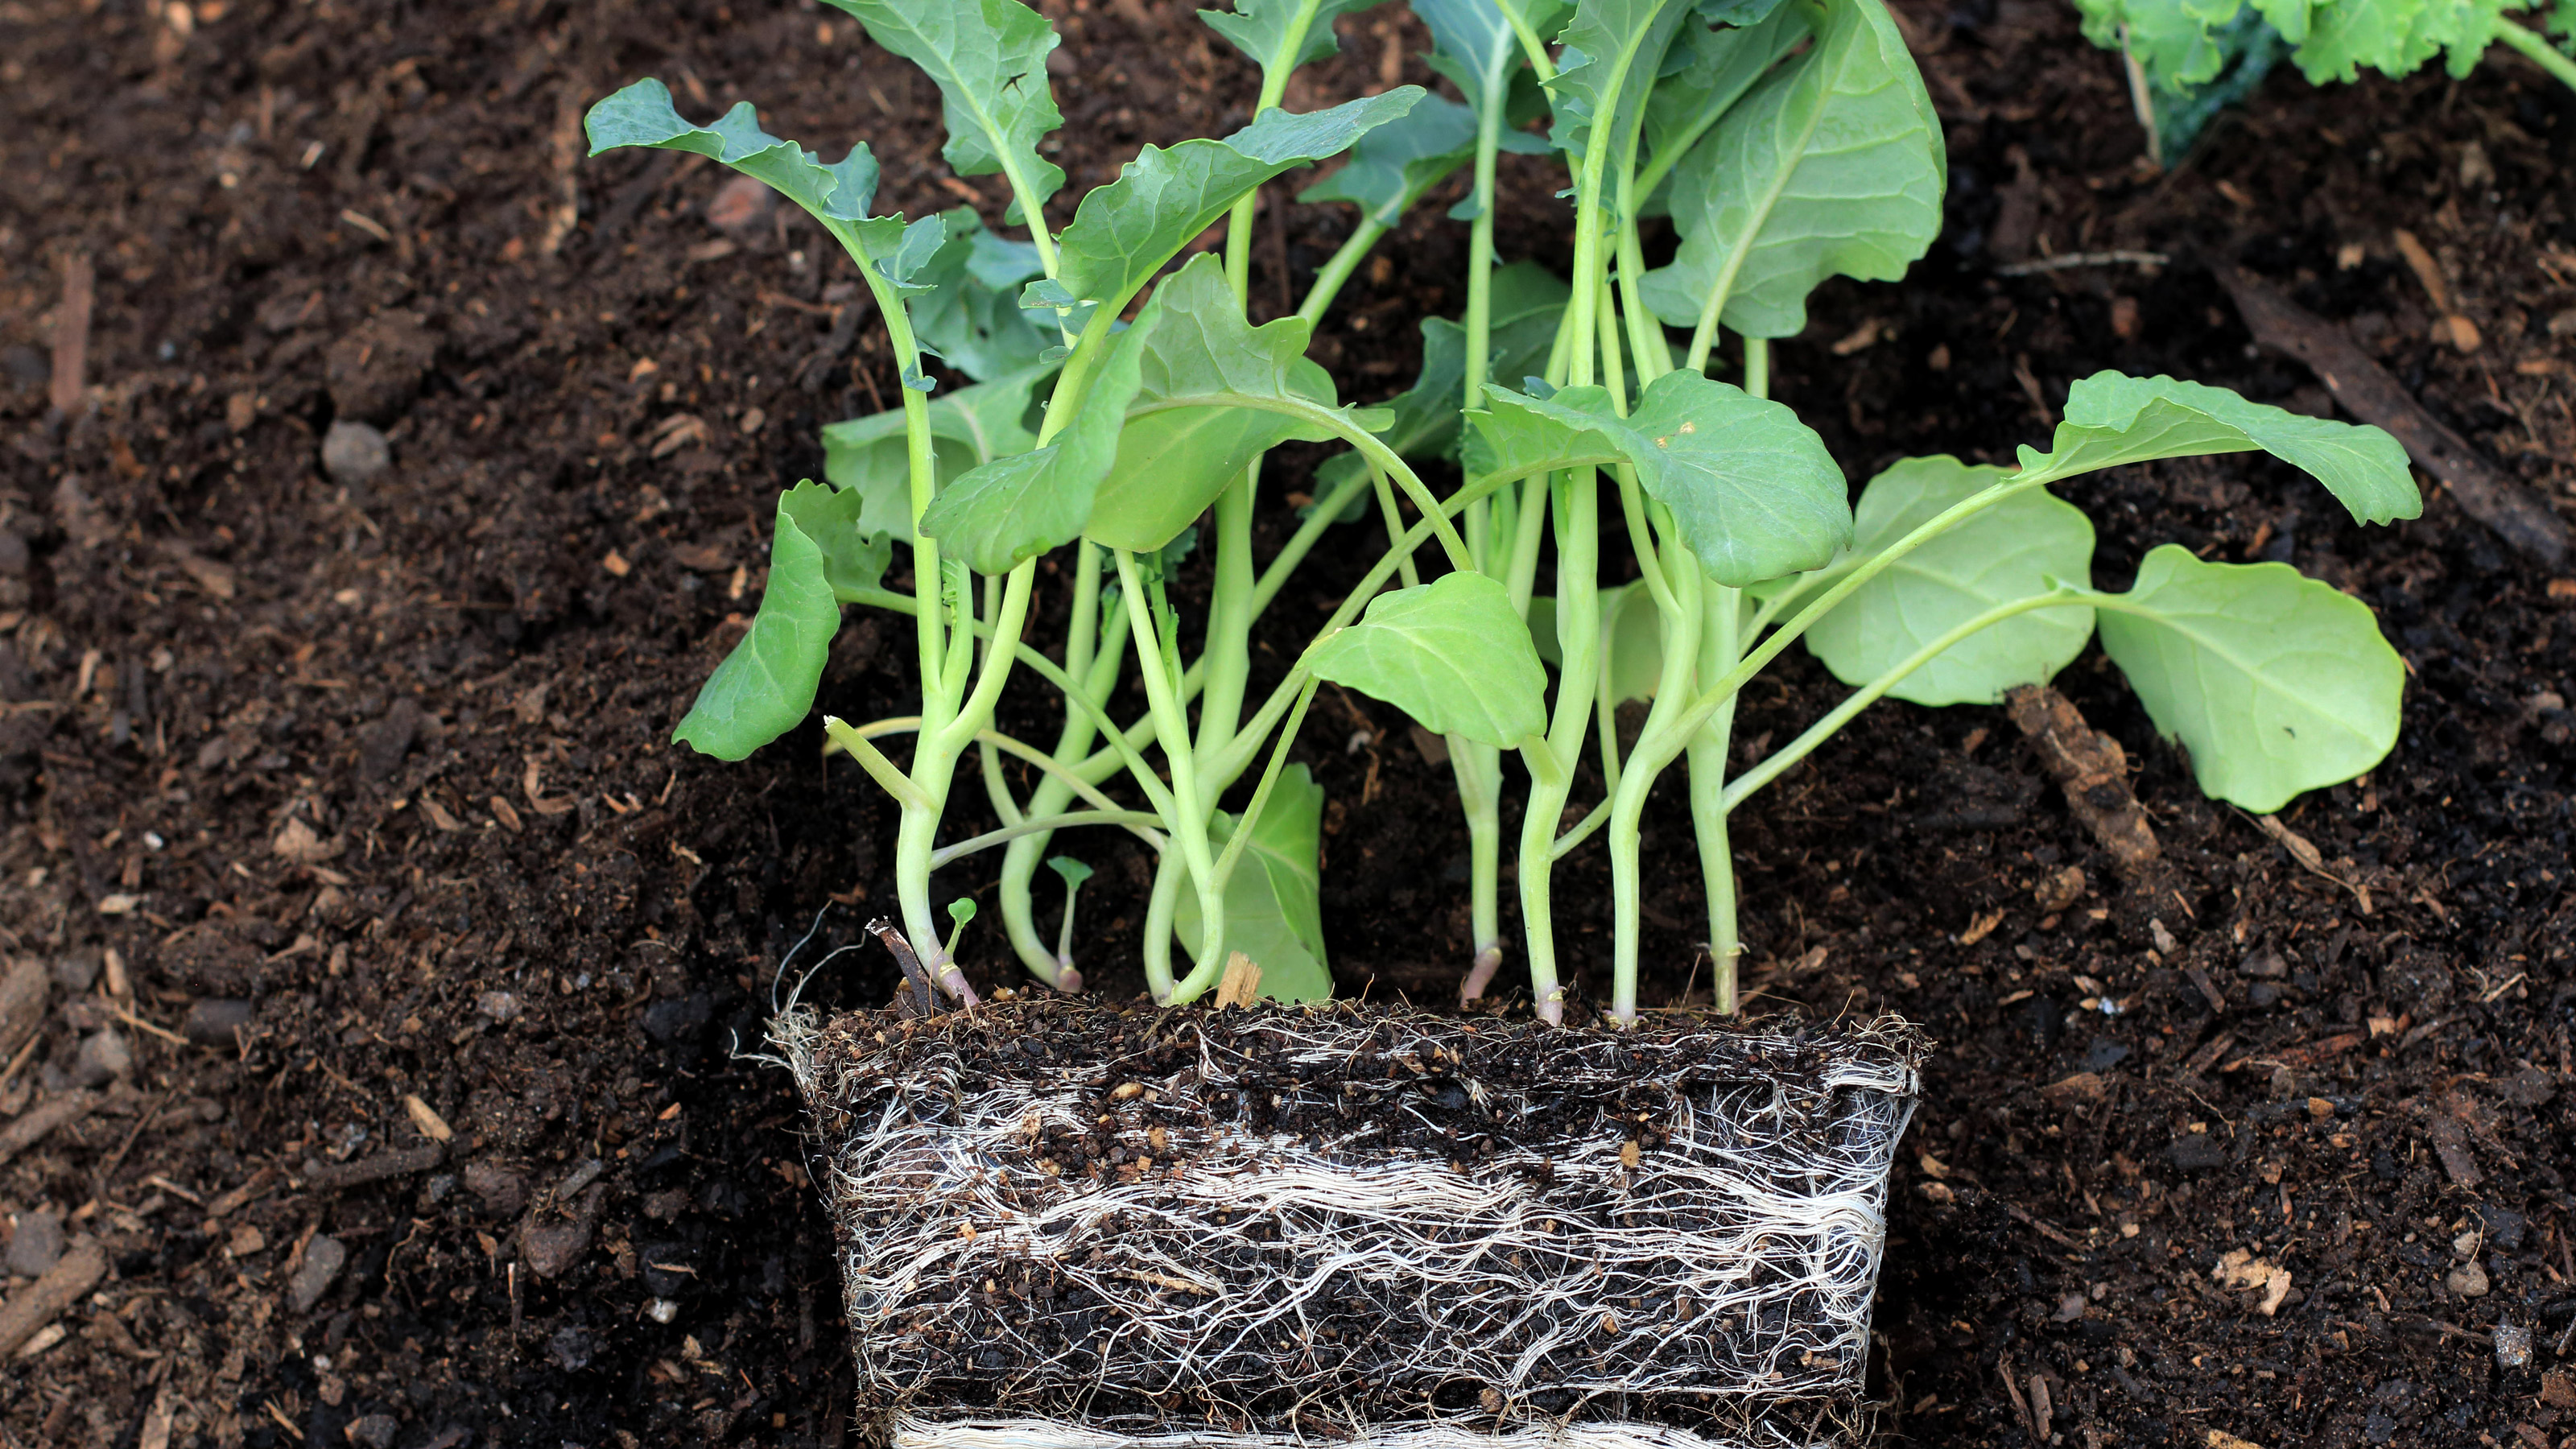
- When your seedlings reach 3in (8cm) high and have a few true leaves, they're ready to plant outside. It’s usually time to do this after five or six weeks to avoid root congestion. You can find out more about how to transplant seedlings with our guide.
2. Direct sow calabrese broccoli seed outdoors
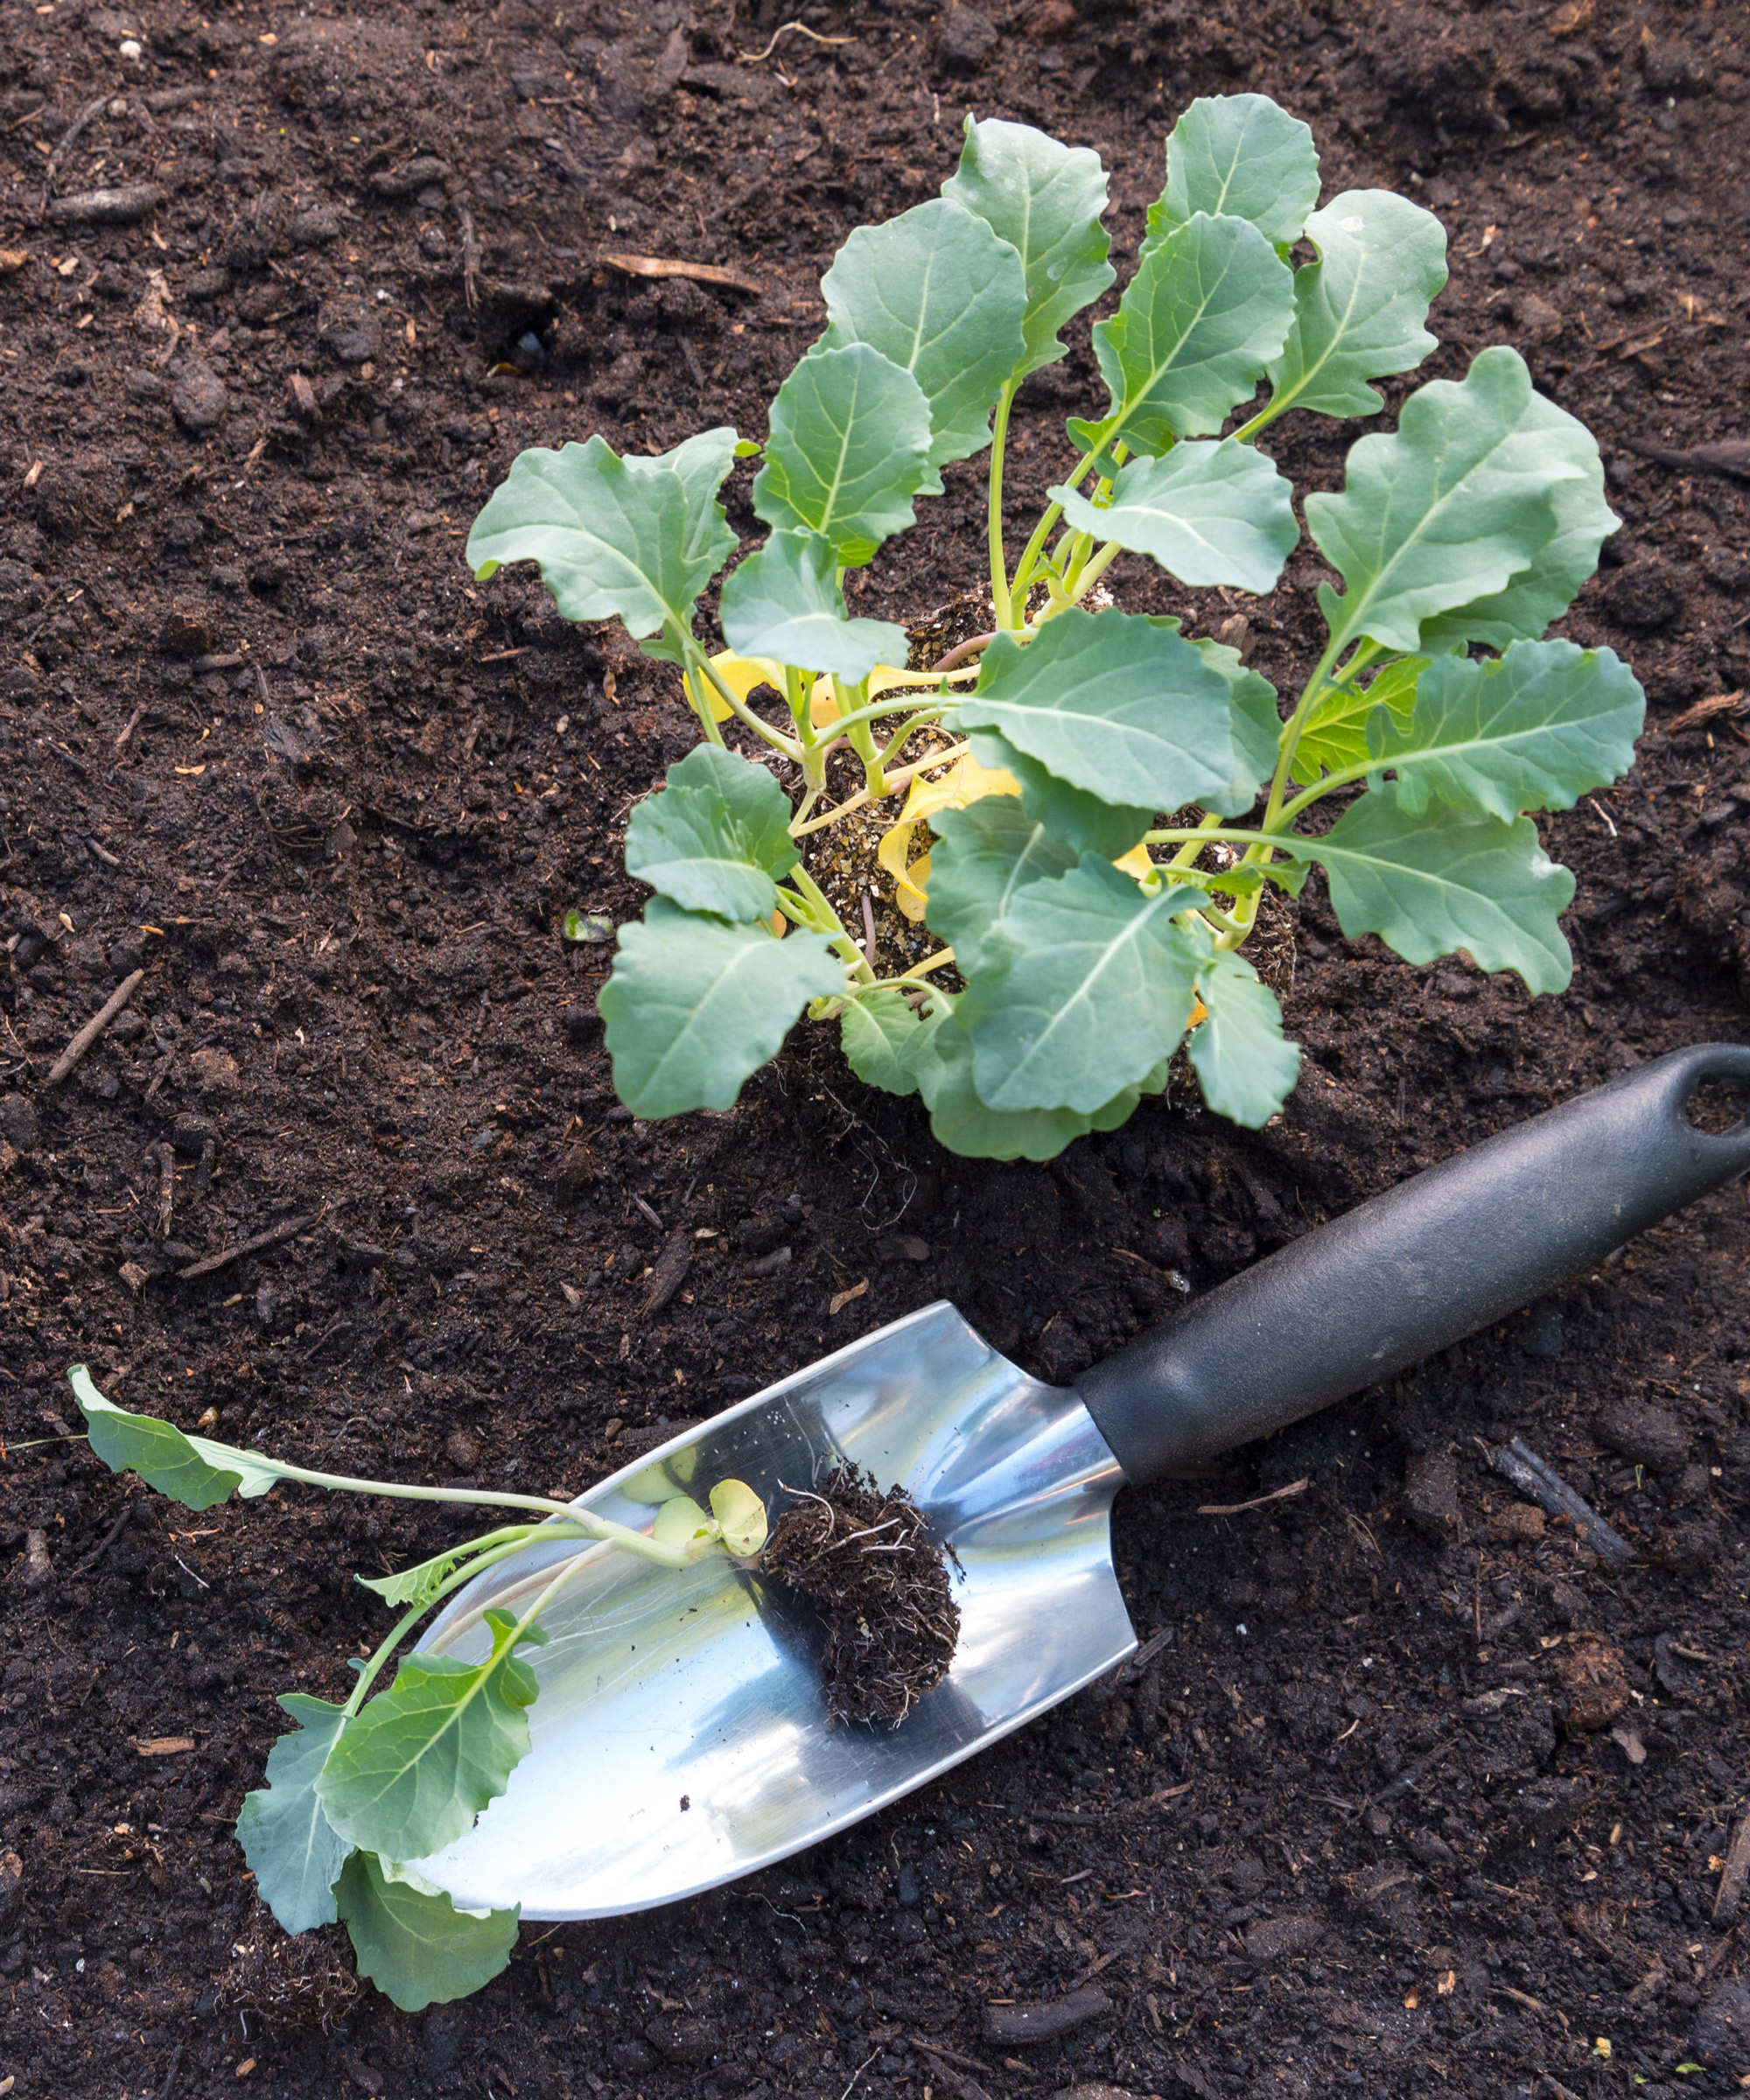
From late spring (typically around May), direct sowing can give the best results for your calabrese broccoli. One key thing about knowing how to grow calabrese is thinking ahead. If there is still the risk of frost, sow under a cloche or cold frame to protect young plants. Either sow in a well-prepared seed bed for transplanting later, or in situ where you wish your calabrese to develop. Here's how to do it:
- Sow in finely raked drills, in rows 18-25in (45-60cm) apart. The extra space will prove useful if you’re sowing in final positions. It gives plants (and roots) more room to grow, and results in bigger heads at harvest.
- Sow the seed thinly at a depth of three quarters of an inch (2cm). It’s good to drop two or three seeds every 10-12in (25-30cm) along the row.
- Cover seeds lightly with soil and moisten gently so as not to disturb the seeds. Seedlings should emerge in a couple of weeks.
- When they are large enough to be handled, thin your calabrese seedlings to one every 12in ( 25cm) or so. It may be necessary to do this again once plants are 4in (10cm) high so they are spaced at 20-24in (50-60cm) intervals.
- If you are sowing in a seed bed, you can transplant the seedlings to their final positions five weeks after sowing. This is usually at the point where the young plants have four or five true leaves.
As your young calabrese plants are growing, you can interplant with faster-growing crops such as salads, spinach and radishes.
Would you like to know more about growing faster-growing crops? Our guide on how to grow spinach can help get you started.
3. Planting out calabrese broccoli
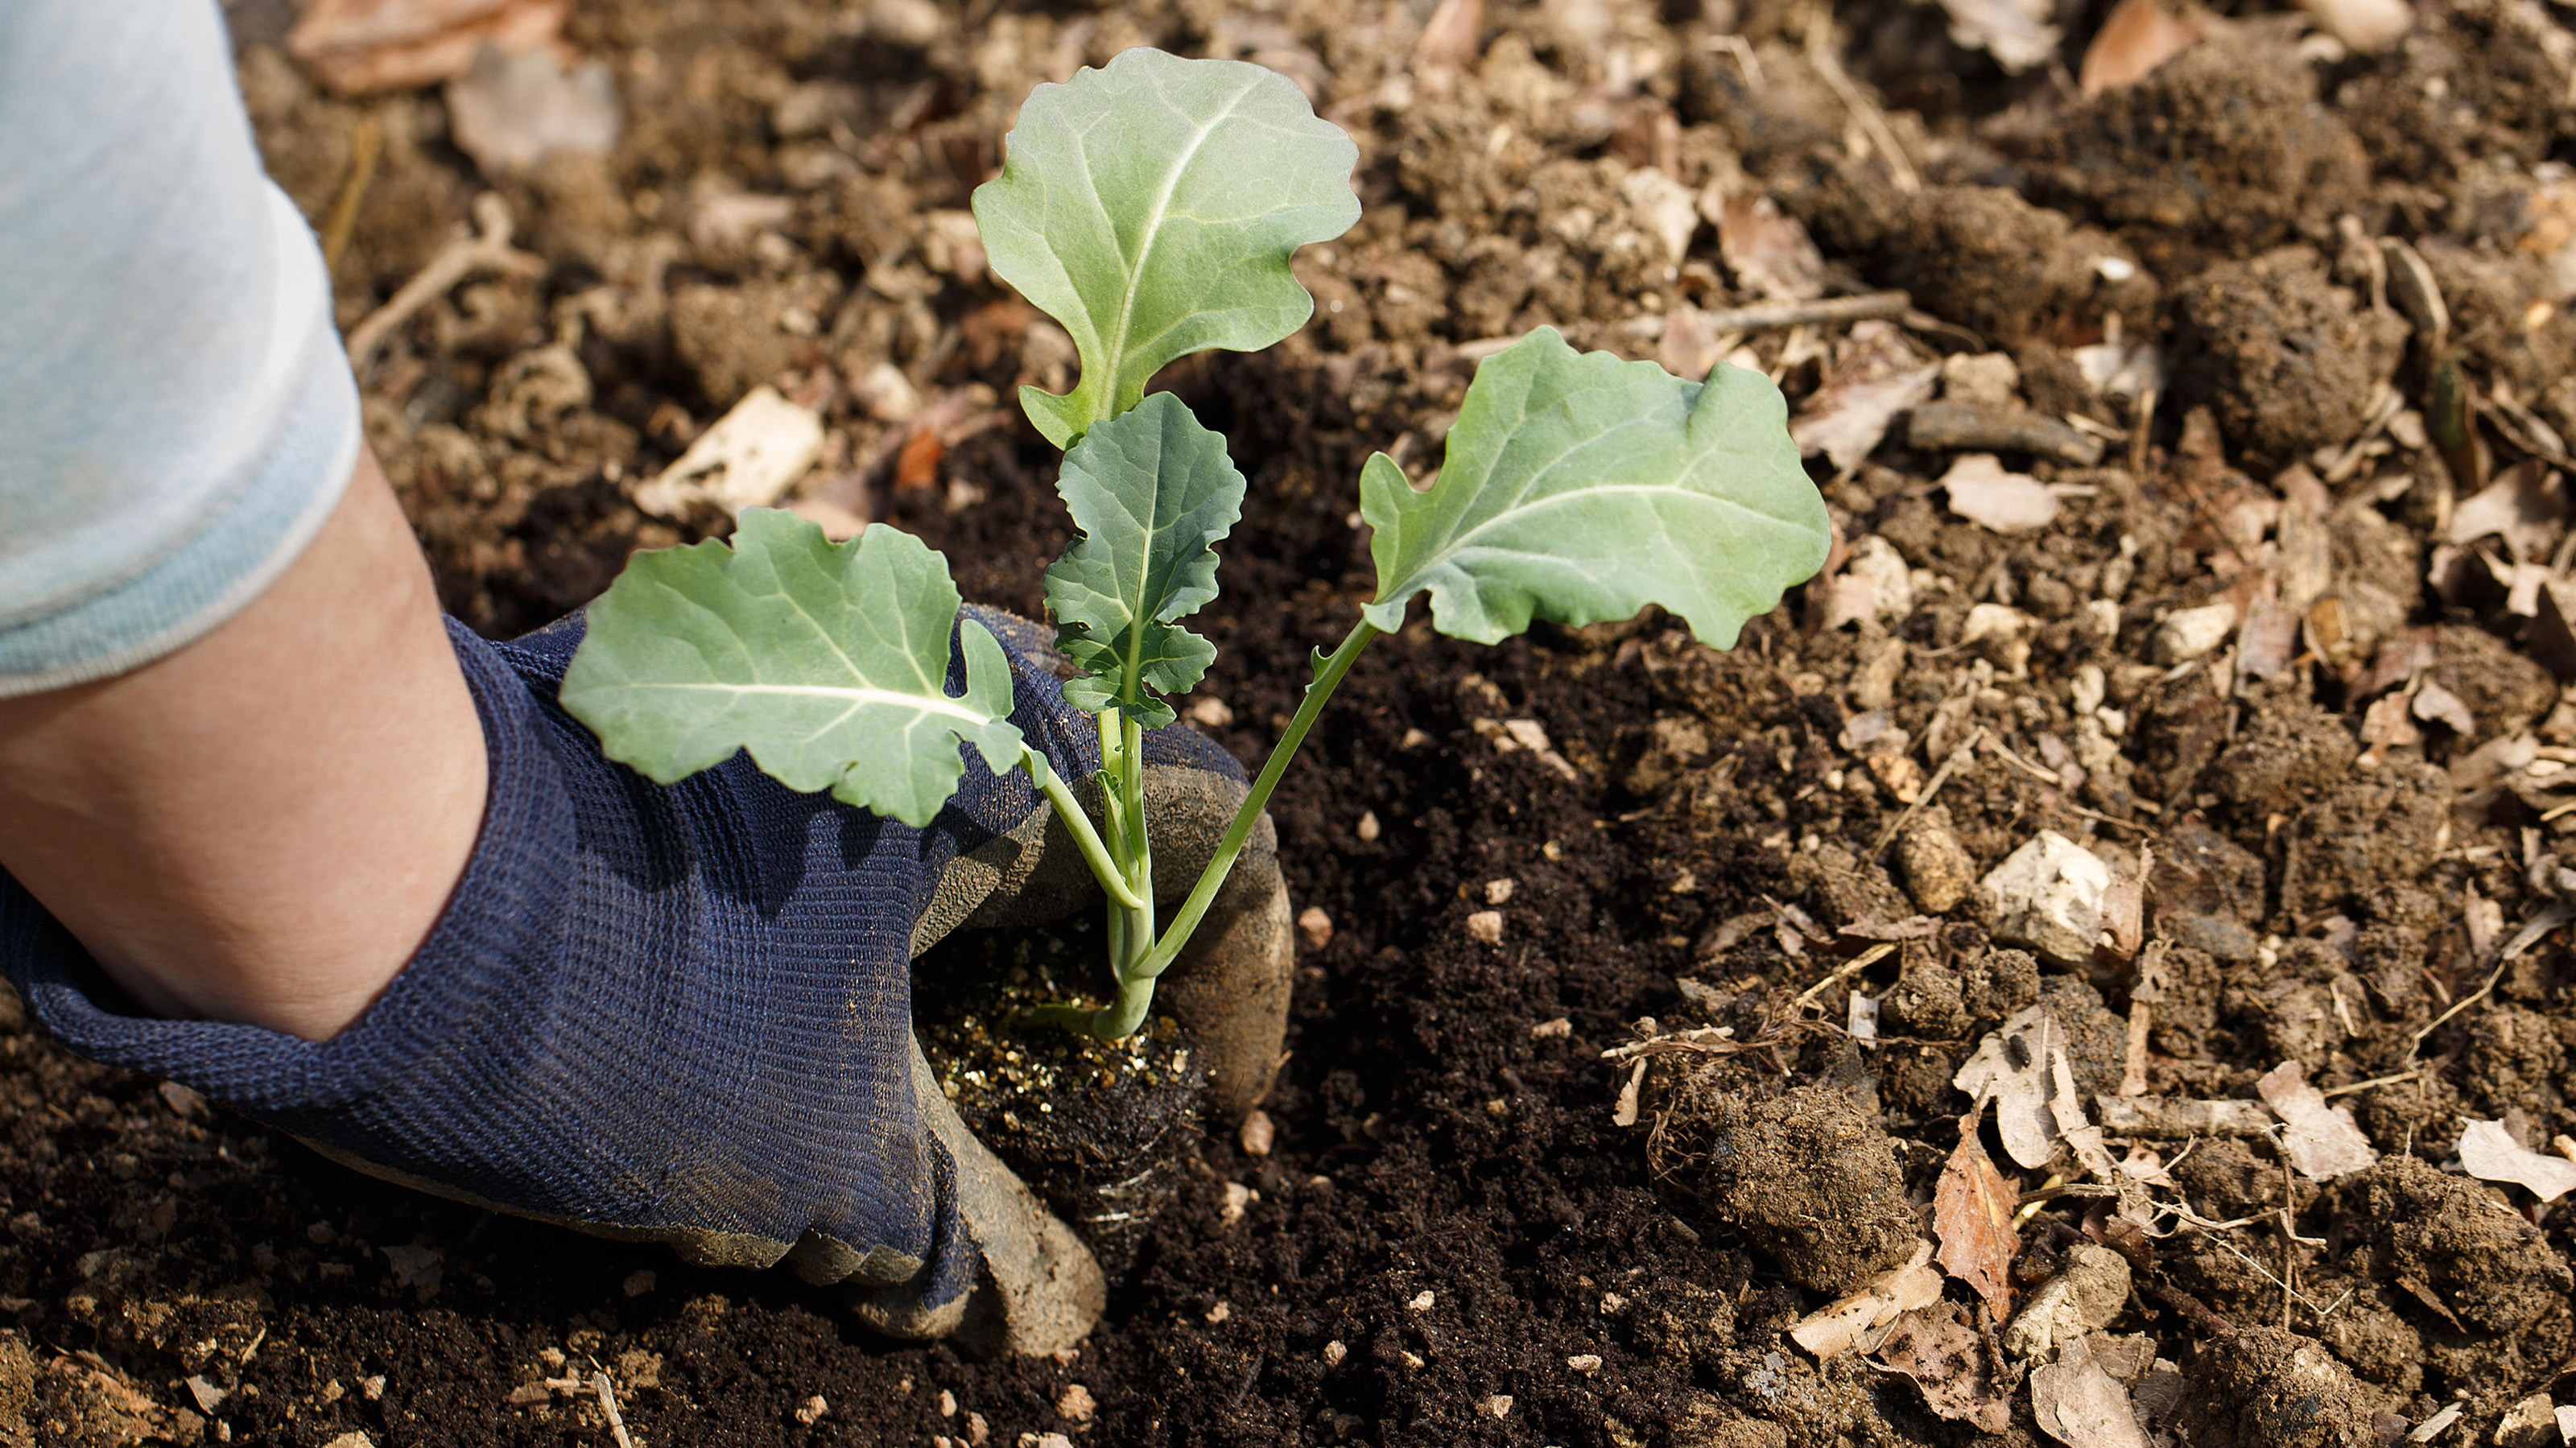
Hardening off is useful when learning how to grow calabrese seedlings that were started indoors. Make sure young plants have one week-10 days to acclimatize to the outdoors before planting. Seedlings started on a windowsill will benefit from a couple of days in an unheated room. Depending on the weather, you can then use a cloche, or increase the amount of time you leave plants out every day.
Your calabrese seedlings are ready for planting when they are about 6in (15cm) tall. Pick a dull day for planting out, or try doing it in the evening so young plants don’t wilt. It might also help to add a light sprinkling of seaweed or poultry manure to the planting hole before the plants go in.
Spacing is key here. You want to make sure your calabrese plants can develop strong roots and harvest generously proportioned crowns. Go for spacings of 20-25in (50-64cm) if you are planting a big calabrese variety. If the variety is more compact, you can space plants 15in (40cm) apart. Space rows 18-25in (45-60cm) apart.
Your spacings are also important for getting secondary harvests from calabrese plants. As Lucy Chamberlain points out: 'Generous spacing will encourage side-shoots (and further harvests) to form. I’ve found ‘Ironman’ especially keen to side-shoot.' Keep this in mind with planting to help extend and even out your crops.
To plant your seedling, make a hole in the soil about the same size of the seedling or an inch deeper. Push the soil in around the roots, but don’t squeeze down too much. Make sure the base of the plant is secure (gently tug a leaf to check this). This will minimize the risk of windrock. Water in after planting, but try not soak the plants.
Planted in June-July in a well-dug veg bed or as part of your raised garden bed ideas, they should be ready to harvest in August-October. If you prefer growing vegetables in pots, you can also plant a few in large, deep containers. Just check there are drainage holes, and go for the largest tubs you can find.
4. Add supports and mesh covers to calabrese broccoli
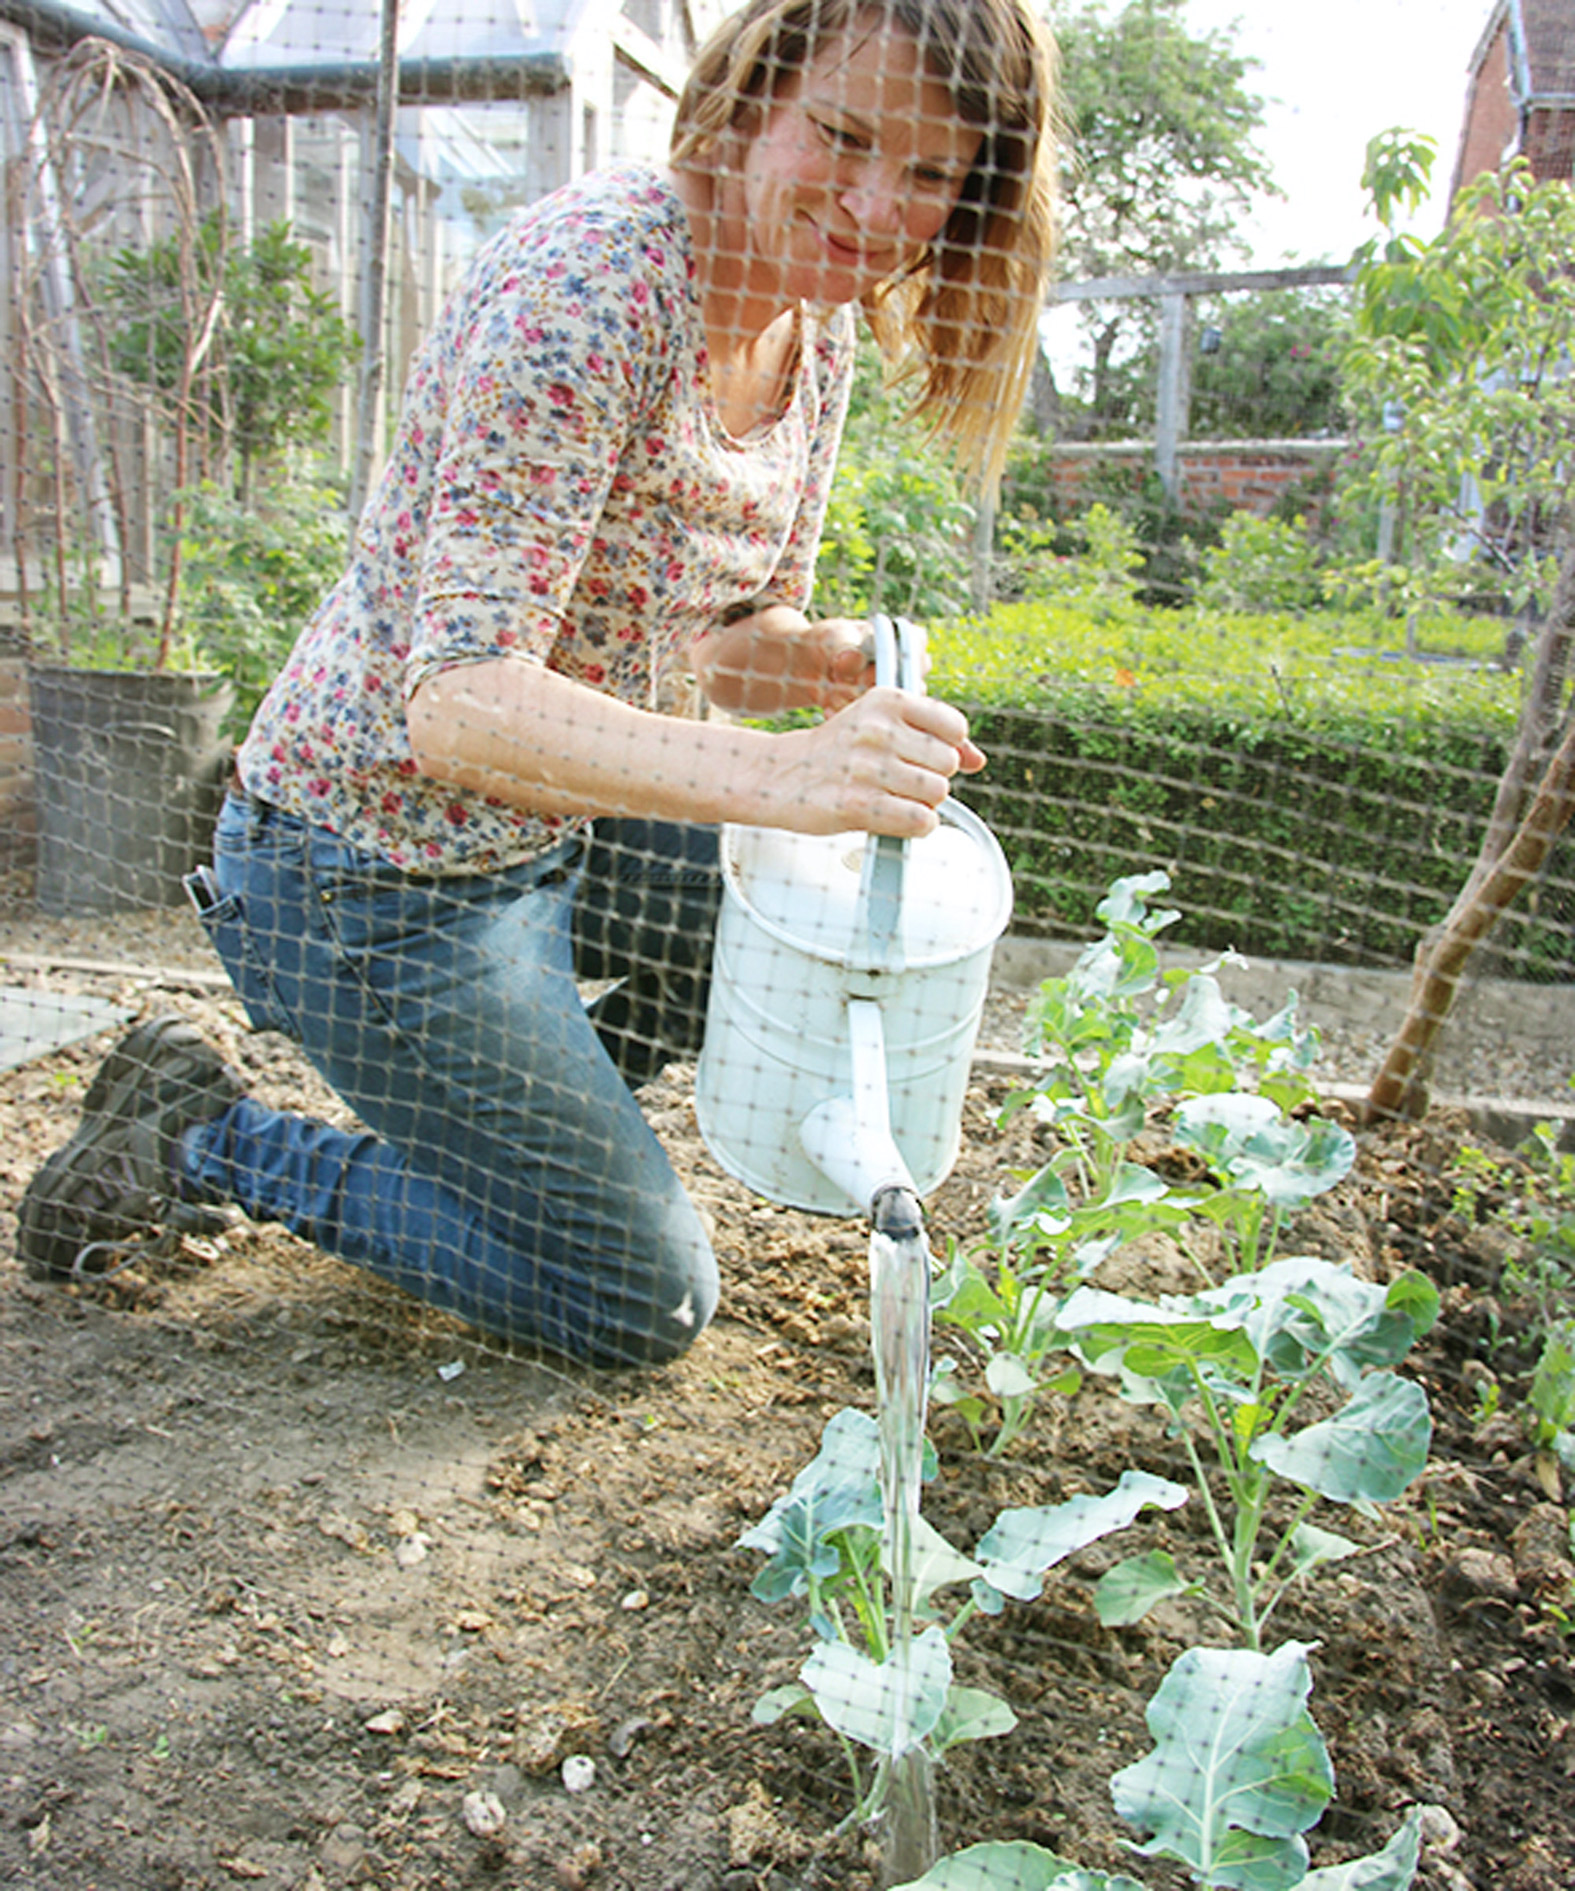
Calabrese plants, as with other larger plants in the Brassica family, can get big. This is one of the key things you realise as you learn how to grow calabrese – hence why spacings are so important. OK, they won’t form teetering towers like Brussels sprouts (find out more about how to grow Brussels sprouts with our guide). However, supports and frames can help in creating wind barriers if your site is exposed or windy.
More importantly, you need to make sure you cover your rows of young calabrese plants with some kind of fine mesh netting or fleece. This will protect the developing plants from pests like pigeons and cabbage whites. Lucy Chamberlain recommends insect-proof mesh if you know that flea beetle, cabbage root fly or aphids are local.
Make sure that the covering you use is kept in close contact with the ground. It is a good idea to drape the netting over a purpose-built frame. Just make sure that whatever frame you use allows enough room for the calabrese plants to comfortably flourish.
Where to grow calabrese broccoli
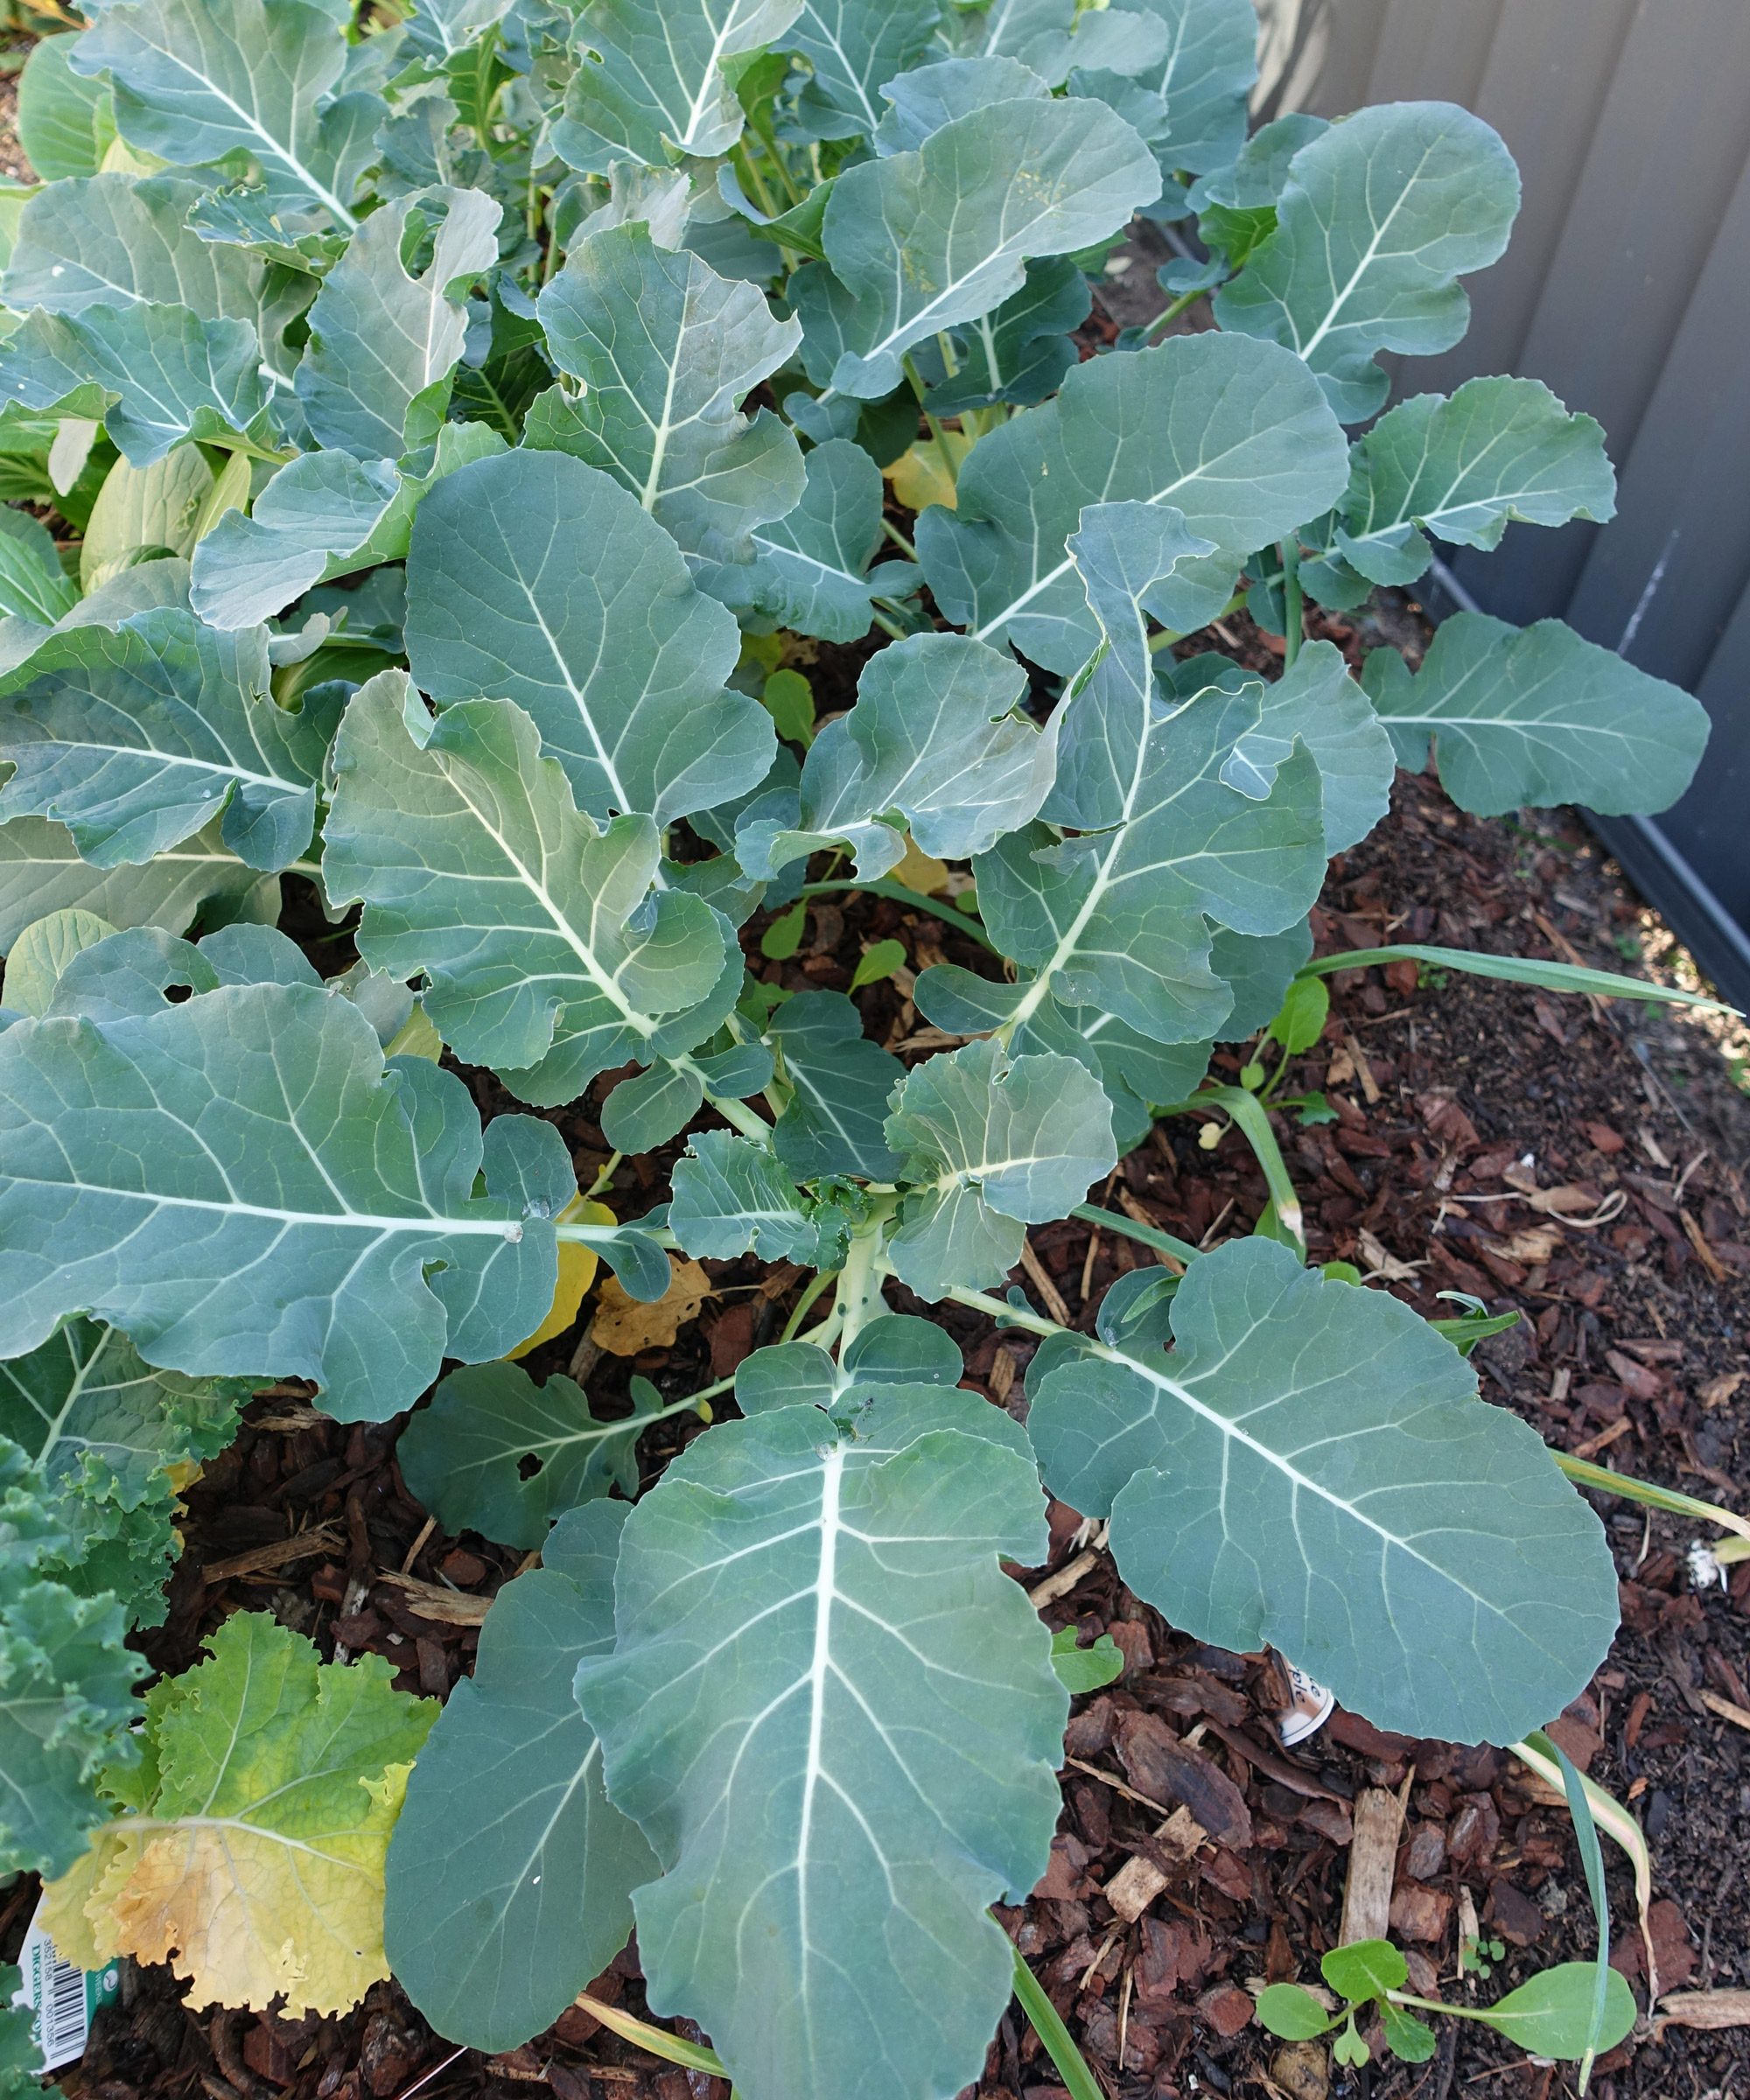
Here’s the good news: these plants are pretty easy-going once you’ve got them started. So you don’t need to worry too much about position as you master how to grow calabrese. A sheltered veg patch or raised bed is fine. As long as it’s a sunny spot with some light shade, you’ll be smiling come harvest time. Contrary to popular opinion, some shade is beneficial for calabrese. Full sun encourages premature flowering and can ruin flavor.
As we have explained, one vital component to healthy growth and rich yields is quality of soil. If this is well-drained and moisture-retentive, you’re onto a winner. Don’t forget to make sure the soil is around pH7.5. And of course, it helps if you get your plants in ground that has been primed with a fertilizer. If you haven’t loaded up on compost and organic matter, make sure your site gets nourished first.
In order to minimize the risk of plant disease, don’t grow calabrese where other members of the brassica family have recently grown. It’s a good idea if you can plant where you previously grew peas or beans. These will have left useful nitrogen in the soil, which brassicas need.
The other thing to bear in mind, as we pointed out in the prep, is that this crop does not like root disturbance. Bear this in mind with any position you select, or any plants you grow alongside them.
On this subject, consider growing one or two companion plants with your calabrese. Nasturtium and mint are particularly beneficial. Read our guide to companion planting to find out more about some clever combinations of plants that can yield better crops.
How to care for calabrese broccoli
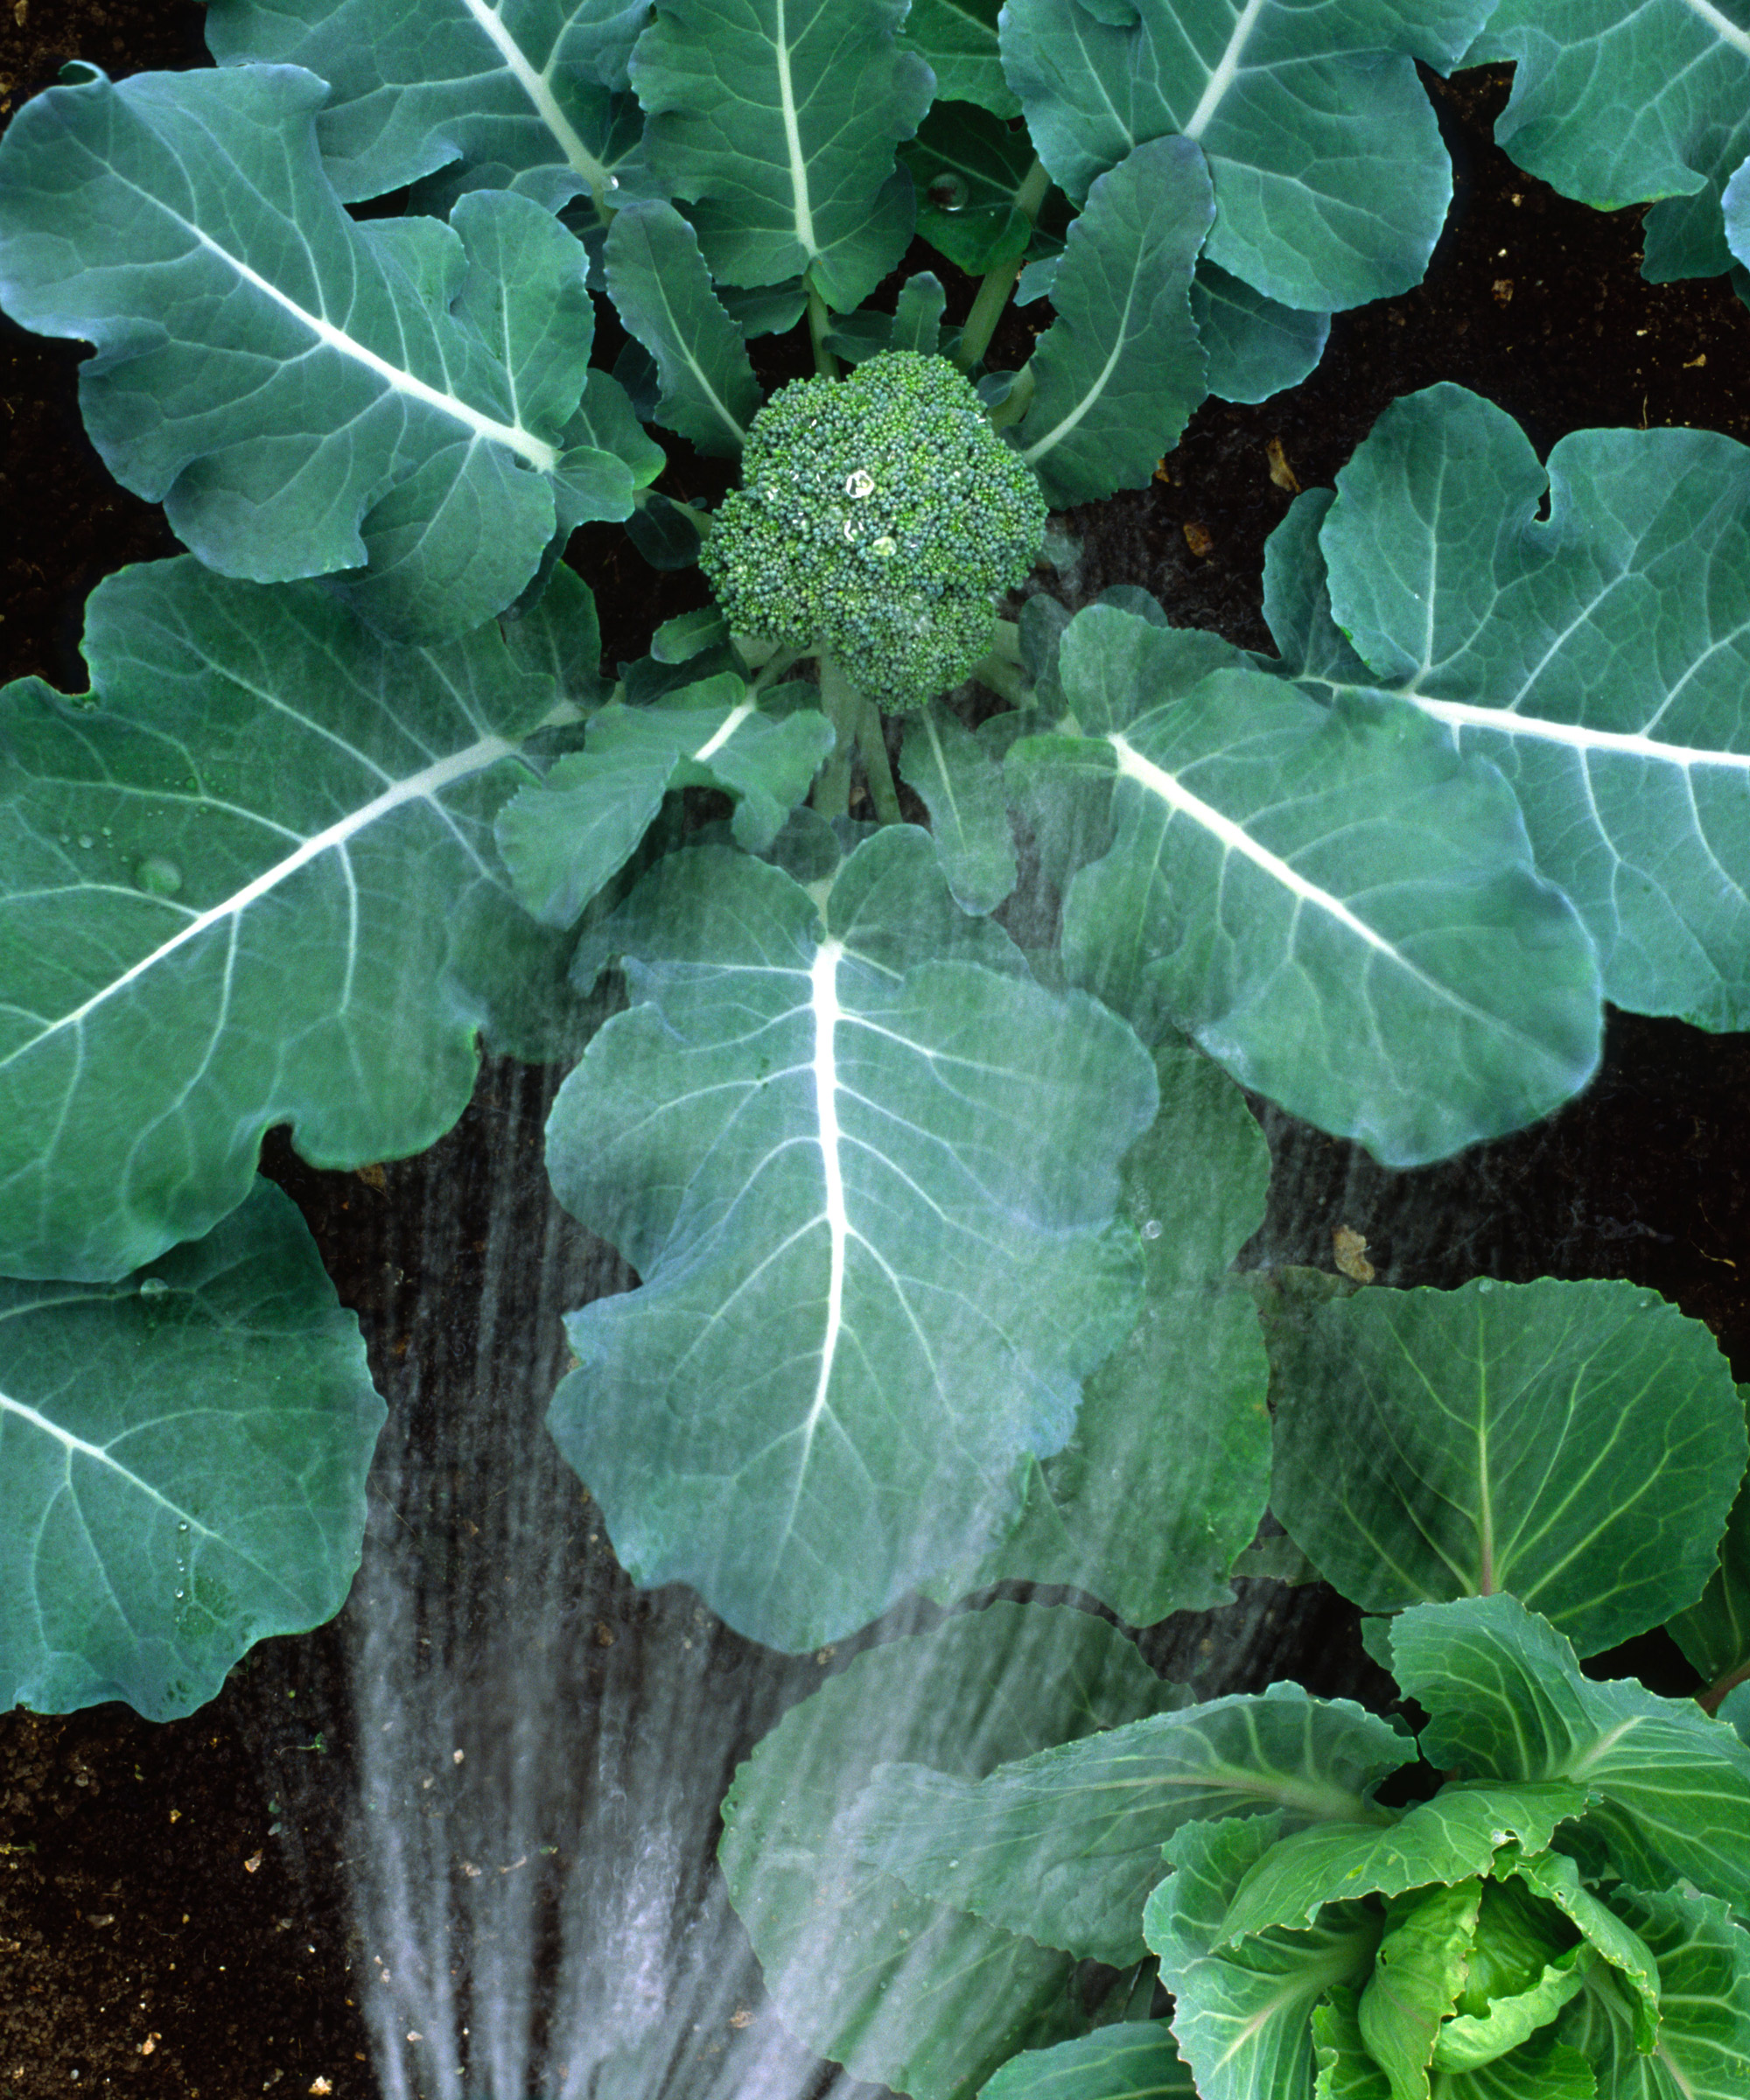
While it is pretty easy to figure out how to grow calabrese, there are a few key ways to keep these plants on the right track. In a nutshell: watering, feeding and weeding. 'The secret to high yield is to help plants develop ample leaf surface area while young, plus a strong root system,' says Lucy Chamberlain. 'So avoid root congestion, and remember to water and feed regularly.'
Quench your calabrese’s thirst on a regular basis. Keep the ground moist, particularly in dry weather. For tips on watering plants, follow our guide. It’s also a good idea to apply a layer of mulch, as this keeps the ground cool and moist as the temperature rises. Our advice on mulching will show you how. However, don’t allow things to get soggy, as this can be the death knell for these plants.
Bear in mind that nutrient-deprived soils tend to lead to smaller calabrese heads. Feed regularly with a high-nitrogen liquid fertiliser or add chicken pellets on planting. A veggie fertilizer is also a good idea as the plants mature and the heads are forming. Put this on the soil around the stems to give plants a boost and assist in keeping the ground moist.
To ensure that calabrese growth is steady and unimpeded, weed around plants as carefully as you can. Do this using a hoe, taking special care not to disturb the roots of the crops. Remove any yellowing leaves to cut down the risk of fungal diseases. It’s also helpful to loosen the soil now and again with a trowel so things don’t run the risk of becoming impacted – good air flow and drainage are vital to growth.
How to deal with calabrese problems
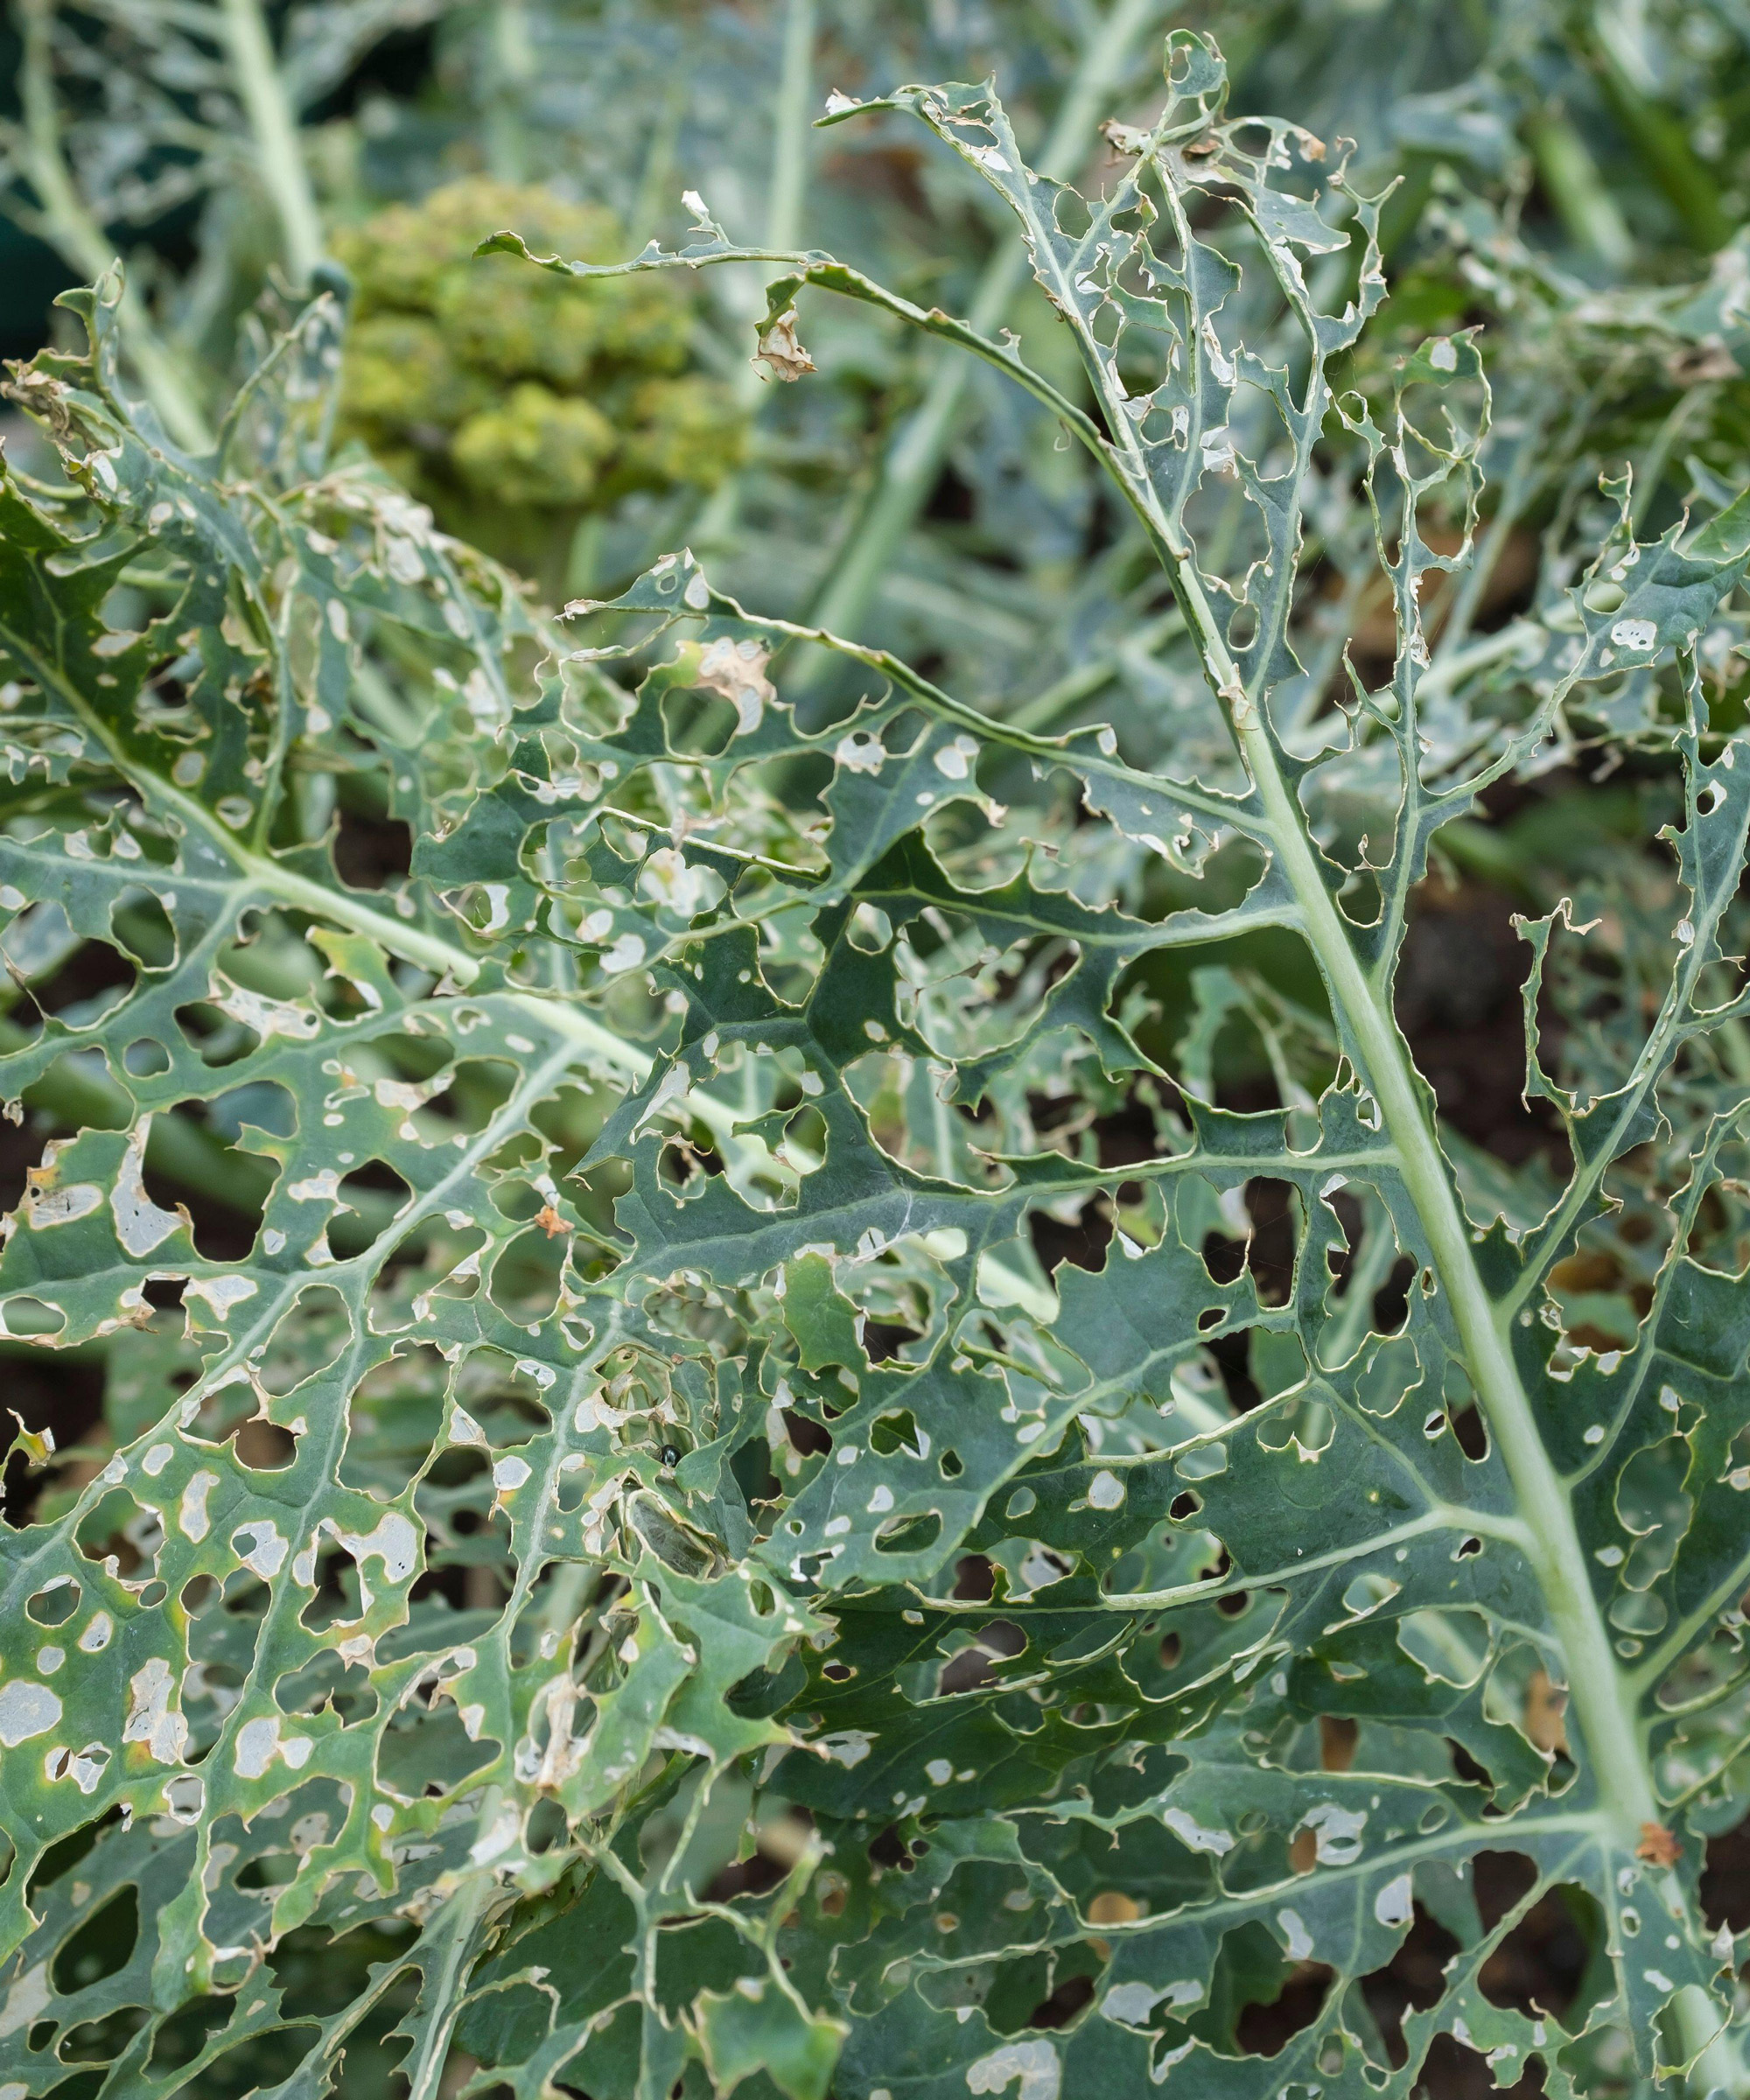
When you learn how to grow calabrese broccoli, you might find your young calabrese plants are like catnip to pests. But worry not! Calabrese is still an easy crop to grow and protect. Here are the most likely issues you are likely to encounter, and how to tackle or prevent them:
- Pigeons are big lovers of brassicas, and calabrese is no exception. They are especially drawn to emerging heads, but can also demolish leaves, leaving a trail of destruction in their wake. Protect young calabrese plants with a fine mesh netting or fleece.
- Flea beetles may be an issue in April-May. These pests tend to make small holes in the leaves. You can salvage your plants with a nitrogen-rich fertiliser. To prevent attacks from taking hold, place grease-covered cardboard around plants to capture beetles.
- Cabbage root fly is a common pest. Look out for wilting, blue-tinged leaves. Newly planted-out calabrese is most vulnerable. Lift out a plant to inspect it, and if you see small maggots on the roots, it’s too late. To prevent this pest, use cabbage collars around stems. If you covered the crops with protective mesh too, you should be ok.
- Cabbage whites are big fans of calabrese and like to lay eggs under the leaves. Once eggs hatch, the caterpillars go wild. You’ll see holes in the leaves – and probably the caterpillars! In mild attacks, you can pick off eggs or caterpillars, but the best plan is to cover plants with a fine mesh netting or fleece so butterflies can’t cause problems.
- Clubroot is a common problem with brassicas. In affected plants, roots become swollen and leaves yellow and wilt. To combat this complaint, improve drainage and add lime: we recommend liming acid soils to pH7-7.5. If clubroot is a known local problem, Lucy also recommends varieties that have known resistance, such as ‘Komodo’ and ‘Monclano’.
- You may see silvery trails on the leaves of young plants that have been planted out: the evidence of slugs and snails. To combat this, try ‘slug pubs’ (cups or dishes of beer) placed nearby. Alternatively, place a ring of crushed sea or oyster shell (or similar) around the base of the plant. For more on how to get rid of slugs, read our guide.
When to harvest calabrese broccoli
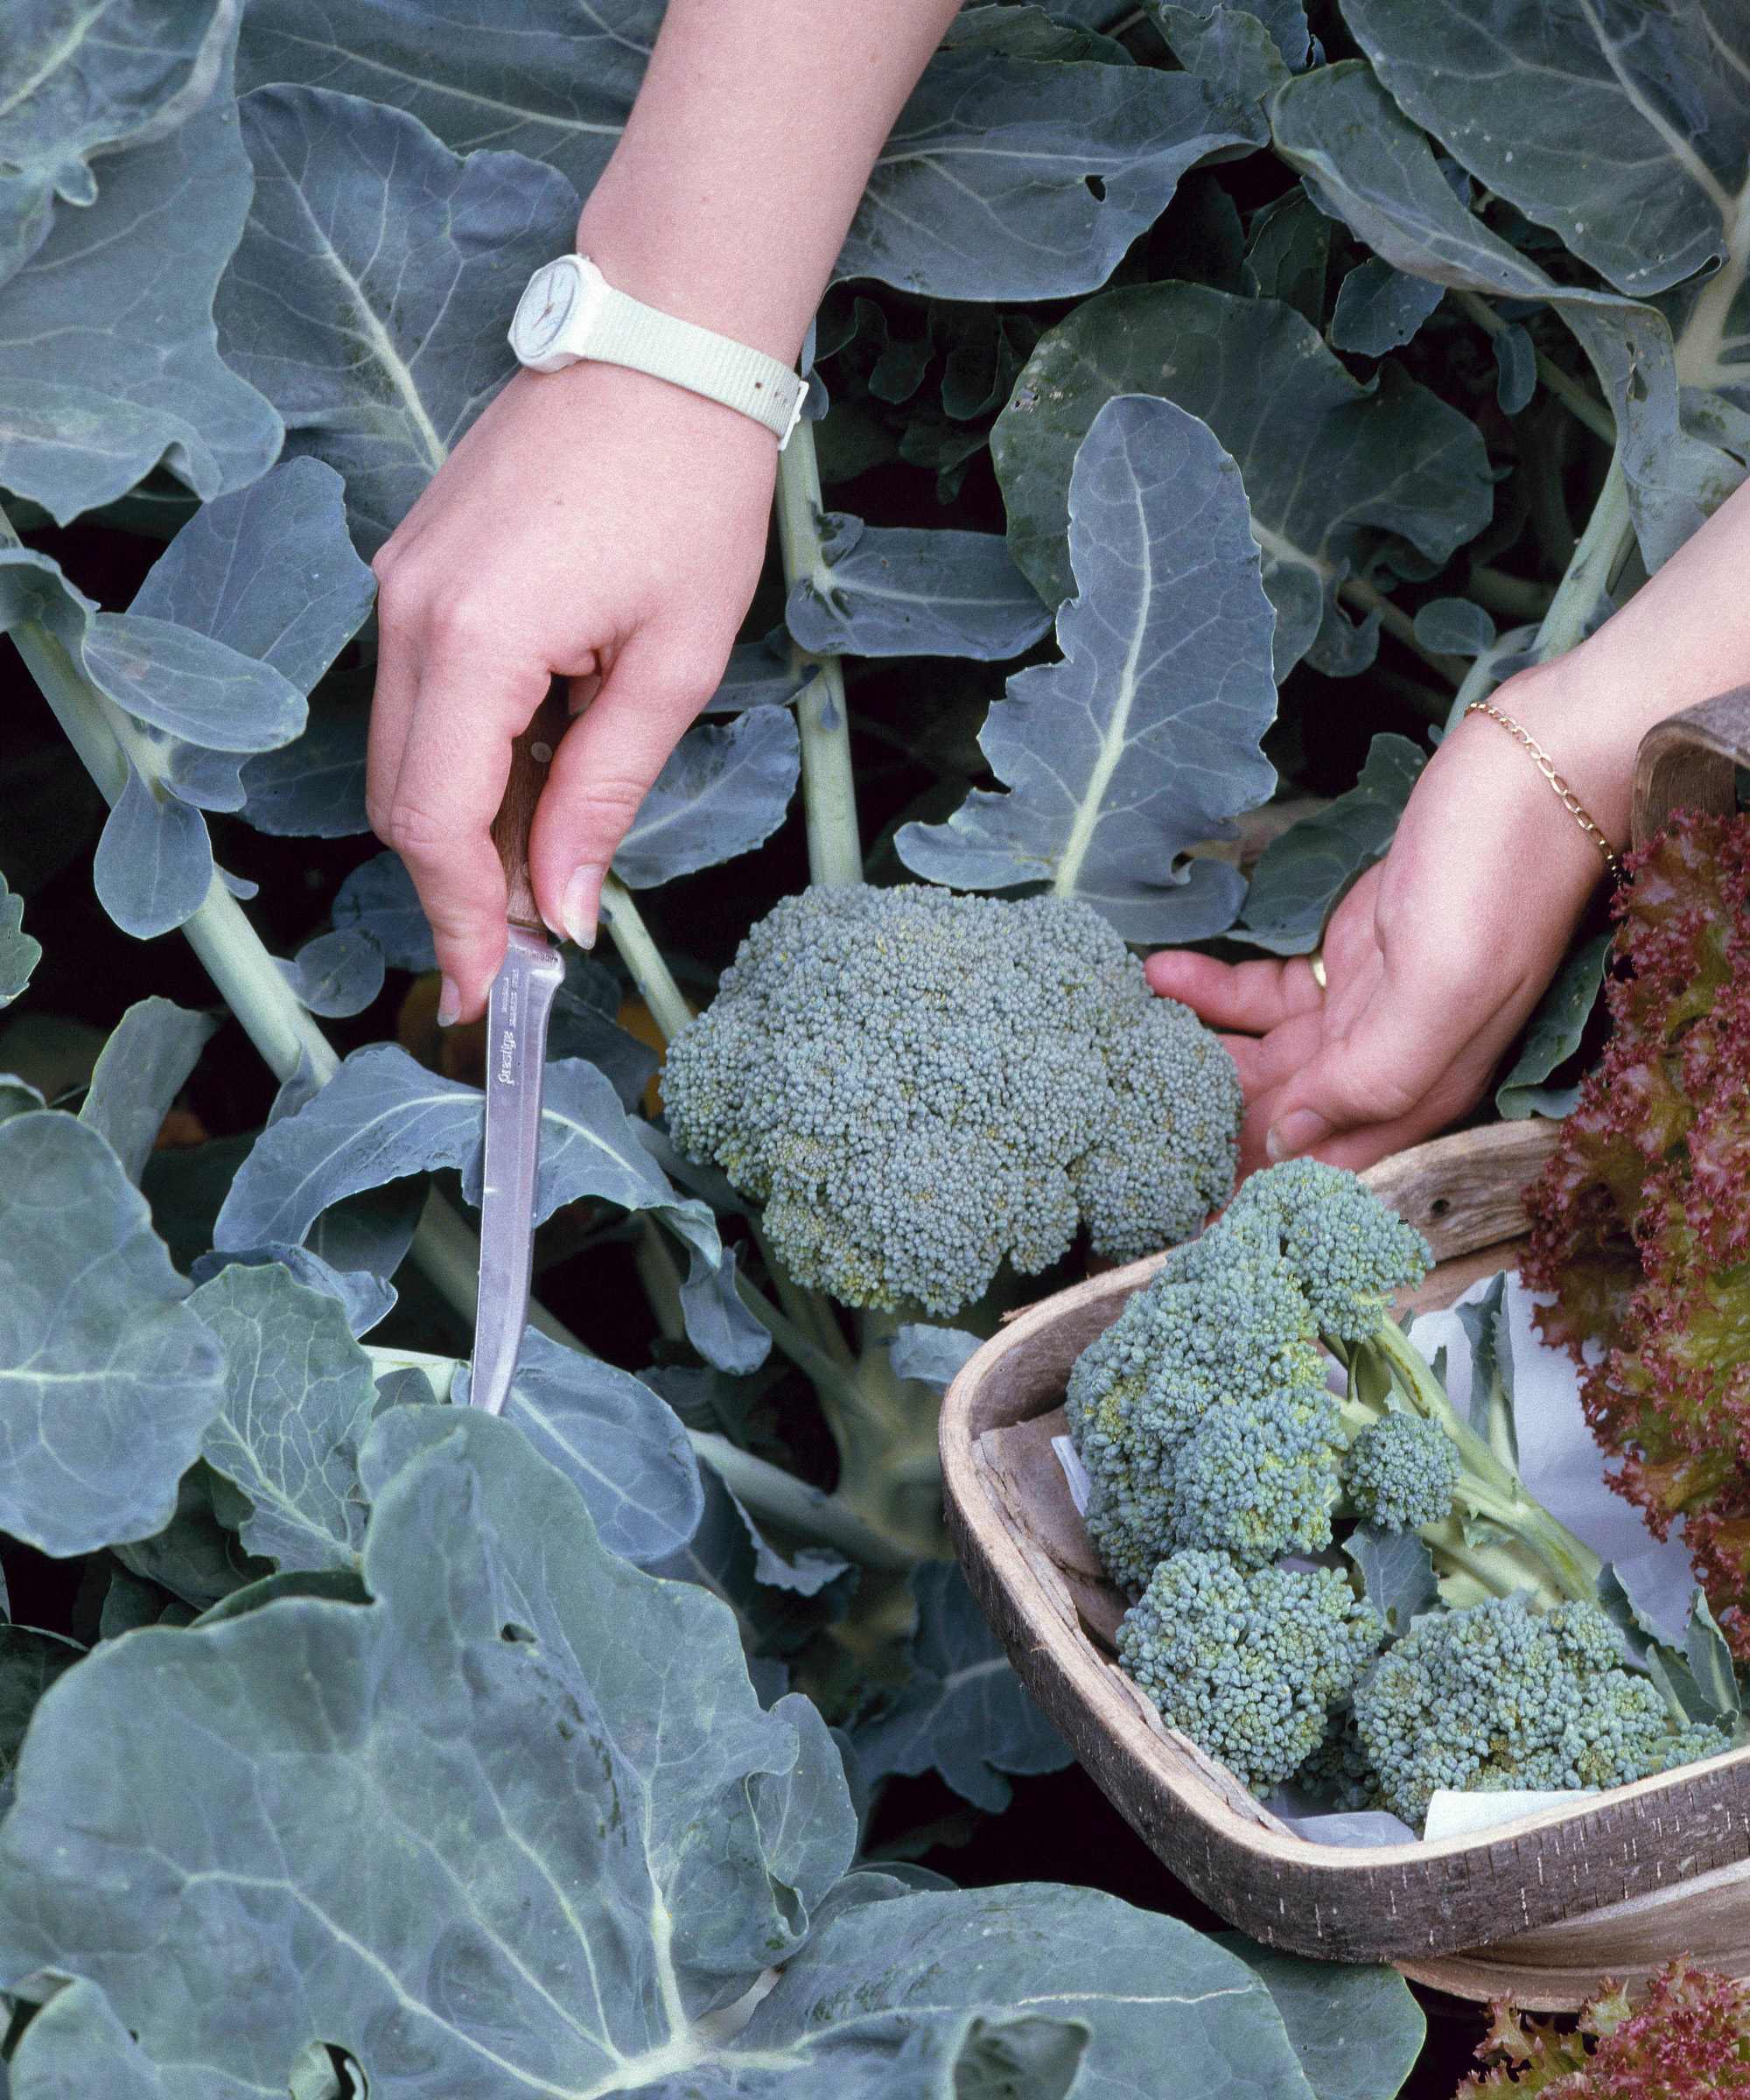
Part of the skill of knowing how to grow calabrese broccoli is choosing the right to time to harvest it. This is acknowledged to be about 80 days, or sooner, depending on the variety. The best time depends not only on the size of the main head or crown, but also on the clusters (beads).
These clusters are young flowers (florets). The trick is to harvest when these flower shoots (spears) are well developed, but still in bud – before they open. Here are some guidelines to help you harvest yours:
- Calabrese can be harvested late summer to autumn, depending on the variety and when it is sown. Harvest the central head when it is 6-7 in (15-18cm) in diameter, before the beads start to loosen. Cut about 5-6in (13-15cm) below the mature head, taking care not to upset the roots.
- Using a sharp knife, cut off the head while the head is still firm. Don’t touch the rest of the plant at this point. The plant will then produce secondary, smaller side-shoots that can also be harvested.
- Pick these side-shoots at regular intervals when they are 4in (10cm) long. This will encourage regrowth. Regular picking can extend the cropping season of your calabrese broccoli for up to eight weeks.
- Just keep an eye out for ‘bolting’, where the calabrese essentially ‘flowers’ – in other words, the buds open and start to turn yellow, At this point, it soon becomes inedible. Check the plants at least twice a week.
- Those tasty side-shoots will keep coming for as long as you keep cutting, so make the most of them. Do this right, and you’ll have harvests for three months or more. Once you stop cutting for more than a few days, the plant will bolt, go to seed and die.
- Enjoy your calabrese harvests fresh, or store the fresh florets in the refrigerator for a week. Don’t wash the spears until just before you are ready to eat them. Several calabrese broccoli varieties are also great frozen.
- Steam rather than boil to better retain flavor and vitamins. Small spears are great thrown into a stir-fry, while the thick stalks work well in soups. Want to grow other plants to liven up stir-fries? Find out how to grow courgettes with our expert tips.
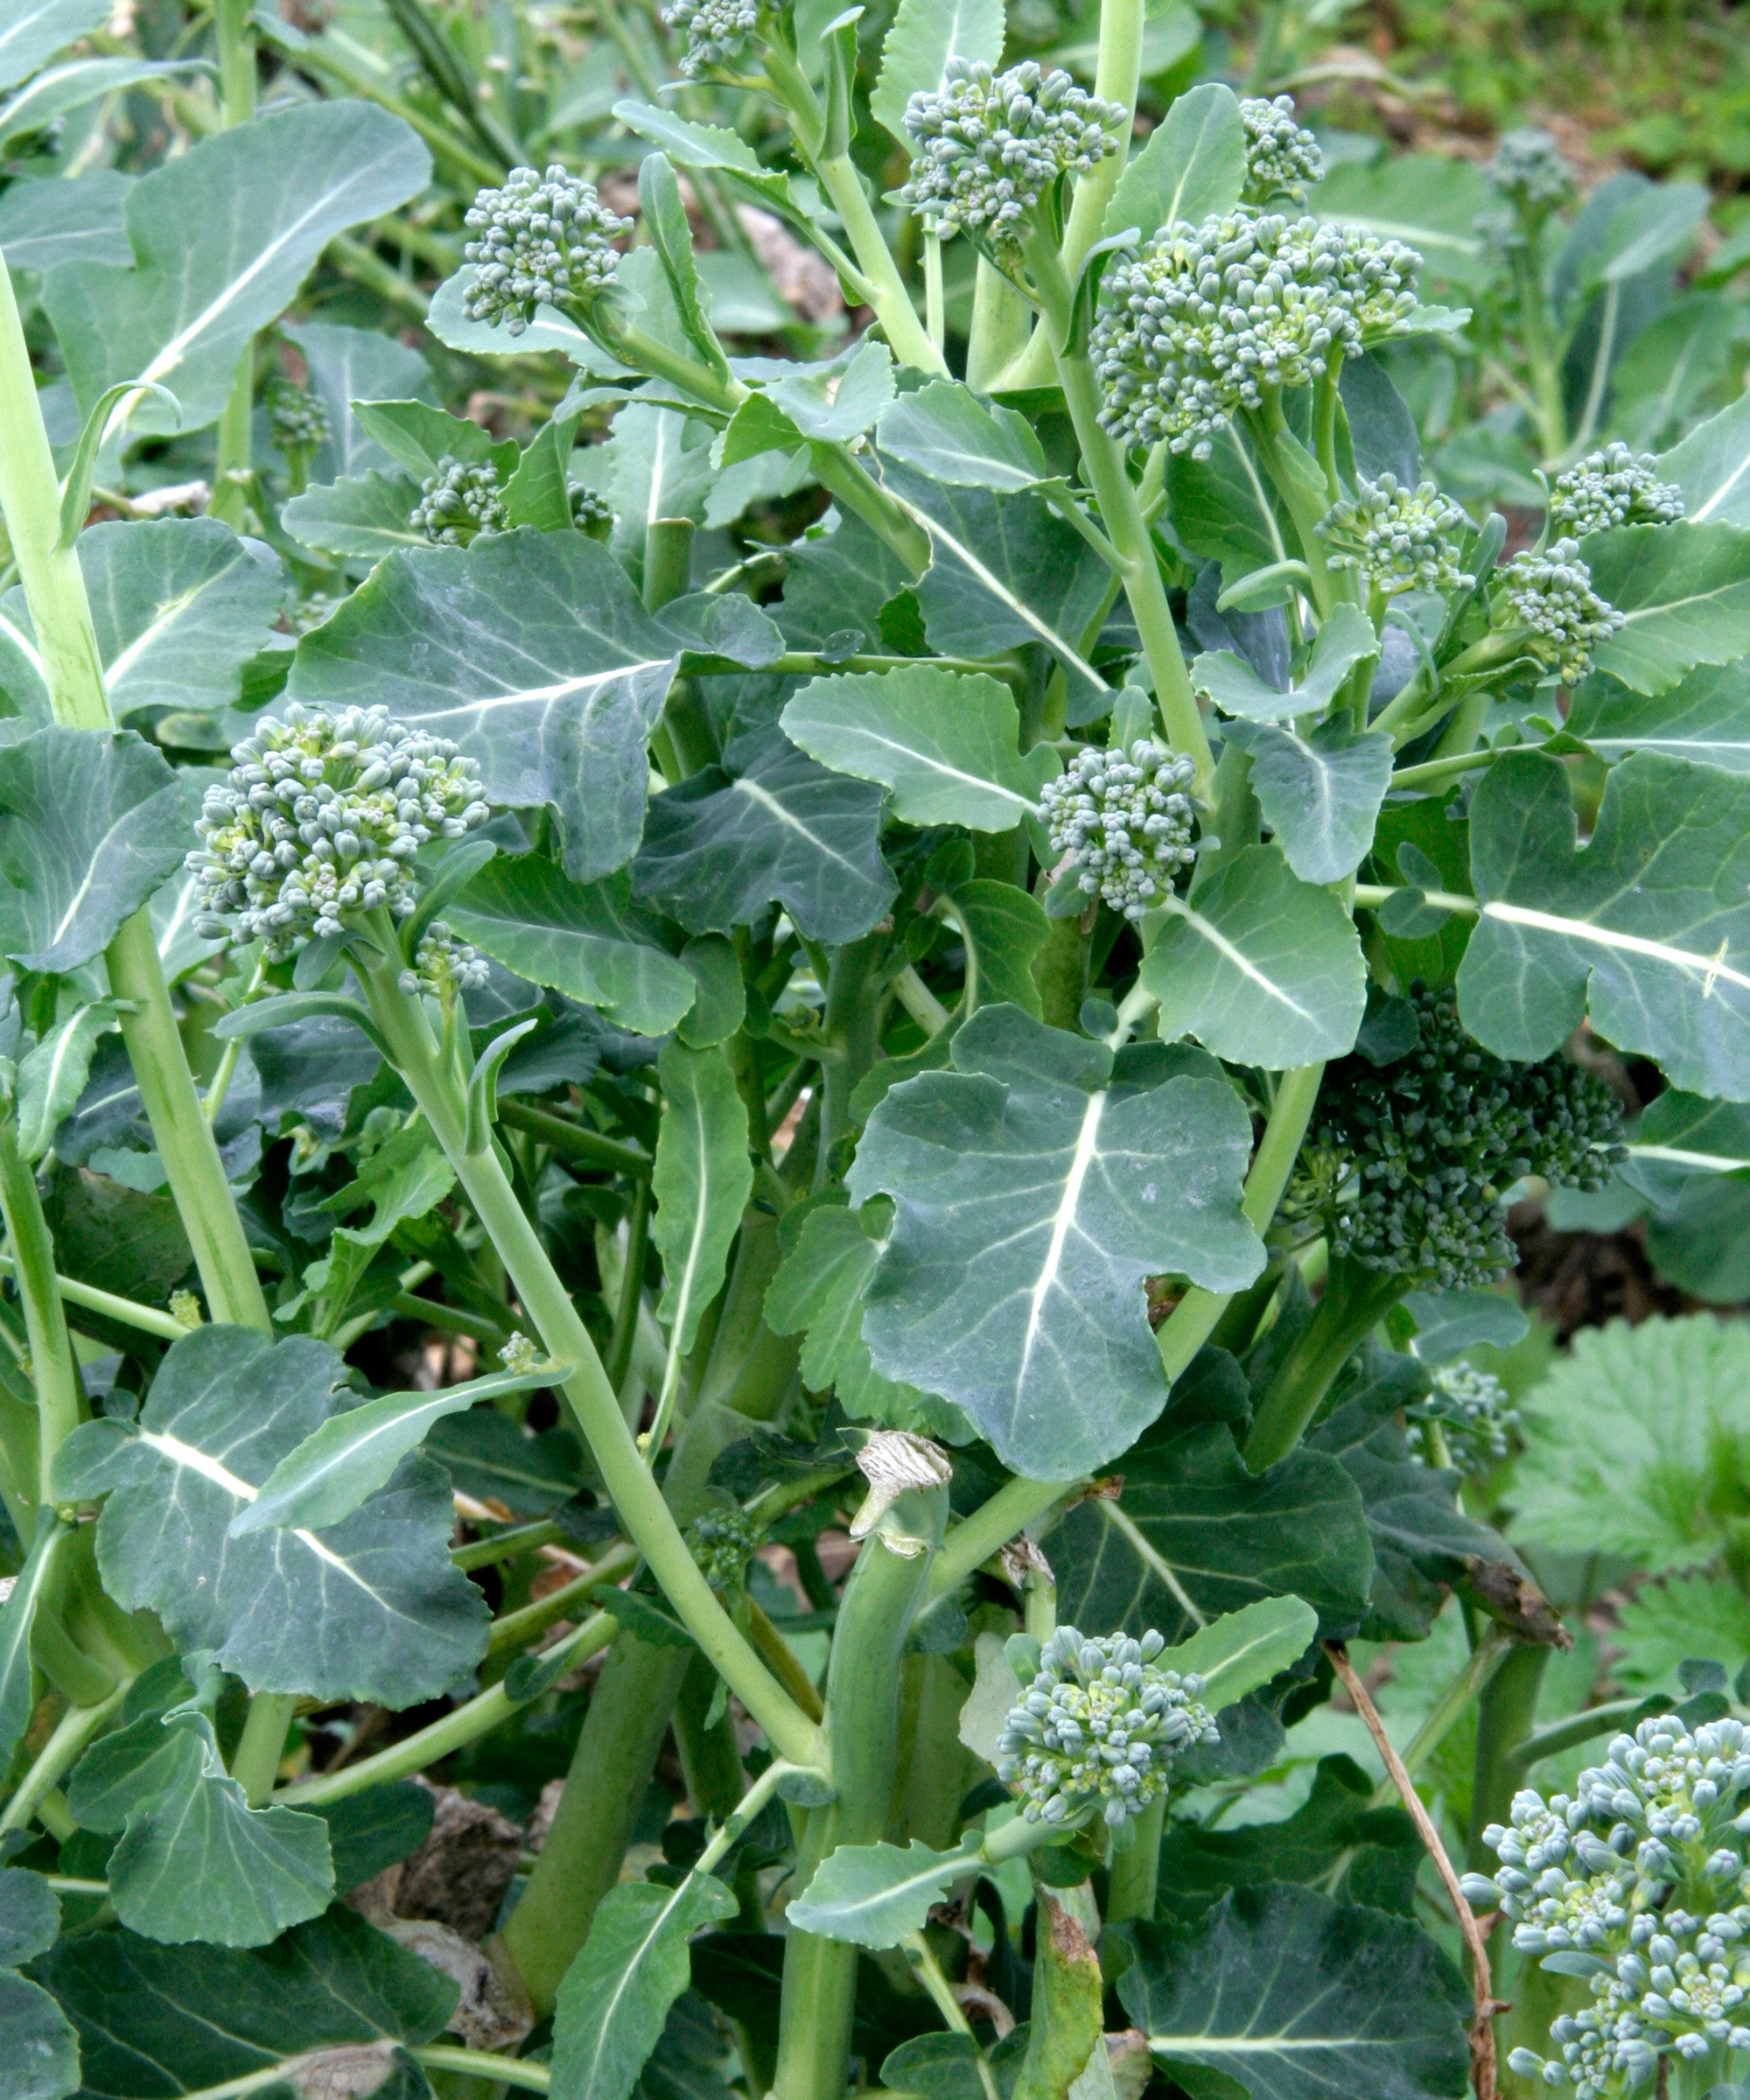
Where to buy calabrese broccoli seeds
You can buy calabrese seeds from a wide range of suppliers. Use our quicklinks below to head straight to leading suppliers, and try some of our recommendations on how to grow calabrese for yourself.
Where to buy calabrese seeds in the UK:
- Shop calabrese seeds at Amazon
- Shop calabrese seeds at Crocus
- Shop calabrese seeds at Dobies
- Shop calabrese seeds at Kings Seeds
- Shop calabrese seeds at Mr Fothergill’s
- Shop calabrese seeds at Suttons
- Shop calabrese seeds at Thompson & Morgan
- Shop calabrese seeds at Waitrose Garden
- Shop calabrese seeds at You Garden
Where to buy calabrese seeds in the US:
- Shop calabrese seeds at Amazon
- Shop calabrese seeds at Burpee
- Shop calabrese seeds at Home Depot
- Shop calabrese seeds at Walmart
Best calabrese broccoli varieties to try
Now you know how to grow calabrese broccoli, here are some of the tastiest and most reliable varieties for you to try:
1. ‘Belstar’
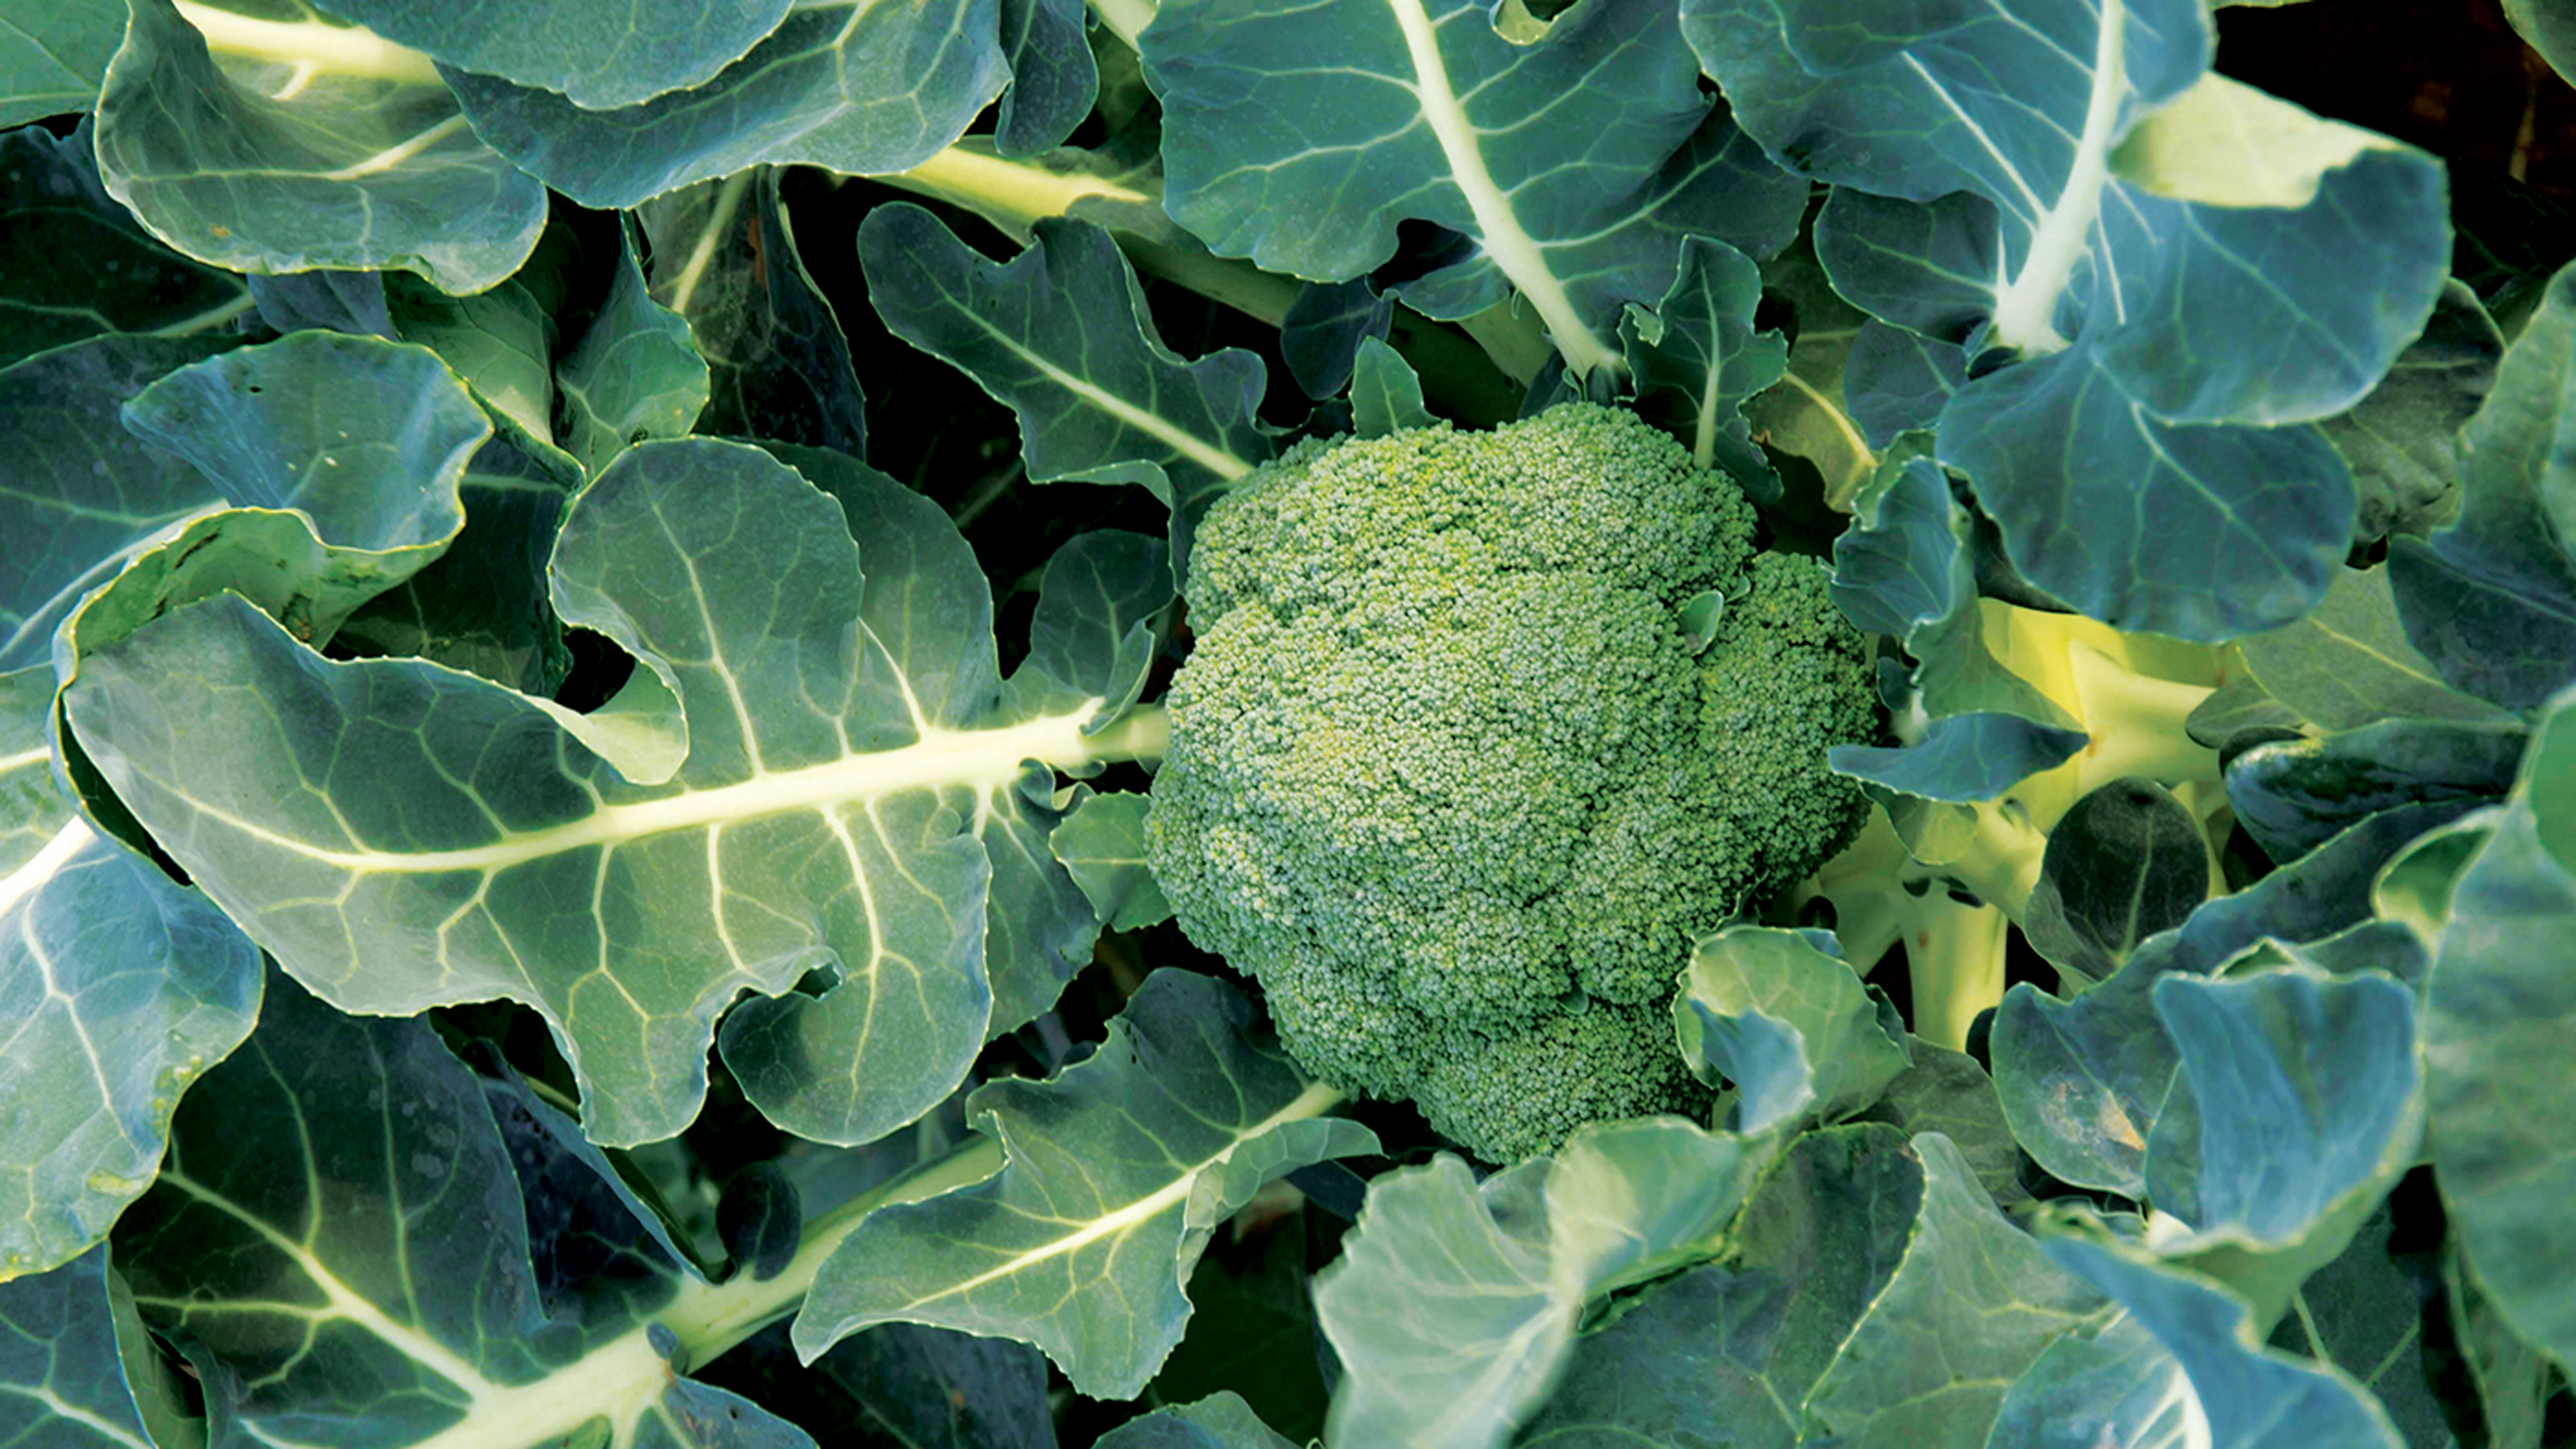
Compact, long lasting and heat tolerant with blueish heads, six inches across. This variety earned an RHS Award of Garden Merit (AGM) for its excellence. Capable of successional sowing from April to June, maturing within 65 days. Produces plenty of side-shoots once the main head is removed. Sow from April, harvest until September.
2. ‘Fiesta’
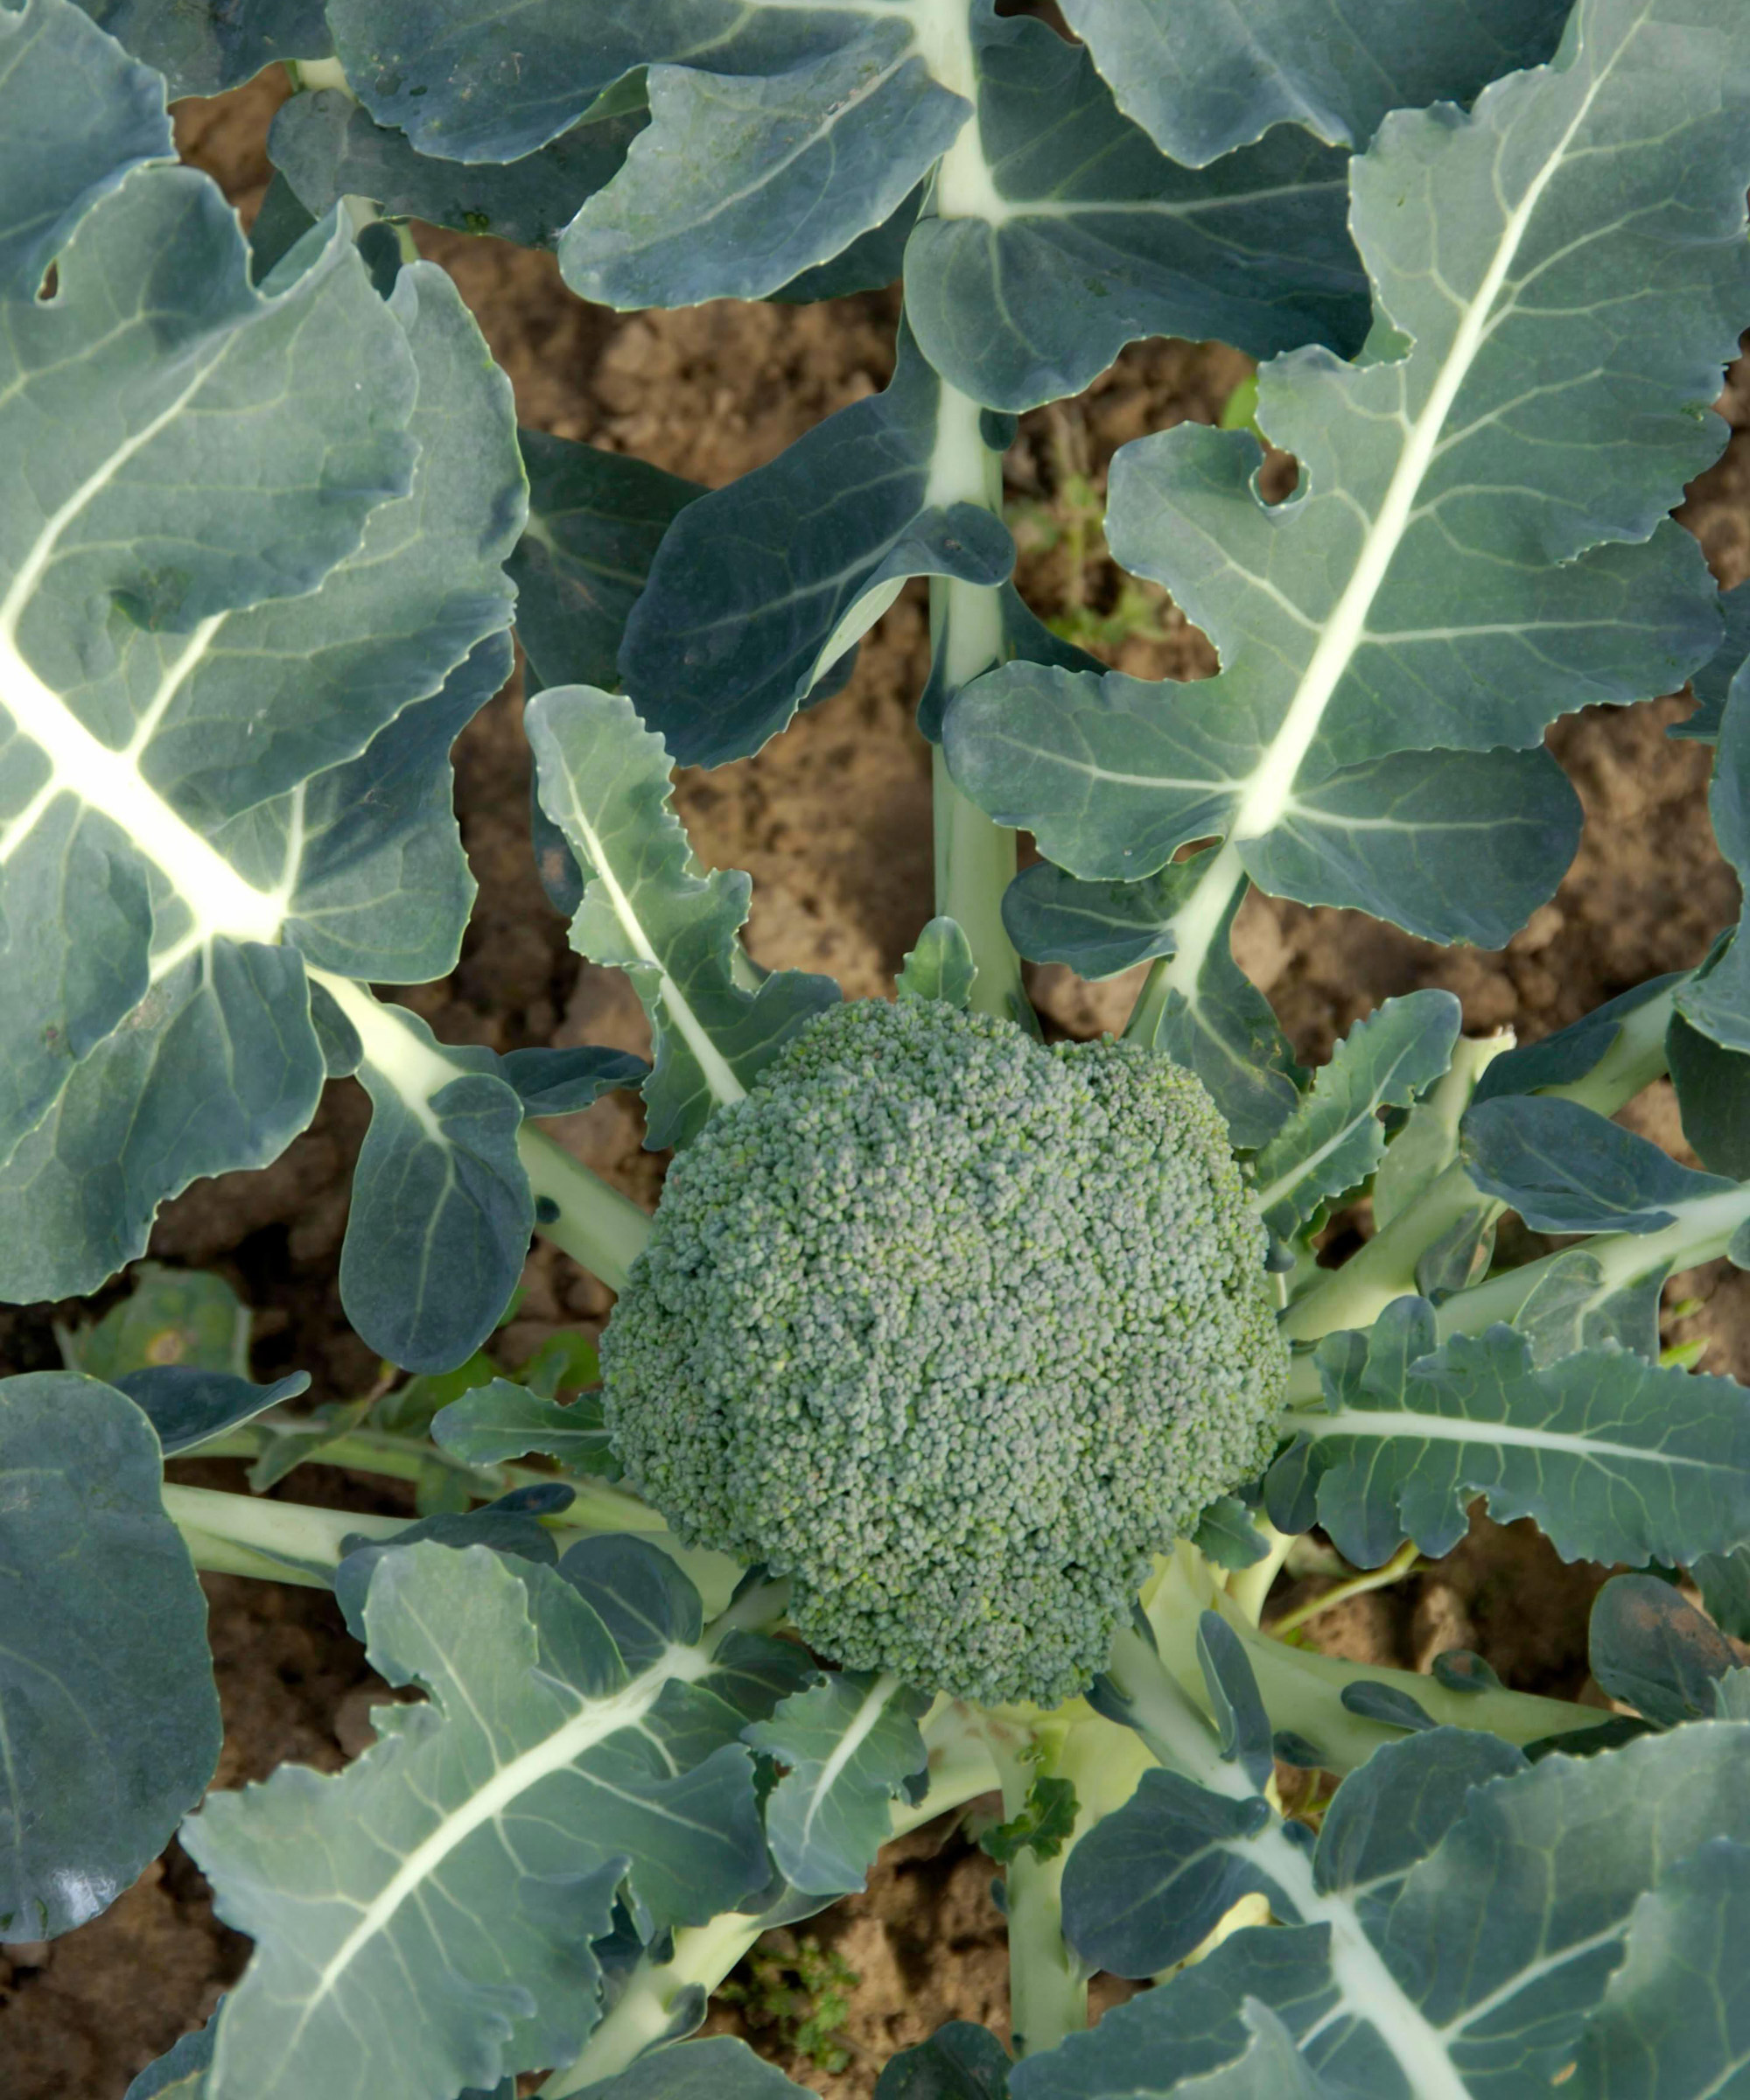
Stretch out your summers with this large-domed AGM winner. Heat tolerant, large tight heads and strong stems. Prolific cropping calabrese with plenty of side-shoots in late summer and autumn. This variety is also a good bet for freezing if you wind up with a glut. Sow from February to August, harvest May until November.
3. ‘Green Magic’
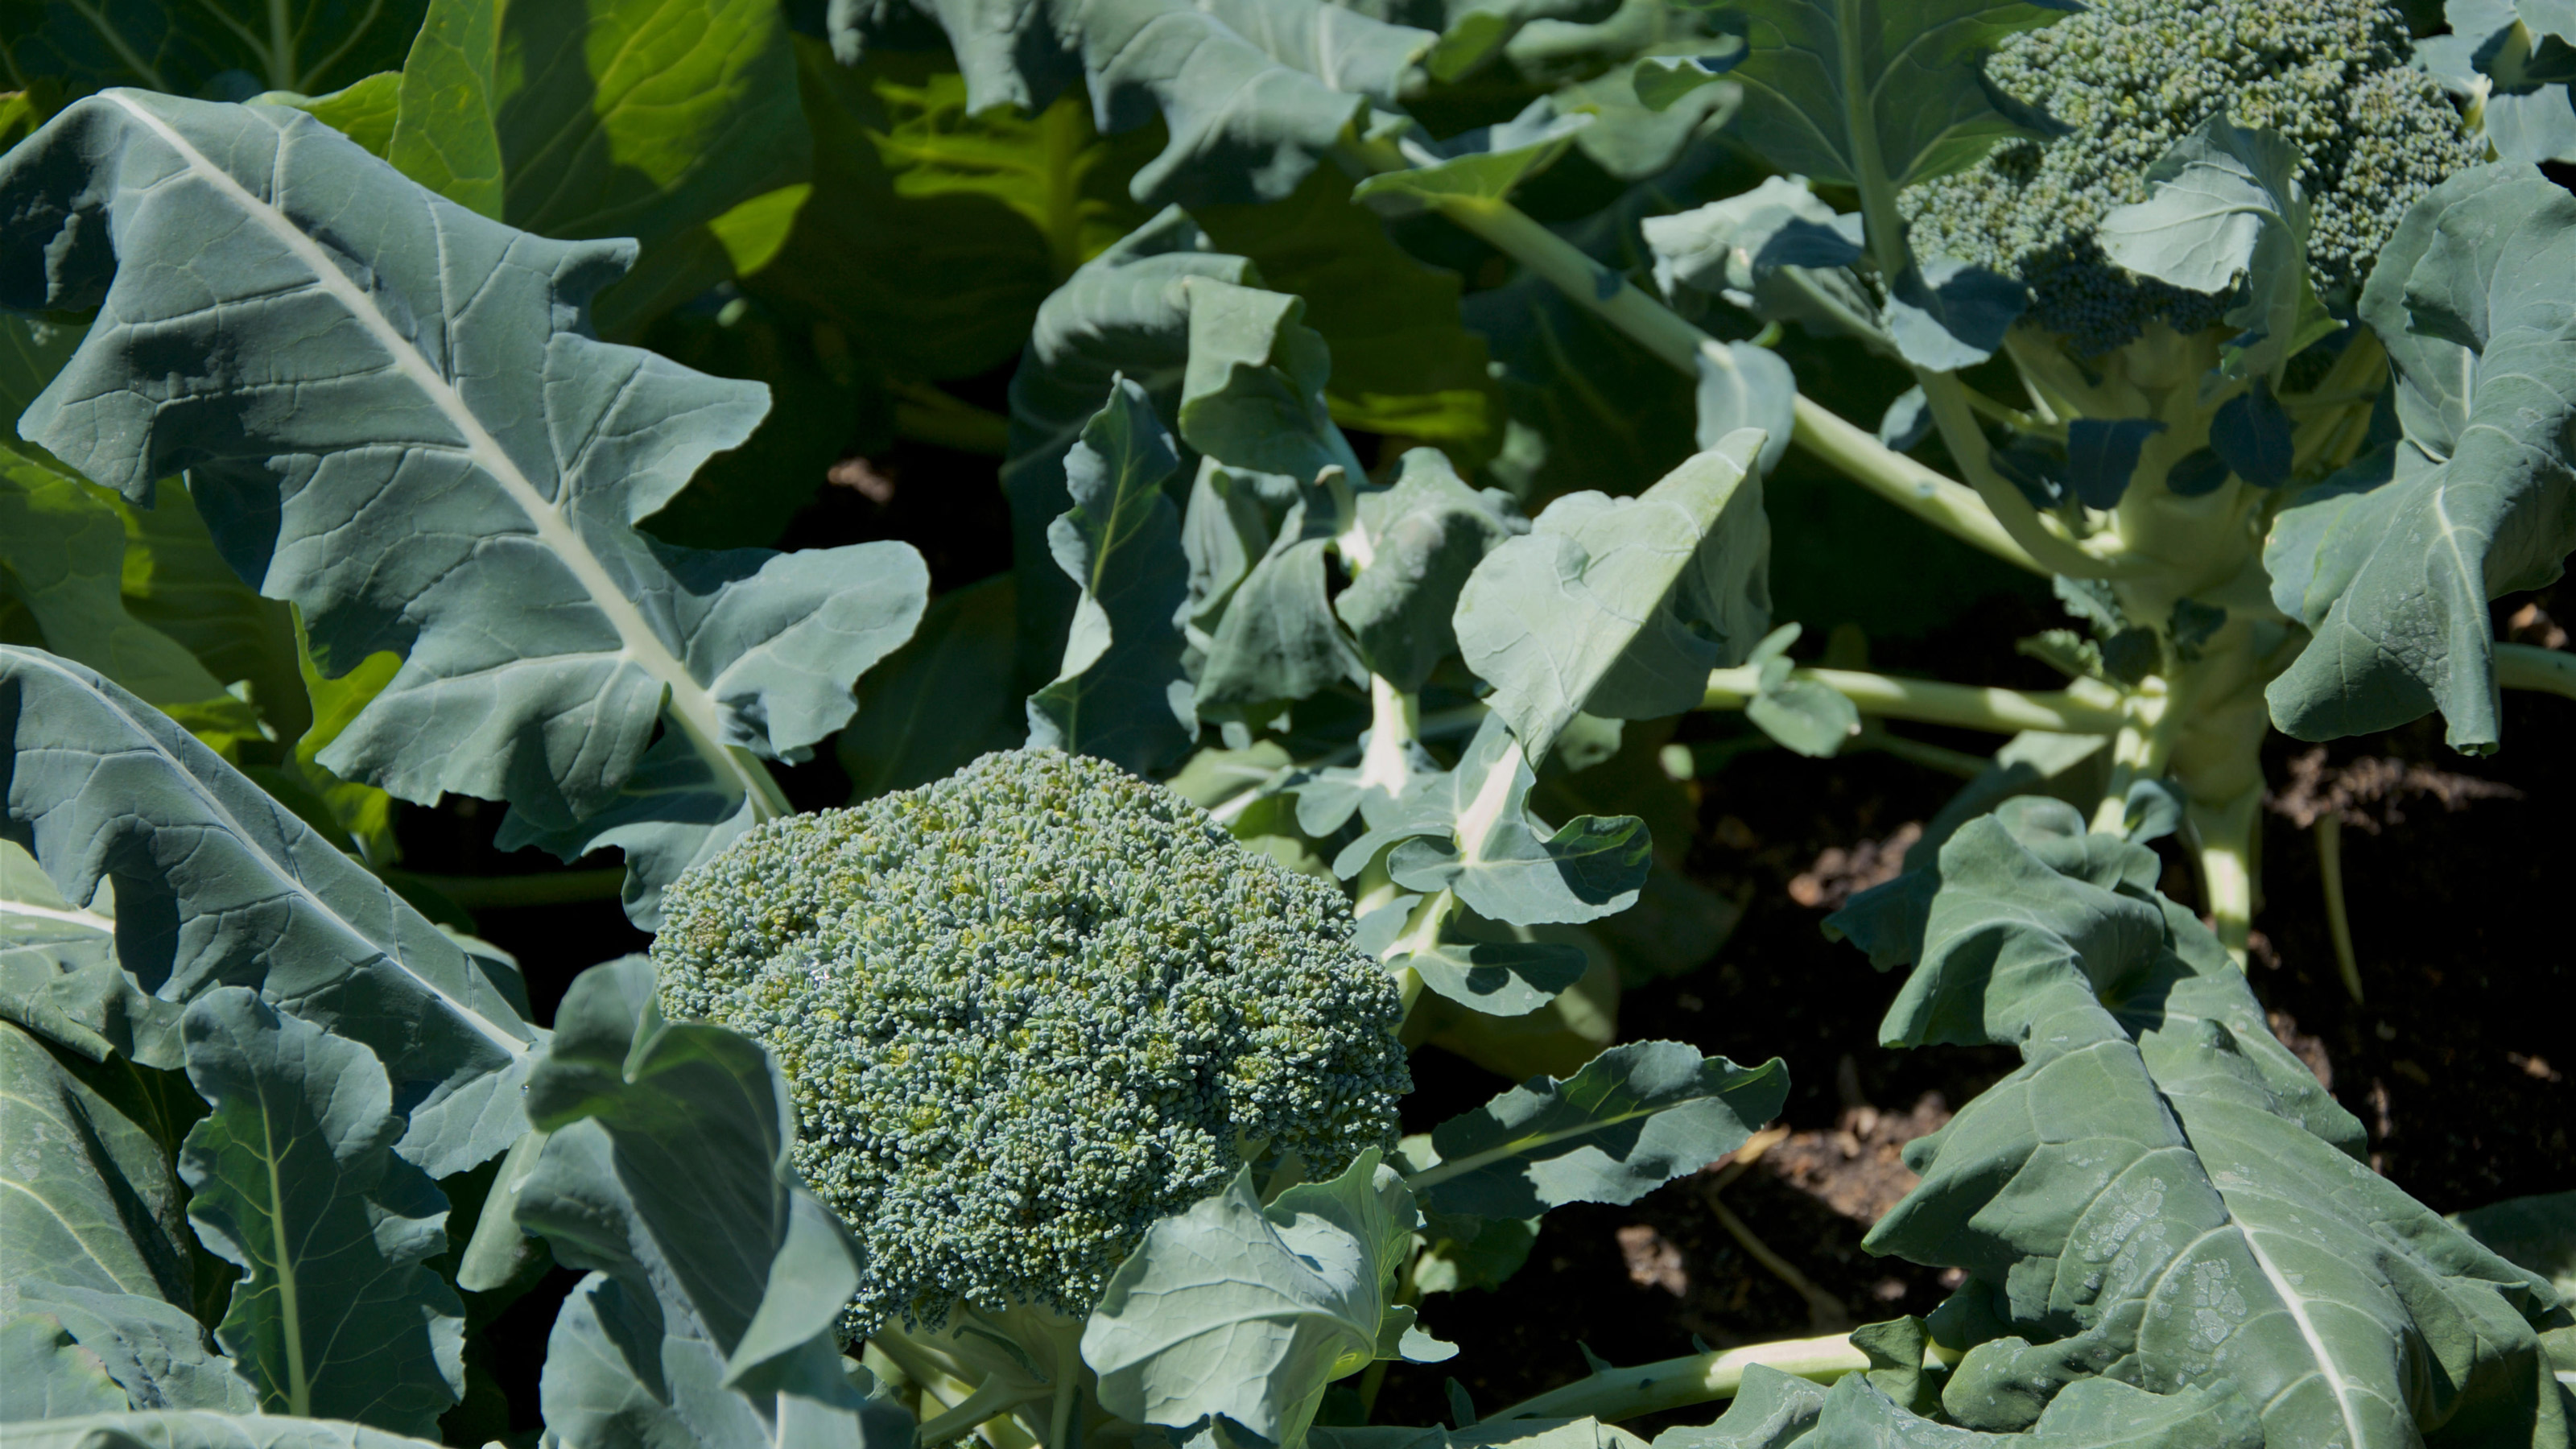
This deep green hybrid variety is specially bred for its heat tolerance and works well in closer spacings. It’s an early maturing calabrese, and mature heads appear as soon as 60-70 days after sowing. Also has excellent disease-resistance, particularly against white rust. Known to have a lovely buttery taste. Sow from March, harvest until September.
4. ‘Kabuki’
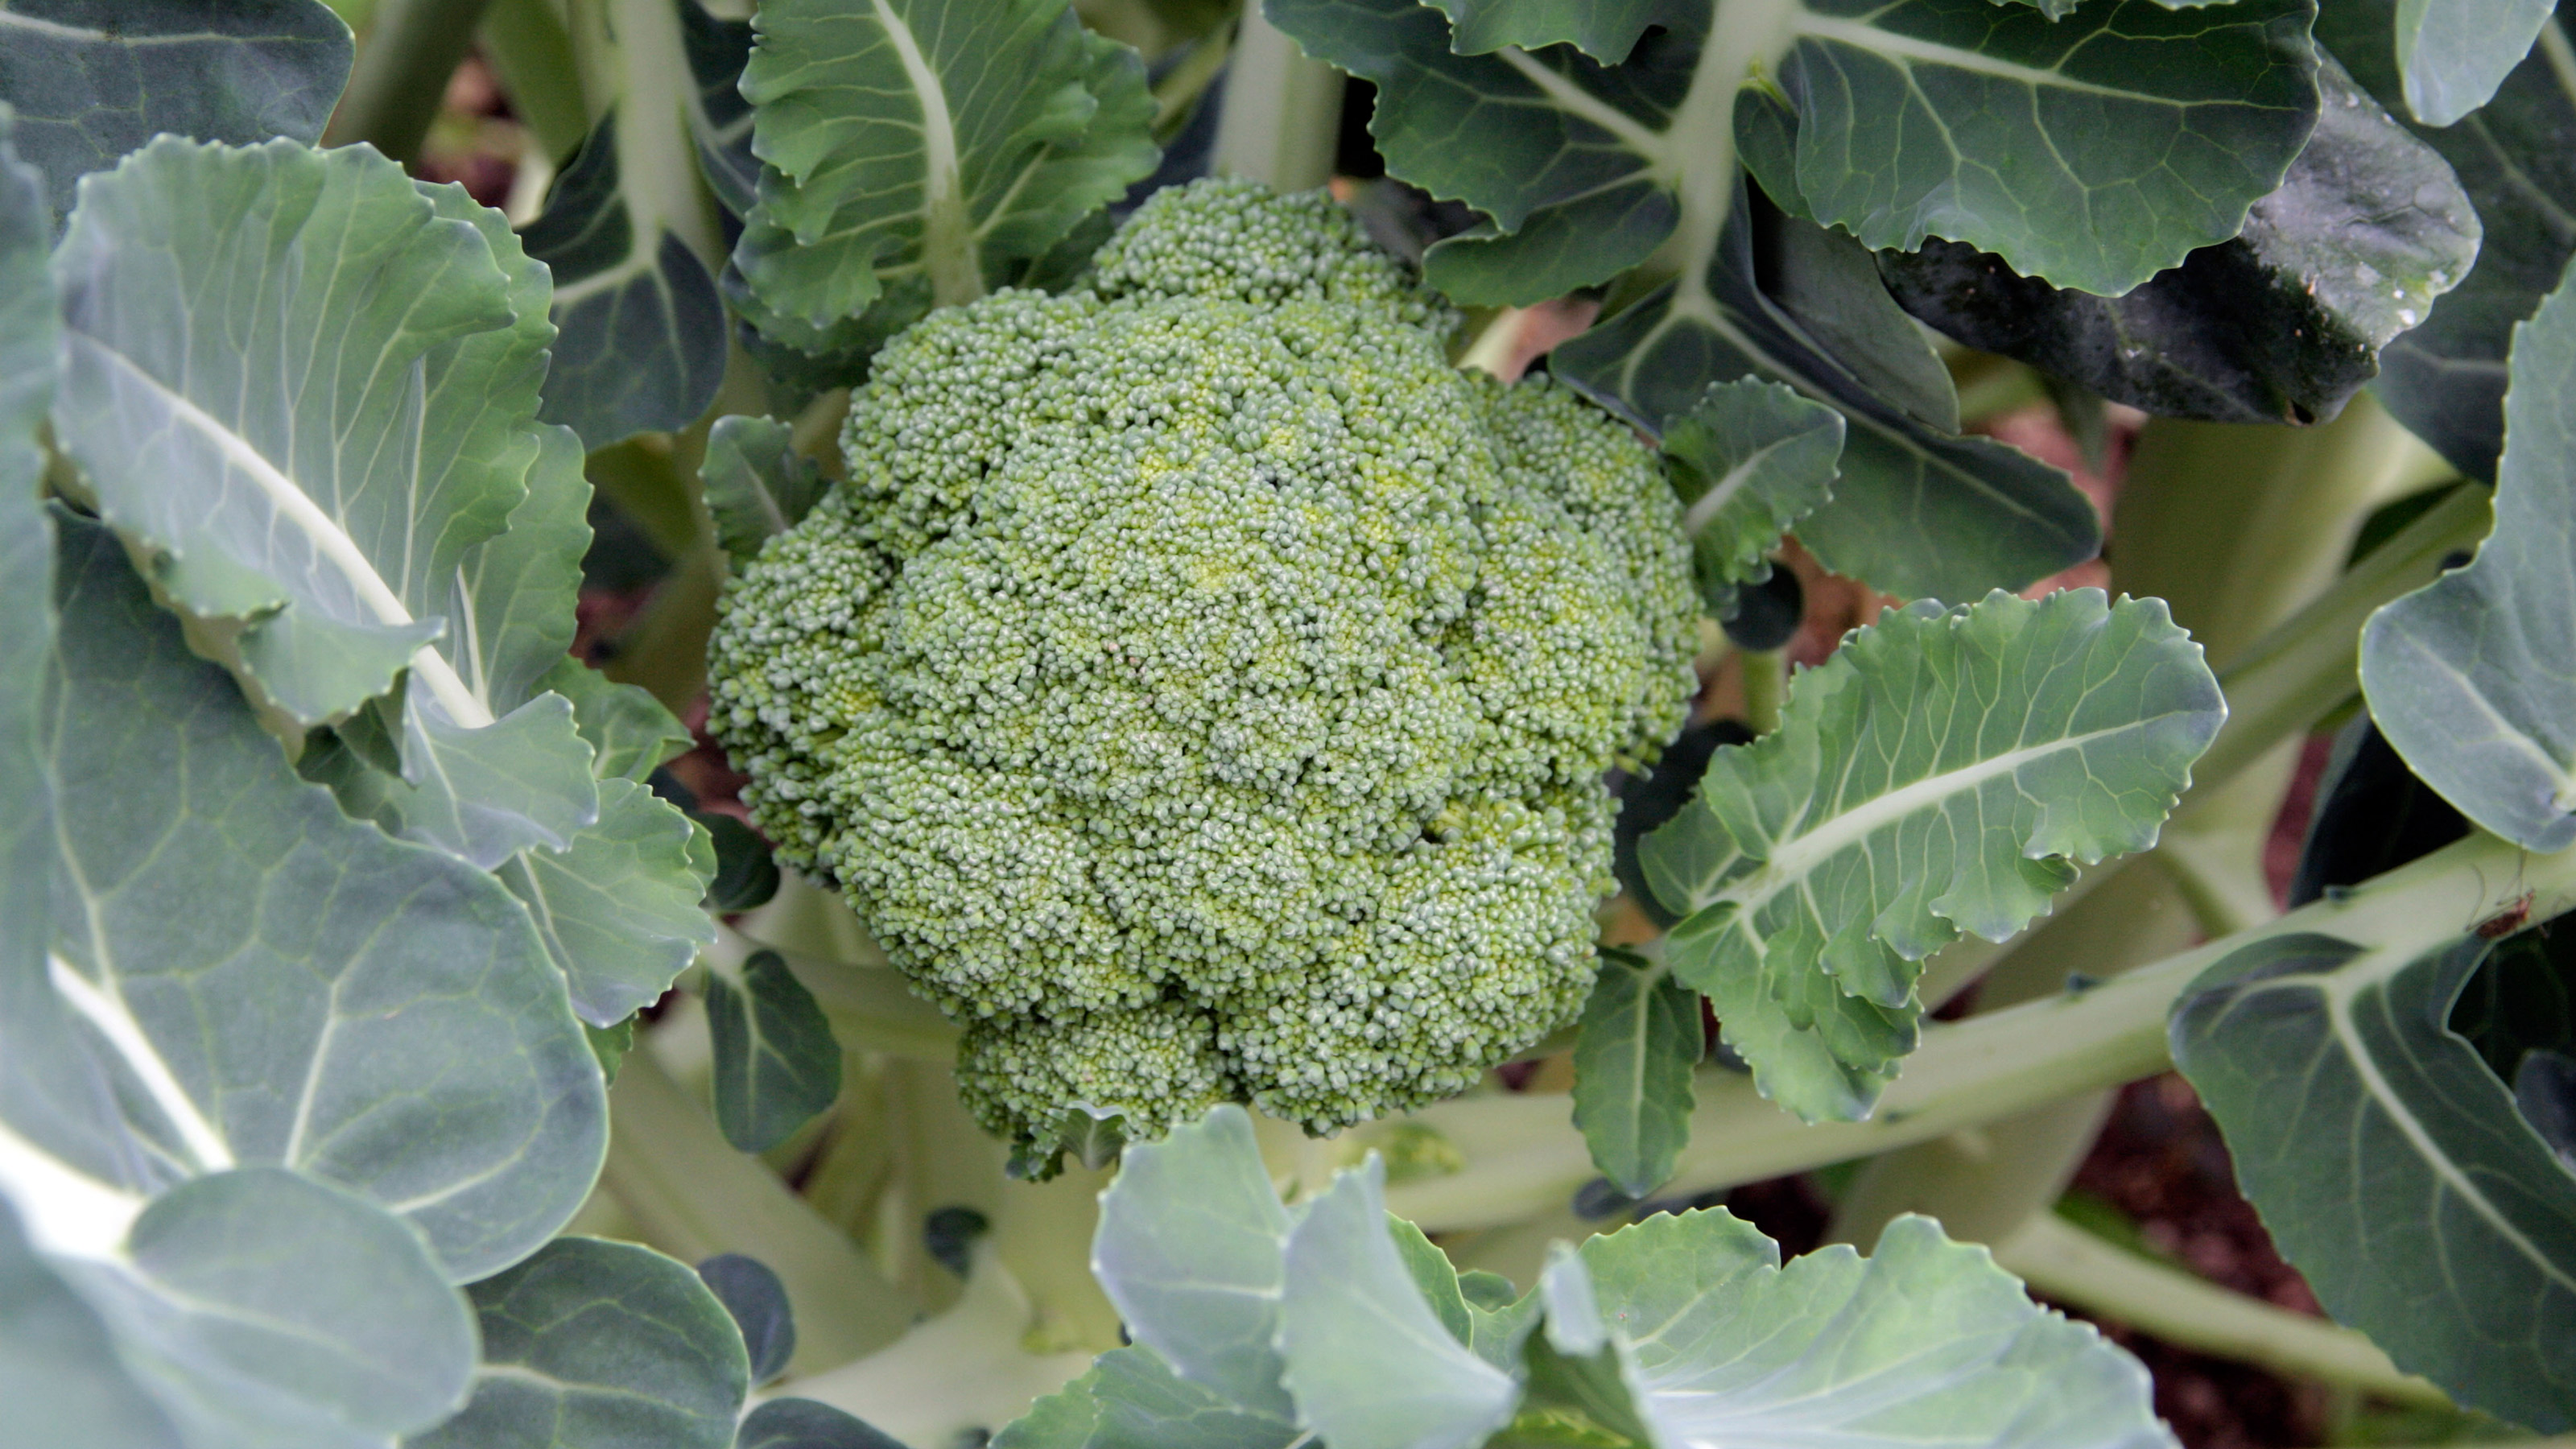
This fast-maturing calabrese can be sown as late as the third week in July. Grows to half the height of other varieties and very compact, so ideal for smaller gardens and increased yields. Strong disease resistance and especially good for avoiding botrytis and mildew. Another good calabrese for freezing. Sow from March to July, harvest until November.
5. ‘Marathon’
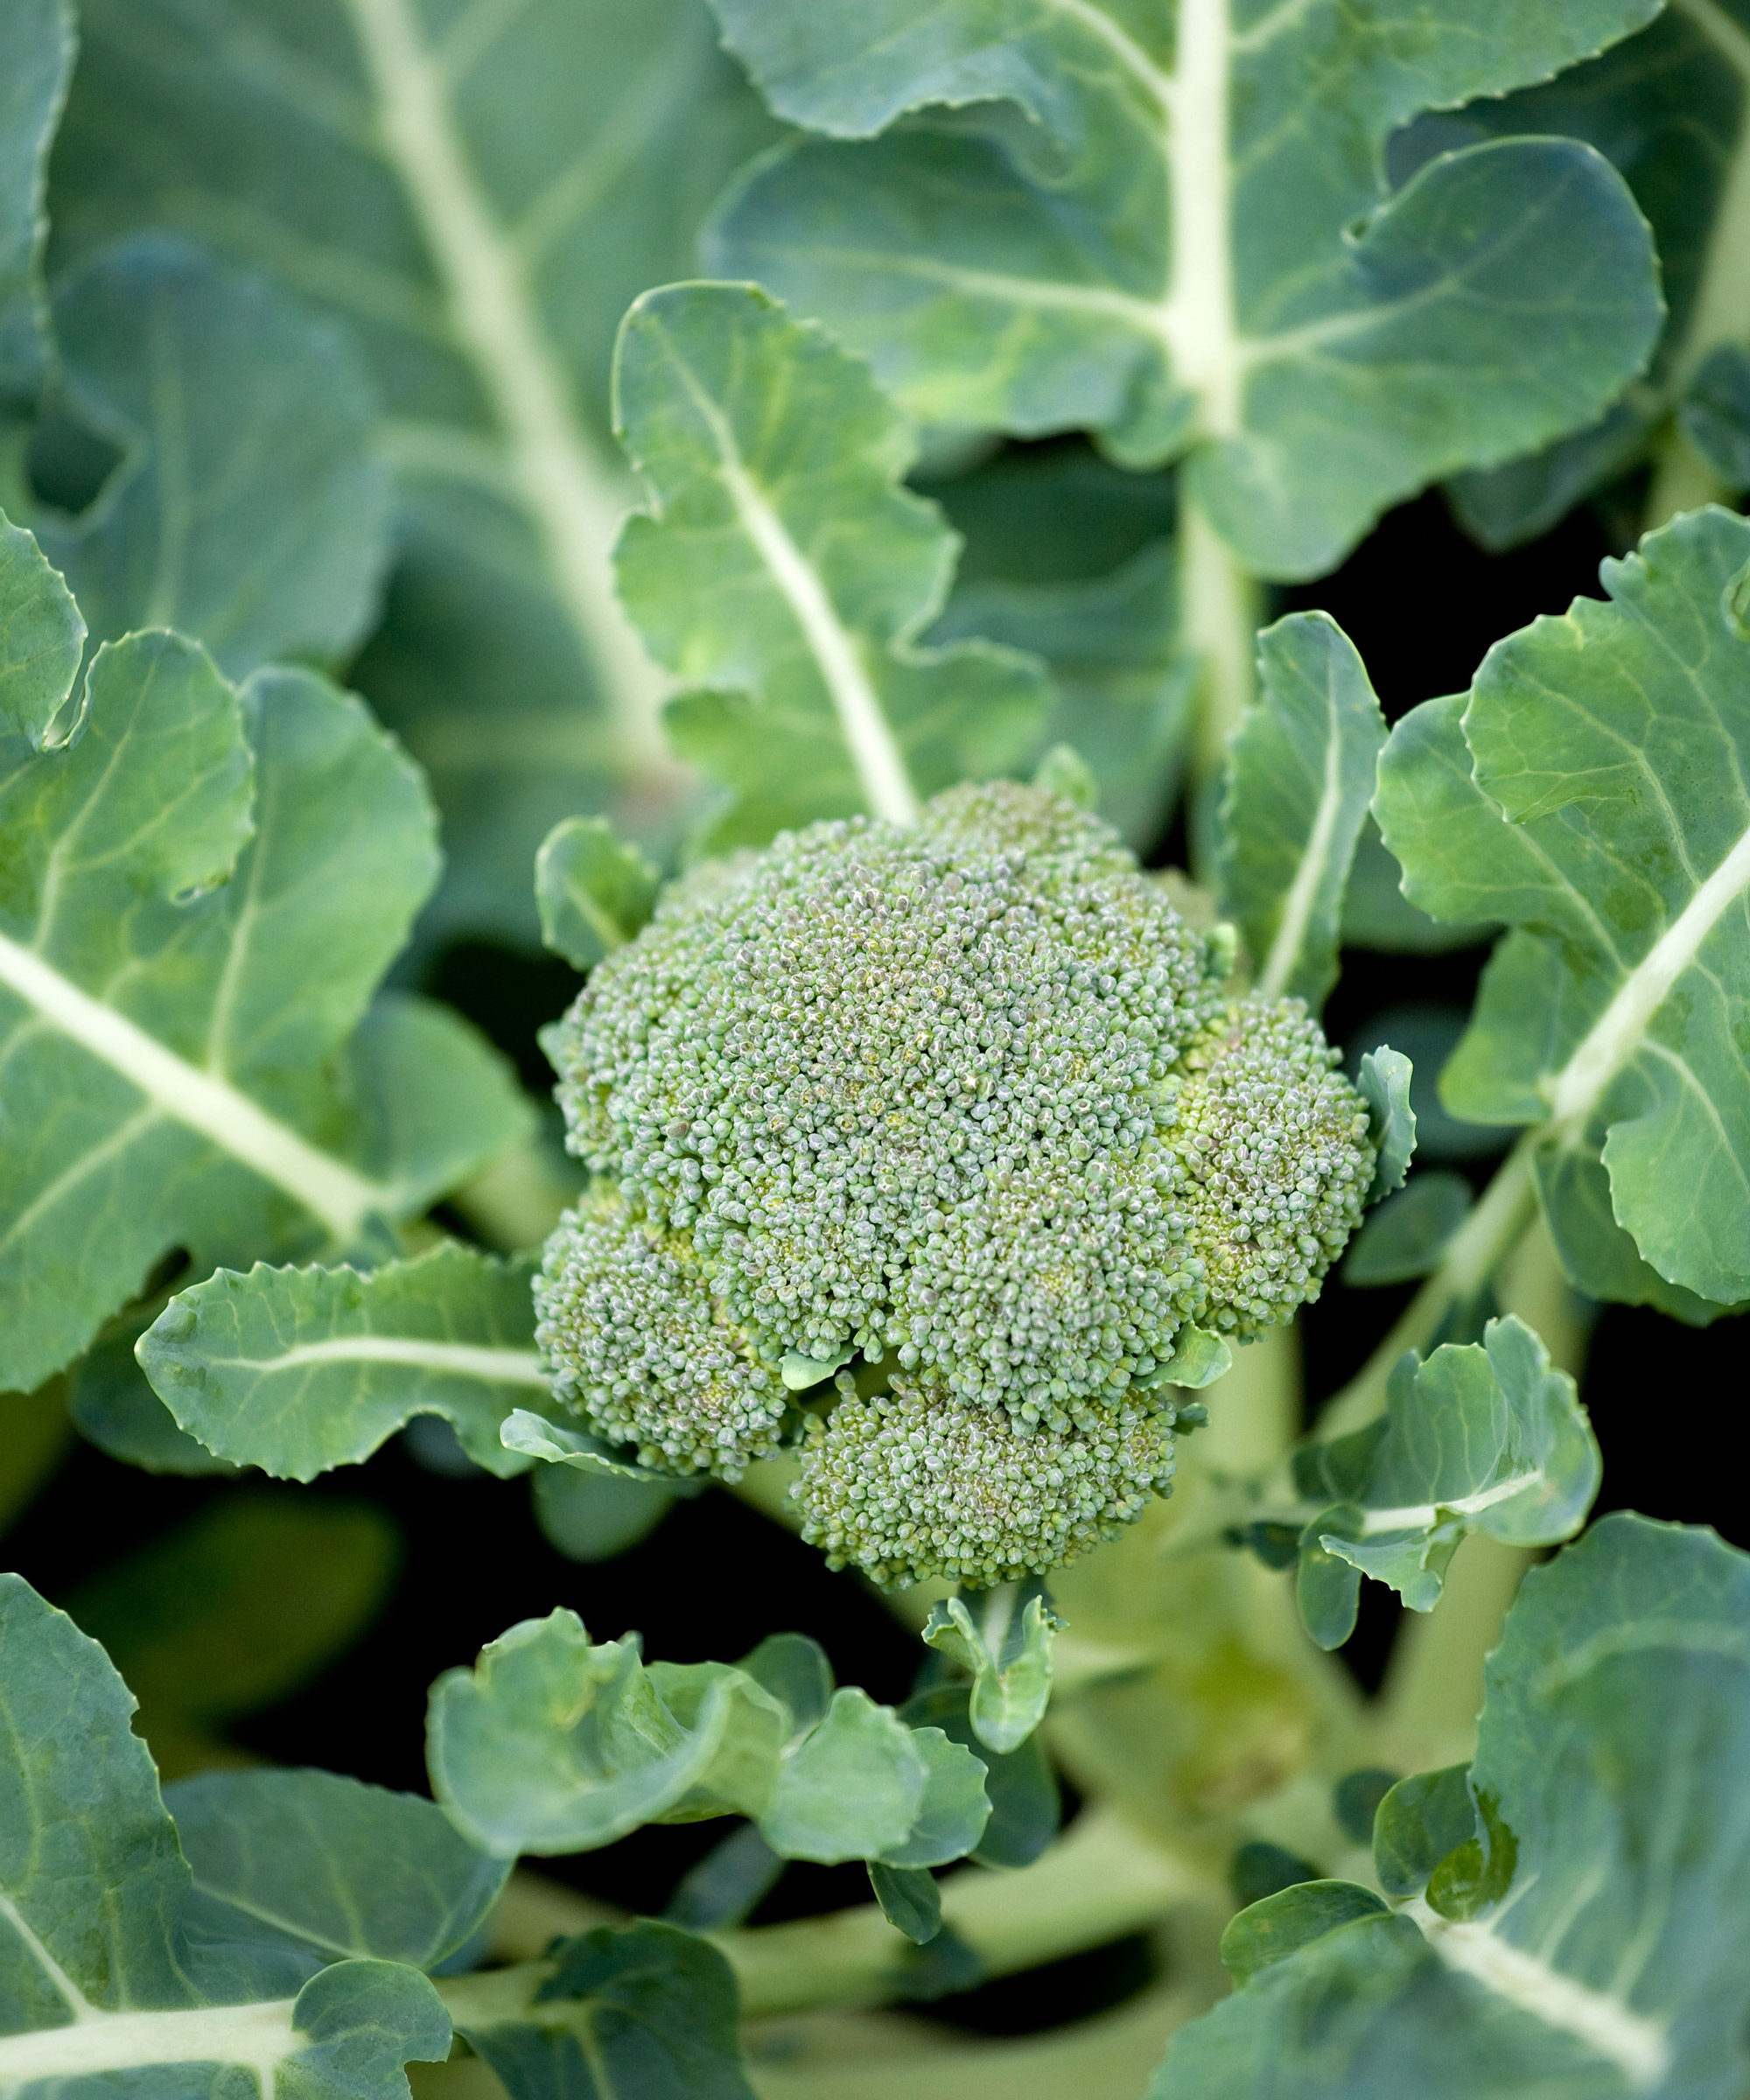
One of the most reliable and long-cropping calabrese varieties to try, so it’s great for beginners. Thrives in most kinds of soil, and produces firm, dense blue-green crowns of tasty beads over several months. This AGM winner also has exceptional disease resistance. Sow from April to August, and harvest from July to November.
What about other kinds of broccoli?
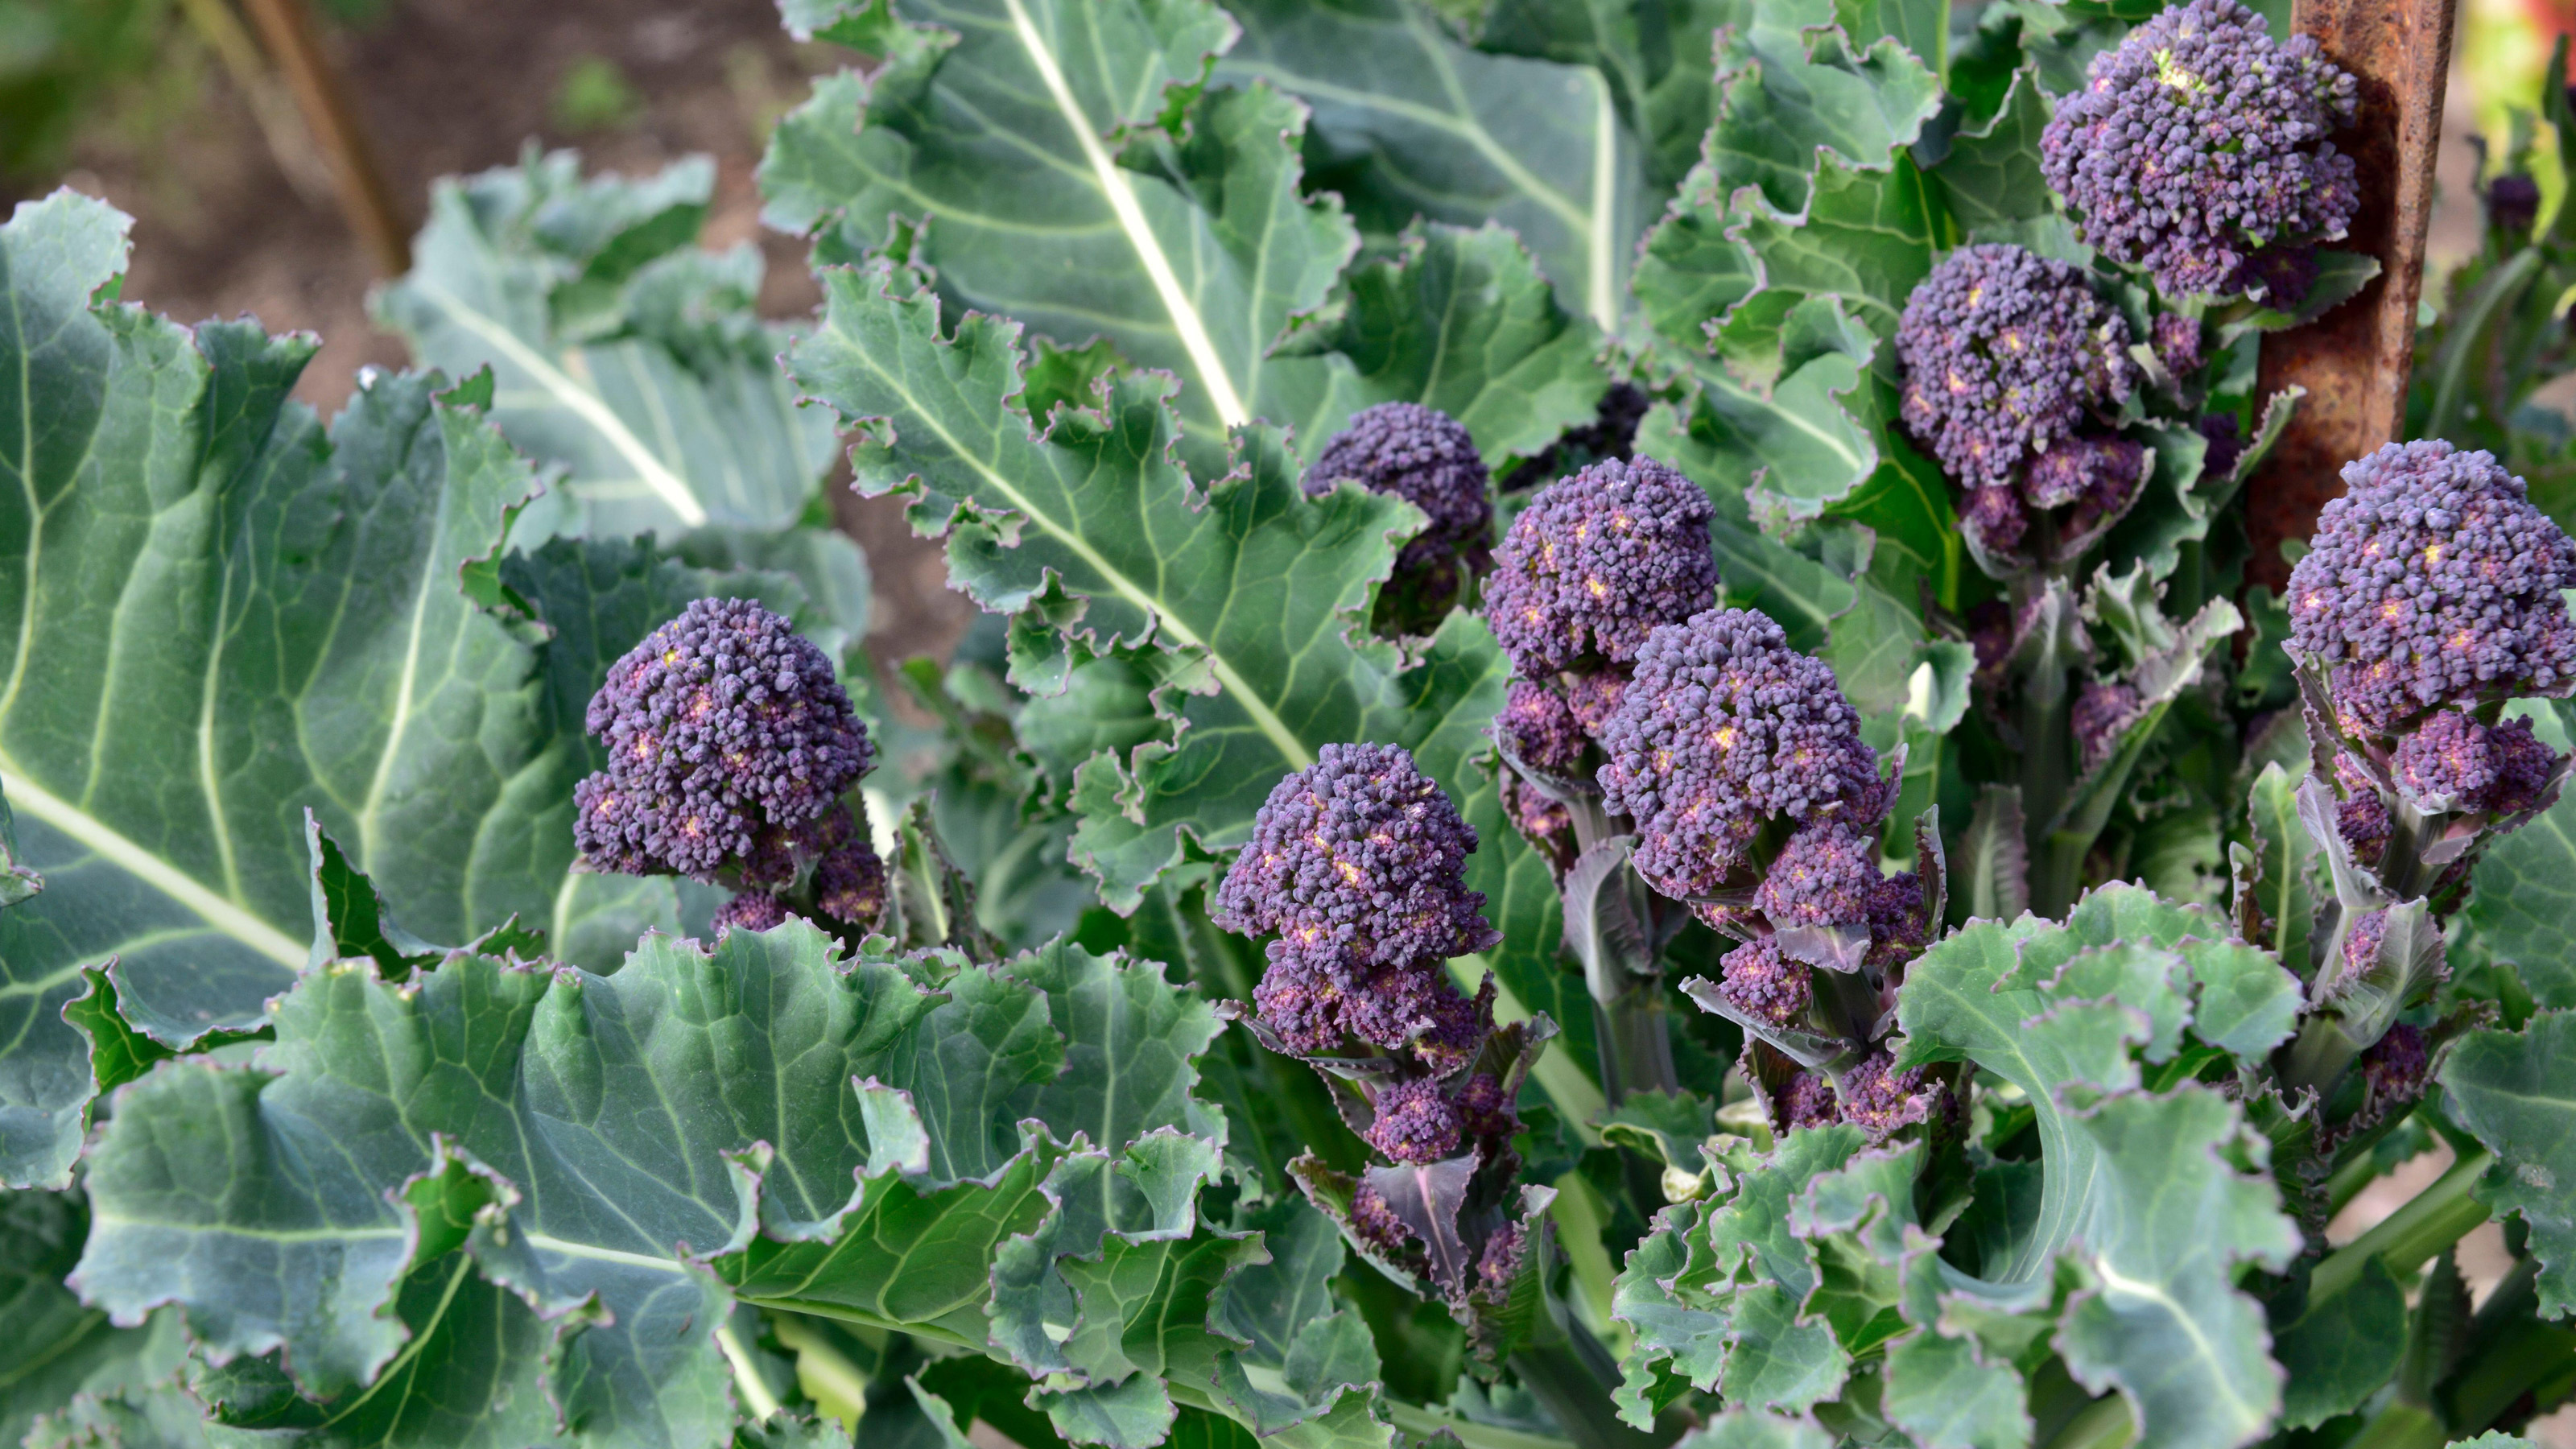
Once you’ve mastered learning how to grow calabrese, you might like to explore other tasty croppers in the broccoli family. Here are three worth growing in your garden:
- Rapini: Also known as broccoli raab (B. ruvo) or broccoletti, rabe, rapini or Italian broccoli. This plant is more closely related to the turnip. However, rather than developing an engorged root, it sprouts mini florets and edible leaves. Harvest around 40-60 days from sowing.
- Gai lan: Also known as Kai-lan or Chinese broccoli (B. oleracea var. alboglabra), this quick-growing brassica is closely related to calabrese, but it is more of a leafy vegetable with glossy blue foliage, small florets and pencil thin stems. Harvest about 50-70 days from sowing.
- Purple sprouting broccoli: Sizeable winter brassica croppers that grow multiple, vibrant mini florets, and its leaves are also edible. Hardy and vigorous, it’s a cheerful addition to the kitchen garden in the quieter cropping months. Takes at least three months to mature from sowing.
Want to grow other purple vegetables to brighten up your plate? Find out how to grow French beans with our comprehensive guide.

As assistant editor of Amateur Gardening magazine, Janey's gardening passion was fostered from an early age, when her amazing mum had her deadheading hydrangeas, mulching roses, and propagating strawberry plants from runners for school open days. She's also taken part in lots of conservation and rewilding projects for the RHS and TCV as a way of exploring her horticultural horizons.
