Worx Landroid M500 robot lawn mower review
We tested the Worx Landroid M500 robot lawn mower to see whether the time spent setting it up was worth the time saved in long-term lawn maintenance. Here’s how it did…
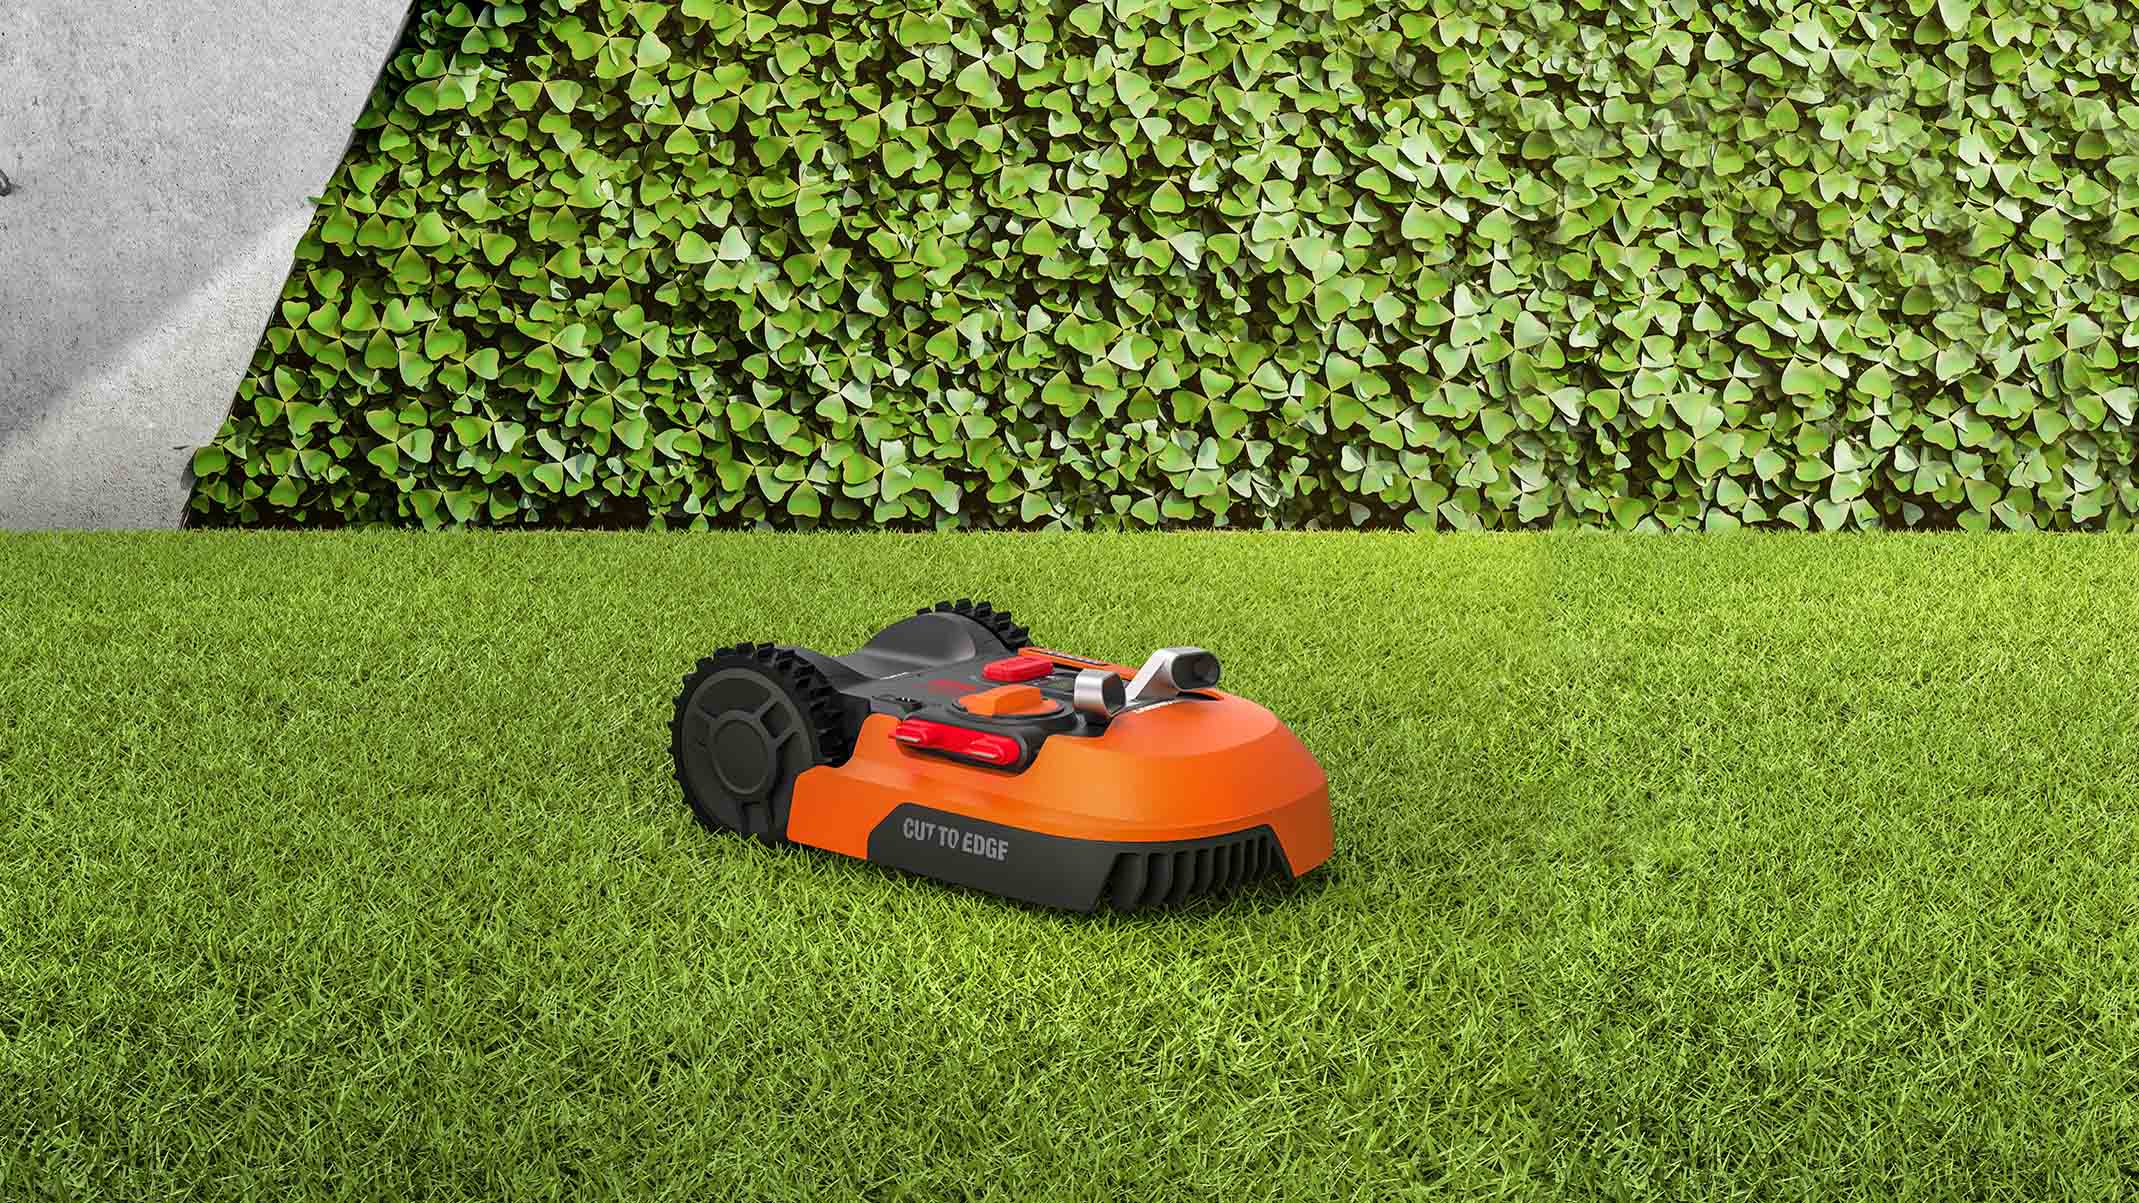

It’s all about preparation for this time-saving mower, which will leave you with both a lush-looking lawn and more time to appreciate it.
-
+
Very quiet
-
+
Controlled remotely from an accessible app
-
+
Packed with great tech features
-
-
Hard work to set up
-
-
Instructions could be much clearer
-
-
Struggles with complex lawns
Why you can trust Gardeningetc

If you have a large lawn to mow or are always finding yourself putting mowing off until you’re faced with a jungle, the Worx Landroid M500 robot lawn mower could be the answer to your prayers. Controlled by an easy-to-use app, you can mow your entire lawn with just the touch of a button and even set up a mowing schedule, making the corded, bulky mower in your shed obsolete.
With a fairly complex large lawn set across three levels, with steps, borders, slopes and walls, it would usually take me a good 40 minutes to mow my entire lawn. My partner and I work full-time, plus we have a toddler and another baby on the way, so I was finding that the lawn was becoming rather neglected. For those reasons, I was very keen to test a mower that could do the job for me, whilst making the views from my garden office window much more appealing. Goodbye overgrown patch, hello manicured lawns. Find out how it got on with the challenge, then check out our guide to the best robot lawn mowers for more options.
- Battery length: 60mins
- Charge time: 90mins
- Power type: lithium battery (uses one 20V rechargeable 2.0Ah battery)
- Size: 55.8 x 40.4 x 20.5 cm
- Weight: 9kg
- Cutting width: 18cm
- Cutting height: 30–60mm (with cutting grades in 10mm increments)
- Lawn size: Up to 500m2
- Noise level: 67dB
- Operating system: Free Landroid smartphone app (available for Android and Apple devices)
- Safety features: Pin code security, alarm function, obstacle detection, lift and tilt sensors
- Warranty: 3 years
First impressions
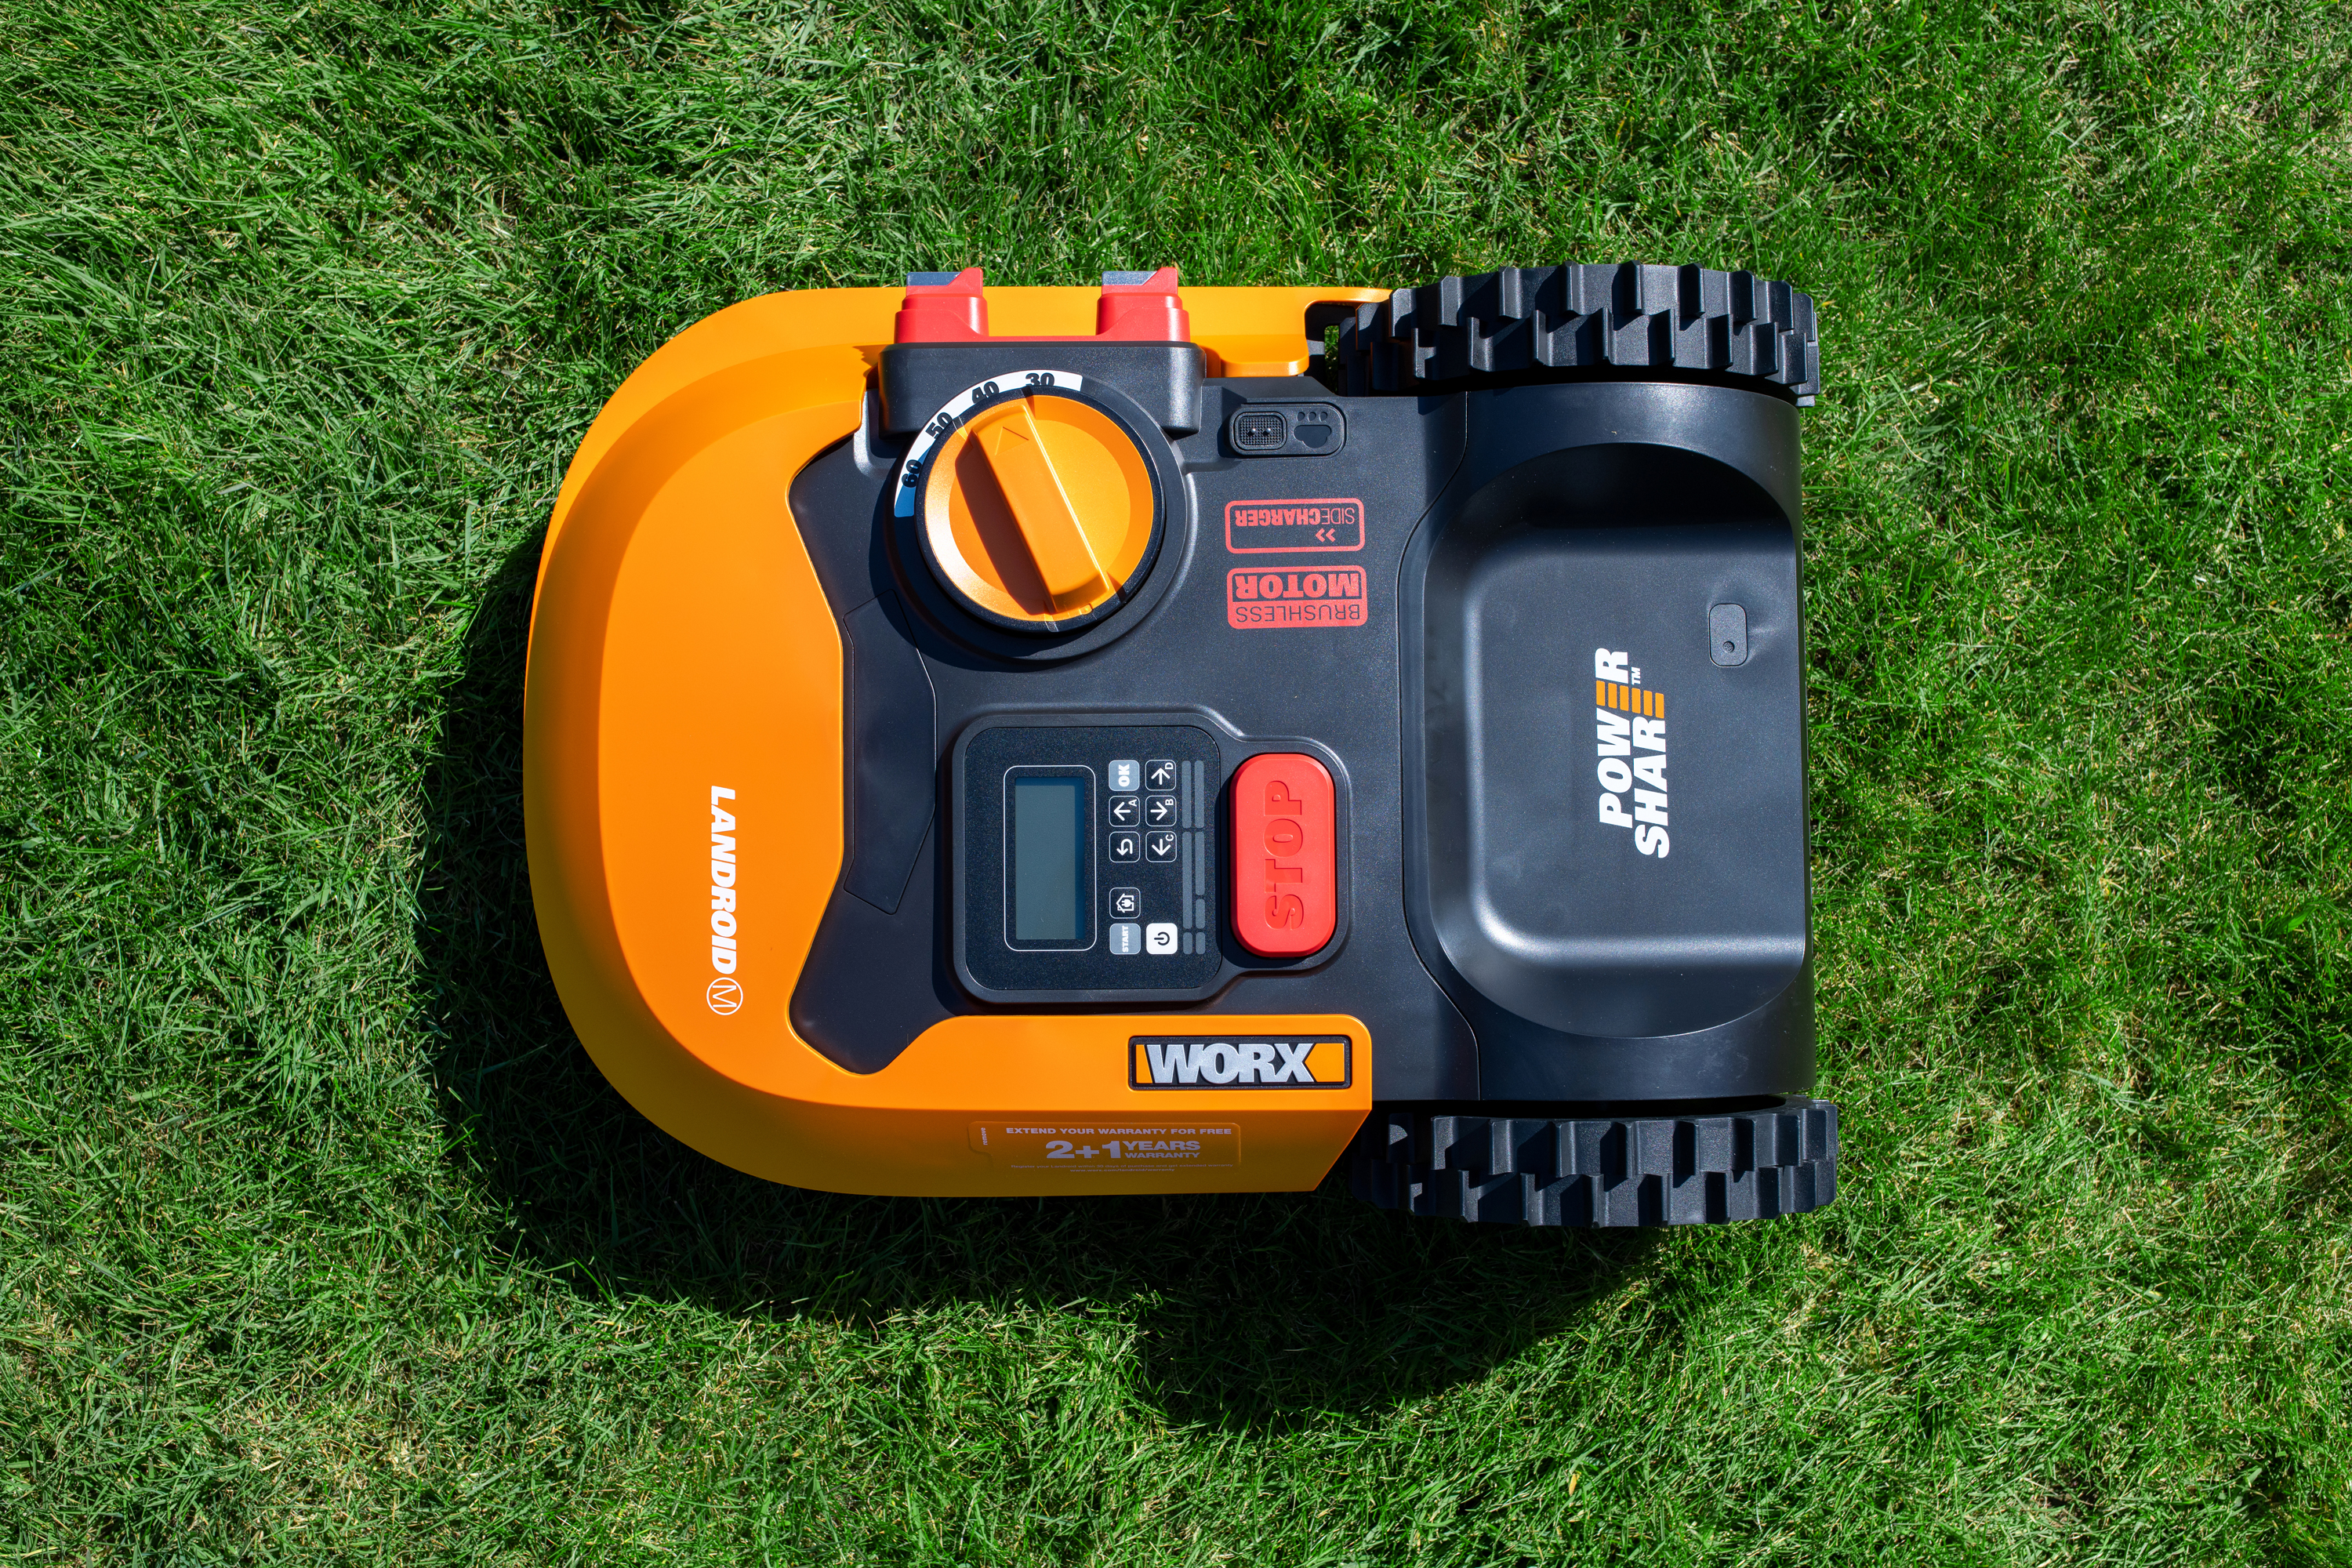
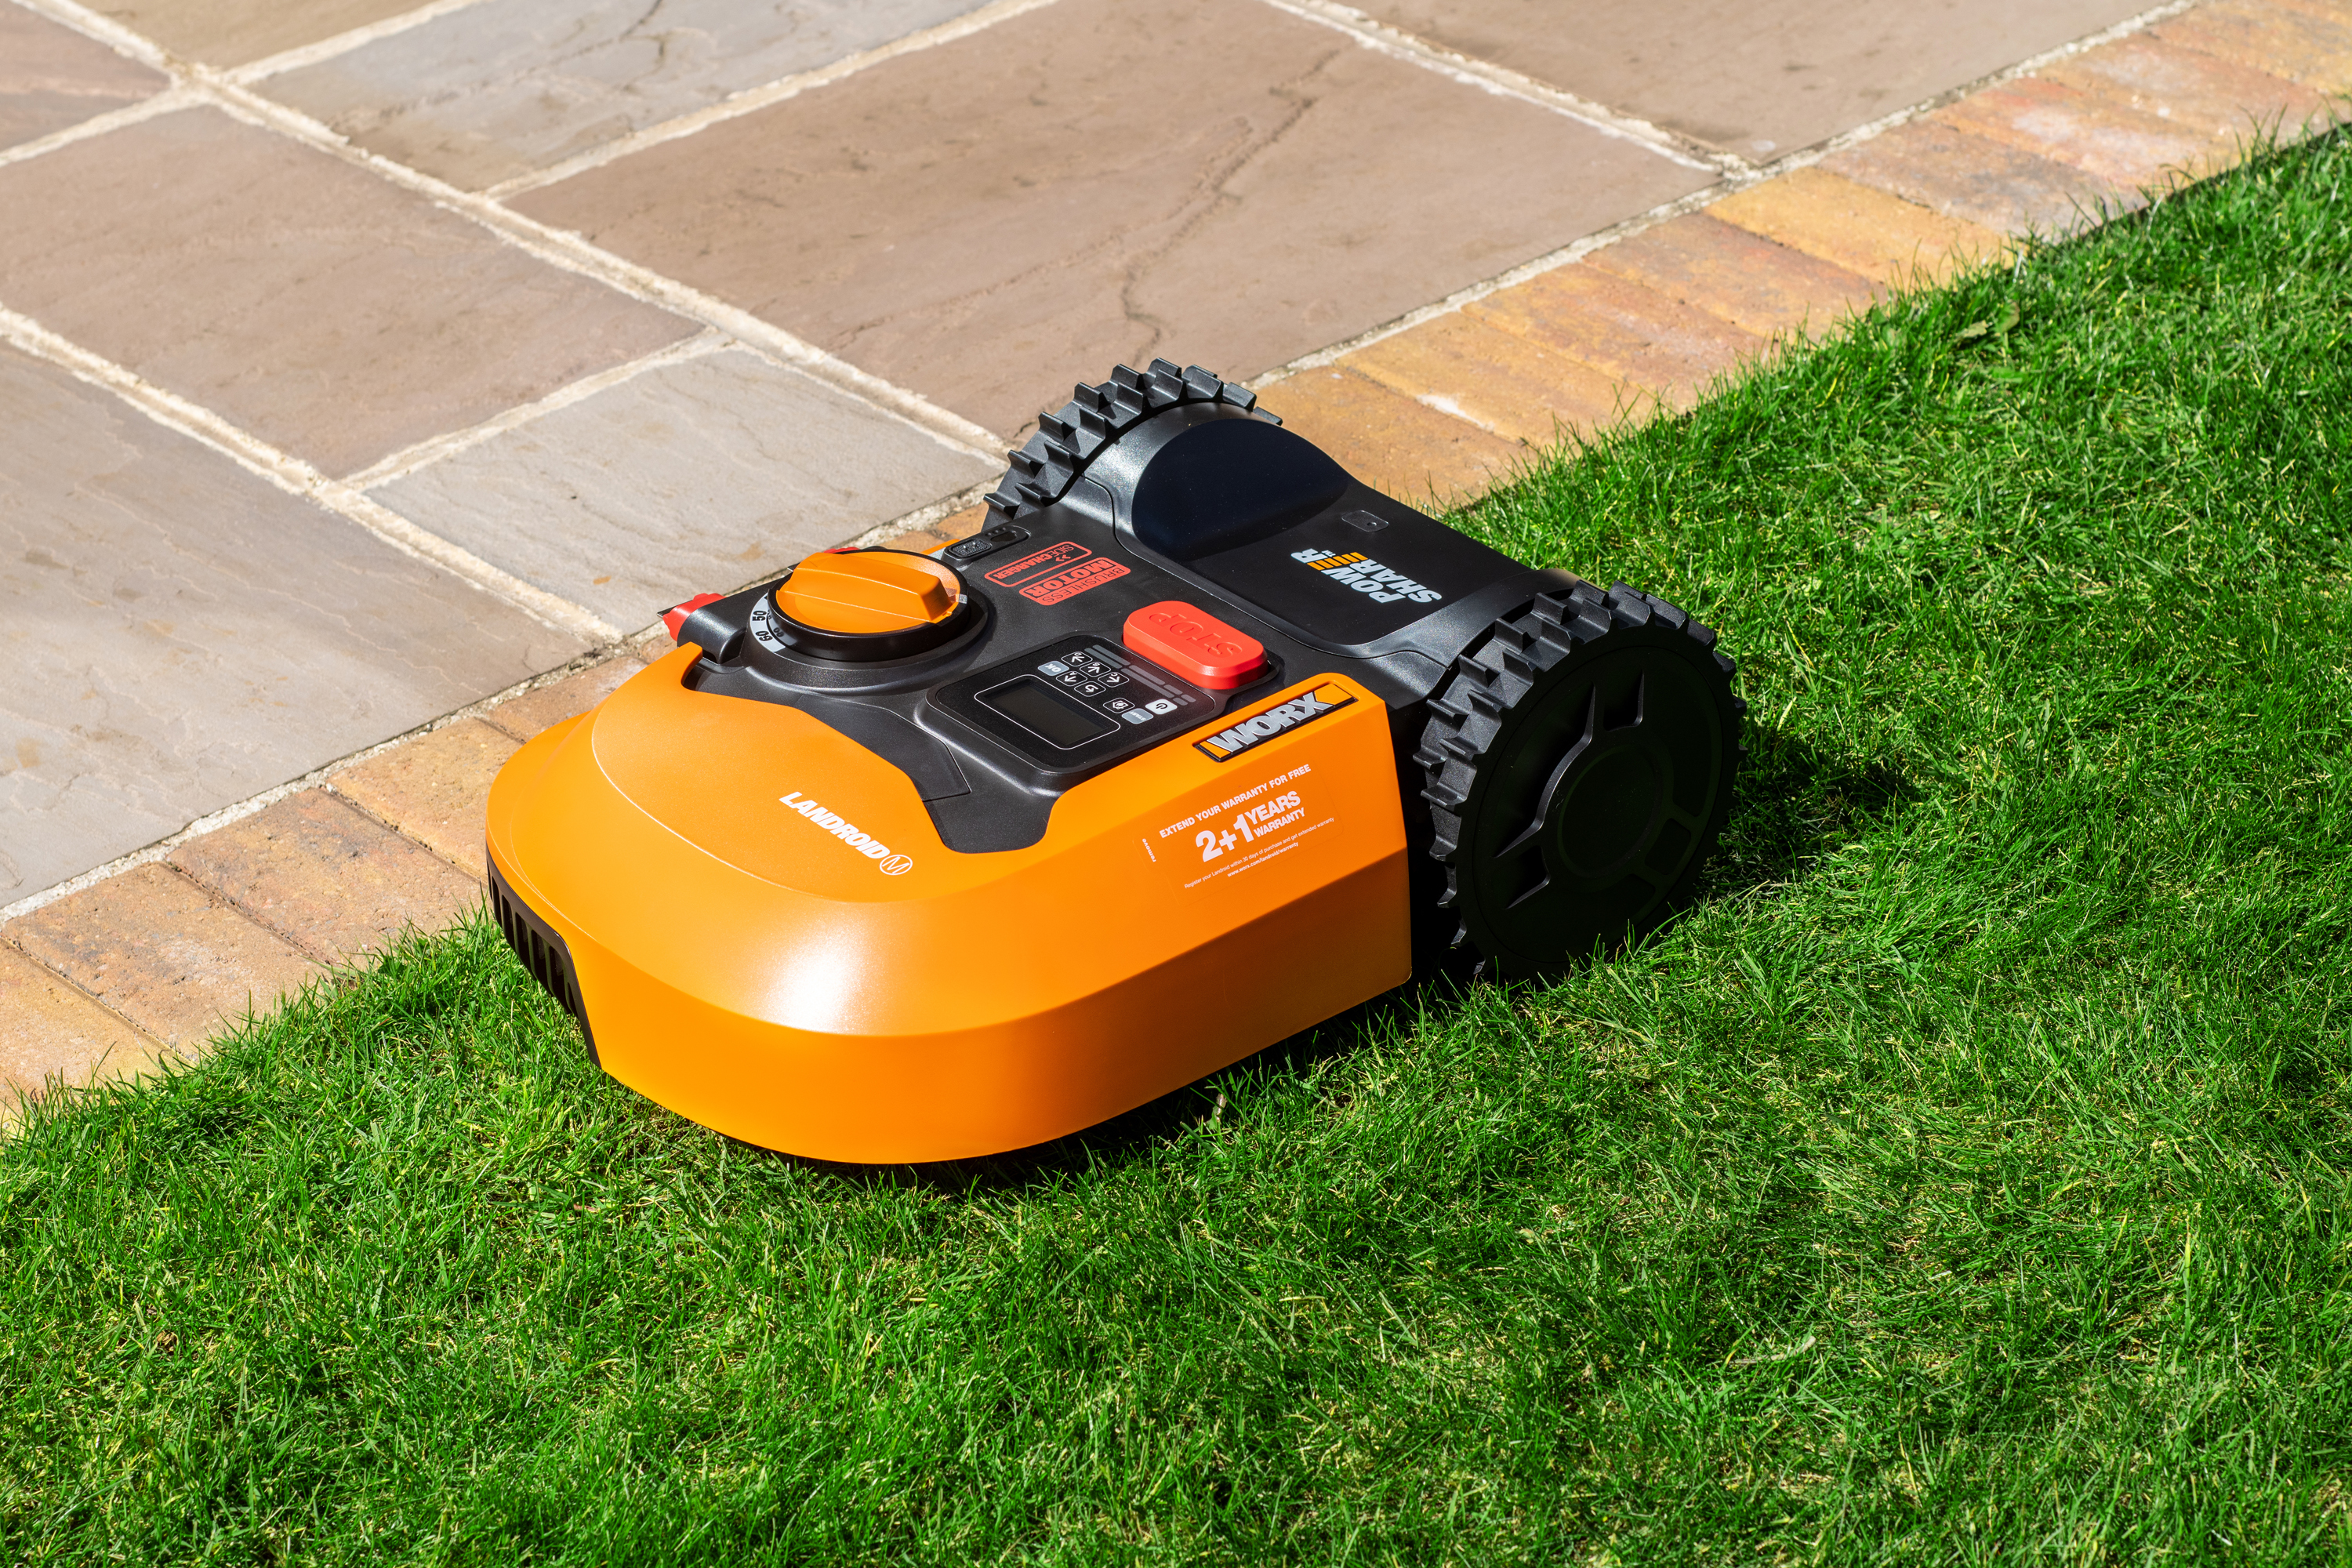
On first inspection, the Worx Landroid M500 was a lot smaller than I expected. I’ve only ever seen one other robot lawnmower in action – a Flymo which belongs to my brother-in-law – and that is quite a bit bigger and bulkier. It looked fairly easy to use, with LED display, dial to change the length of cut and a big red stop button, which you can’t miss in need of an emergency.
It’s fairly light too, and although I’m in my last trimester of pregnancy, I didn’t struggle getting it out of the box. Nonetheless, I had my partner on hand to help me set it up and we both agreed, it looks smart and certainly wasn't an eyesore in our garden.
Getting started
This mower comes with five booklets of information, plus one extra for the anti-collision sensor system (which comes in a separate box). Therefore, you’d think that with so many sets of instructions, it would be pretty straightforward to set up. However, having so many different pieces of paper meant spending time going through everything and I’d argue that there is no need for both the 'Installation' and 'Get started' guide, as in essence, they contain the same information, with the latter opting for just pictures, rather than words.
I also think it would have been useful for the instructions to tell you to download the app as one of the first steps. On the app ‘support’ section, there is a full installation guide, as well as videos, which are very helpful for troubleshooting.
The instructions emphasise that time spent in preparation will help avoid timely errors later on and this advice should definitely be adhered to, as we were to find out! Advice such as mowing the lawn one last time (if the grass is longer than 10cm) and progressively adjusting the cutting height of the blades in steps, should be made more obvious by being either repeated, or listed as a mandatory step – we weren't the only ones who missed this on first set up.
Other important points are ensuring that that boundary wire is lying flat to all areas of the lawn and the charging station needs to be housed in a suitable location. Finally you should take the time to inspect the lawn to identify any obstacles, such as ponds, steps, flowerbeds and ledges, as well as items that need removing, such as dog mess and branches.
Setting up the charging base
We set up the charging base first which was fairly simple – find a suitable place (on flat land, in the shade, within reach of the mains), peg down and then attach one end of the boundary wire. You then use the boundary wire to set up a full circuit around the perimeter of your lawn, pegging it into the ground every 80cm.
The station base needs to have a straight path in and out, with a certain amount of space either side. Similarly, the boundary wire has to be laid a certain distance from obstacles and the upper and lower boundary wires cannot be placed on steep slopes. The mower comes with a handy ruler, to help you measure this out properly.
Laying the boundary wire
Our lawn is set over three levels, with a slope one side and steps on the other. It also has flowerbeds on either side, a fence at the bottom and walls down to each level. My partner set the boundary wire, so it covered all three levels, with the Landroid accessing the top levels via the slope. One instruction he did not pay enough attention to was placing extra ground pegs on undulating ground, ensuring the wire is in close contact at all points with the ground – again, we paid the price for inadequate set up...
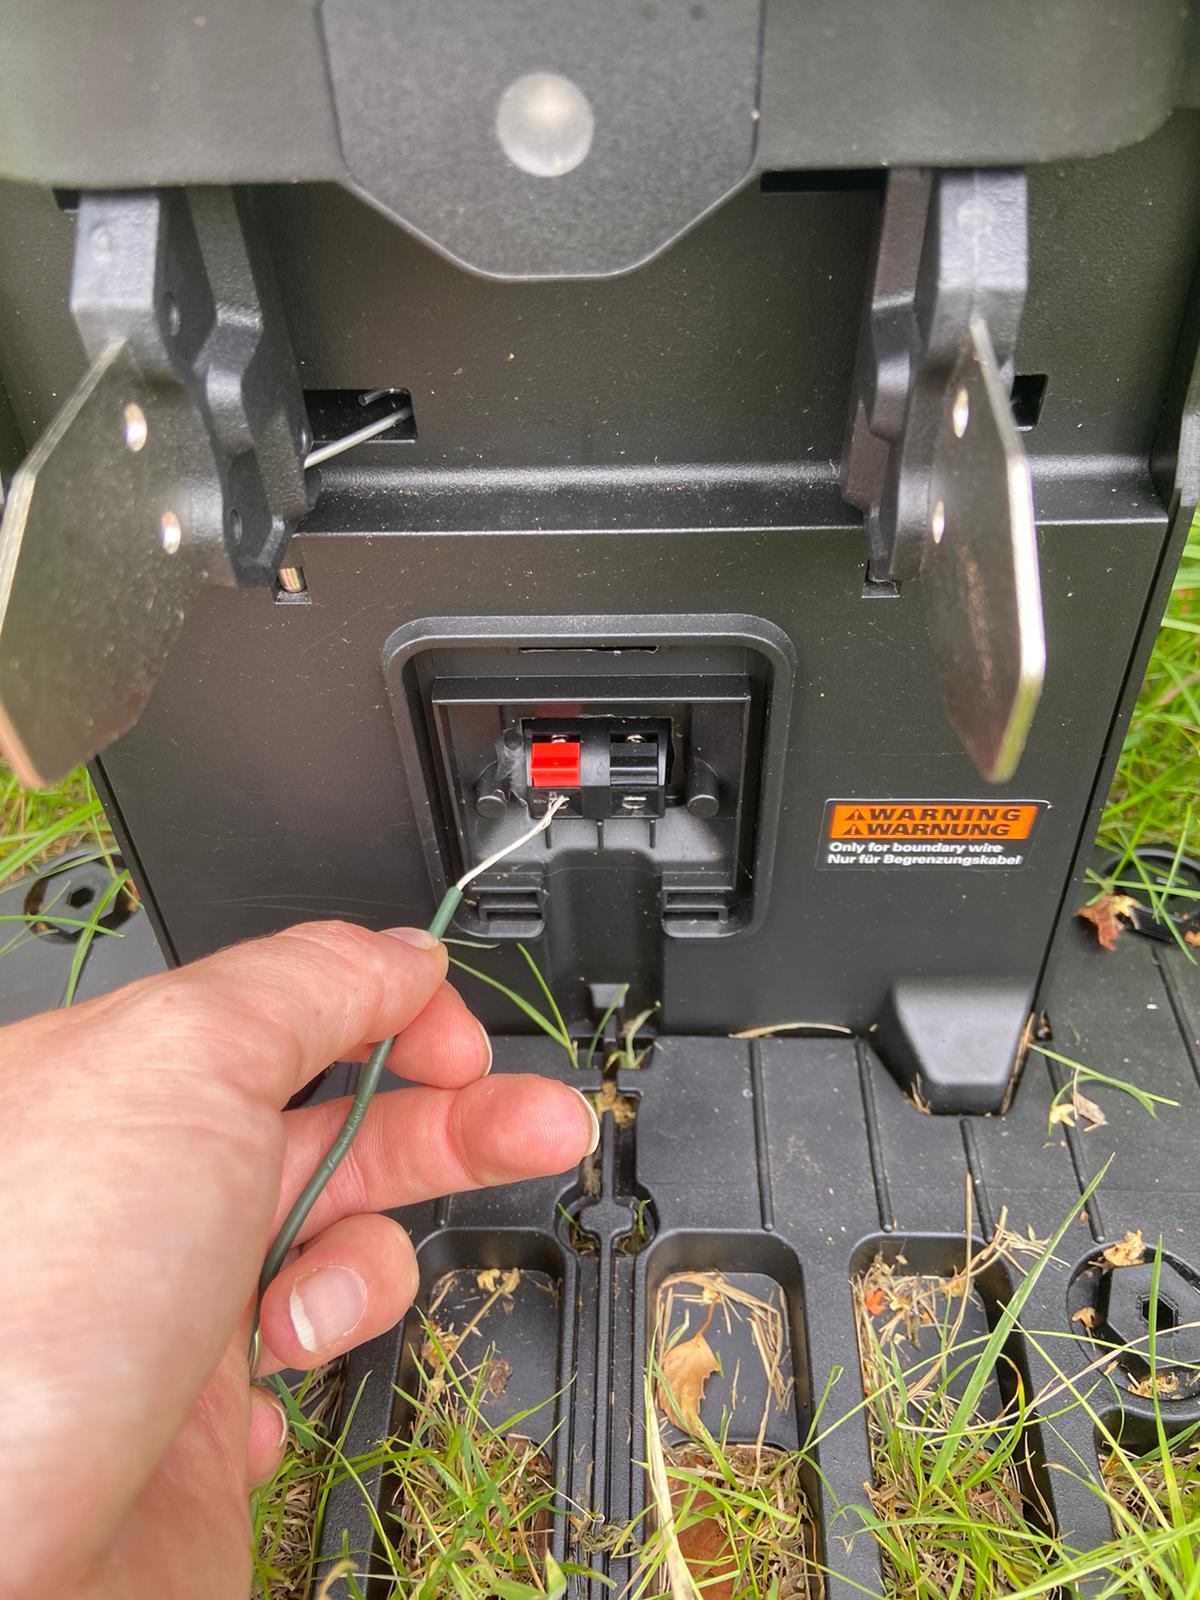
Once you have covered the perimeter of your lawn, you cut and strip the other end of wire and clamp it into place in the charging base. You then connect the station to the AC mains socket and a magic green LED should appear if everything is set up properly (a red LED shows if there are any issues). You are then ready to set up the mower.

Charging and getting ready to mow
I managed to insert the battery with no problem, but the anti-collision system was a bit trickier as you have to prise a plastic cover off with a screwdriver. I had to get my partner to do this for me, then he connected the sensor to the components in the mower and fixed it in place using an allen key.
Once set up is complete, the mower has to be left to charge – just place it on the base, making sure the charging components are in contact with those on the station. You can then sit back, grab a cup of tea and download the Landroid app, which is encouraged (it gives you access to all the mower's handy features), but not crucial for operating the mower. After I had downloaded the app from the Apple store, I connected it to our Wi-Fi, following app-based step-by-step instructions. If your Wi-Fi doesn’t cover your entire lawn, you will need to purchase a Landroid Radio Link. This concluded the set up, which took about two hours (the first time).
What it’s like to use
To operate you can either use the control panel on top of the machine, or the app, to send the mower on its way. Always opting for technology over manually programming something, all I had to do was go to the ‘home’ section of the app and press the play button. The Landroid then sprang into action and informed me it was 'mowing'.
I noticed straight away that I was no longer going to be able to admire the aesthetics of neat lines mowed into the lawn, as the Landroid takes what looks like a sporadic path, travelling in straight lines and then turning at an angle to set off again, every time it hits the boundary wire. It continues to do this until it believes it has covered all of your lawn, or it is close to running out of battery.
I wasn’t entirely convinced that this mower was going to give me the results I wanted after the first run, as it had missed some areas of the lawn and I had to help the mower a few times when it got stuck on uneven ground, close to the ledges.
I set the Landroid off again the next day and that’s when we started to run into real problems. Within a few minutes, I got an error message on the app telling me that the ‘boundary wire is missing’. On closer inspection, the mower had cut through the lower boundary wire and we were forced to use the waterproof boundary wire connectors to fix the circuit.
Unfortunately, on the next run a couple of days later, the same thing happened again, but in a different place, so I used the second connector to fix this problem. We had a handful of semi-successful runs in between, although we had to move the boundary wire further away from the ledges several times, to stop the mower getting stuck, but then the mower cut through the boundary wire again and I’d run out of connectors.

Human error
After a quick Google to see if this is a common problem (to my comfort it had happened to a handful of people), I decided to re-lay the wire on the largest part of the lawn (the lower level). I read the instructions again and it turned out the mower was cutting its own wire due to it being set on one of the lowest cutting settings and the boundary wire not being laid correctly the first time. I also mowed the lawn first with our wired mower and then placed extra pegs into every dip in the ground, ensuring the boundary wire was flat to the ground. My brother-in-law also reiterated that we should be starting the mower on the highest cut, as his robotic Flymo mower instructs.
Problem solved! The Landroid has now been successfully mowing the lawn for more than three weeks, with no issues. Could we have read the instructions more thoroughly? Yes. Could Worx make the instructions easier to digest? Also yes.
Results
With prolonged use, the quality of the lawn has noticeably improved. Frequent use means weeds are controlled and you will notice your lawn becomes more dense with regular cuts – something few of us can commit to with manual mowing.
The Worx Landroid M500 has no means of collecting the grass cuttings, but this is not a problem, as by setting up a regular mowing schedule (which you can do from the app), the short clippings lie on top of the lawn providing ‘perfect organic nutrients’ for the grass.
As I set up the mower the second time on the lower level, I can compare it to the upper levels, and it is certainly looking a lot neater and healthier. The edges look a bit untidy, especially at the bottom of the garden, as I could not set it up to mow around the fence posts effectively. There is also a dip into the beds, so the mower cannot get close enough to do the edges here either, so some trimming is needed with shears or a strimmer. This is not a big ask when the bulk of the work has been removed by the automated mowing.
How does it compare to other mowers?
One of the most impressive things about this mower is how quiet it is. I no longer feel guilty about interrupting the neighbours in barbecue season, as you can barely hear it. My office is located in the garden and I only notice it’s going when I see it moving out of the window, or it comes across a rogue twig.
The other aspect that sets it apart from its competitors is how much control you get from the app. The only thing you can’t do is set the mower off again from when there is an error – you have to do this using the control panel on the mower itself. This can be annoying, but is a sensible safety feature that ensures you check for hazards before continuing.
Additional features
The technological features of this mower are pretty amazing. It is an IoT (Internet of Things) device, which means it gets the best results for your lawn by using artificial intelligence and working out optimum mowing schedules.
By registering your advice and creating an account, you get handy emails from Worx reminding you to update the app and telling you about all the new features. The latest update allows you to set a 'party mode' where the mower suspends its schedule, so it doesn't interrupt the kids playing or a garden party. It also has an adorable 'save the hedgehogs' mode, which prevents mowing in the evening – the prime time for these spiky garden visitors.
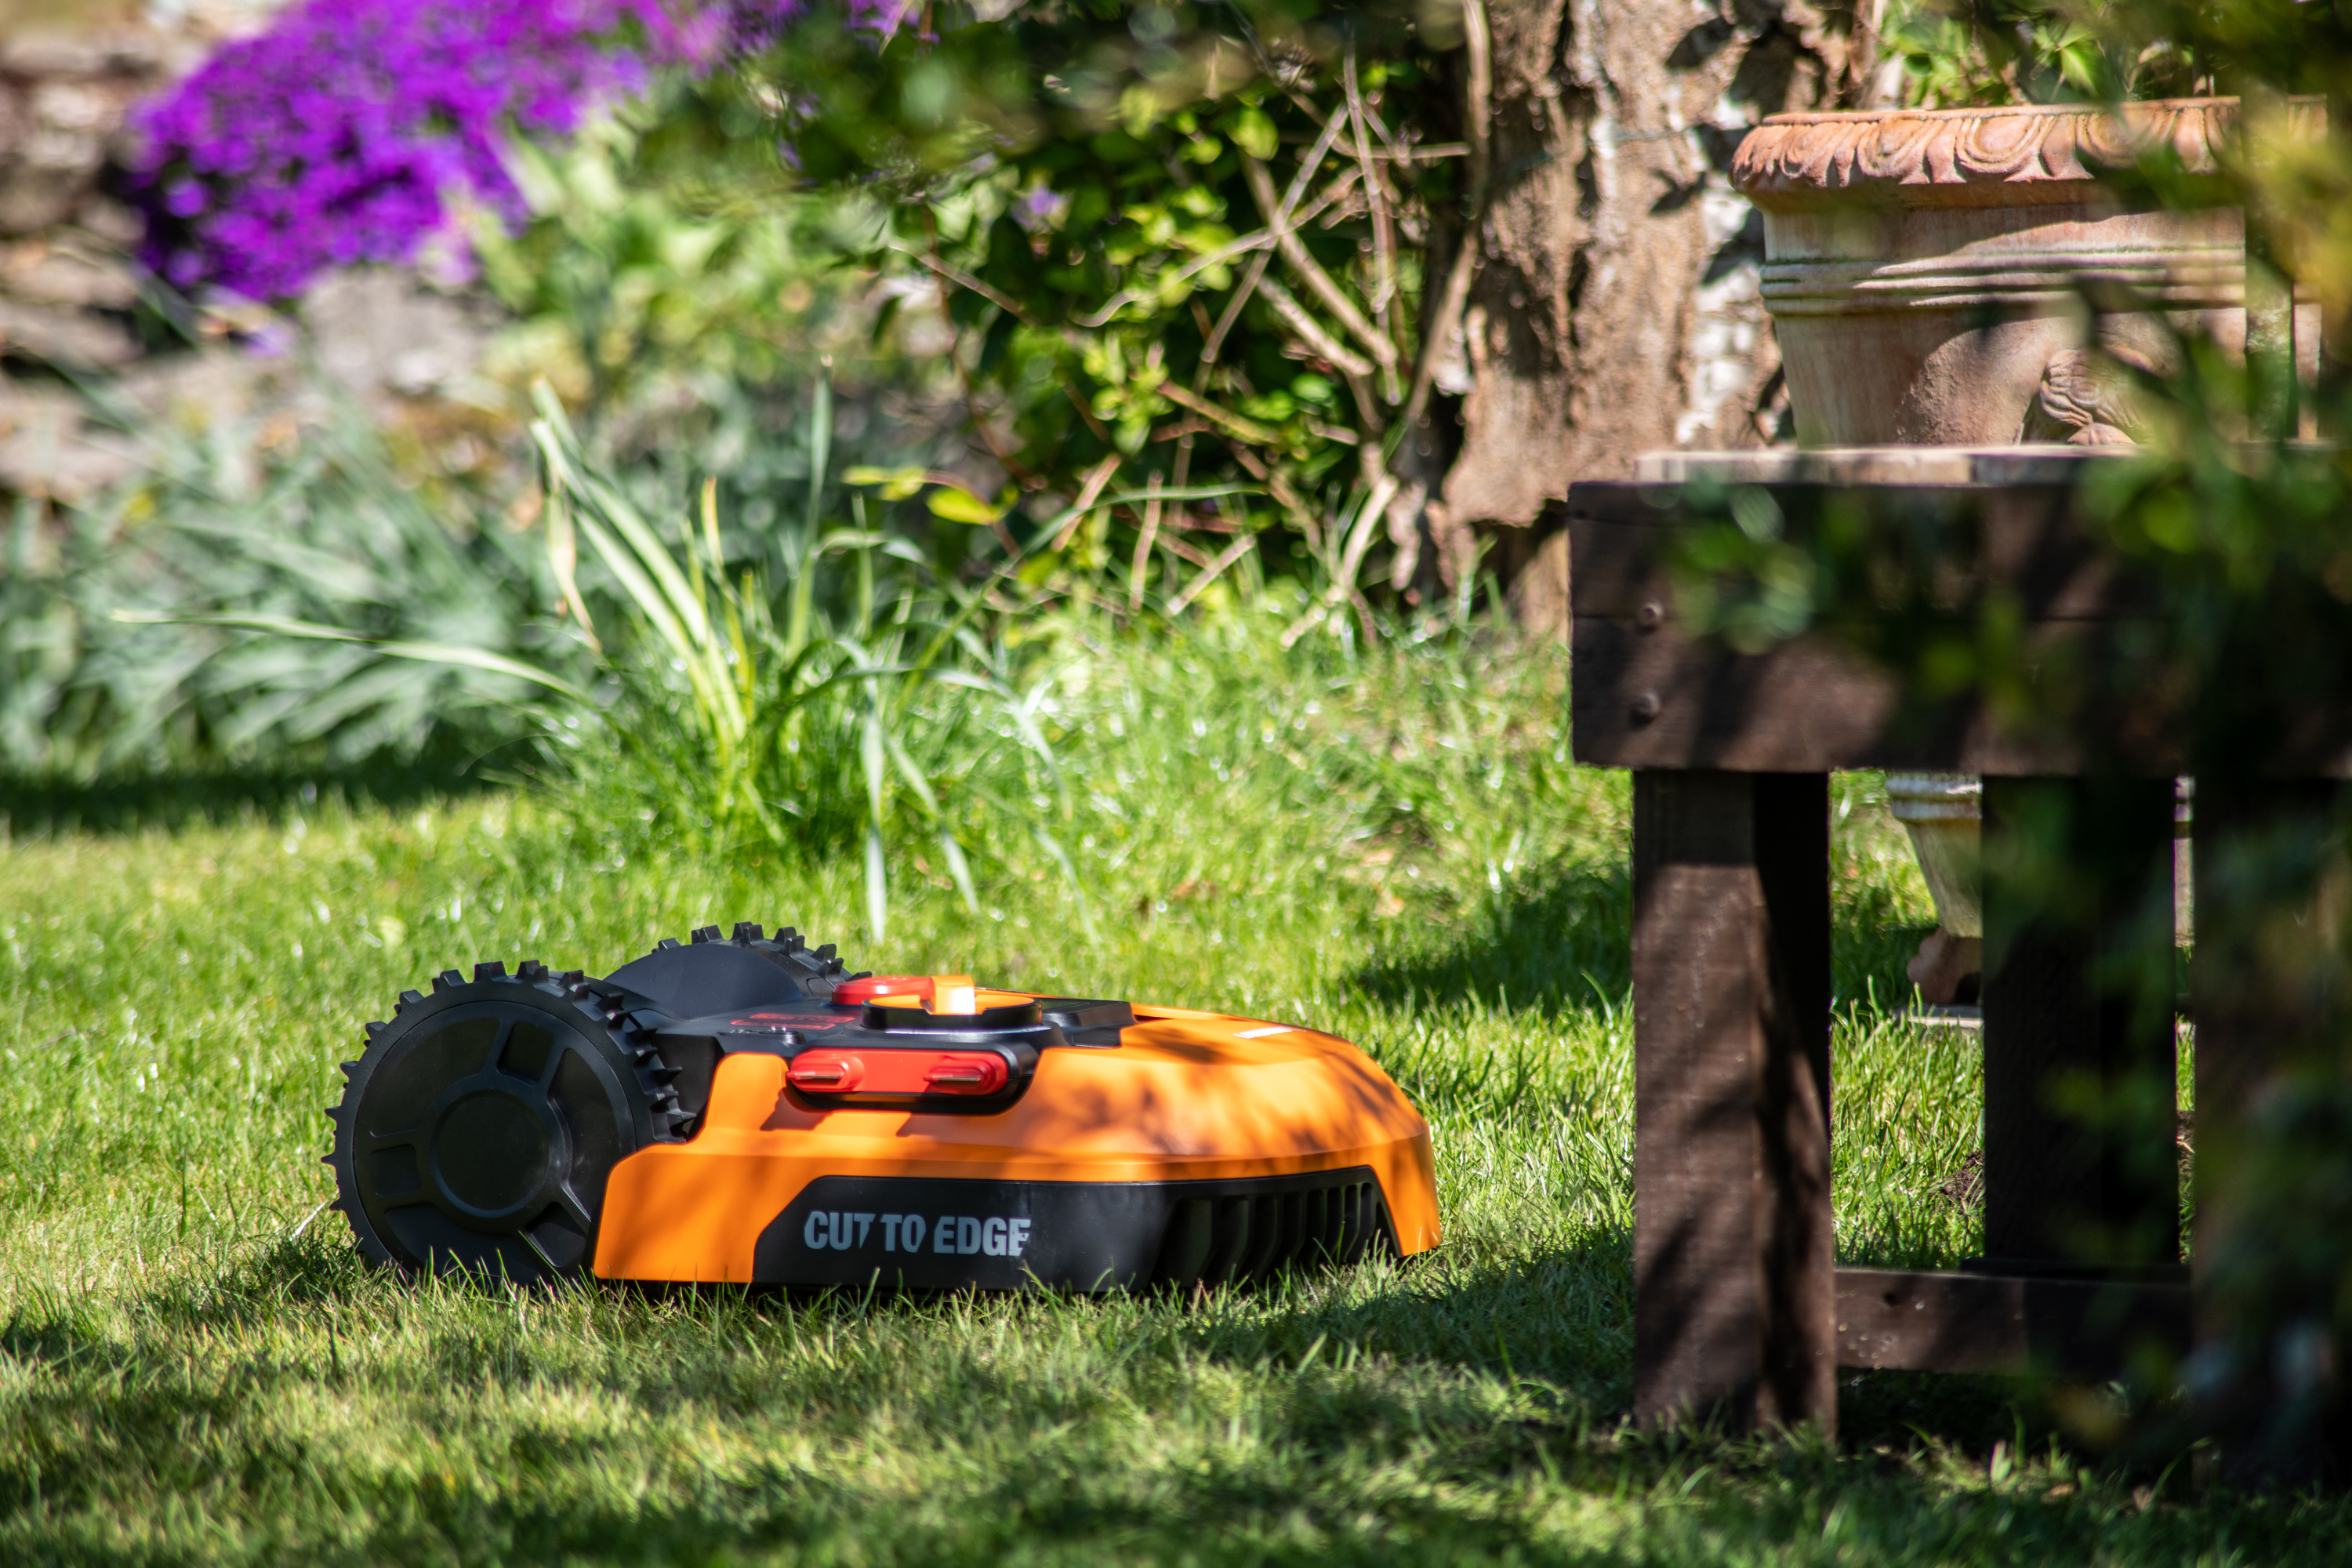
The mower itself has the ability to use its ‘cut-to-edge’ feature on non-complex areas, for example where the lawn meets the path, as long as the boundary wire is set up correctly. This means that there may be no need for trimming messy borders on a fairly simple lawn. You can also set the Landroid to mow just the border a couple of times a week, or set up ‘multi-zone’, where your mower spends a pre-programmed amount of time in different areas of your lawn.
Auto-scheduling allows the mower to output a suitable mowing schedule. All you need to do is walk the perimeter of your lawn and then enter in details such as soil type, irrigation and grass species. It also has rain sensors, which when triggered, delay the mower from operating until a couple of hours later to keep the blade clog-free.
You can also operate the mower using voice control, set pin code protection to stop unauthorised people from using the mower and set up the ‘find my Landroid’ option, which enables you to remotely lock and track your mower if stolen.
How does it rate?
This is the first robot lawnmower I’ve tested and can only compare it directly to the Flymo, which rates very highly online and is cheaper.
The Worx Landroid M500 also rates very highly online and has glowing reviews on many websites, due to how easy it is to use once set up, the great results and how it is definitely a time-saver.
Some reviewers have experienced similar issues to me, and I definitely agree with some users that installation took a long time. However most agreed that with a few adjustments and the correct set up the mower works very well and have awarded it between 4 and 5 stars.
In conclusion, for those who are looking to keep their lawns well maintained, whilst saving time, I would highly recommend this mower. It will work especially well on uncomplex lawns and if you have the patience to endure the set up for a more complicated lawn, then you won’t be disappointed with the results.
More reviews:
Bethan works in PR for the tourism industry and lives with her fiancé, sons Danny and Finn, and Jasper and Leo the cats. She loves being in the garden, but prefers to spend her time relaxing there rather than gardening, so is always on the lookout for tools that will keep her space looking its best without take up loads of family time.

