How to organize a greenhouse in 7 easy steps
Find out how to organize a greenhouse so you can create a neat and tidy space with plenty of growing potential

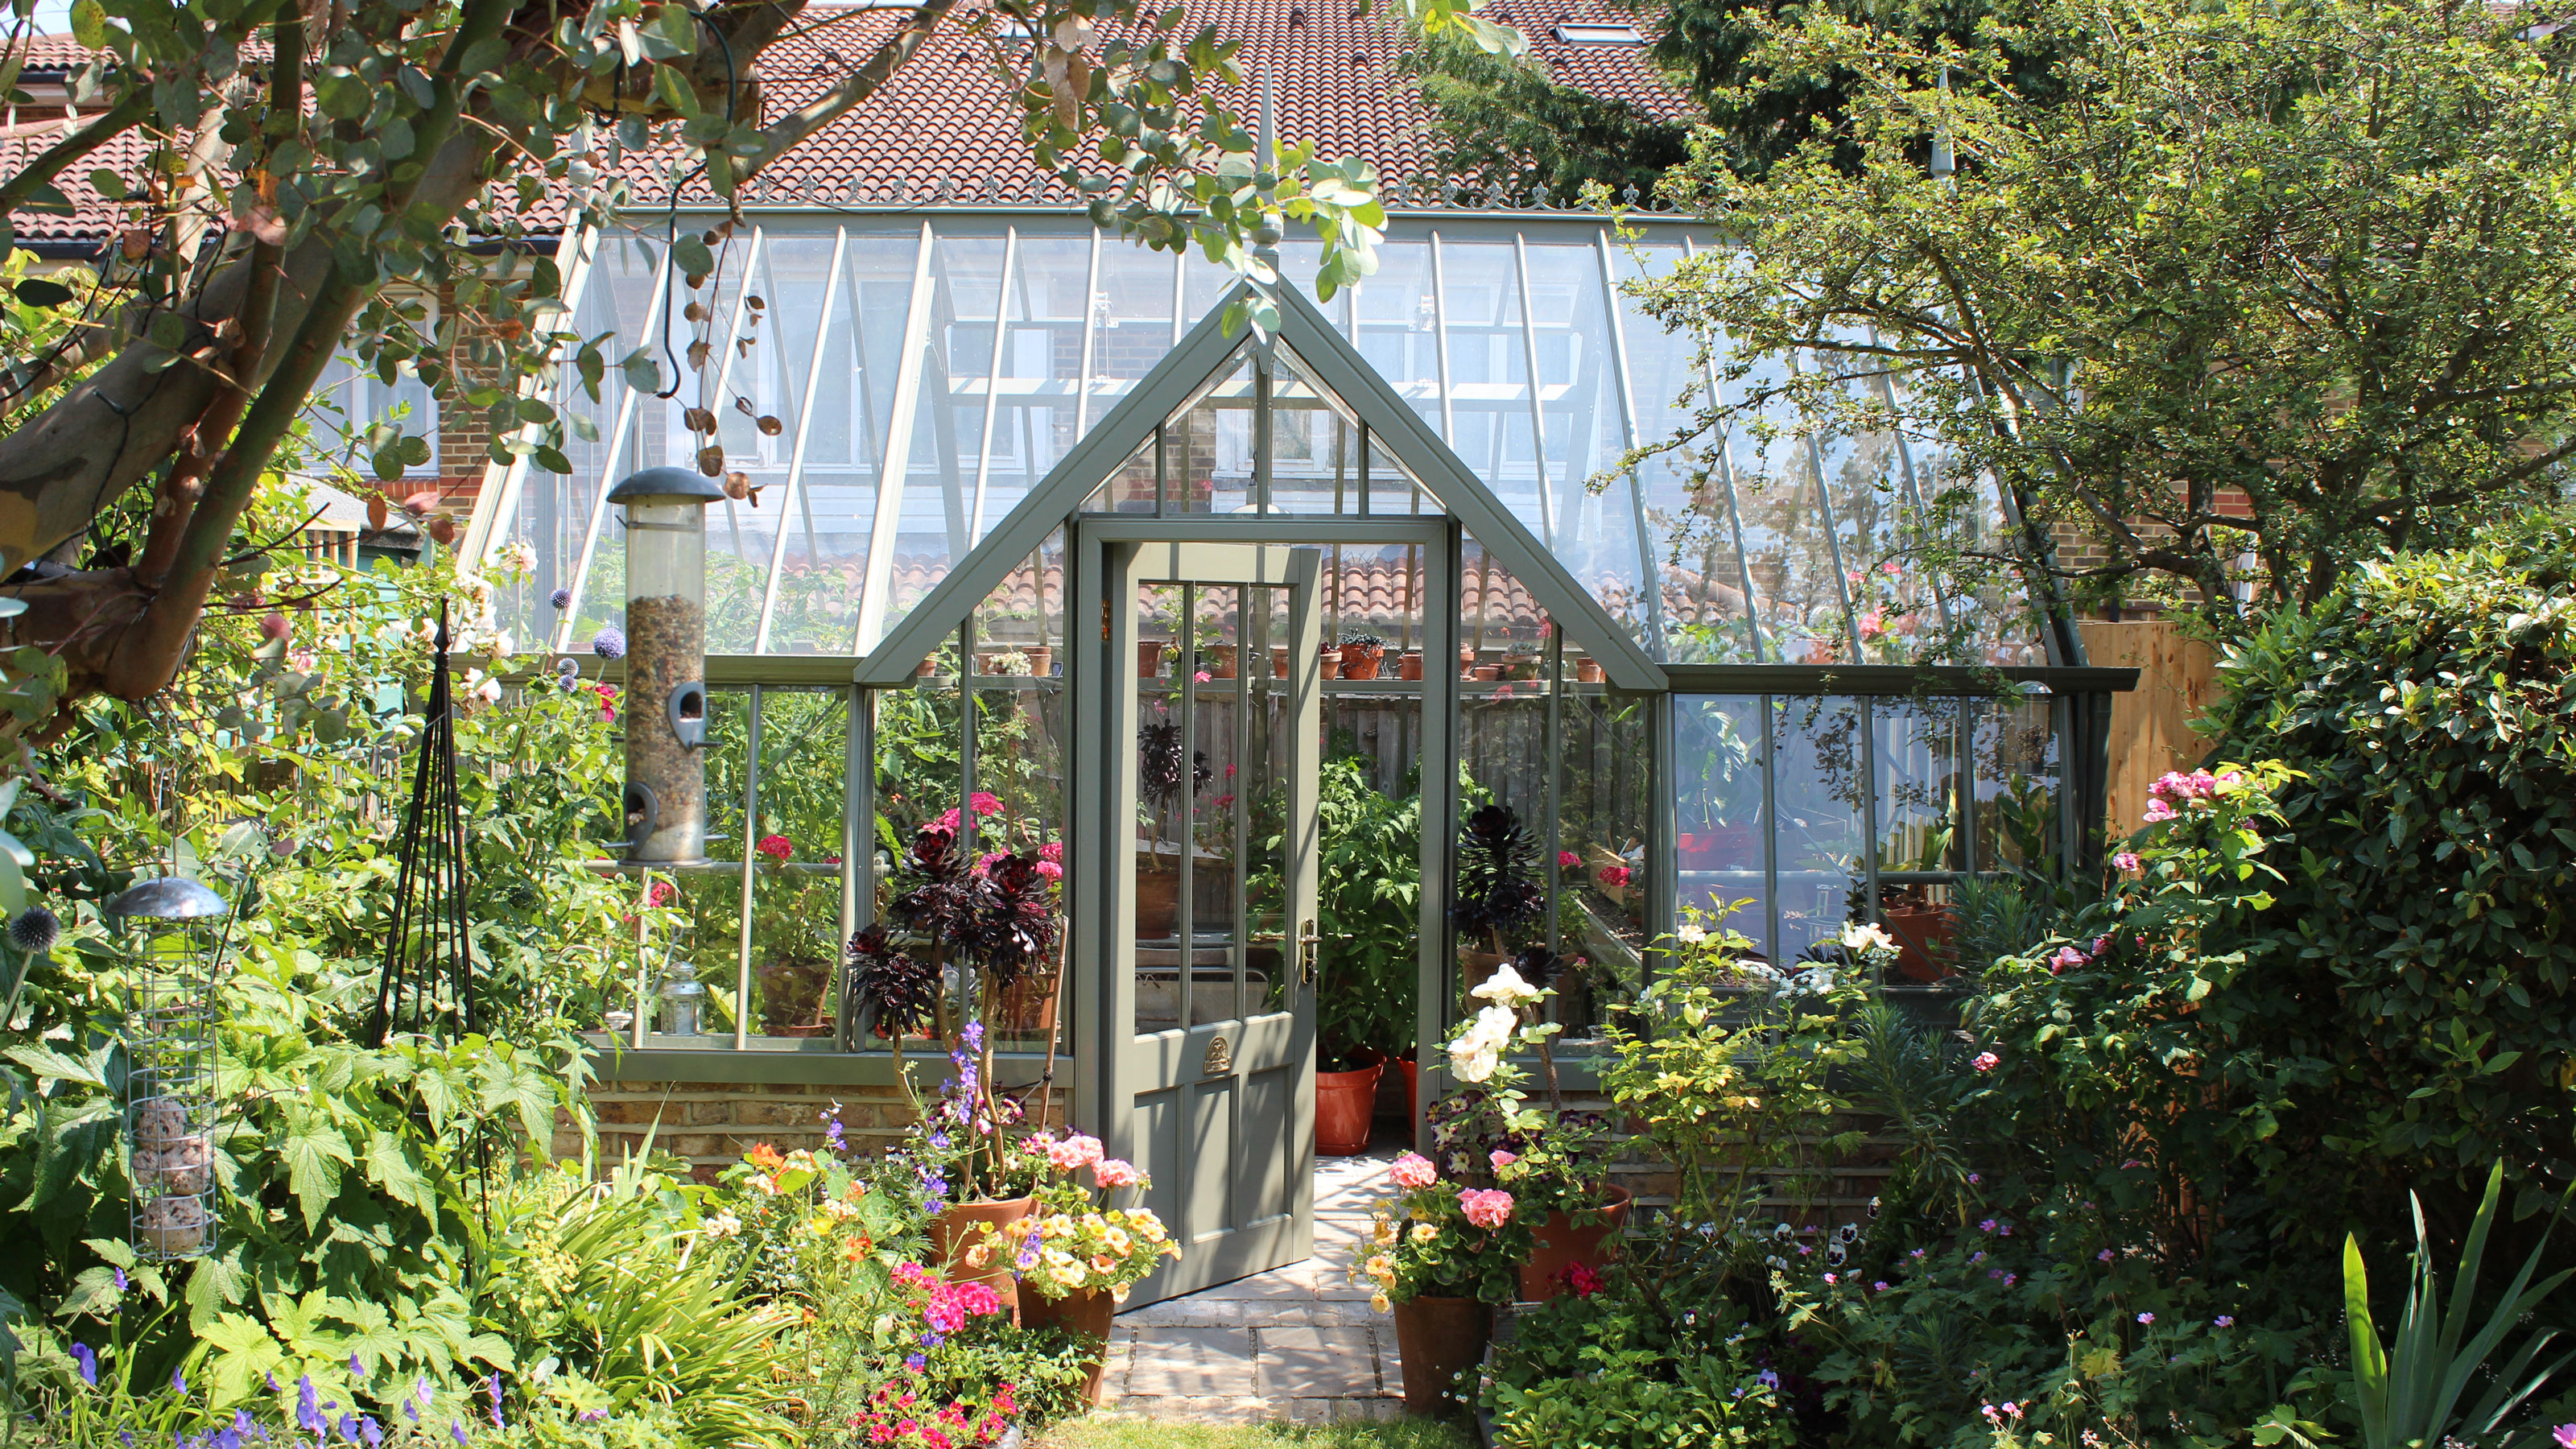
When deciding how to organize a greenhouse, there are a few key things to remember. It's important to get the layout right from the get-go, but how you go about deciding this depends on how you want to use the space.
If you intend to use your greenhouse for sowing seeds and propagating plants you will definitely need a potting bench. If you want an area to care for your houseplants it's good to have designated shelving space to keep them separate. And if growing vegetables is high on your wish list you need enough space for everything you want to cultivate.
So whether you're building a DIY greenhouse or just looking to make better use of your existing glasshouse, using the space as efficiently as possible is key to its success.
'Like any other living or working space, your greenhouse should be very personal to you and the way you organize it should reflect how you want to use it and what you plan to plant,' says Nelly Hall, Brand Director at Alitex.
Discover how to organize a greenhouse for a clutter-free growing space
If you want to maximize the potential of your greenhouse ideas, our tips on how to organize a greenhouse are a great place to start. With some clever layout planning and a few practical additions to your space, you can have your best growing season yet.
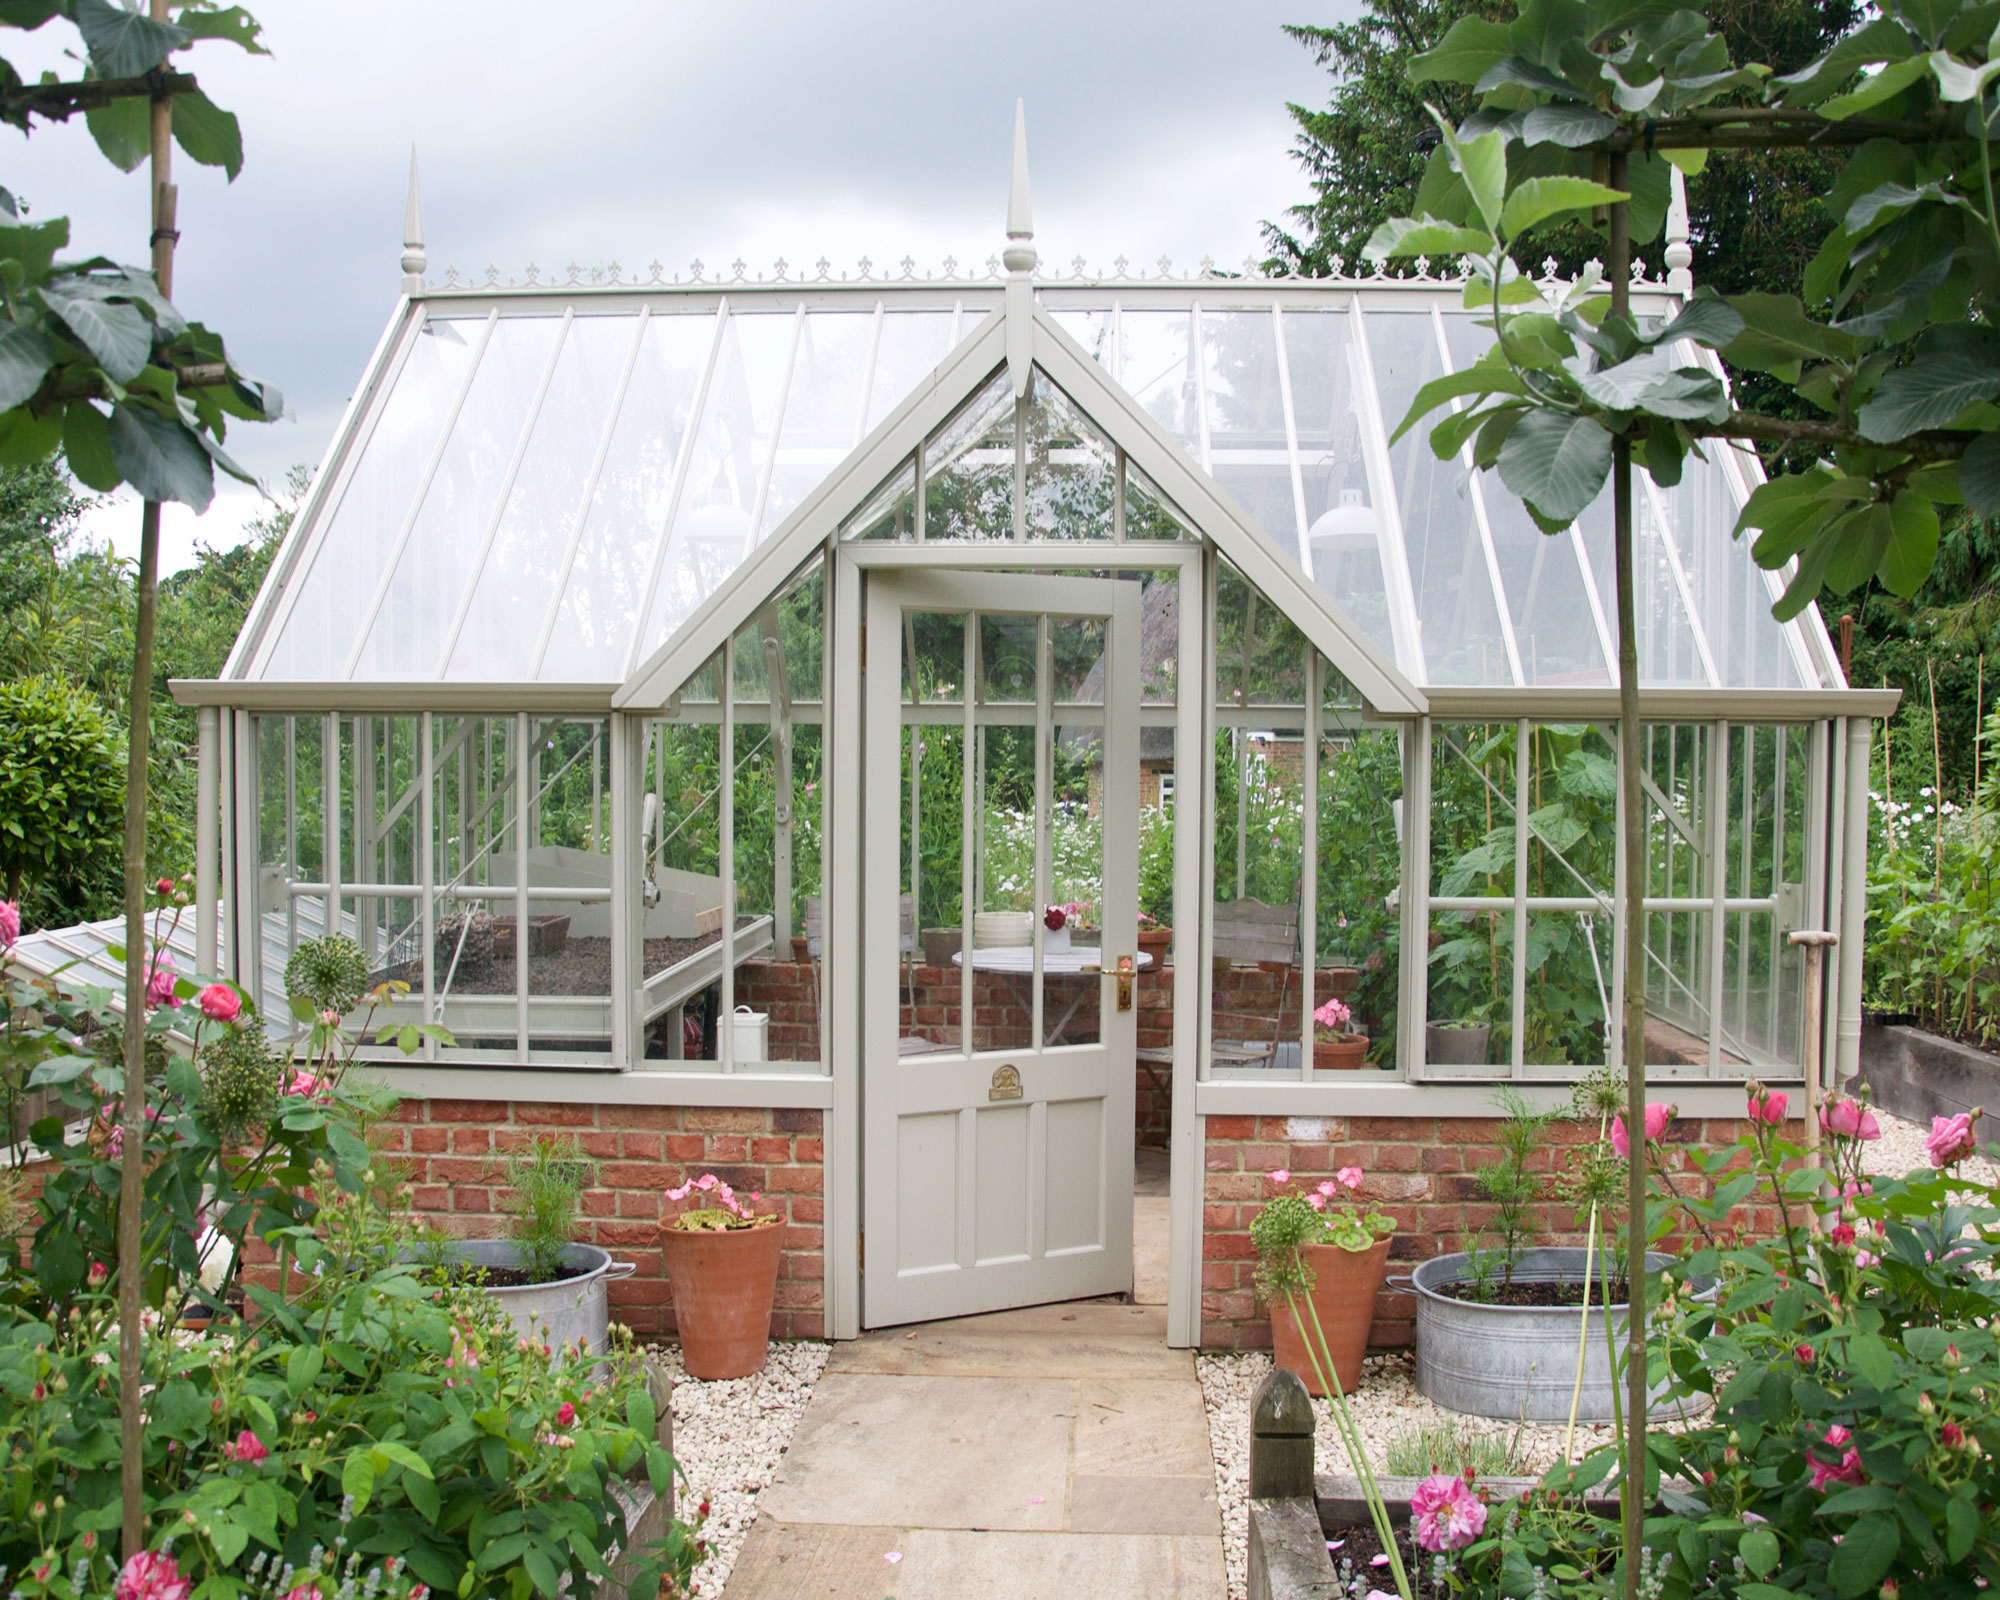
1. Zone the space efficiently
The most important thing when considering how to organize a greenhouse is to prioritize the plants you want to grow and then organize the space in a way which will help them to thrive.
When finalizing what to plant in a greenhouse, take into account whether the plants like to be planted in the ground, raised up high or settled comfortably somewhere in the middle. Sun-loving plants need the brightest spot in the greenhouse, while plants that require more shade prefer lower shelves.
'Create zones in your greenhouse for fruit, vegetables and flowers,' suggests Nelly Hall of Alitex. 'Think about how much space the plants will need and consider their temperature requirements. It's also a good idea to create separate zones within the greenhouse for potting and storage if space allows.' If you are planning on heating your greenhouse you need to allow space for that too.
Ultimately it's up to you to choose how to allocate space according to the dimensions of your glasshouse. 'It’s exciting setting up your greenhouse,' say The Greenhouse People, 'but it can be a headache figuring out how to properly organize it. While there is no single correct layout, the size and shape of your greenhouse will dictate how best to organize your space for overall efficiency.'
2. Include proper shelving in your greenhouse
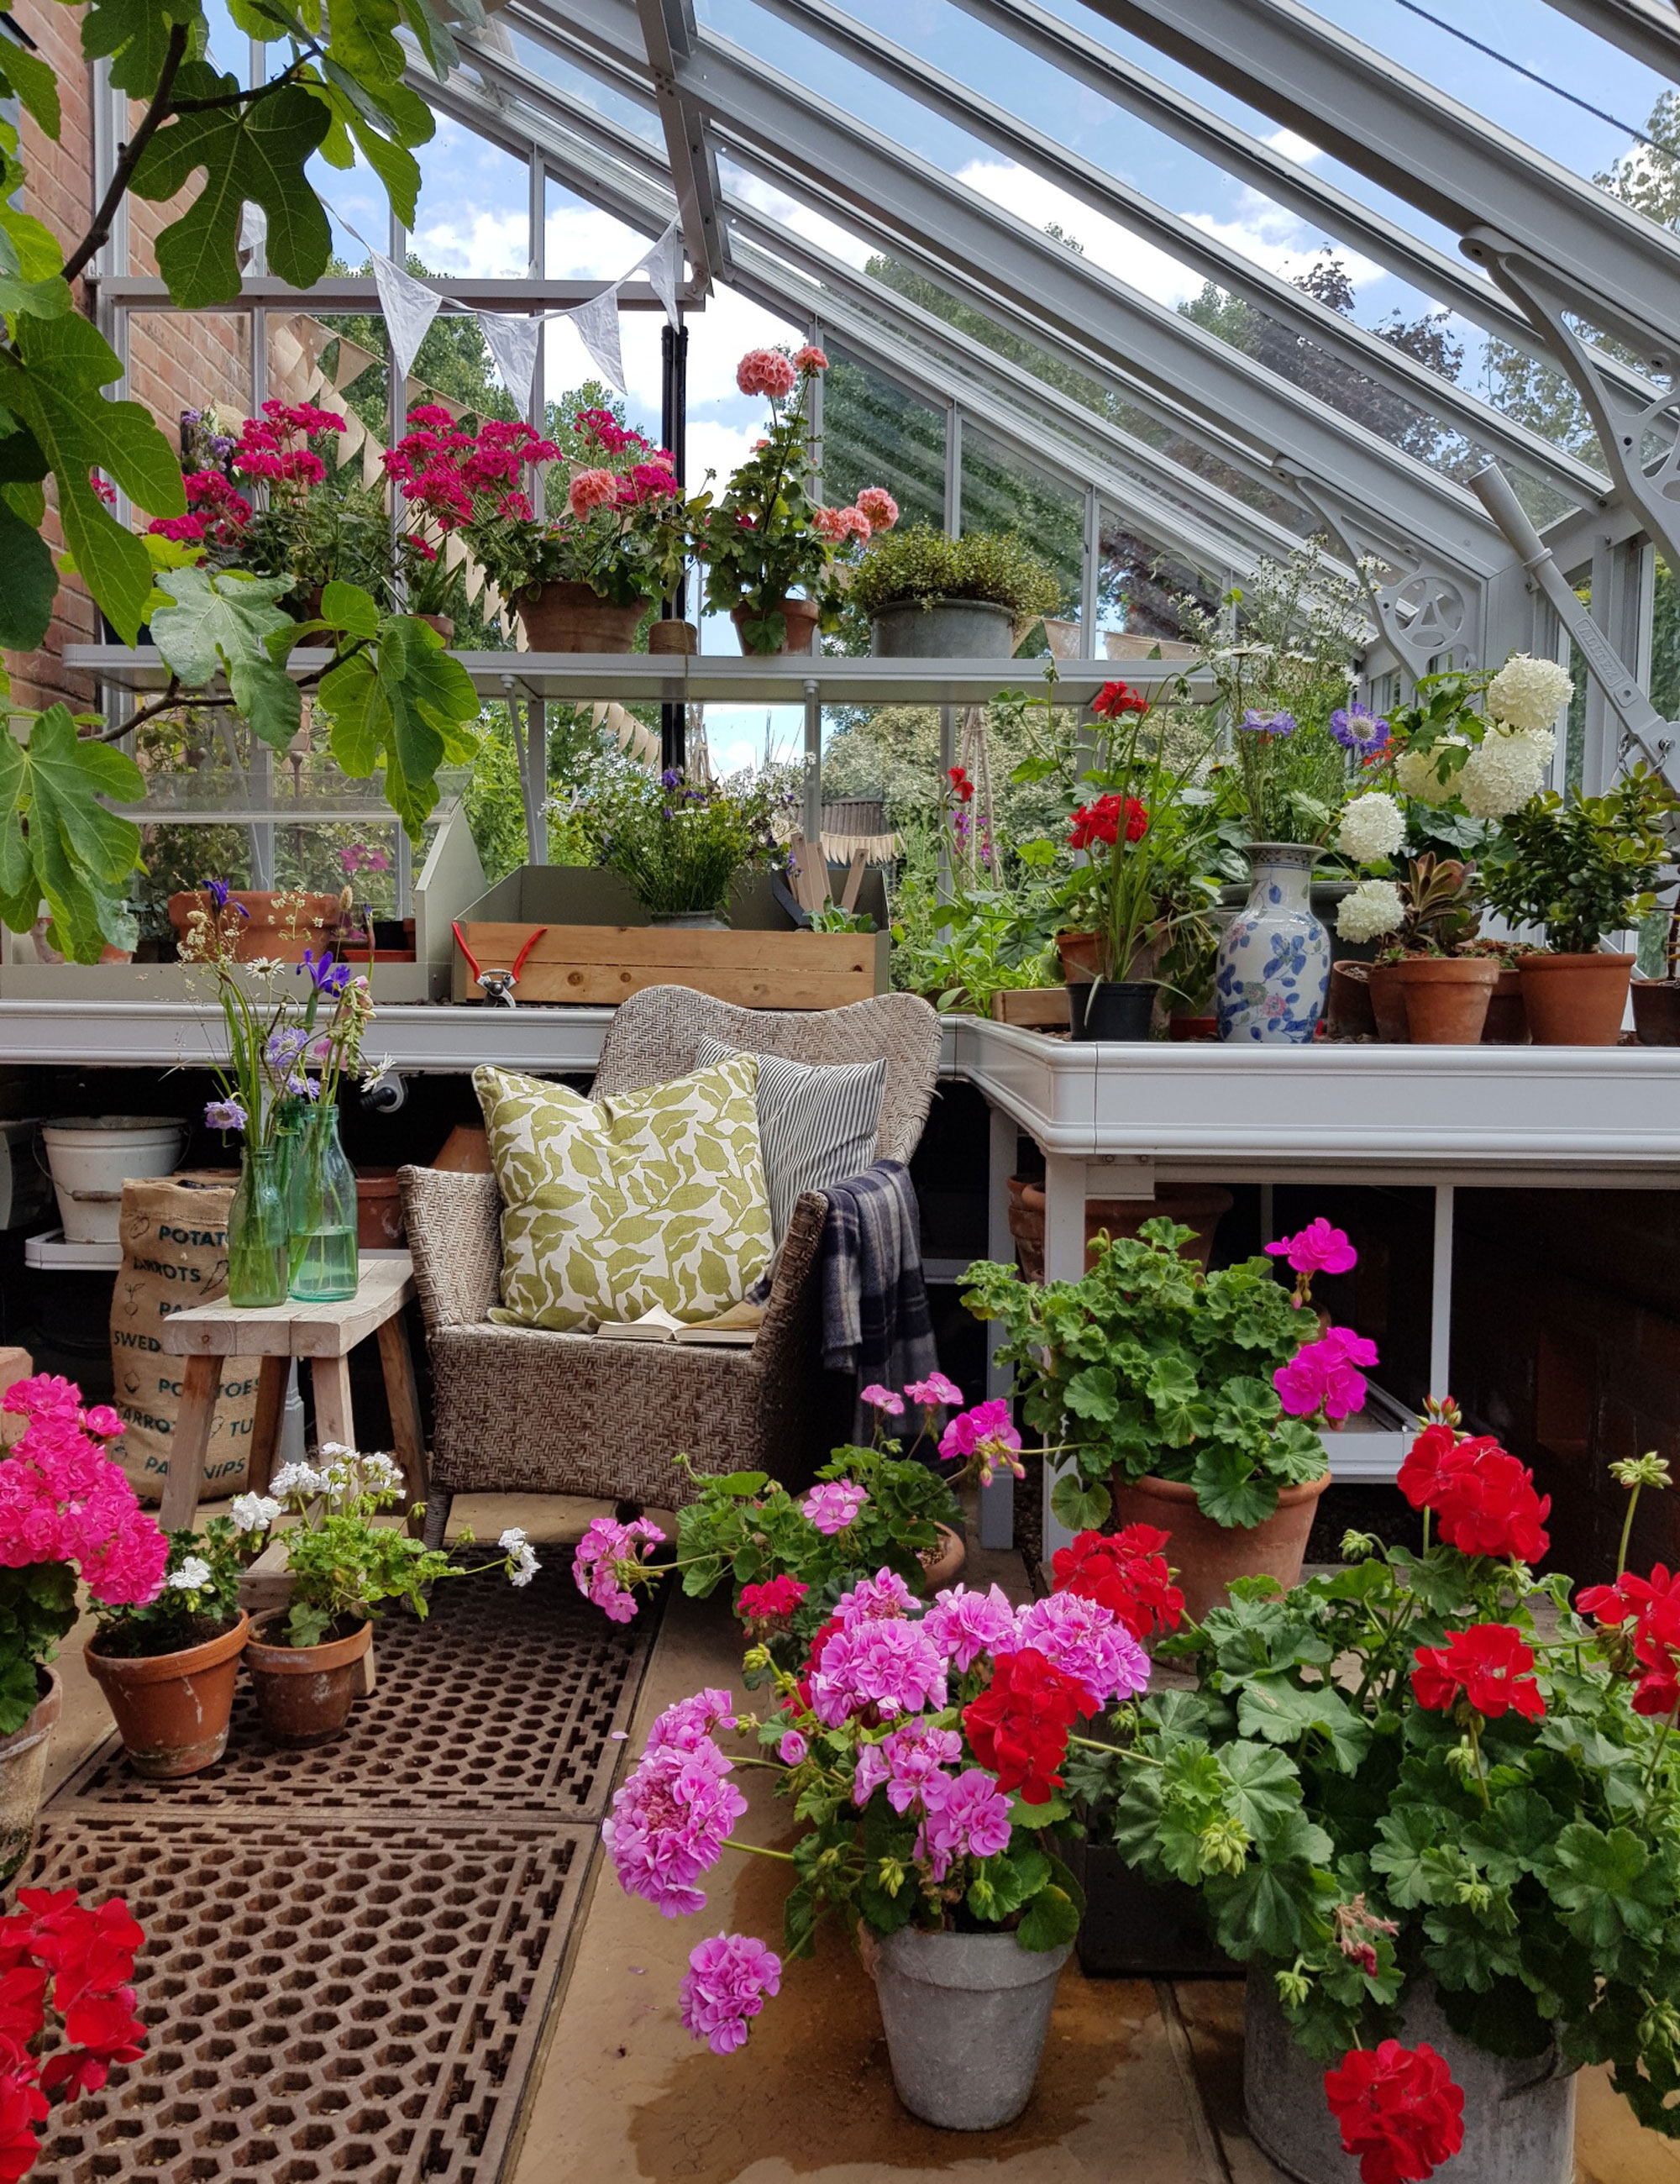
Greenhouse shelving lets you make full use of the height of your greenhouse and allows you to position your plants where they're happiest, known as staging. Whether you choose a free standing or wall-mounted style it's a great way of keeping everything organized.
If you choose a freestanding shelving unit, go for one with height-adjustable shelves to make the best use of space. Arrange storage boxes on them to keep everything neat.
'Tiered shelves made of aluminium are ideal as they are strong and durable,' say The Greenhouse People. 'Using tiered shelves also means you have the option to change shelf heights as necessary so you can configure them how you like.'
Combination staging has a solid surface on top, with slatted shelves beneath, which is a good idea to allow air to circulate and excess water to drain away to keep your plants healthy. The solid top is ideal for potting and propagating too.
Galvanized steel staging is worth the extra cost if you are going to use the shelves for heavier items like large pots filled with compost. 'If you have a small greenhouse, opt for removable shelves which can be taken down if you have tall plants below which need space to grow,' suggests Nelly Hall of Alitex.
3. Allow plenty of storage space
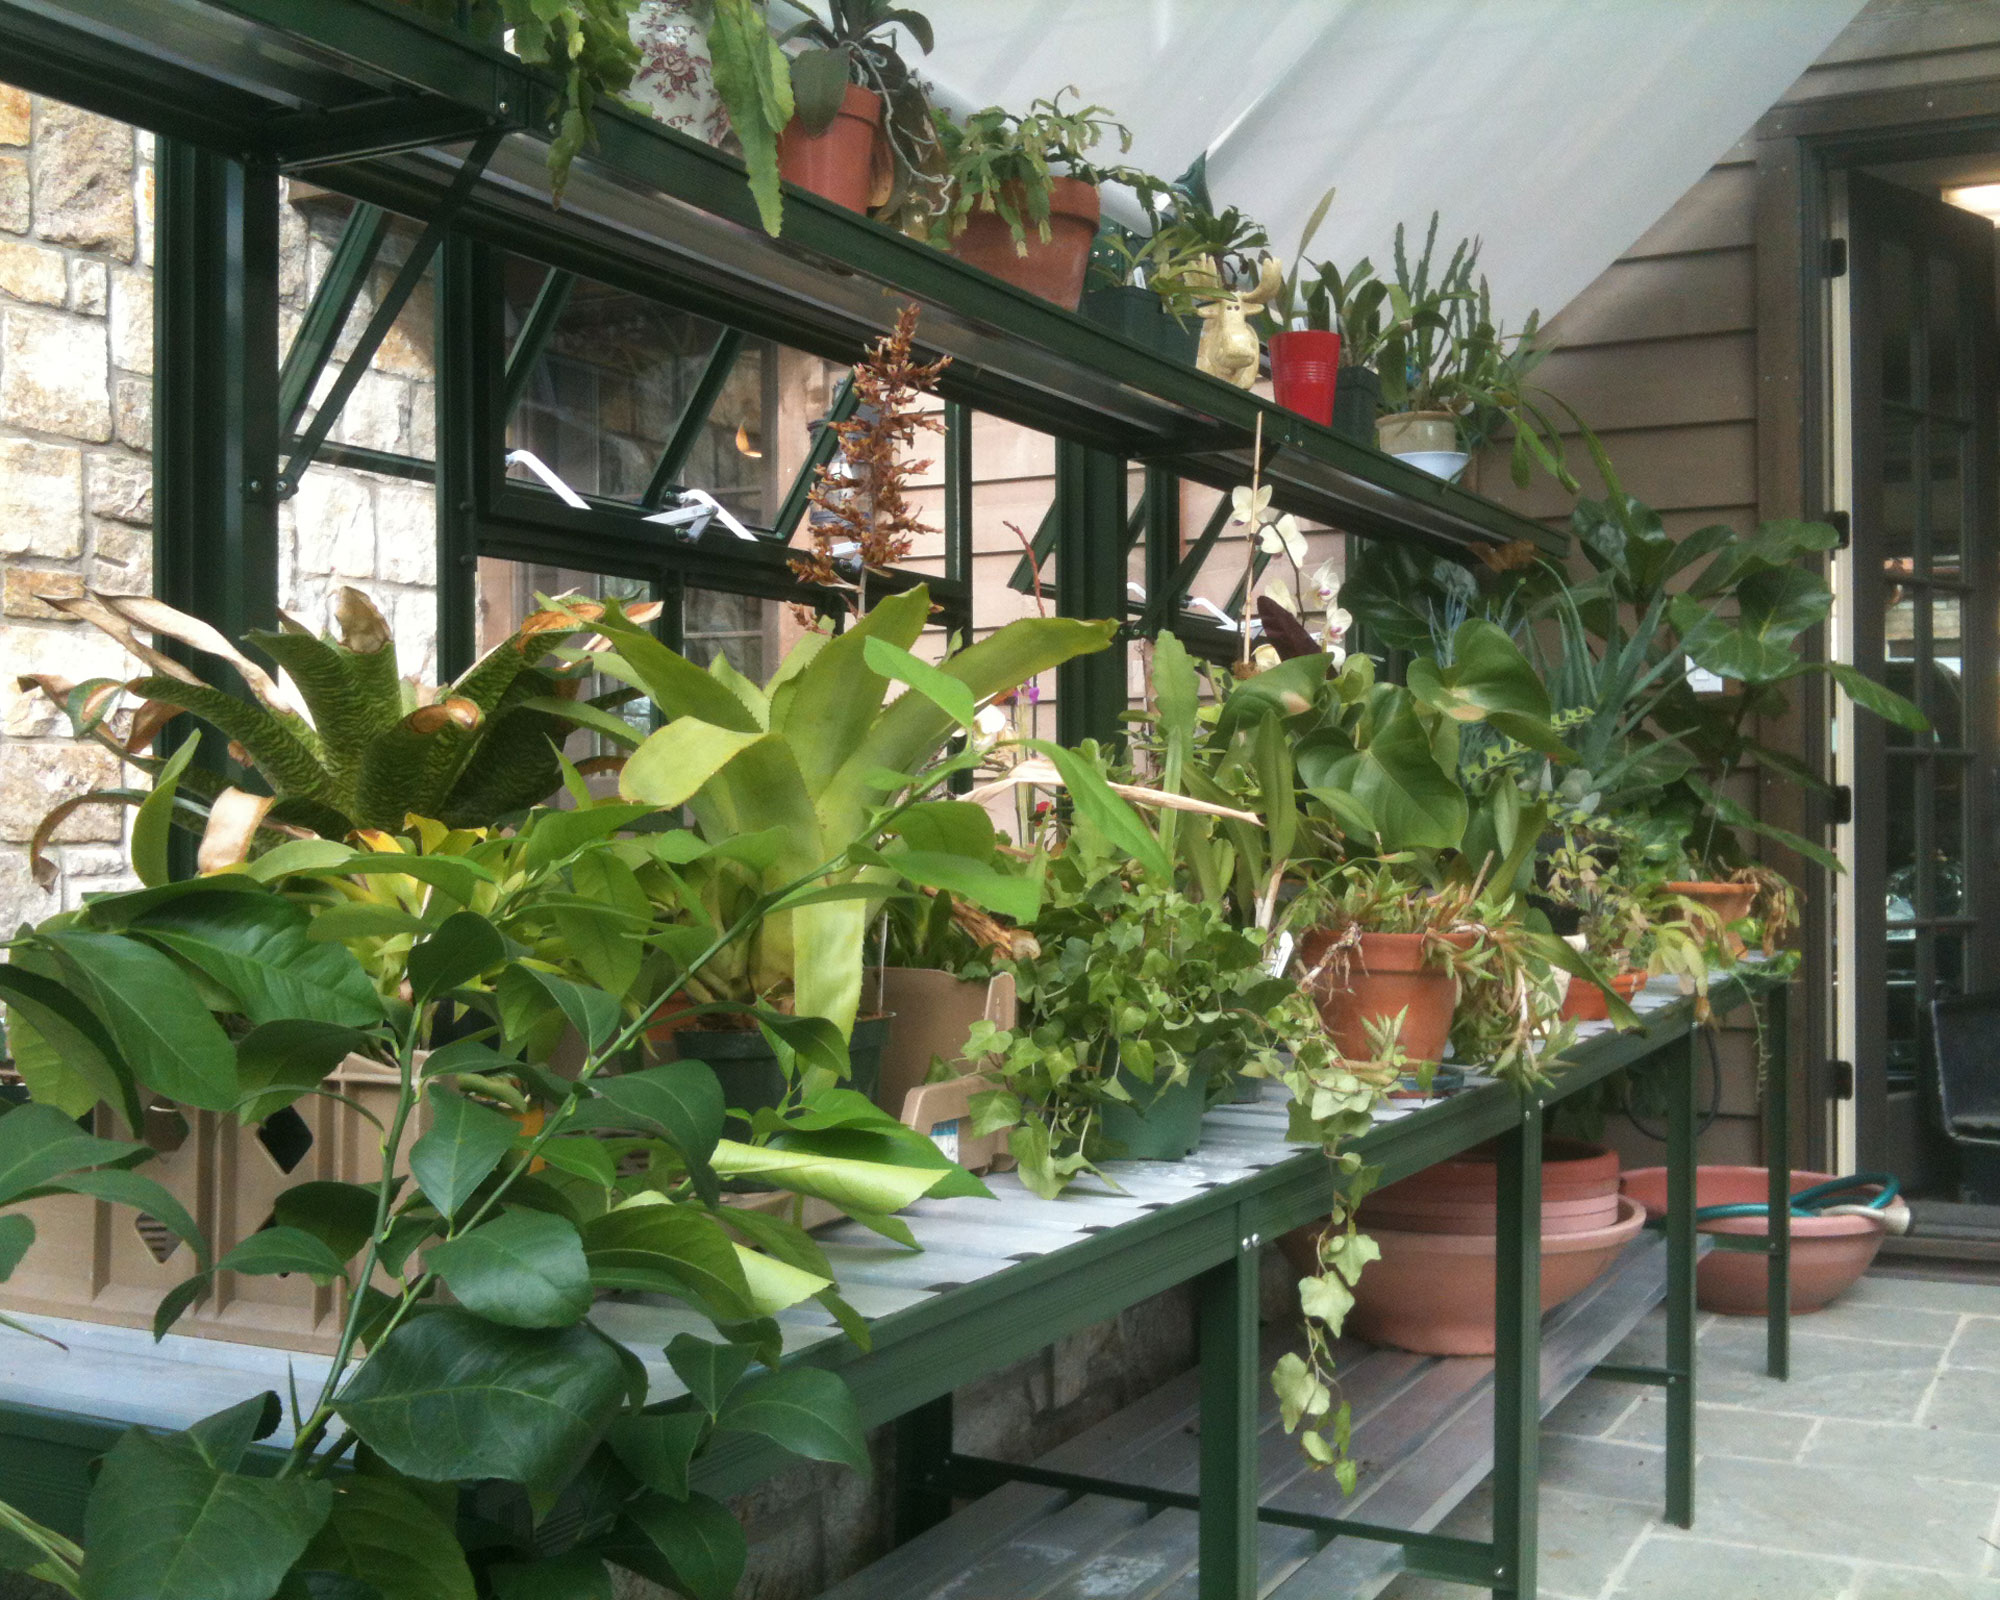
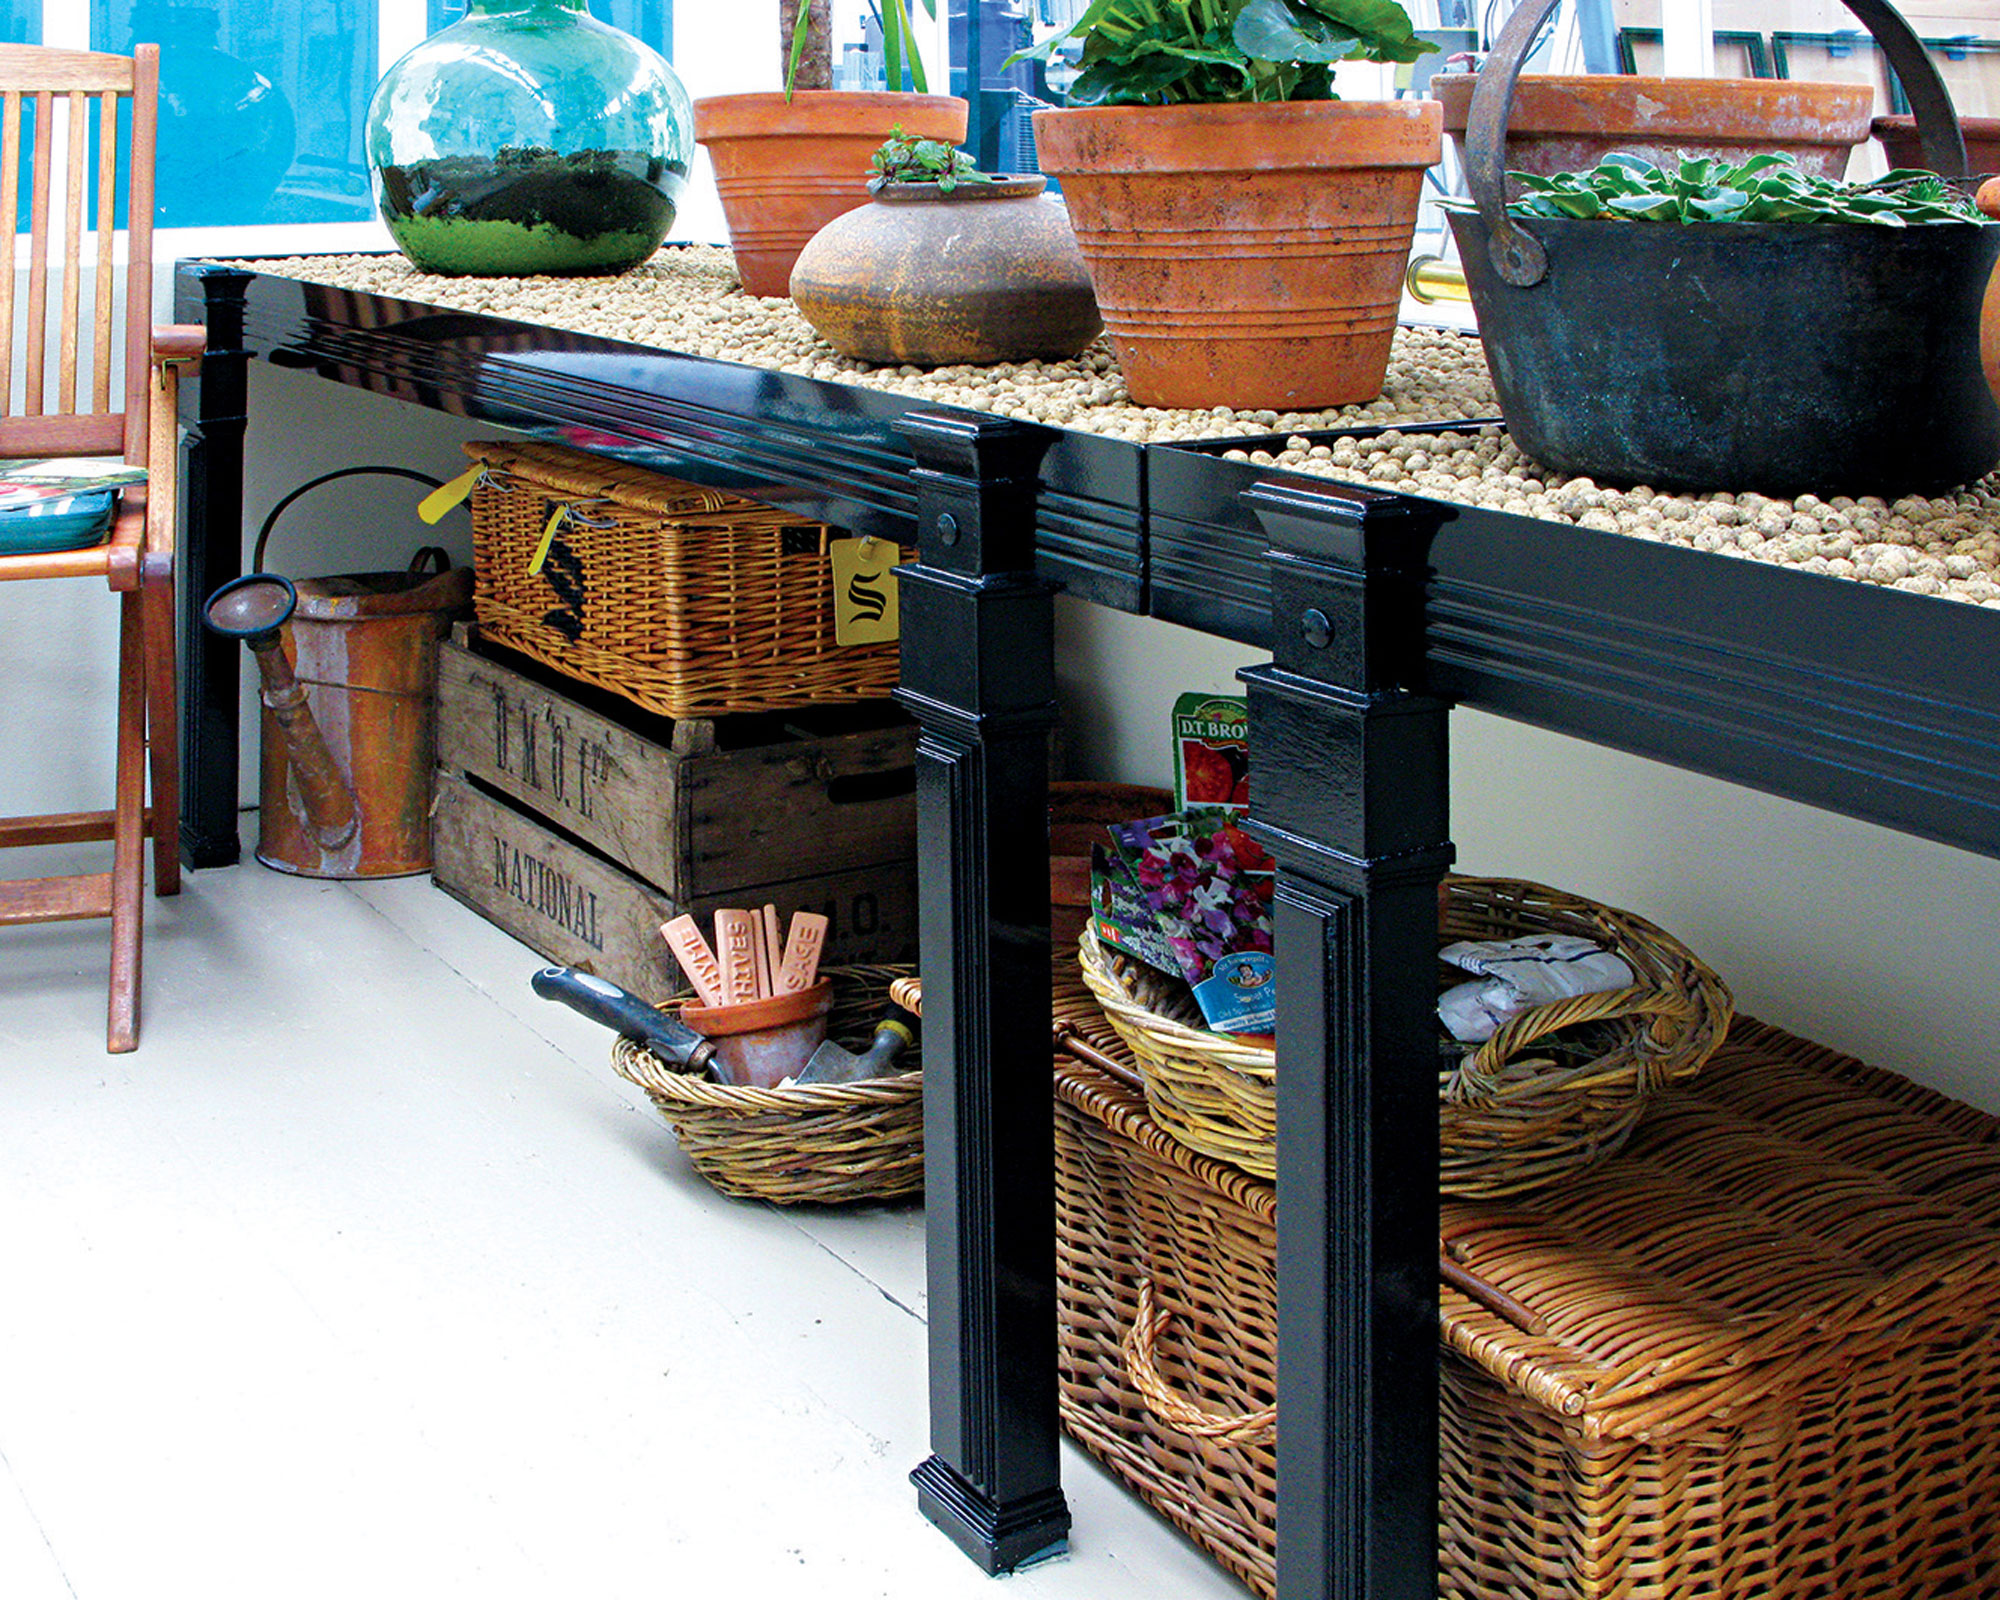
Shelving units and potting tables often have a generous amount of space beneath that you can utilize for storage. 'Optimizing storage capacity in your greenhouse is essential,' says Jack Sutcliffe, co-founder of Power Sheds. 'Then you'll be able to find things much more easily and store more stuff too. You may have older items that can be repurposed such as a rack or chest of drawers that offer a vertical space for storing garden tools or seeds.'
Wicker picnic basket-style hampers and wooden seed crates are handy for storage under the potting bench or staging, and they look lovely if you like the idea of turning your greenhouse into a luxe garden room. Create an allocated space for bags of potting compost too which can be screened if necessary.
'In order to keep your greenhouse organized, make sure you have designated space for everything,' say The Greenhouse People. 'Find a container to store your hand tools in and fix up hooks for larger gardening tools to ensure they’re always easy to access.'
And most importantly? Always put everything back in the right place if you want your greenhouse to stay looking organized.
4. Make room for a potting bench
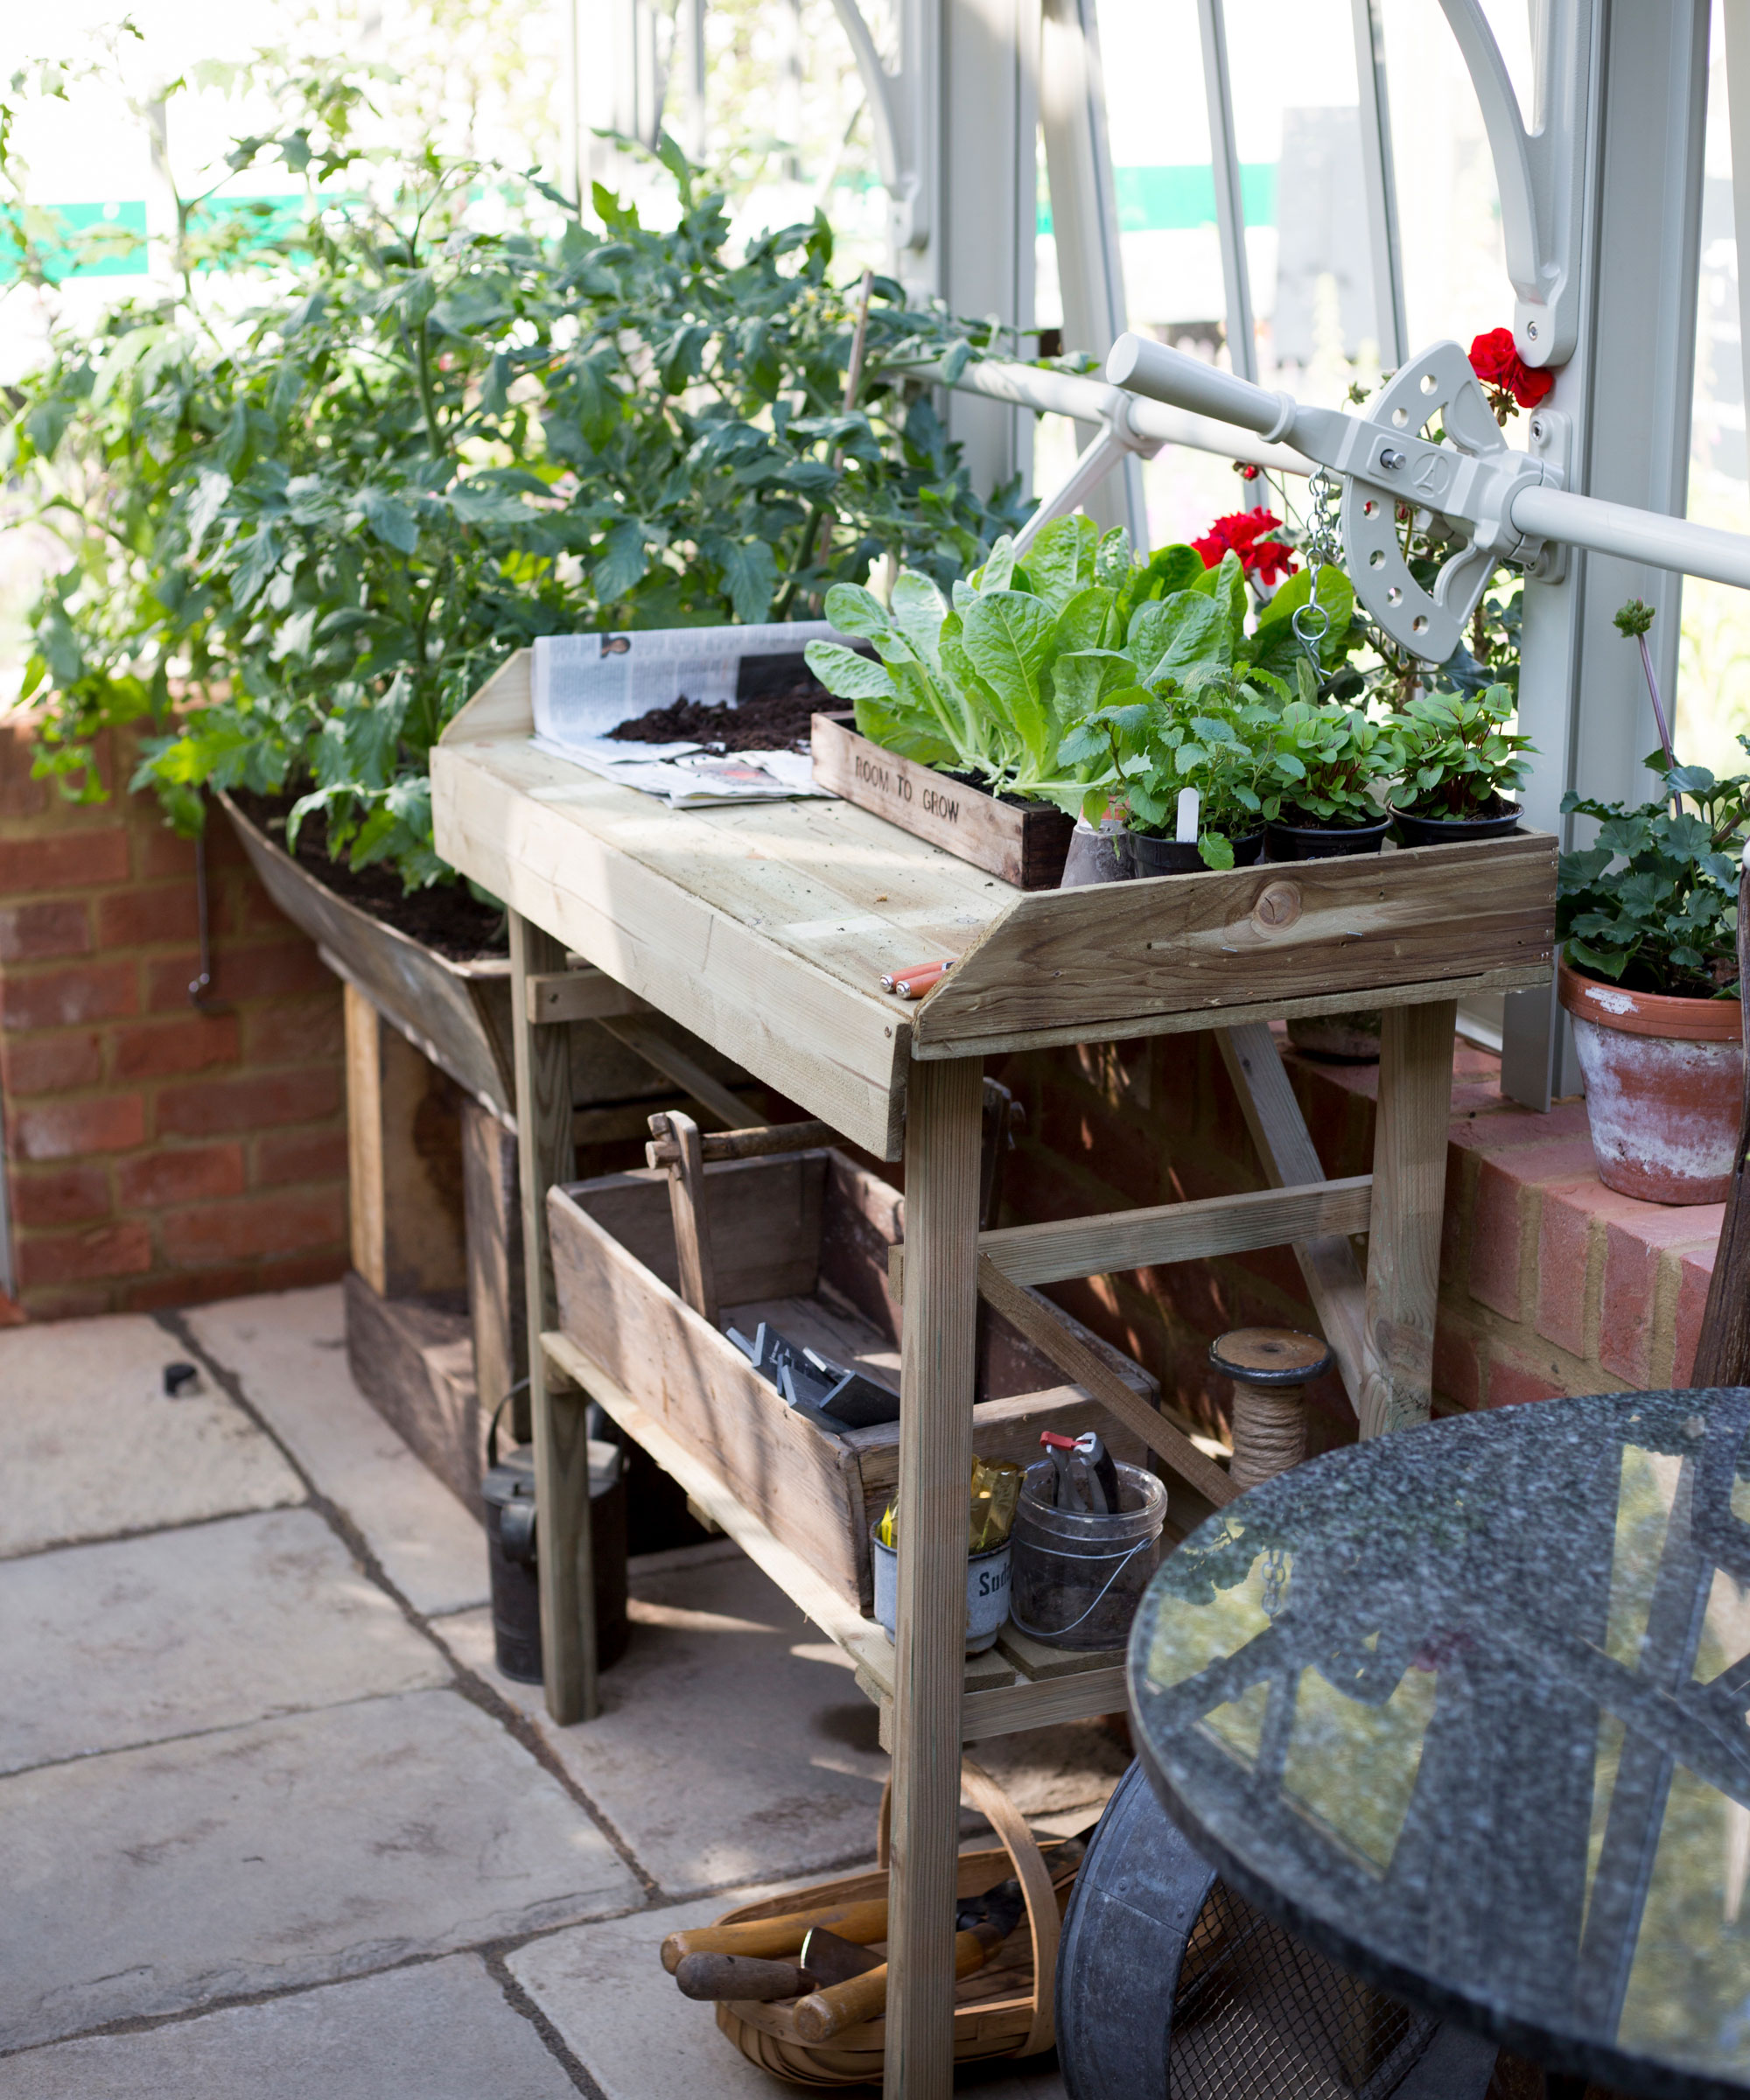
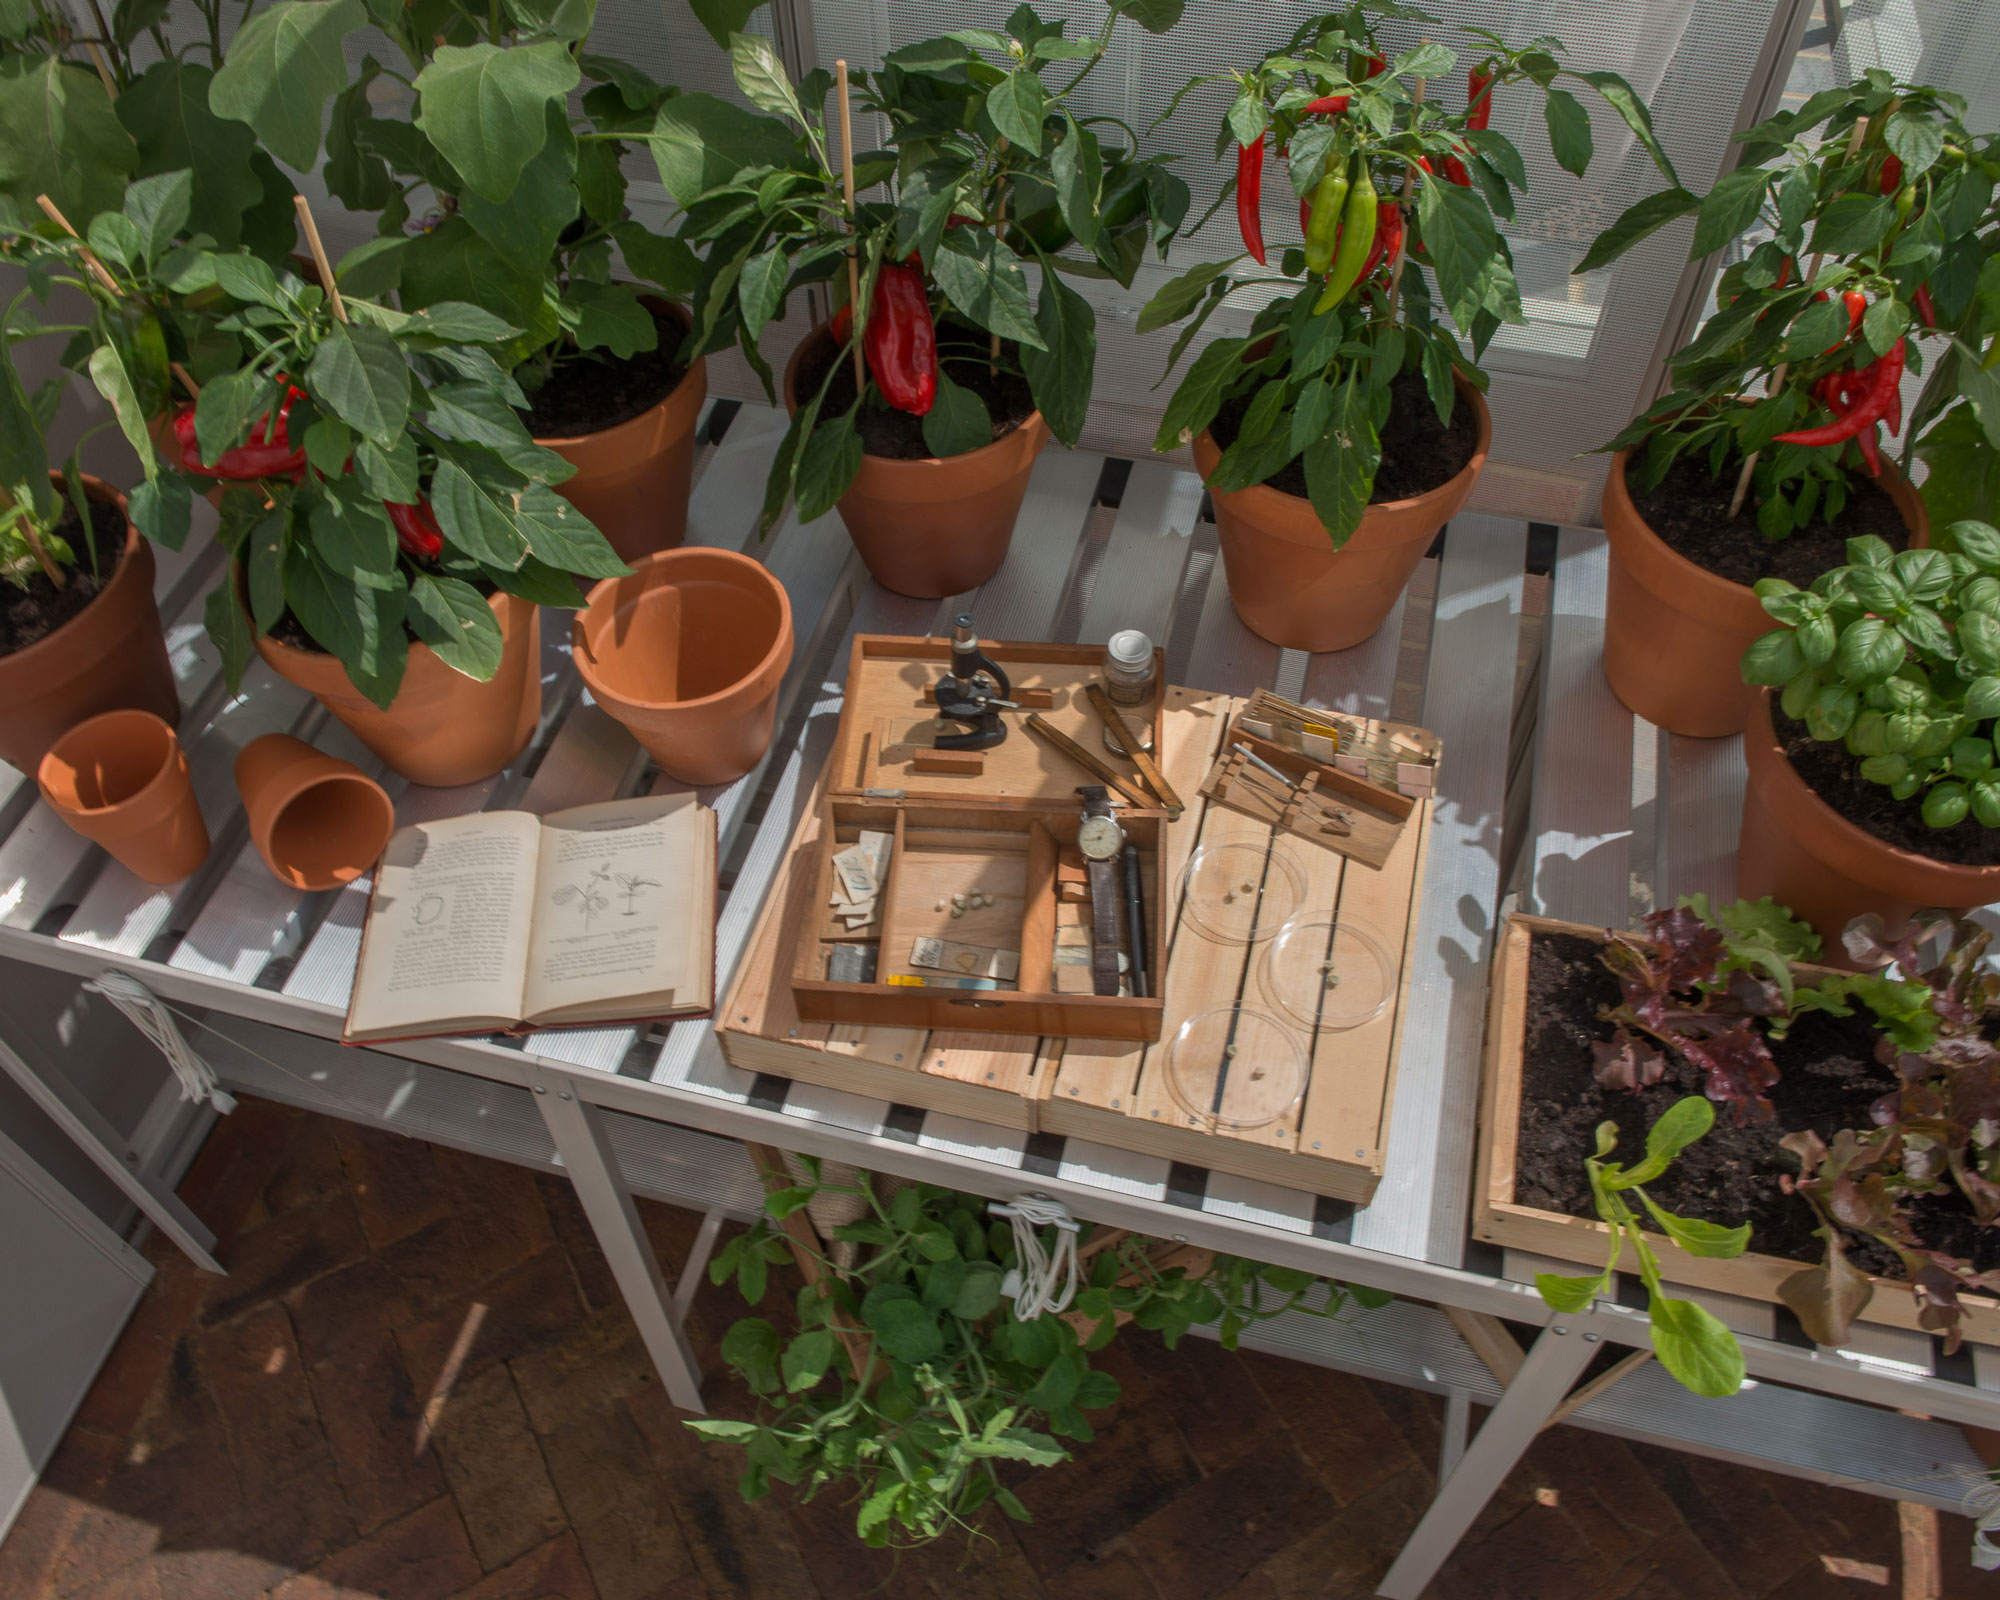
Another useful solution for how to organize a greenhouse is to add a potting bench so you have space to sow seeds, pot up plants and propagate cuttings, whatever the weather. 'Set aside some bench space for repotting and propagation as well as seedlings, which may require extra care,' say The Greenhouse People.
It allows you to put everything you need in one place too. Position your potting bench near flowerpots, compost and tools for easy access.
Many benches come with hooks for hanging trowels, your best secateurs and scissors. Add a large pot to keep string, pens, labels and ties handy for transplanting delicate seedlings or taking cuttings. Store your pots and compost underneath.
If you're a fan of pallet ideas for gardens and handy at DIY, you can also make a practical and sturdy potting bench from wooden pallets.
5. Create a practical greenhouse tool station
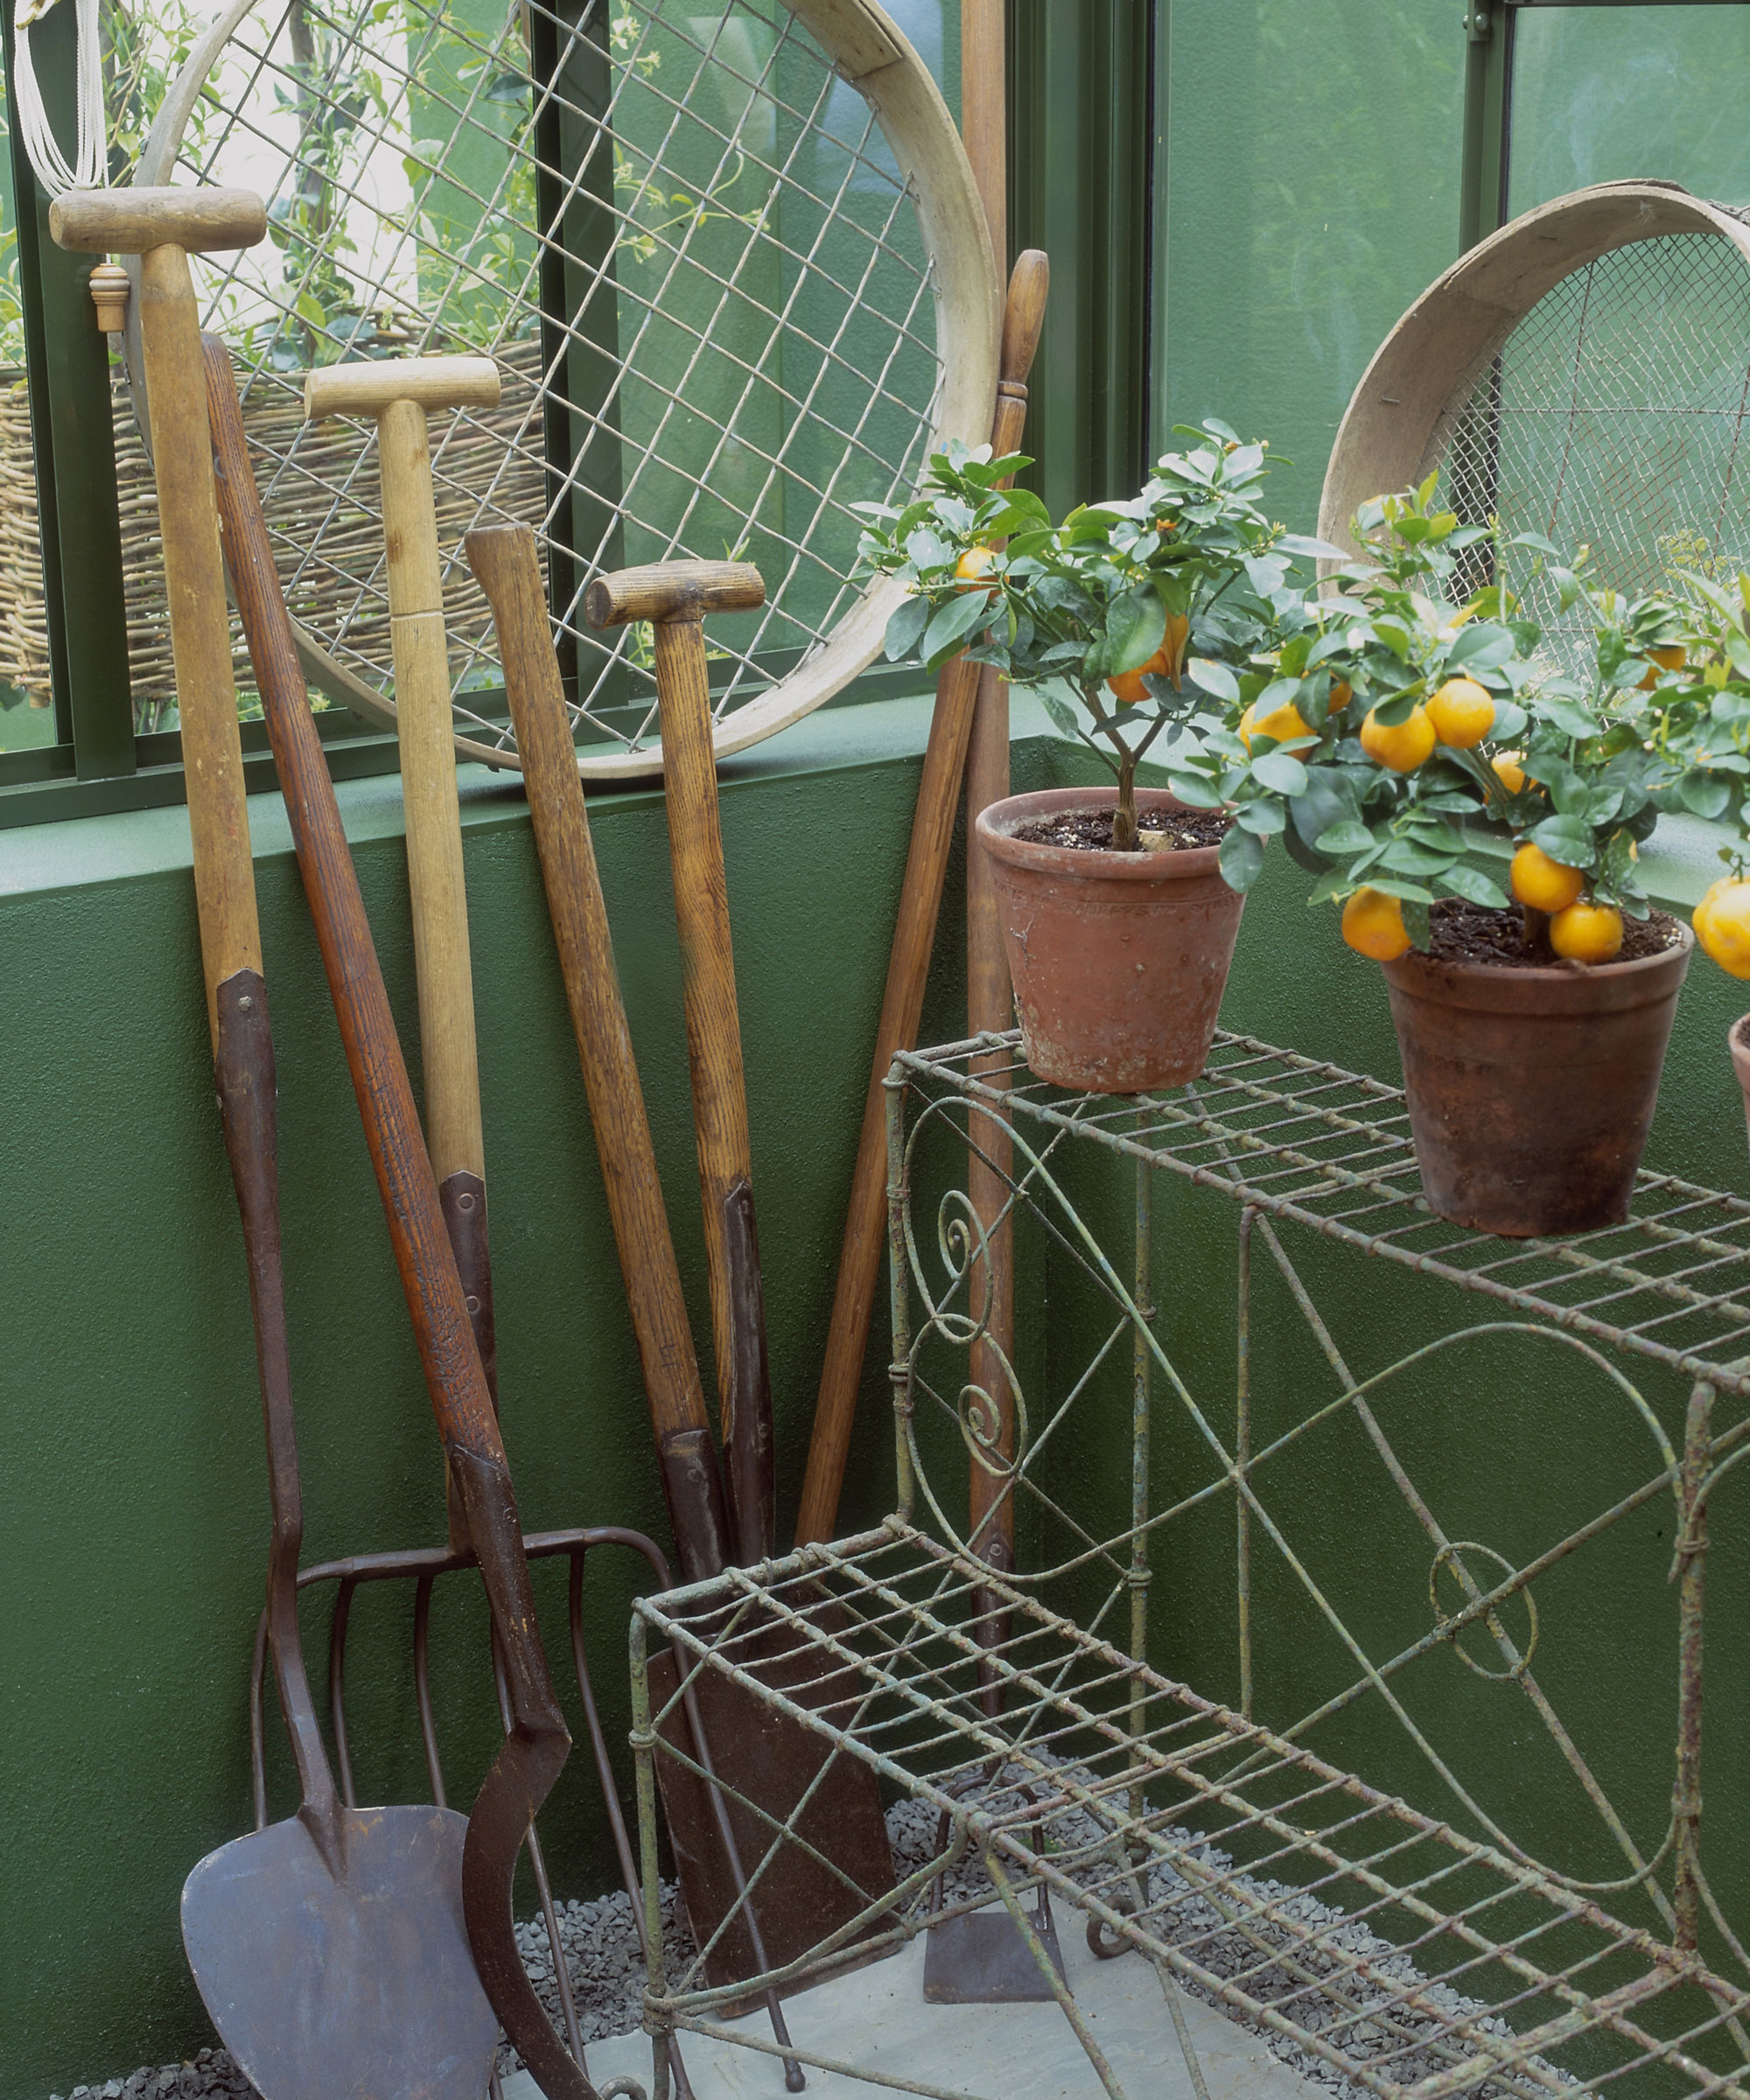
Garden tool storage ideas are just as essential in a greenhouse as they are in a shed. It's a good idea to store bigger tools together in one area such as on a purpose-built tool rack, either fixed to a wall or the back of the door, to keep them out of the way but still accessible.
A length of sturdy wood with some hooks hammered in is an easy DIY alternative or perhaps pick up an old umbrella stand from a charity shop or thrift store.
Smaller gardening tools should be kept handy for more regular use. Buckets and plastic dolly trugs are ideal for carrying and storing gardening tools. 'If you fill one of these buckets with a sand and oil mixture, metal hand tools (stored handle up) will stay rust free, clean and sharp,' according to the experts at Waltons.
If you only have room in your plot for one of the best mini greenhouses, it can be useful to place it near a shed or garage so you can store essential tools nearby.
6. Utilize overhead hanging space
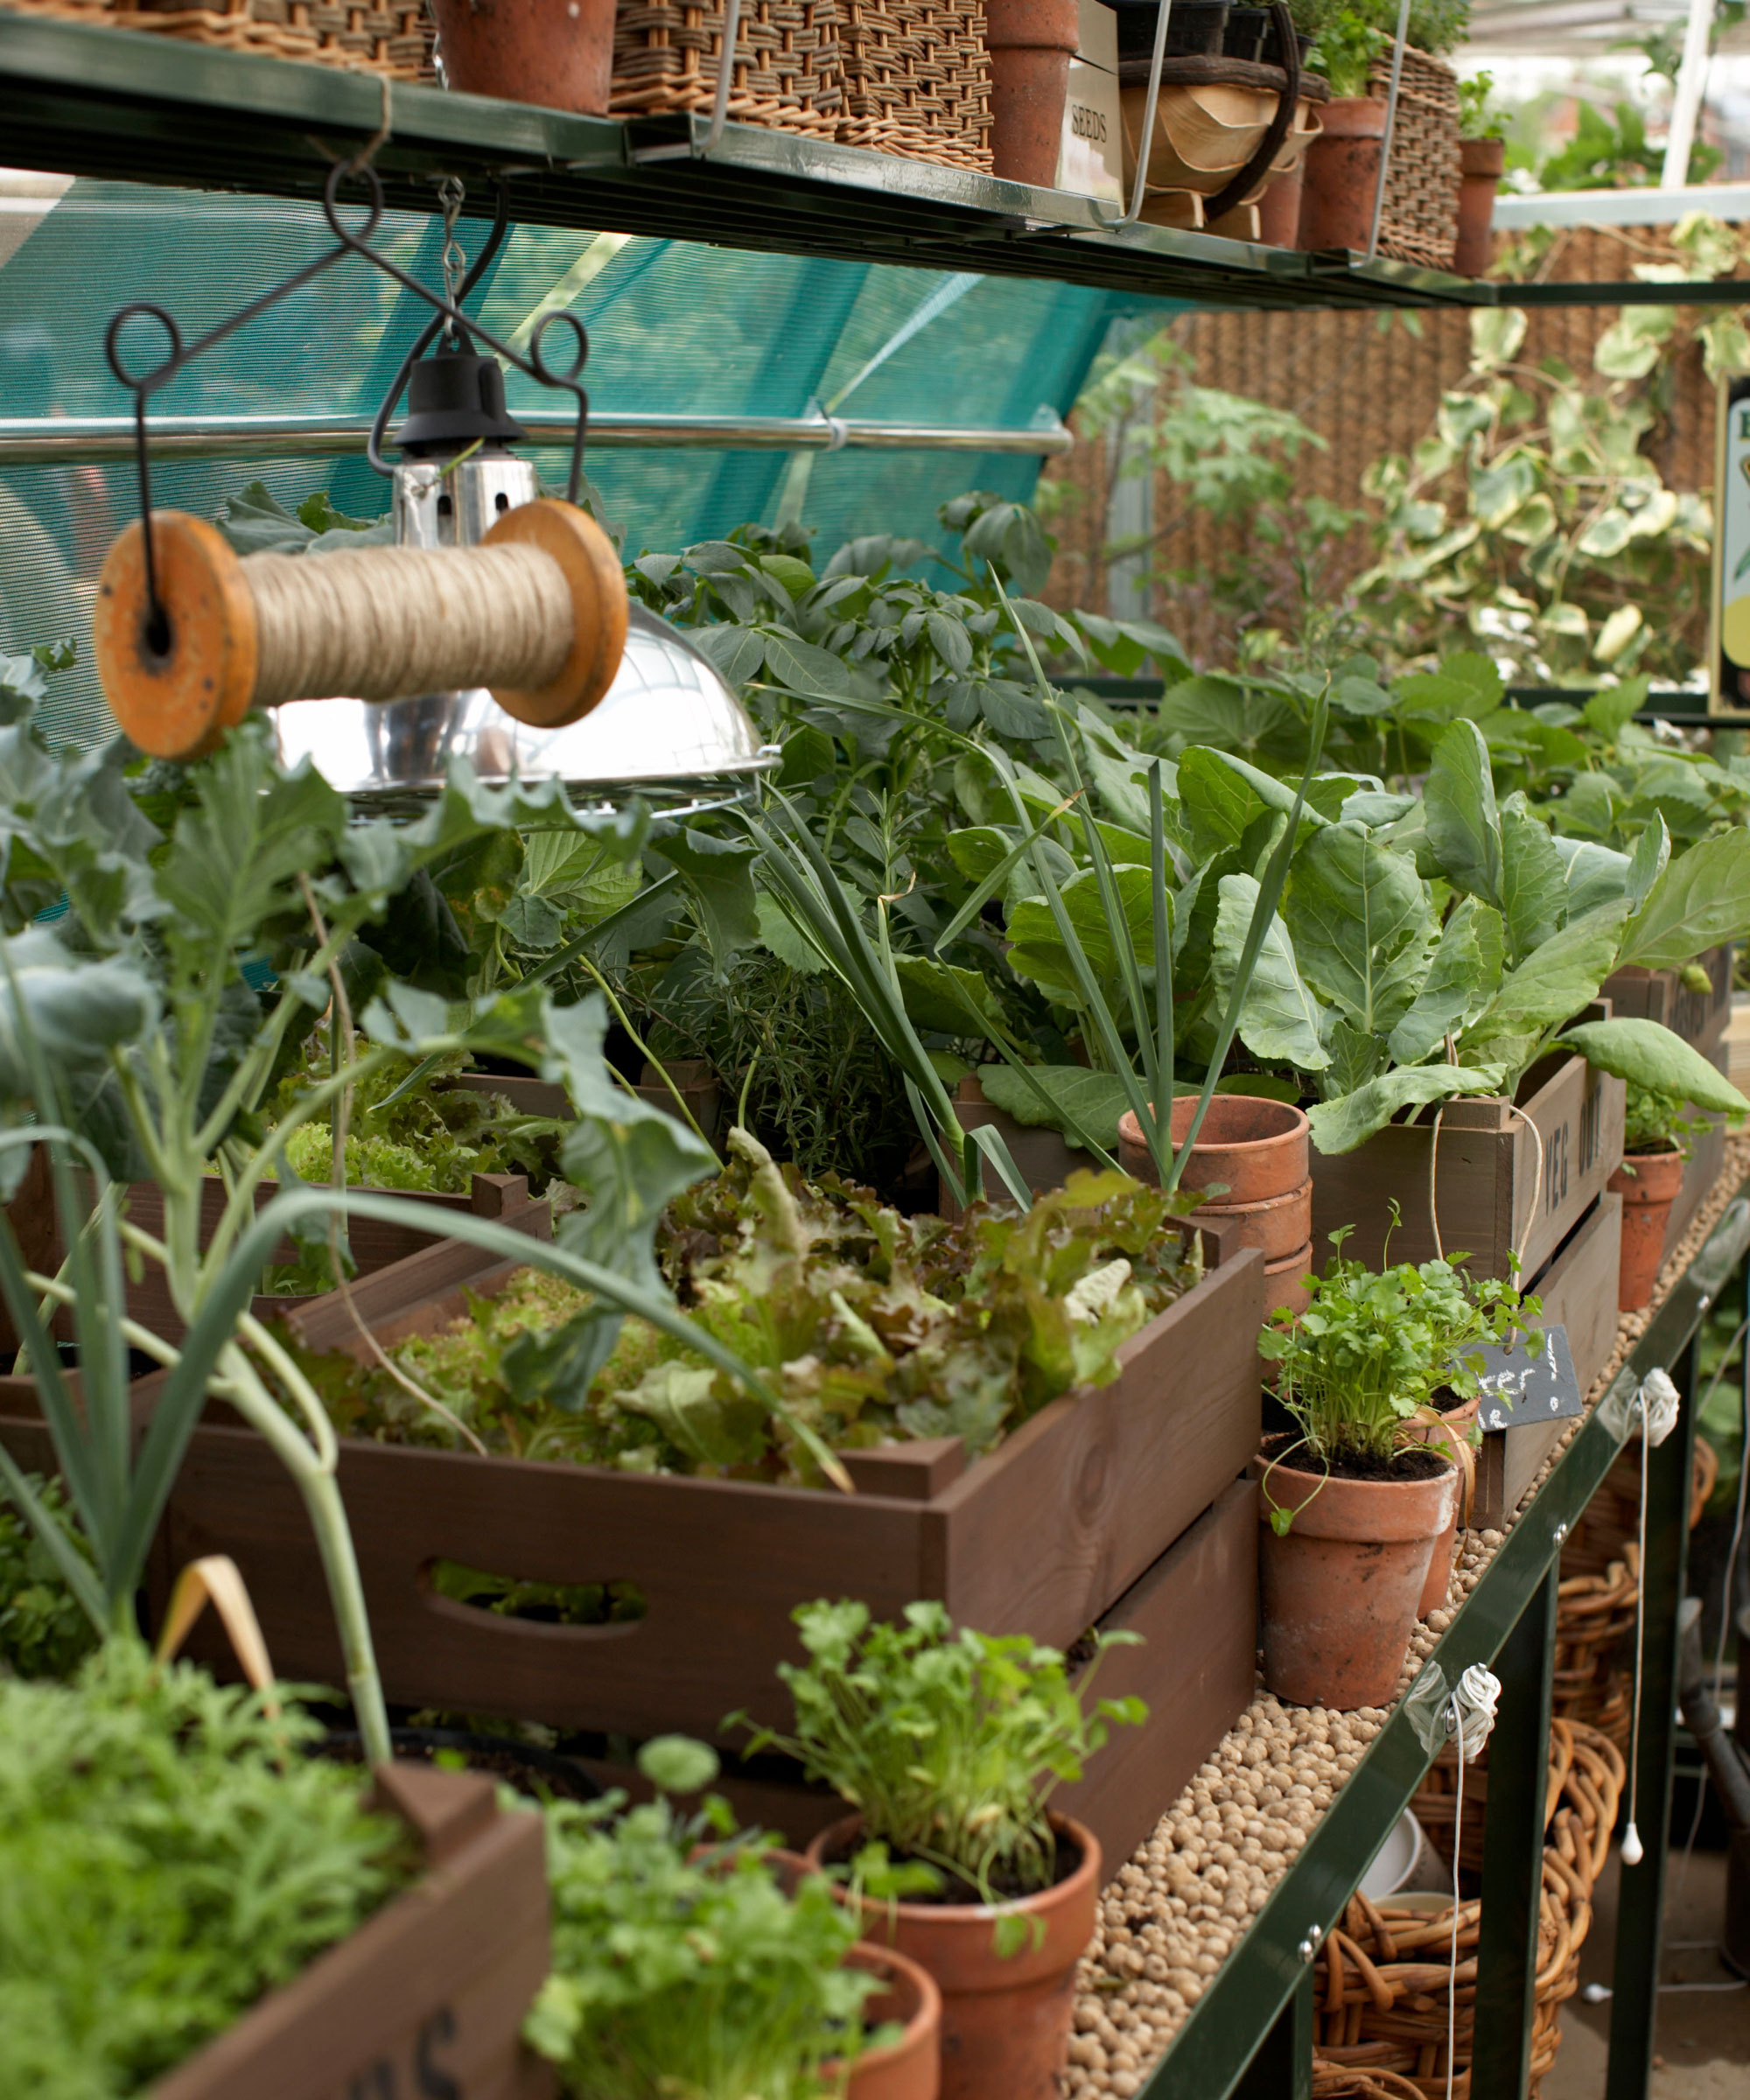
'If your floor area and worktop is cramped, install some hooks for a great space-saving solution to hang your tools, gardening gloves, seeds and even pots,' says Nelly Hall of Alitex. A string dispenser is a great idea too.
Make good use of space by fixing up hooks in the frame to hang up small tools and watering cans to keep them out of the way. These hooks can also be used to hang up bunches of herbs and flowers you've picked from the garden if you want to dry them for indoor displays.
7. Create a dedicated area for seeds
Create a seed library by getting your collection organized and storing all your seeds together in one place. If this includes seeds you've collected yourself from the garden make sure they are labelled and stored properly in envelopes.
Seeds are best stored in a cool, dry and dark place, preferably an airtight container, so make sure you choose the right spot in the greenhouse. You can also get specialist racks for storing seeds that allow you to stack them vertically to save space as well as keeping everything neat.
Put up a greenhouse growing calendar or small whiteboard if you're aiming to do successional sowing so you can keep track of everything you plant and make notes when they need to go out into the garden.
Remember that a few seeds often go a long way, so if space is at a premium in your greenhouse don't go overboard every time you sow or you will end up with a glut of seedlings.
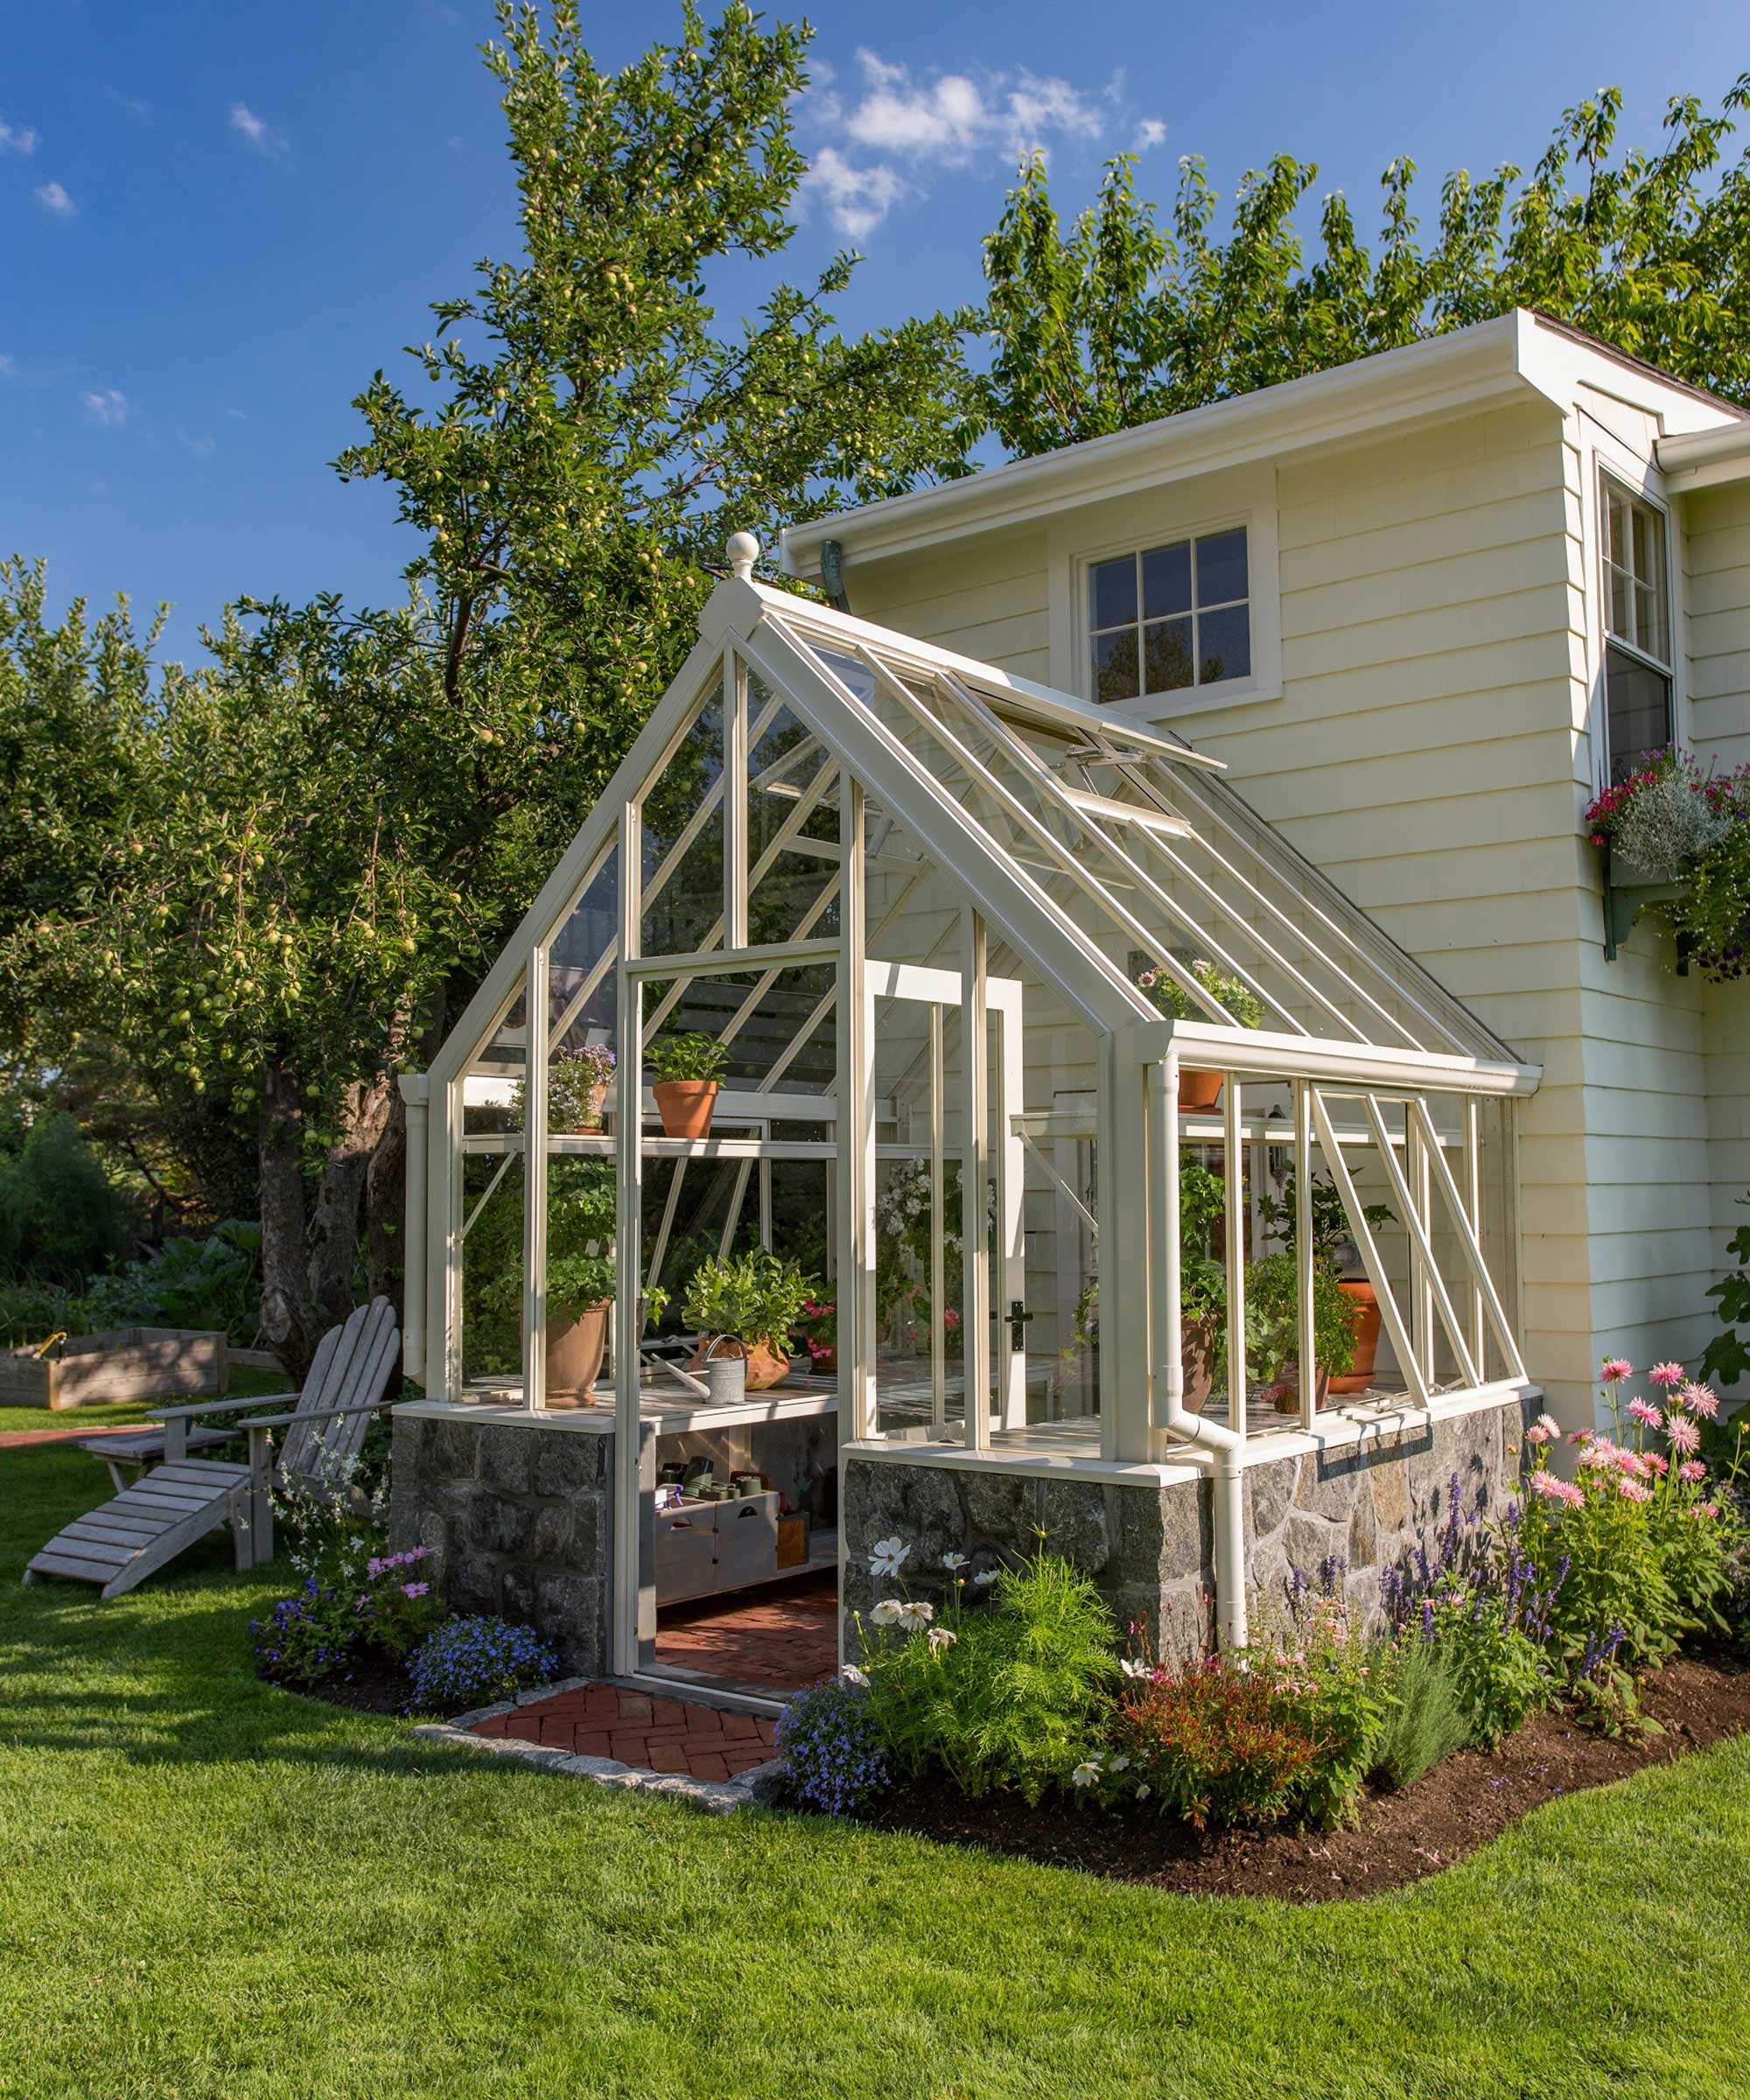
How do you organize the inside of a greenhouse?
We asked Hartley Botanic CEO Tom Barry for his top tips on how to ensure the interior of your greenhouse is designed to suit your space and growing needs:
- The layout of your greenhouse should be determined by what you want to grow.
- There are many ways to make the best use of the space inside using a mix of shelving, staging and partitions that also have the benefit of looking very attractive.
- Aluminium staging options can be powder coated in a color to match or contrast with your greenhouse.
- Partitions, which are internal glass walls, could also be used in the layout to provide a stylish way to separate your greenhouse into different zones. They will also allow you to create variations in climate for different plant groupings more easily. In addition, you can use partitions to separate growing and lifestyle zones within your greenhouse.
- Whatever type of greenhouse you have, it's a good idea to have a mixture of bench and shelving levels to suit different plants. Lower benches are useful for plants that are ‘resting,’ such as corms like cyclamen, as well as being useful for organizing watering cans and spare pots. Top shelf staging is ideal for orchids as it mimics their natural environment.
How do you organize vegetable crops in a greenhouse?
Learning how to use a greenhouse efficiently lets you extend your growing season, especially if you plan to heat it. This allows you to sow seeds earlier, pick crops sooner and grow for more months of the year as well.
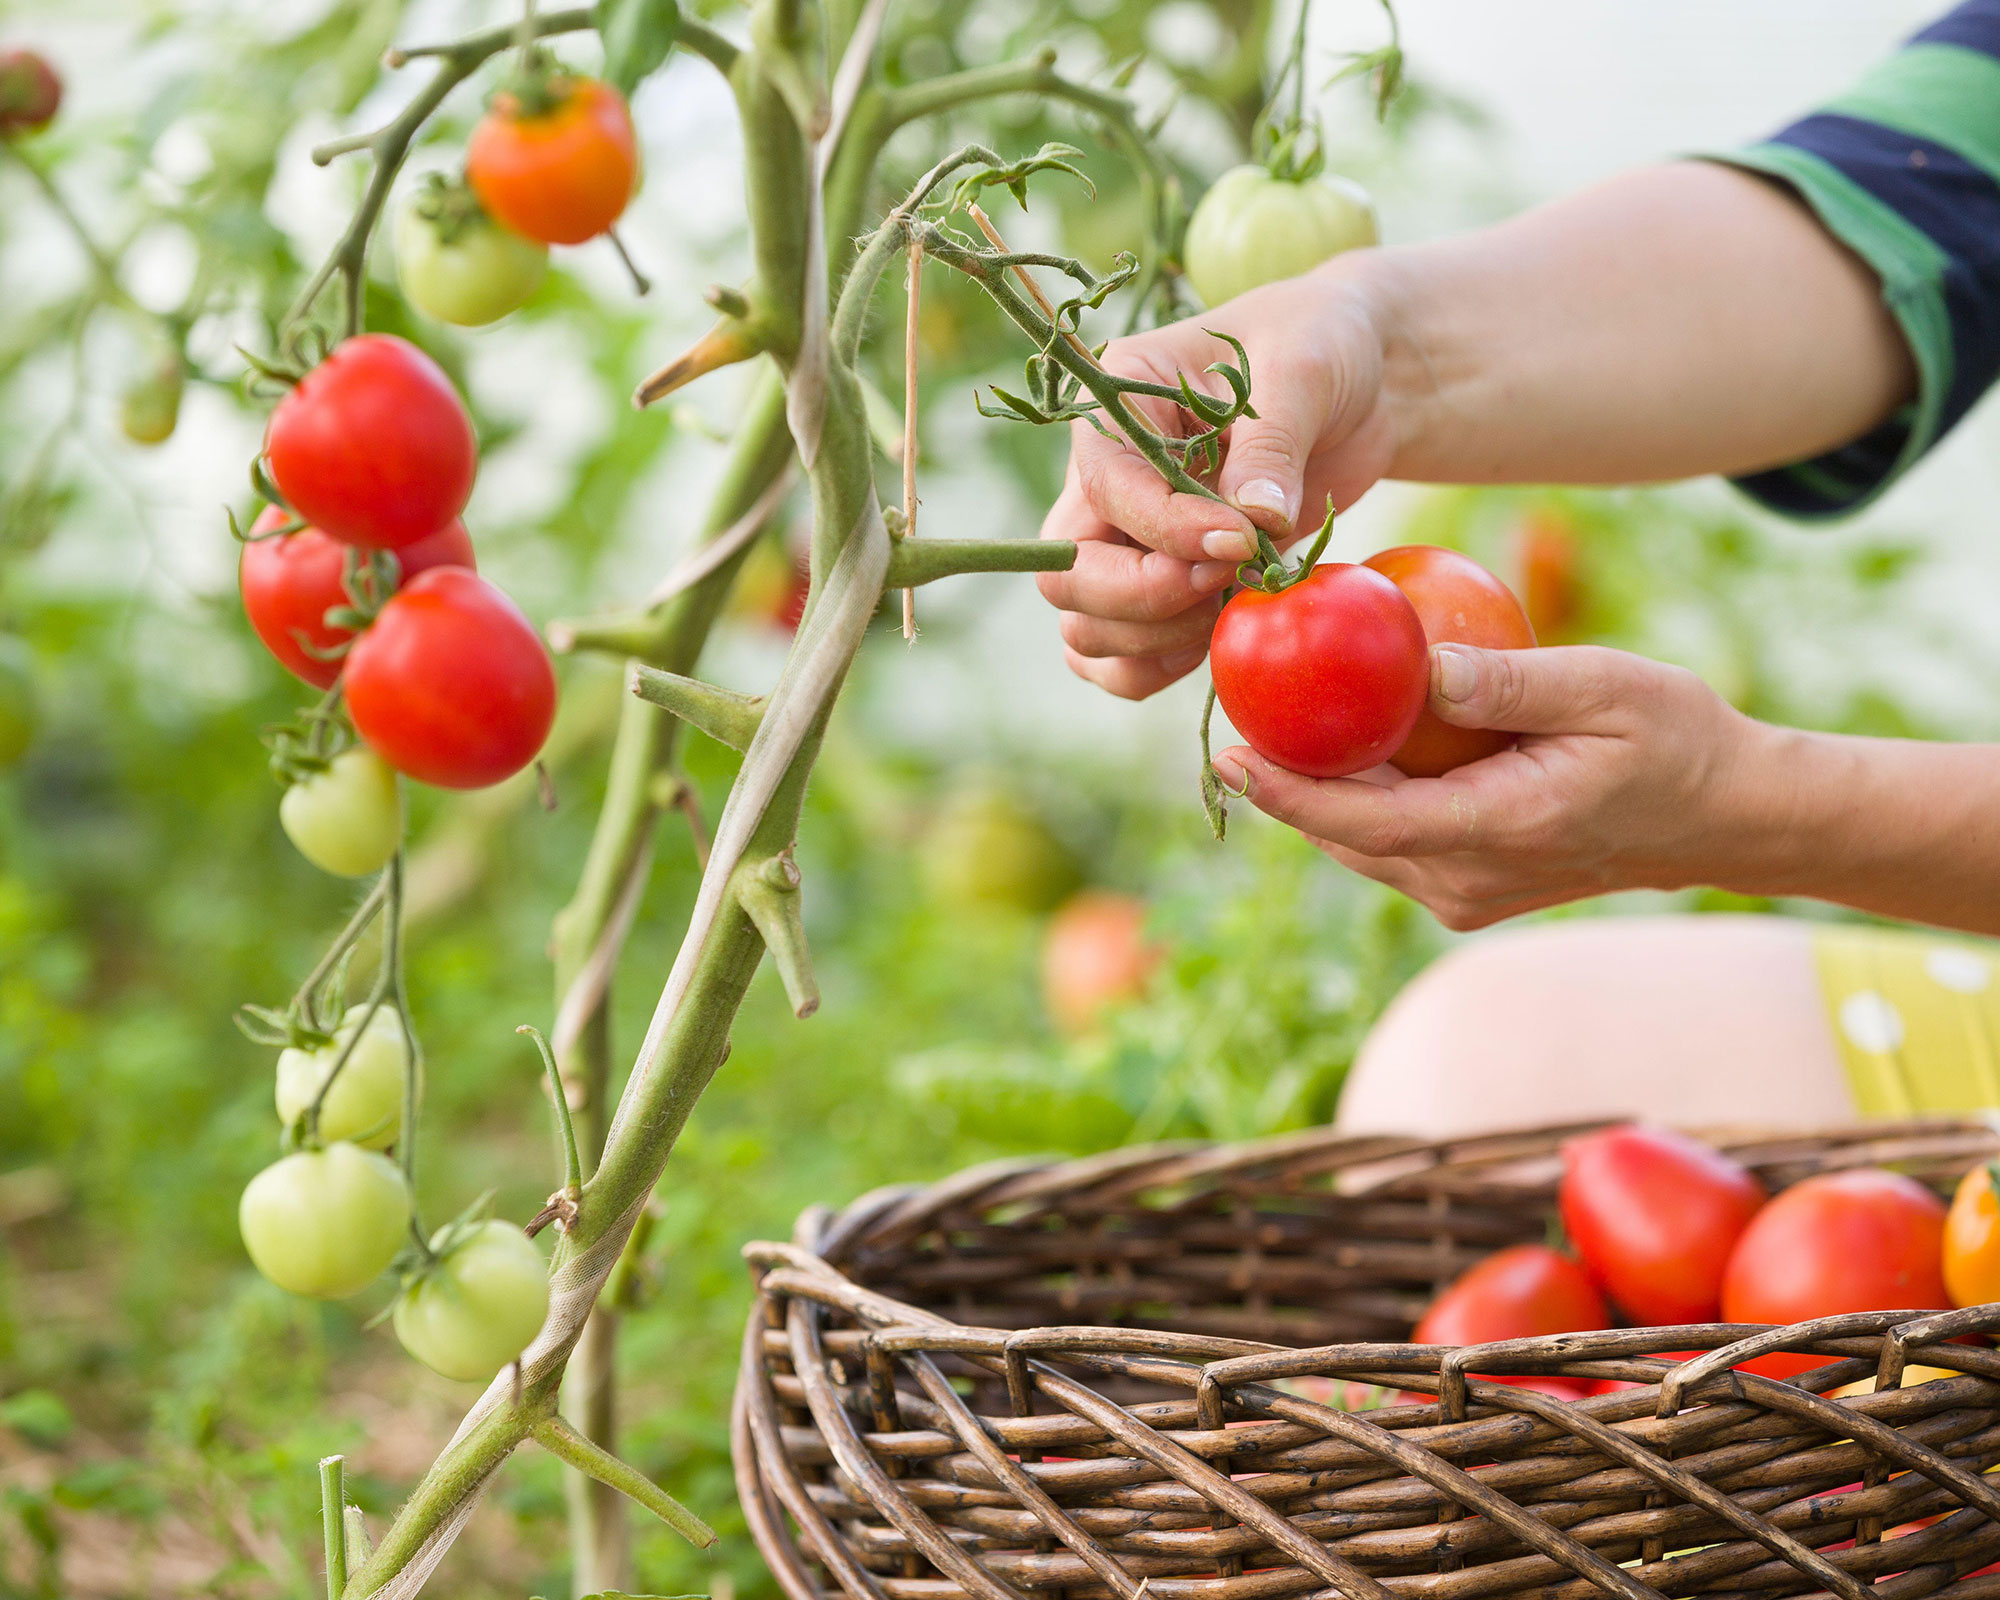
Summer cropping vegetables like tomatoes, cucumbers, peppers, chillies, sweetcorn, lettuce and peas will all thrive in greenhouse conditions, but it's best to properly organize your space so they have the space they will need.
You can start the seeds off early and if you have space you can plant them in beds in the greenhouse and train the plants to grow up sticks or stake them in the same way as you would in the garden. Greenhouse conditions allow your vegetables to ripen much earlier than when you plant them out in the garden.
Lifestyle journalist Sarah Wilson has been writing about gardens since 2015. She's written for Gardeningetc.com, Livingetc, Homes & Gardens, Easy Gardens and Modern Gardens magazines. Having studied introductory garden and landscape design, she is currently putting the skills learned to good use in her own space where the dream is establishing a cutting garden.
