Latest

-
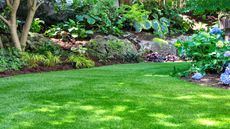
 Don't neglect this simple task if you want to avoid snow mold ruining your lawn, say the experts
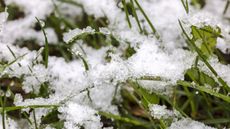
Landscaping Allowing debris and organic matter to build up on your lawn helps provide the perfect conditions for damaging snow mold, so get out the sweeping brush now
-
 10 beautiful, low-maintenance xeriscape ideas to recreate at home
Ideas Try these xeriscape ideas to transform your yard into an easy-care, low-water landscape
-
 When is the best time to apply lime to a lawn? These experts offer their advice
Landscaping Find out when to apply lime to a lawn so you can enjoy healthy grass in spring and summer
-
 Will King Charles still have time for his secret gardening skill now he's the monarch?
Gardens The new King is patron of the UK’s National Hedgelaying Society and has laid miles of hedgerow around his Highgrove estate. But will he still have time now he’s on the throne?
-
 When is the best time to aerate a lawn? Experts give the definitive answer
How To Find out when to aerate a lawn so you can keep your turf in peak condition and ensure plenty of healthy new growth
-
 Xeriscaping: this landscaping technique will transform the way you garden
Landscaping Discover xeriscaping and create a beautiful, easy-care, environmentally-friendly yard that will save you money
-
 Lawn care for winter: how to look after grass throughout the colder months
How To These tips on lawn care for winter will help keep your turf healthy despite inclement weather
-
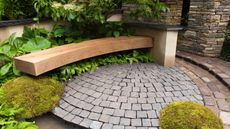
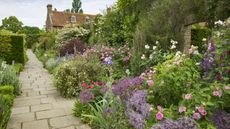
 Cheap DIY garden path ideas: 10 ways to build a path for less
Ideas These cheap DIY garden path ideas prove you don’t have to spend a fortune to make an impact on your outdoor space
-
 Landscaping with lights: 16 enchanting ways to illuminate your space
Ideas Landscaping with lights will transform any backyard into a dramatic and atmospheric nighttime scene
-
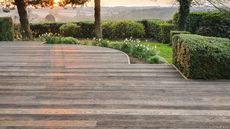
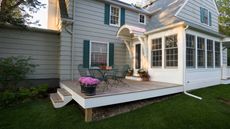 DIY deck ideas: 10 stylish projects to update your outdoor living space
Ideas These DIY deck ideas will breathe new life into your plot for an affordable price
-
 Concrete paving ideas: 12 sturdy and stylish designs for your yard
Ideas These concrete paving ideas will help you create stunning patios and pathways for cheap
-
 Concrete patio ideas: 11 poured, paved and polished concrete floors for modern plots
Ideas These concrete patio ideas are perfect for achieving an on-trend and industrial look for your outdoor space
-
 How to stop deck paint from peeling: expert tips to stop this common problem
How To Find out how to stop deck paint from peeling and yours will soon be looking as good as new again
-
 Front yard fence ideas: 11 beautiful boundaries for your home
Ideas These stylish front yard fence ideas are perfect for defining your plot and making a good first impression
-
 Should you ditch your grass for drought-tolerant clover? The experts discuss
Landscaping This alternative to the traditional lawn might be more suitable to grow as we face further heatwaves
-
 DIY landscaping ideas: 10 show-stopping projects to update your plot
Ideas Our round-up of DIY landscaping ideas are easy, budget-friendly, and stylish – from paths to pretty patios and more
-
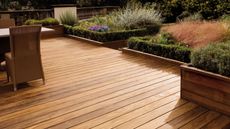 How to treat a deck: our easy guide explains everything you need to know
How To Find out how to treat a deck and make sure yours looks its best all year round, whatever life might throw at it
-
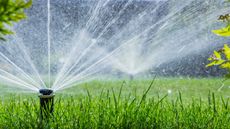 When to water after applying weed and feed: top tips for your turf
How To Get the greenest of grass by learning when to water after applying weed and feed
-
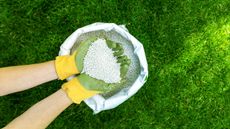 How often to fertilize a lawn: a simple guide on when to feed garden grass
How To Wondering how often to fertilize a lawn? With help from the experts, we explain when to do this essential outdoor task
-
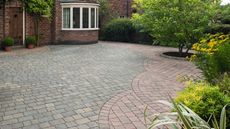
 Block paving ideas: 10 ways to use this versatile surface in your outdoor space
Ideas Block paving ideas are not just for driveways. Use them for patios, paths, porches and more to create a unique look
-
 How to clean artificial grass quickly and easily: top tips from the experts
How To Learn how to clean artificial grass and keep your lawn looking fresh all year
-
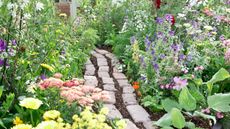
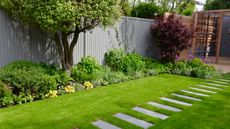 How to lay stepping stones on grass: 4 easy steps for a stylish garden path
How To Learning how to lay stepping stones across your lawn will help protect your turf in style
-
 What is permeable paving? Find out all you need to know with our expert advice
Landscaping If you're wondering 'what is permeable paving' and why you should choose it, our expert guide has all the answers to your questions
-
 Above ground pool landscaping ideas: 9 ways to fit these features into a backyard
Ideas From sleek decks to tropical-inspired schemes, these above ground pool landscaping ideas are sure to inspire
-
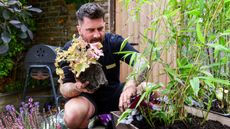 How to dispose of your garden makeover waste the right way
Waste collection service HIPPO share how they were able to help with this competition-winning garden makeover for a children's home
SPONSORED -
 Landscaping with roses: 9 expert ways to use these blooms in your space
Landscaping Our top tips on landscaping with roses reveal how to achieve the most amazing planting schemes in your own garden
-
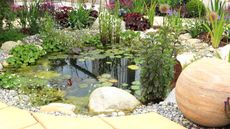 Landscaping with pebbles: 14 creative ways to use them in your yard
Landscaping There's always a place for landscaping with pebbles as they slot right in whatever your style of garden design
-
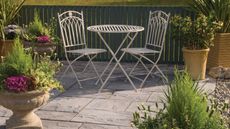
 The new eco option for garden paving
If you want to go greener when it comes to choosing paving for your garden here’s all the design inspiration and expert information you need to make the right choice
-
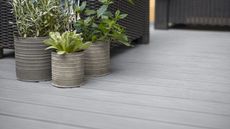
 Choose a beautiful new look for your summer decking project
If you're looking for ideas to renovate your outdoor space with smart new decking you'll love these inspirational looks
SPONSORED


