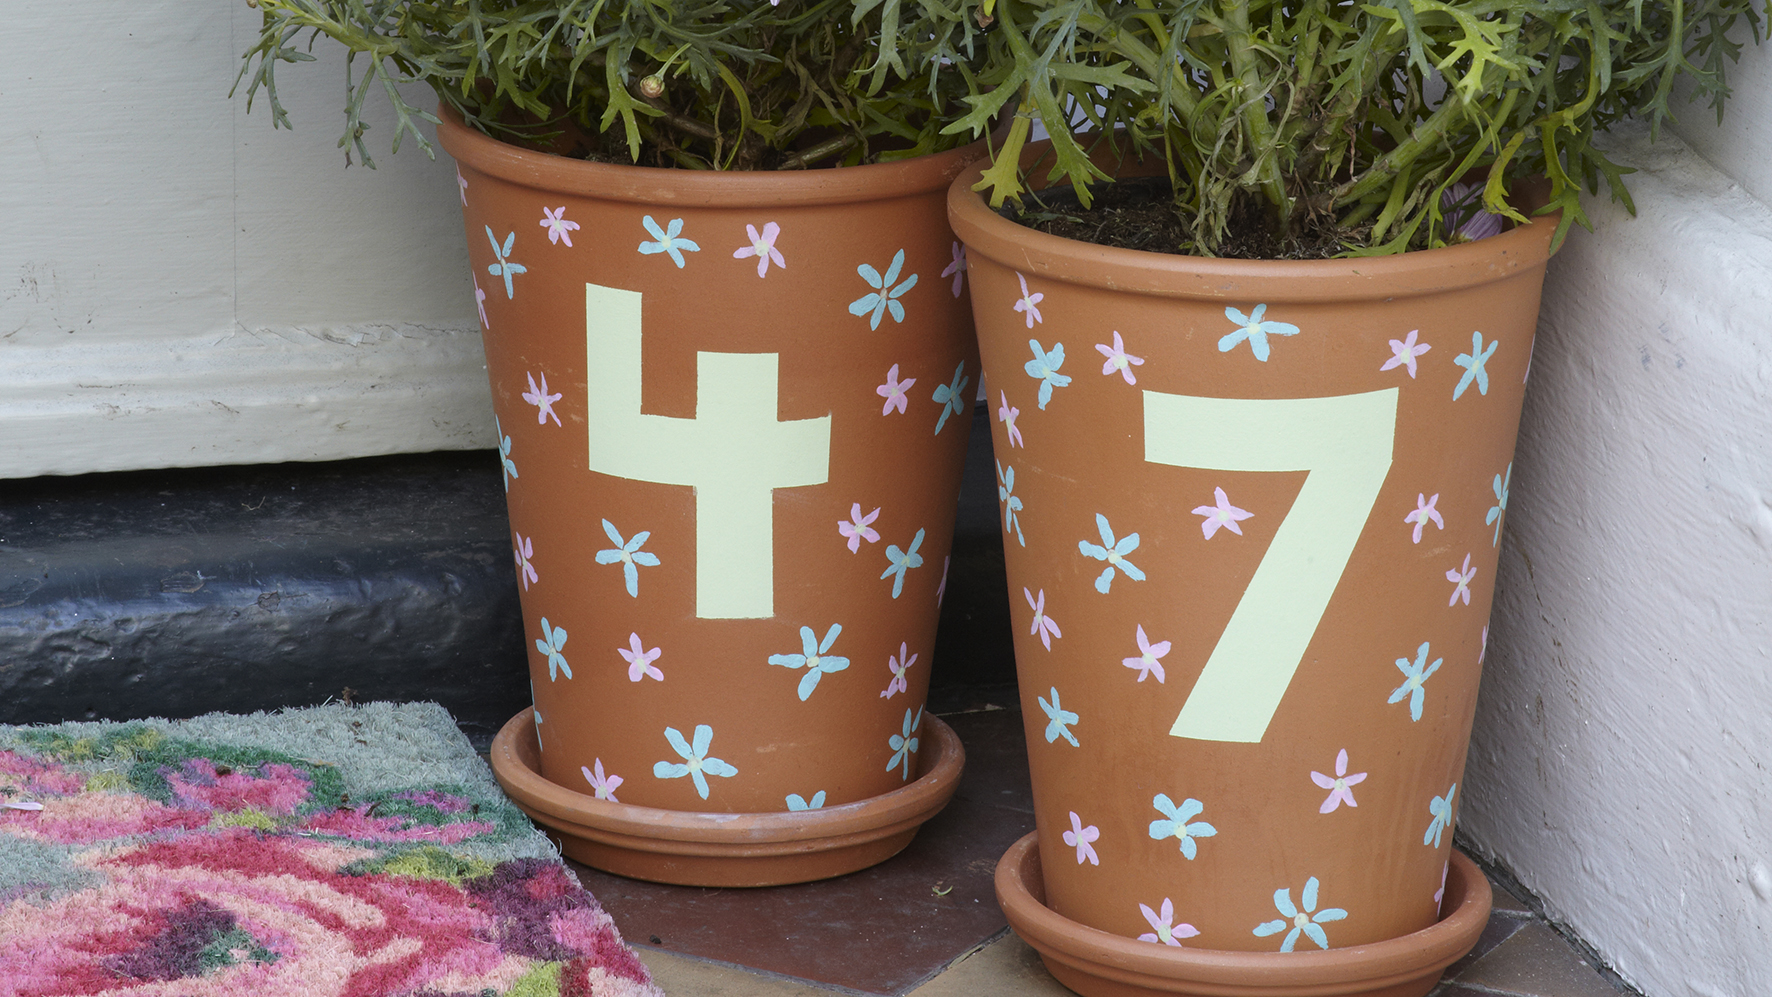
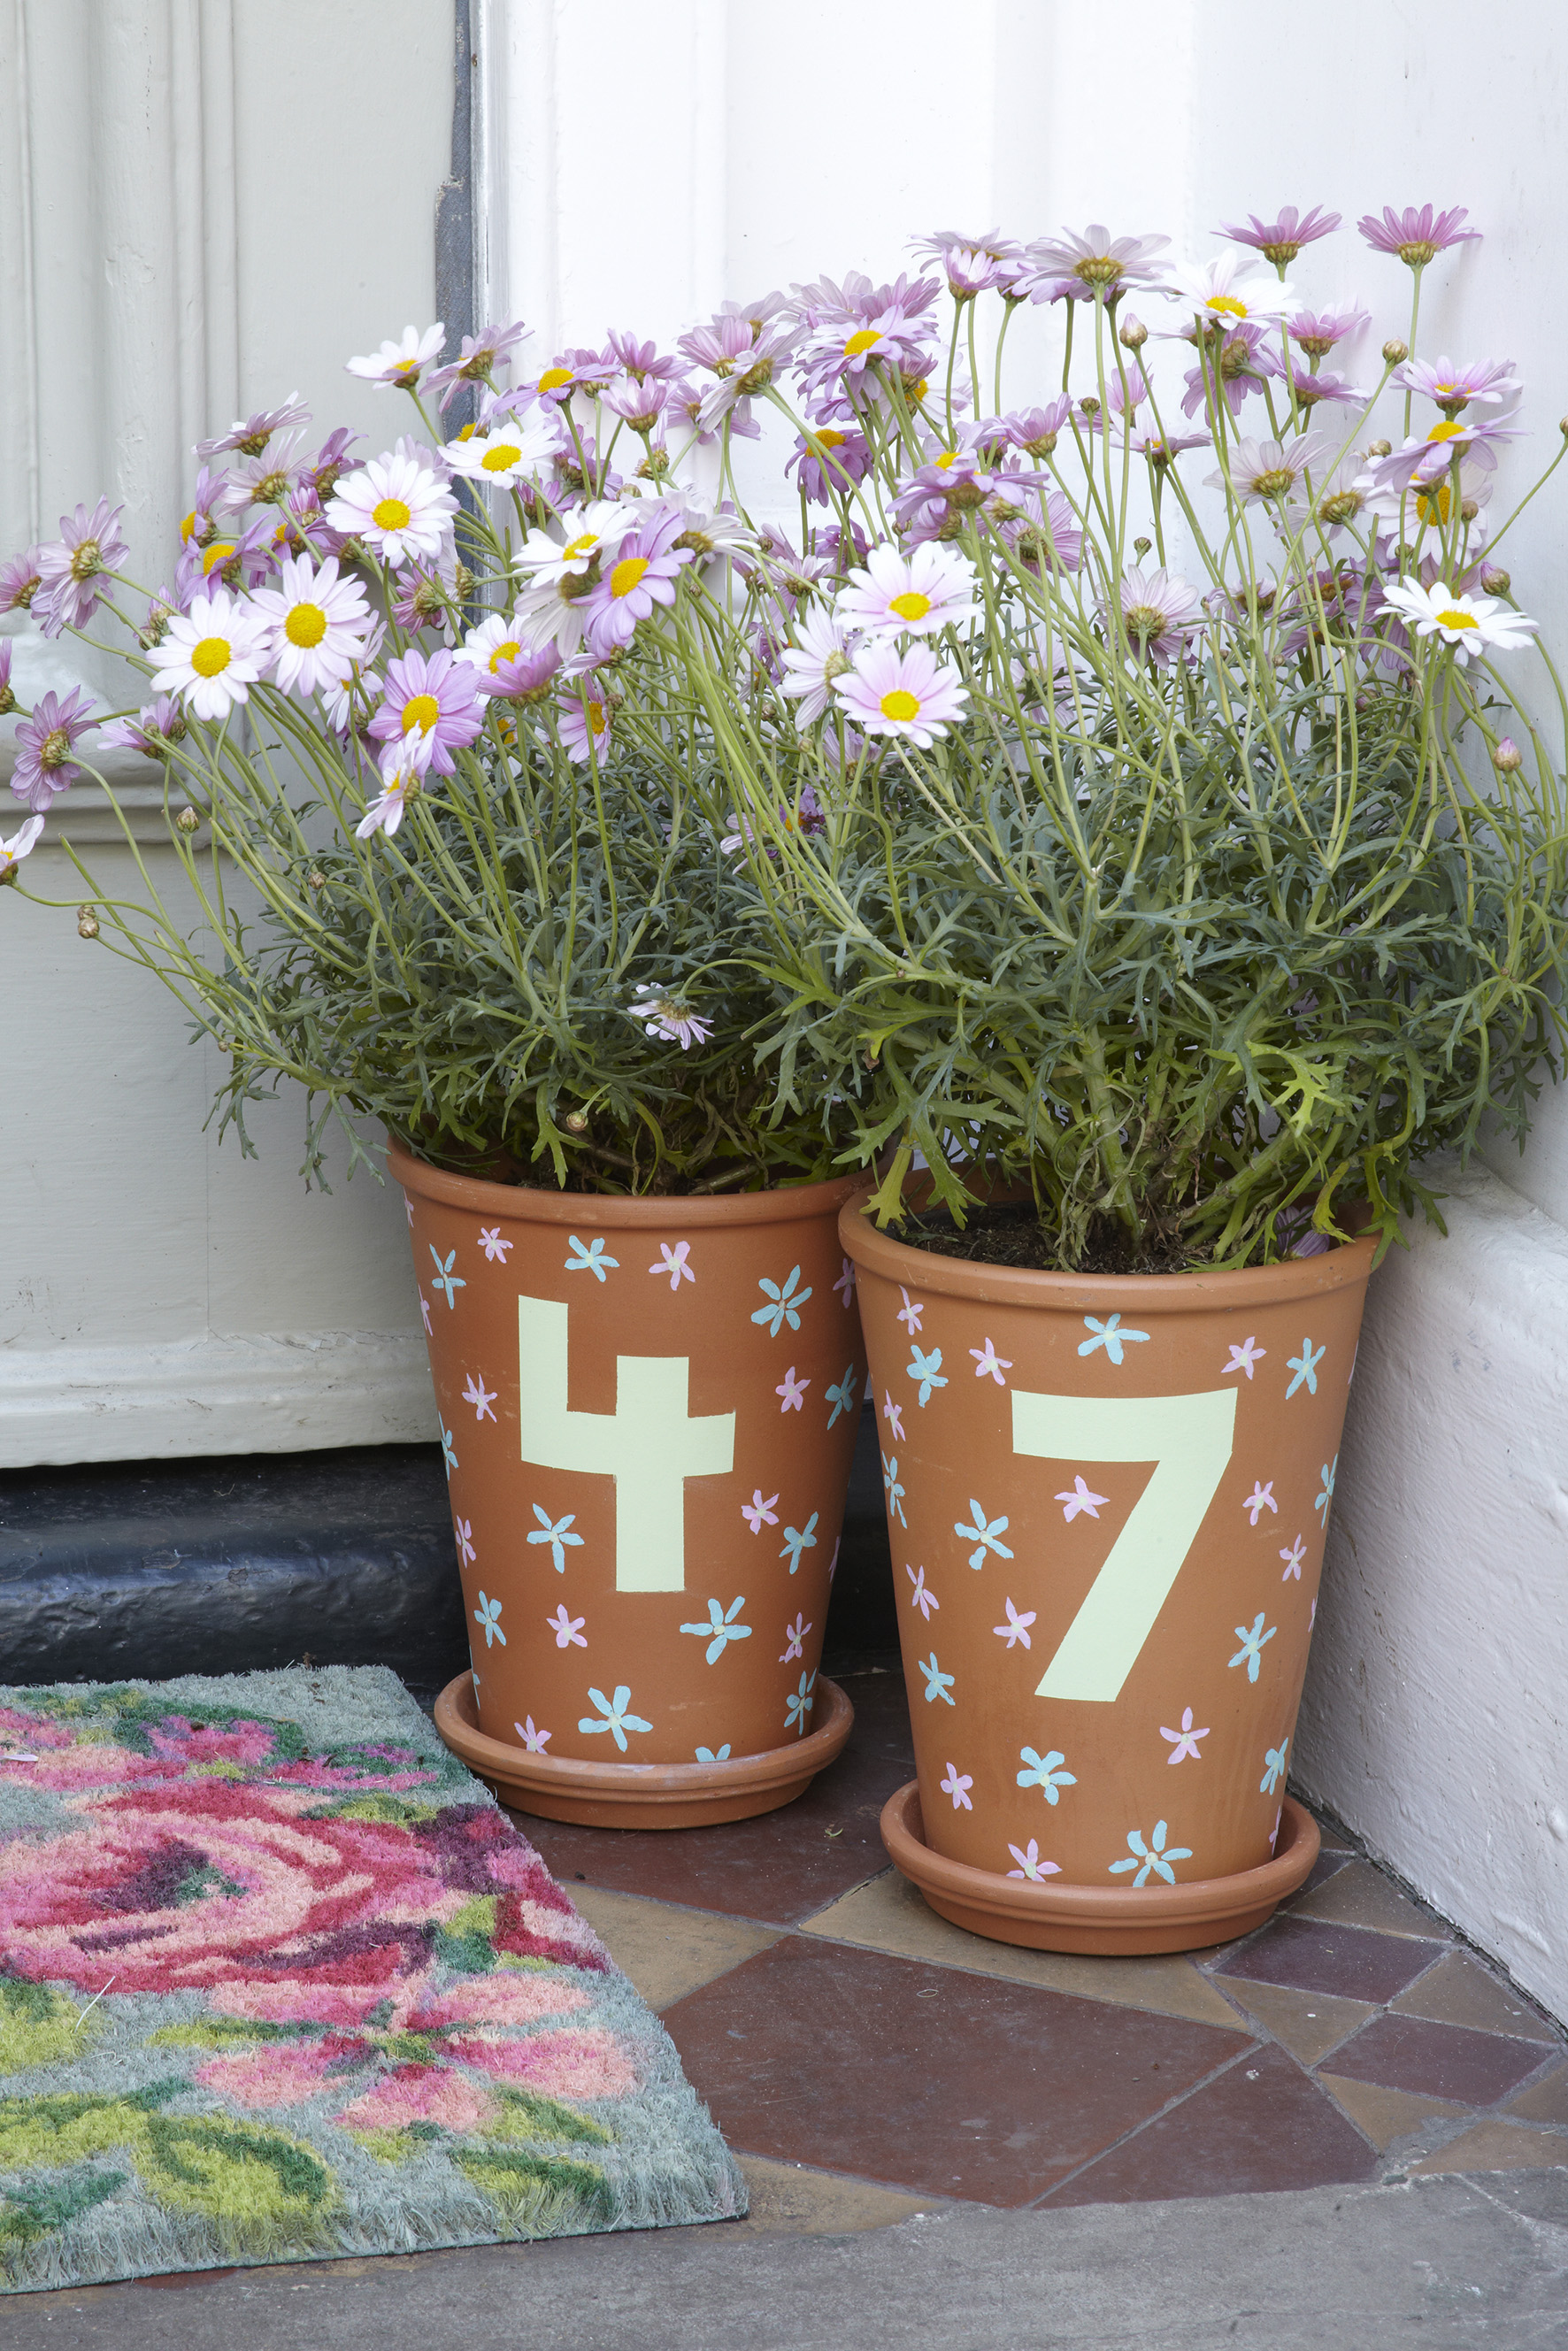
Weekend project: these painted house number pots are perfect for your front garden
Try this quick and easy paint project – it's a fun idea that even kids can create in just 3 easy steps


This is a great project to get stuck into over the weekend and it's simple enough for the kids to join in with too. All you need is some outdoor paint with a chalk finish. When you’ve completed this you can be sure visitors never miss your house by arranging these pretty planters into a vibrant display outside your front door.
We’ve chosen terracotta pots as they take the chalk paint so well and the bright colour helps to make the overall palette pop even more. But if you have existing pots which have been looking a bit sorry for themselves then this is the perfect opportunity to give them a bit of a spruce up!
Keep reading for details on how to make them, then make sure you take a look at our front garden ideas for more ways to give your home's exterior some added kerb appeal.
YOU WILL NEED

- Small pots of chalk paint
- Masking tape
- Terracotta plant pots
- Your choice of late blooming perennials or potted herb plants
- Paint brushes
STEP 1: PREP YOUR POTS FOR PAINTING
In order to create the cleanest finish for your house number, use masking tape to act as a stencil and create the shape of the house number. Stick the strips down and keep positioning them until you’re happy that they will have an even thickness left inside the masking tape strips for the numbers. If you have a ruler to hand you can make sure they are close enough to each other. If your door number is a single digit you will only need the one pot.
STEP 2: APPLY THE CHALK PAINT
Select a paint brush, ensuring that the bristle head isn’t too wide for the area you are painting, you don’t want to create smudges! Paint the space inside the masking tape to create the numbers, then allow to dry. Remove the masking tape and cover the rest of the pot with mini flowers painted freehand. Alternatively leave the rest blank for a more bold contemporary look.
STEP 3: POT UP YOUR CHOSEN PLANTS
Once your paint is dry pop a plant inside and top up the pot with compost to keep it secure. We recommend using upright plants, rather than trailing varieties, that won’t cover the numbers. Water regularly as potted plants dry out much quicker than those planted directly in the soil.
More garden ideas:
- How to make a bug hotel
- Wildlife garden ideas: encourage creatures great and small into your garden
- Painting garden furniture: how to give it a fresh new look

Teresa has worked as an Editor on a number of gardening magazines for three years now. So she is lucky enough to see and write about gardening across all sizes, budgets and abilities. She recently moved into her first home and the garden is a real project! Currently she is relishing planning her own design and planting schemes. What she is most passionate about when it comes to gardening are the positive effects it has on our mental health to grow and care for plants, as well as being great for the environment too and help provide food and shelter for wildlife.
