How to clean pruning shears: keep them in top condition
Find out how to clean pruning shears and they will last for years, as well as making your job so much easier
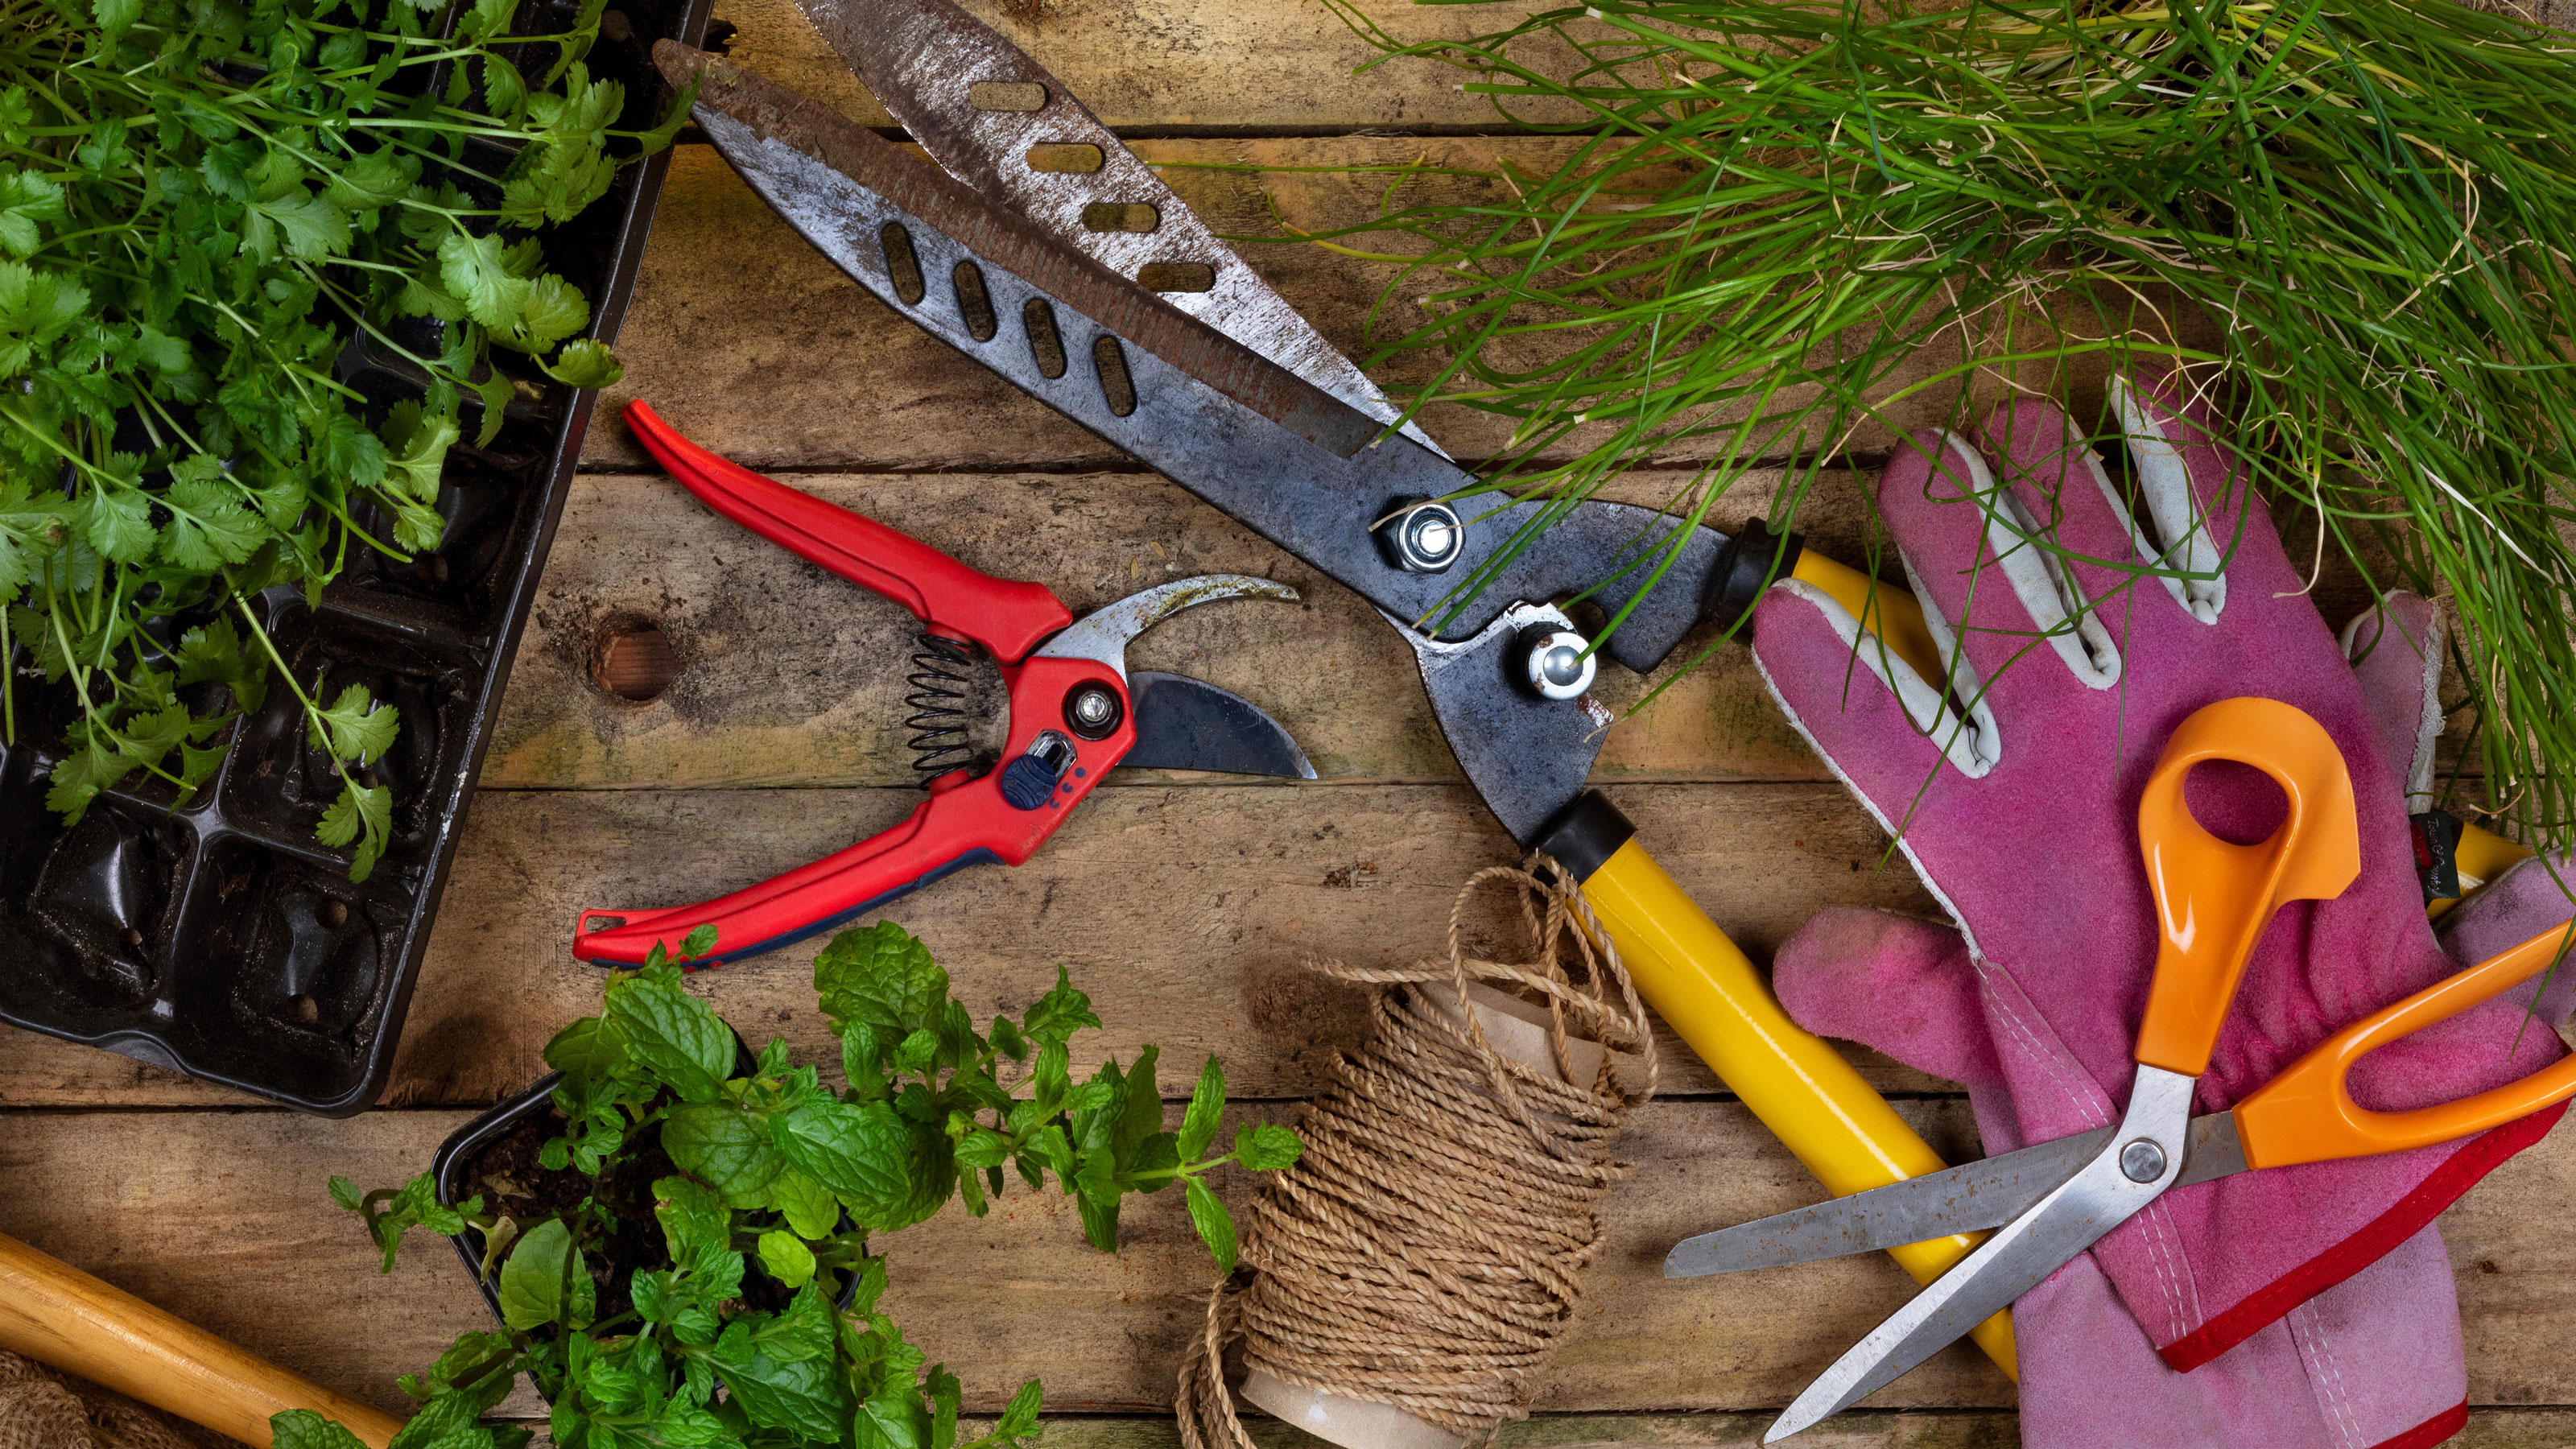

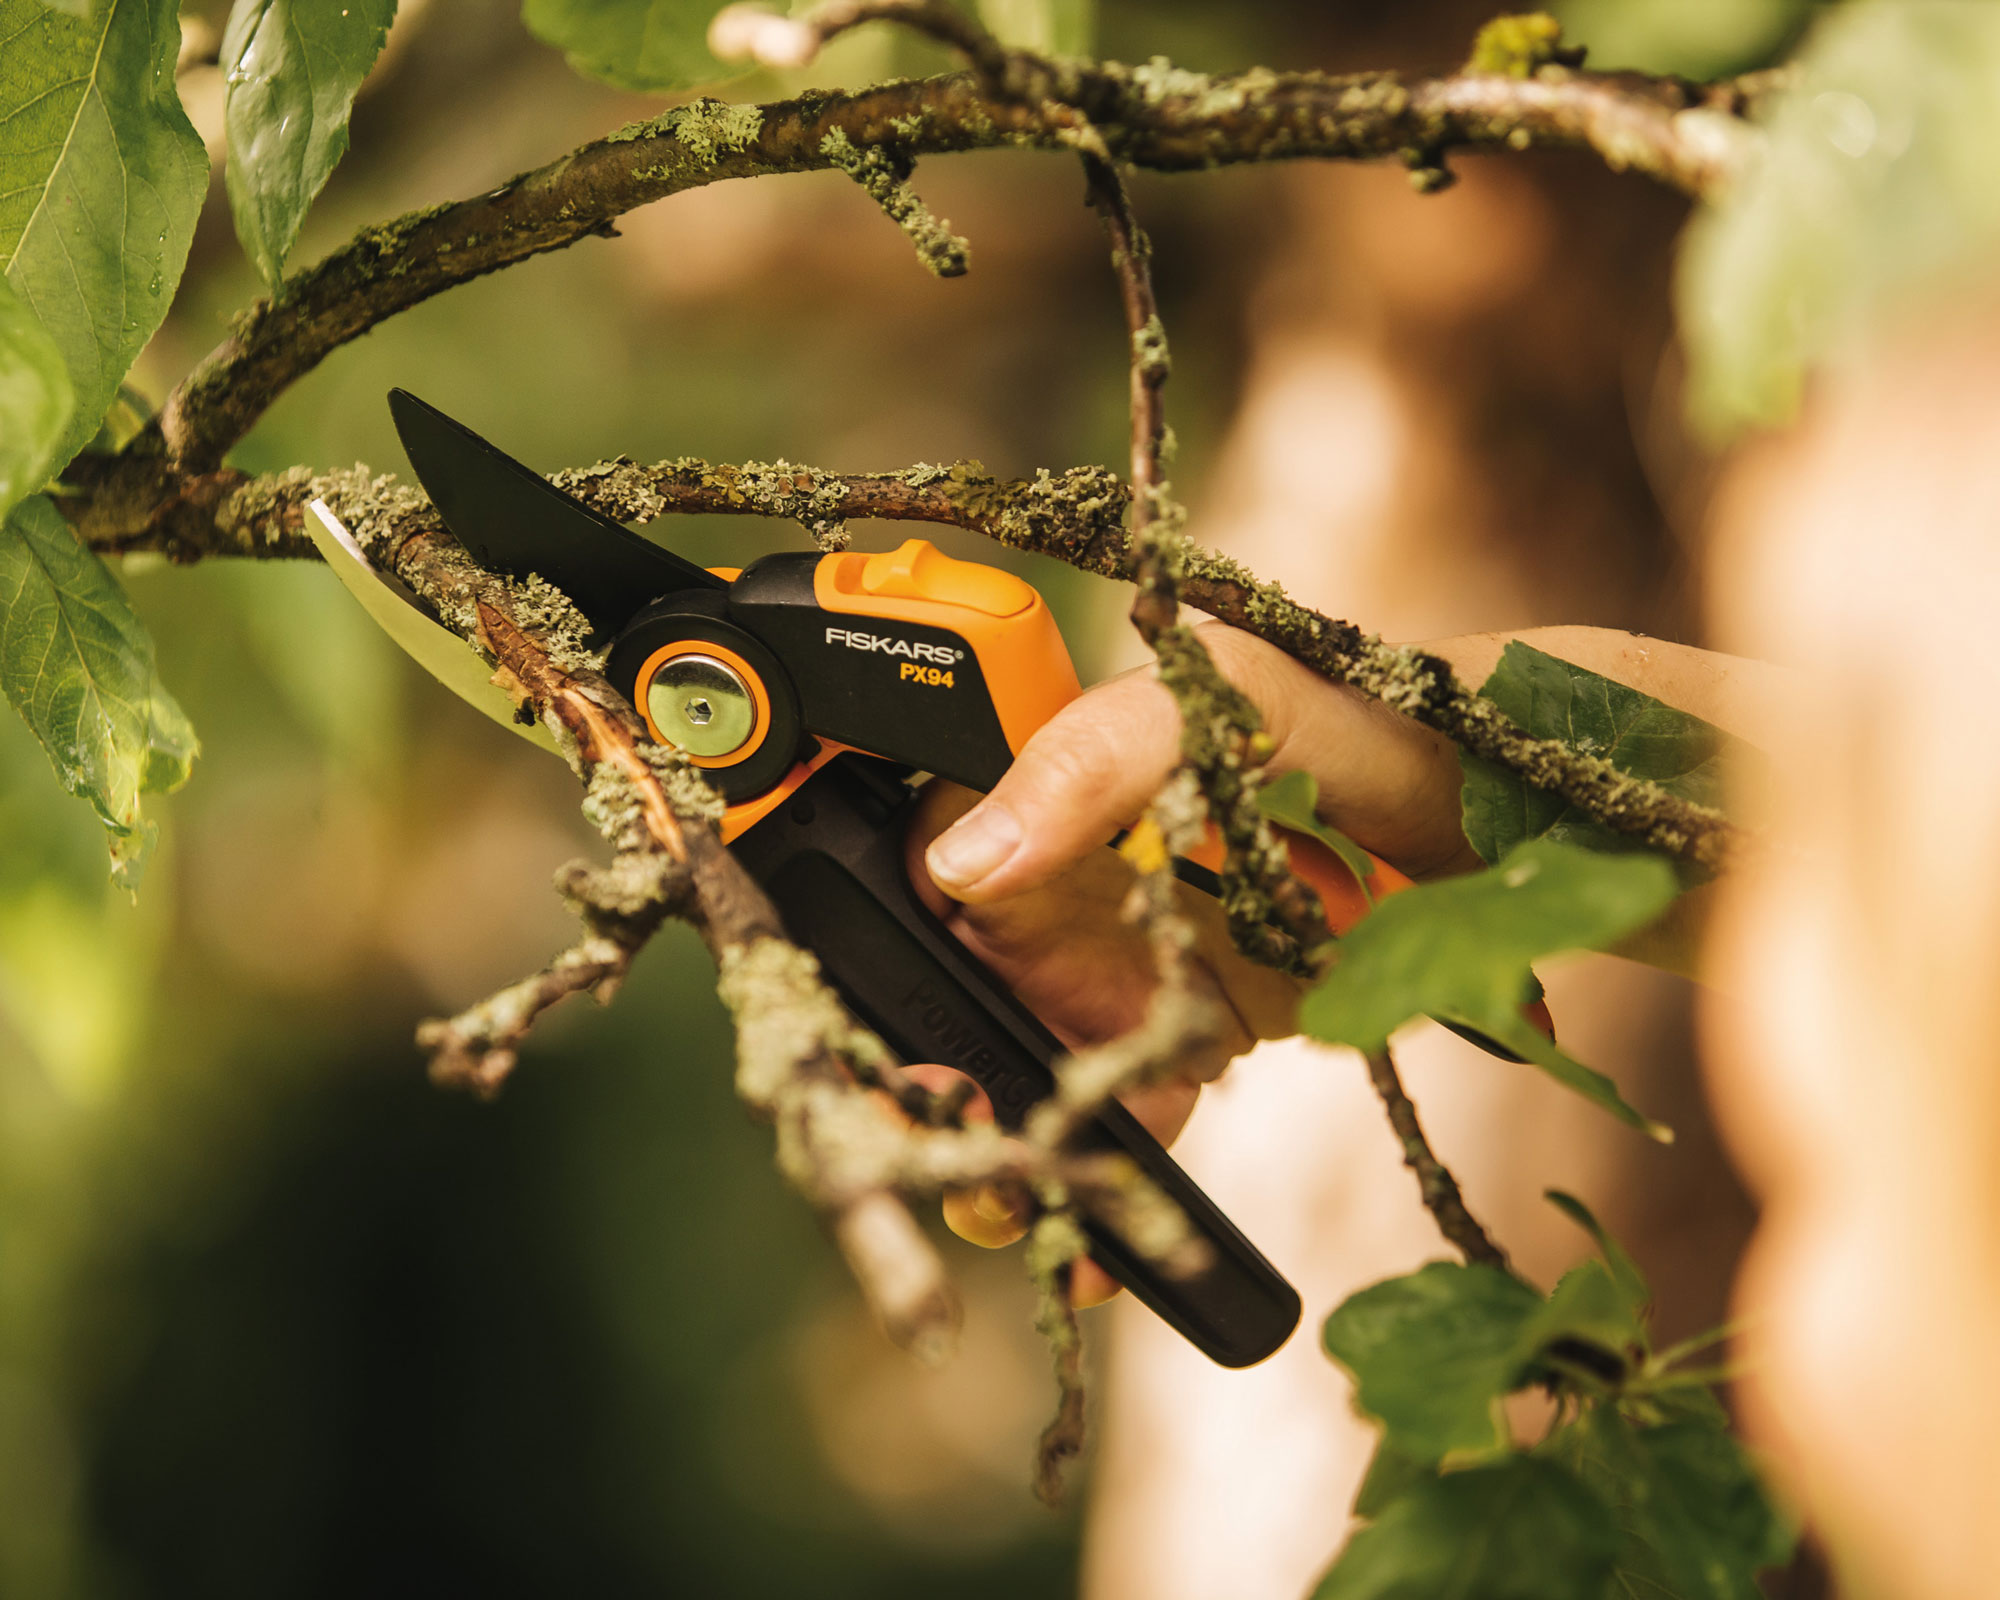
Find out how to clean pruning shears properly so they're up to scratch every time you use them. They're one of the most useful tools you have in your gardening kit, so look after them properly and a good pair of pruning shears will last you a lifetime.
The more hard working your pruning shears are the more they need regular care and attention, especially at peak-use times. If the blades have lost their shine and look dull, plus are stiff to manipulate, it's probably a build-up of dried-on sap that's slowing them down and they won't be fit for purpose, especially if they haven't been sharpened lately either.
If you tend to take short cuts and also use them to cut through twine, wires and worse, as well as trying to slice through thicker branches than is ideal, then yours will probably be pretty blunt as well as dirty.
Keep your best pruning shears (also known as secateurs in the UK) in tip top shape so you they are clean, sharp and ready to use whenever you need them.
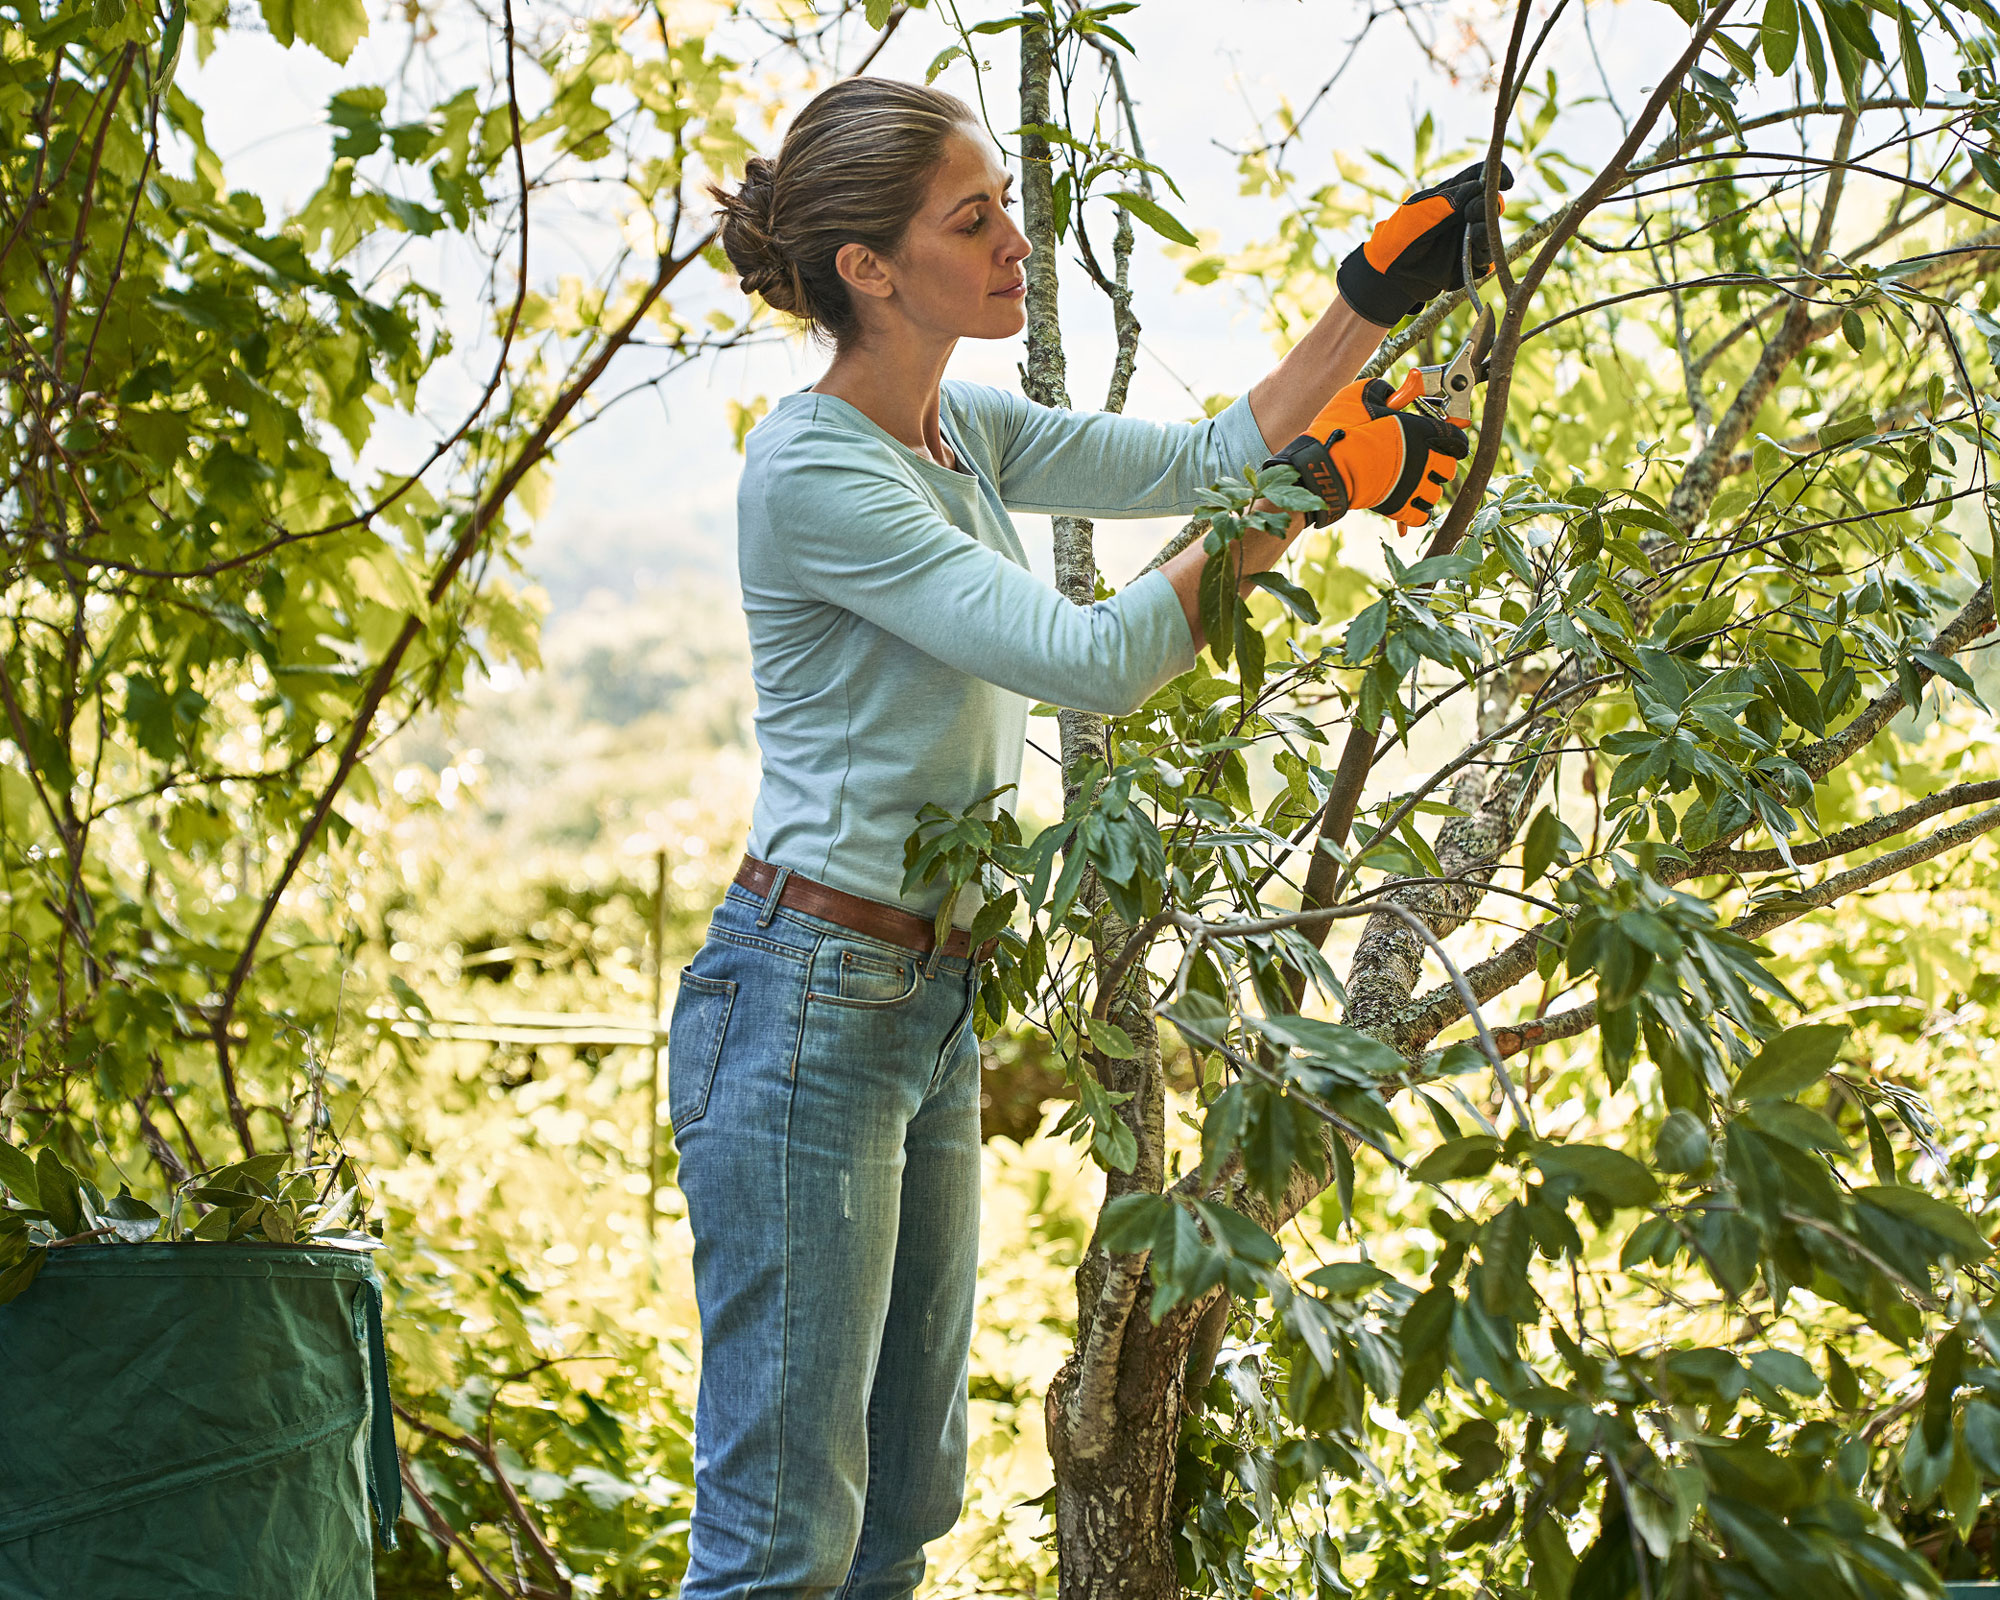
How to clean pruning shears in 8 easy steps
Learning how to clean pruning shears is essential to ensure they cut plants and branches cleanly and efficiently, plus dirty tools risk passing diseases from one plant to another.
Here's how to keep yours looking (and working) their best.
1. Take the shears apart (if they're designed to be)
How you approach cleaning and sharpening a pair of pruning shears will differ slightly according to the style of the tool. Some can be taken apart for much more thorough cleaning and sharpening of individual parts, while others come in one-piece and need to be cleaned as they are.
If your pruning shears are particularly dirty and it's a style you can take apart this makes cleaning easy. Most shears have a screw or nut and bolt that holds them together. Remove this and separate the two blades so you can deep clean the blades and spring separately.
Line up the pieces in the right order as you take them apart and lay them on some kitchen towel so you will remember how they fit back together.
Taking a similar approach can also be useful when learning how to clean rusty tools.
2. Check over the various parts
Next, carefully examine the different parts of your pruning shears to check for any corrosion or wear and tear. The springs often become rusty or worn, but it's usually easy to buy a replacement at your garden center or from an online retailer.
Any small nicks in the cutting blades will usually disappear during sharpening, but if the blade has any large nicks or breaks, you'll probably need to buy a new one. You can usually get replacement parts such as springs and blades if your pruning shears are a top-of-the-range product.
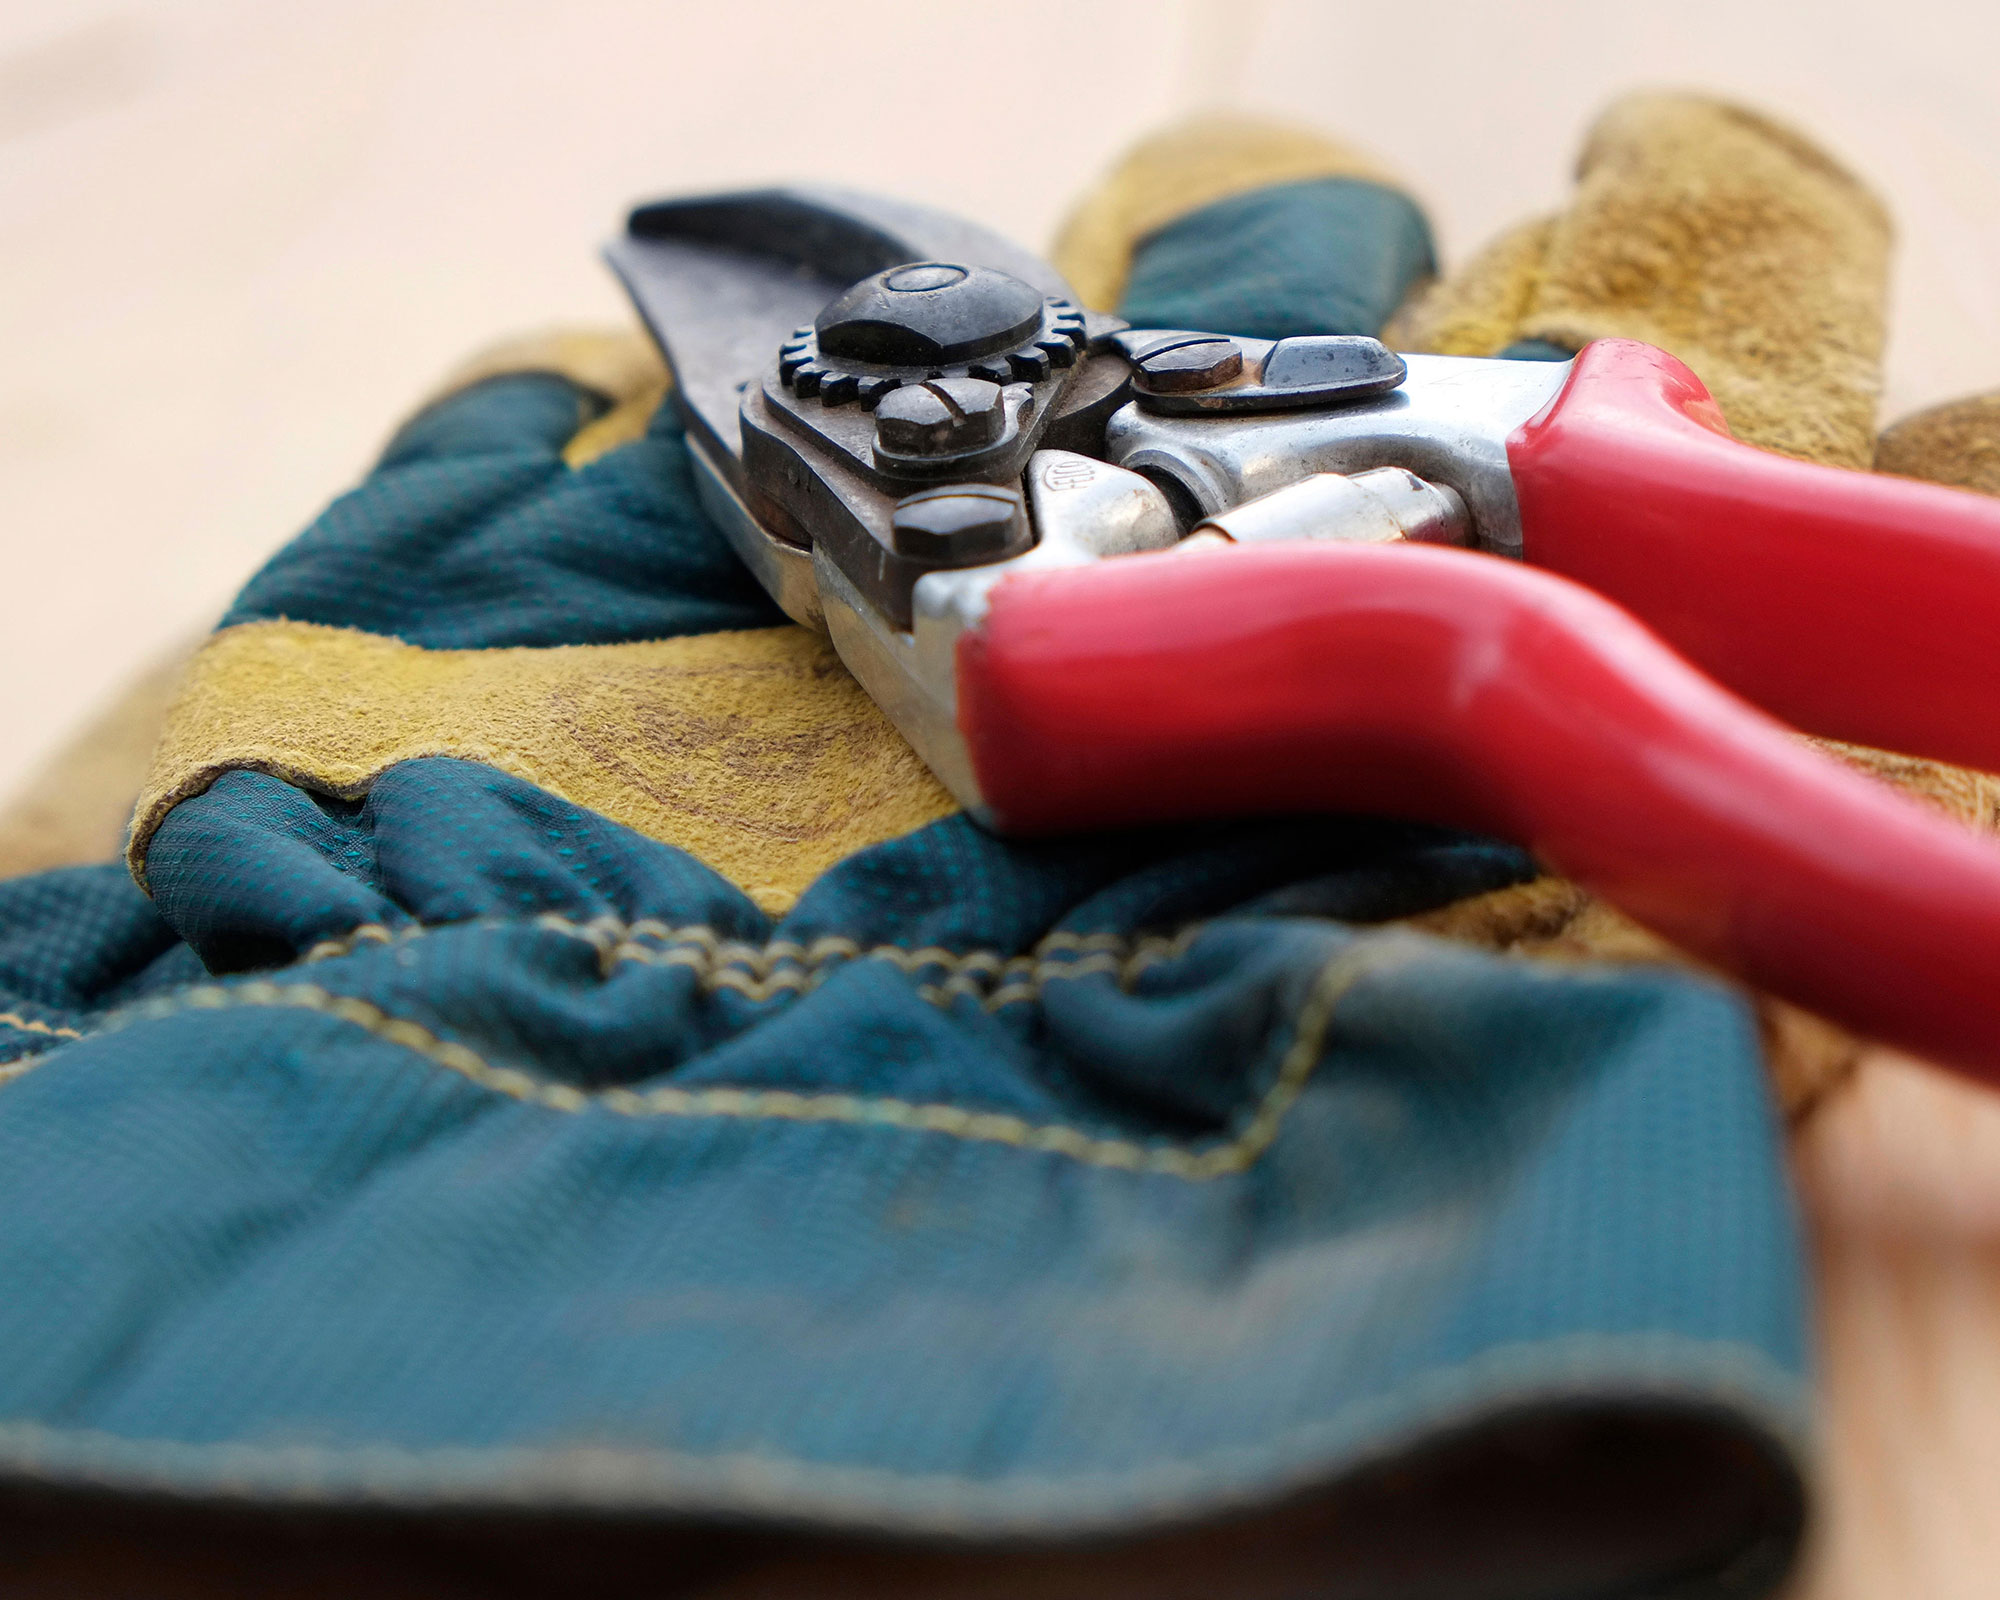
3. Wash the parts in soapy water
'Keeping your pruners in good working order is simple,' says Georgina Taylor from Fiskars. 'First, give them a good clean with warm soapy water. Use a sponge to wash the tool and then a clean rag to remove any moisture.'
If your pruning shears are particularly dirty or mud-covered, instead use a small, stiff brush or old toothbrush in the soapy water to scrub away any dirt. Pay particular attention to the fixing nut where dirt can become trapped. When the parts are as clean as you can get them, rinse, then wipe them dry with a clean, dry cloth.
You can use a similar method for cleaning your best loppers or garden spade.
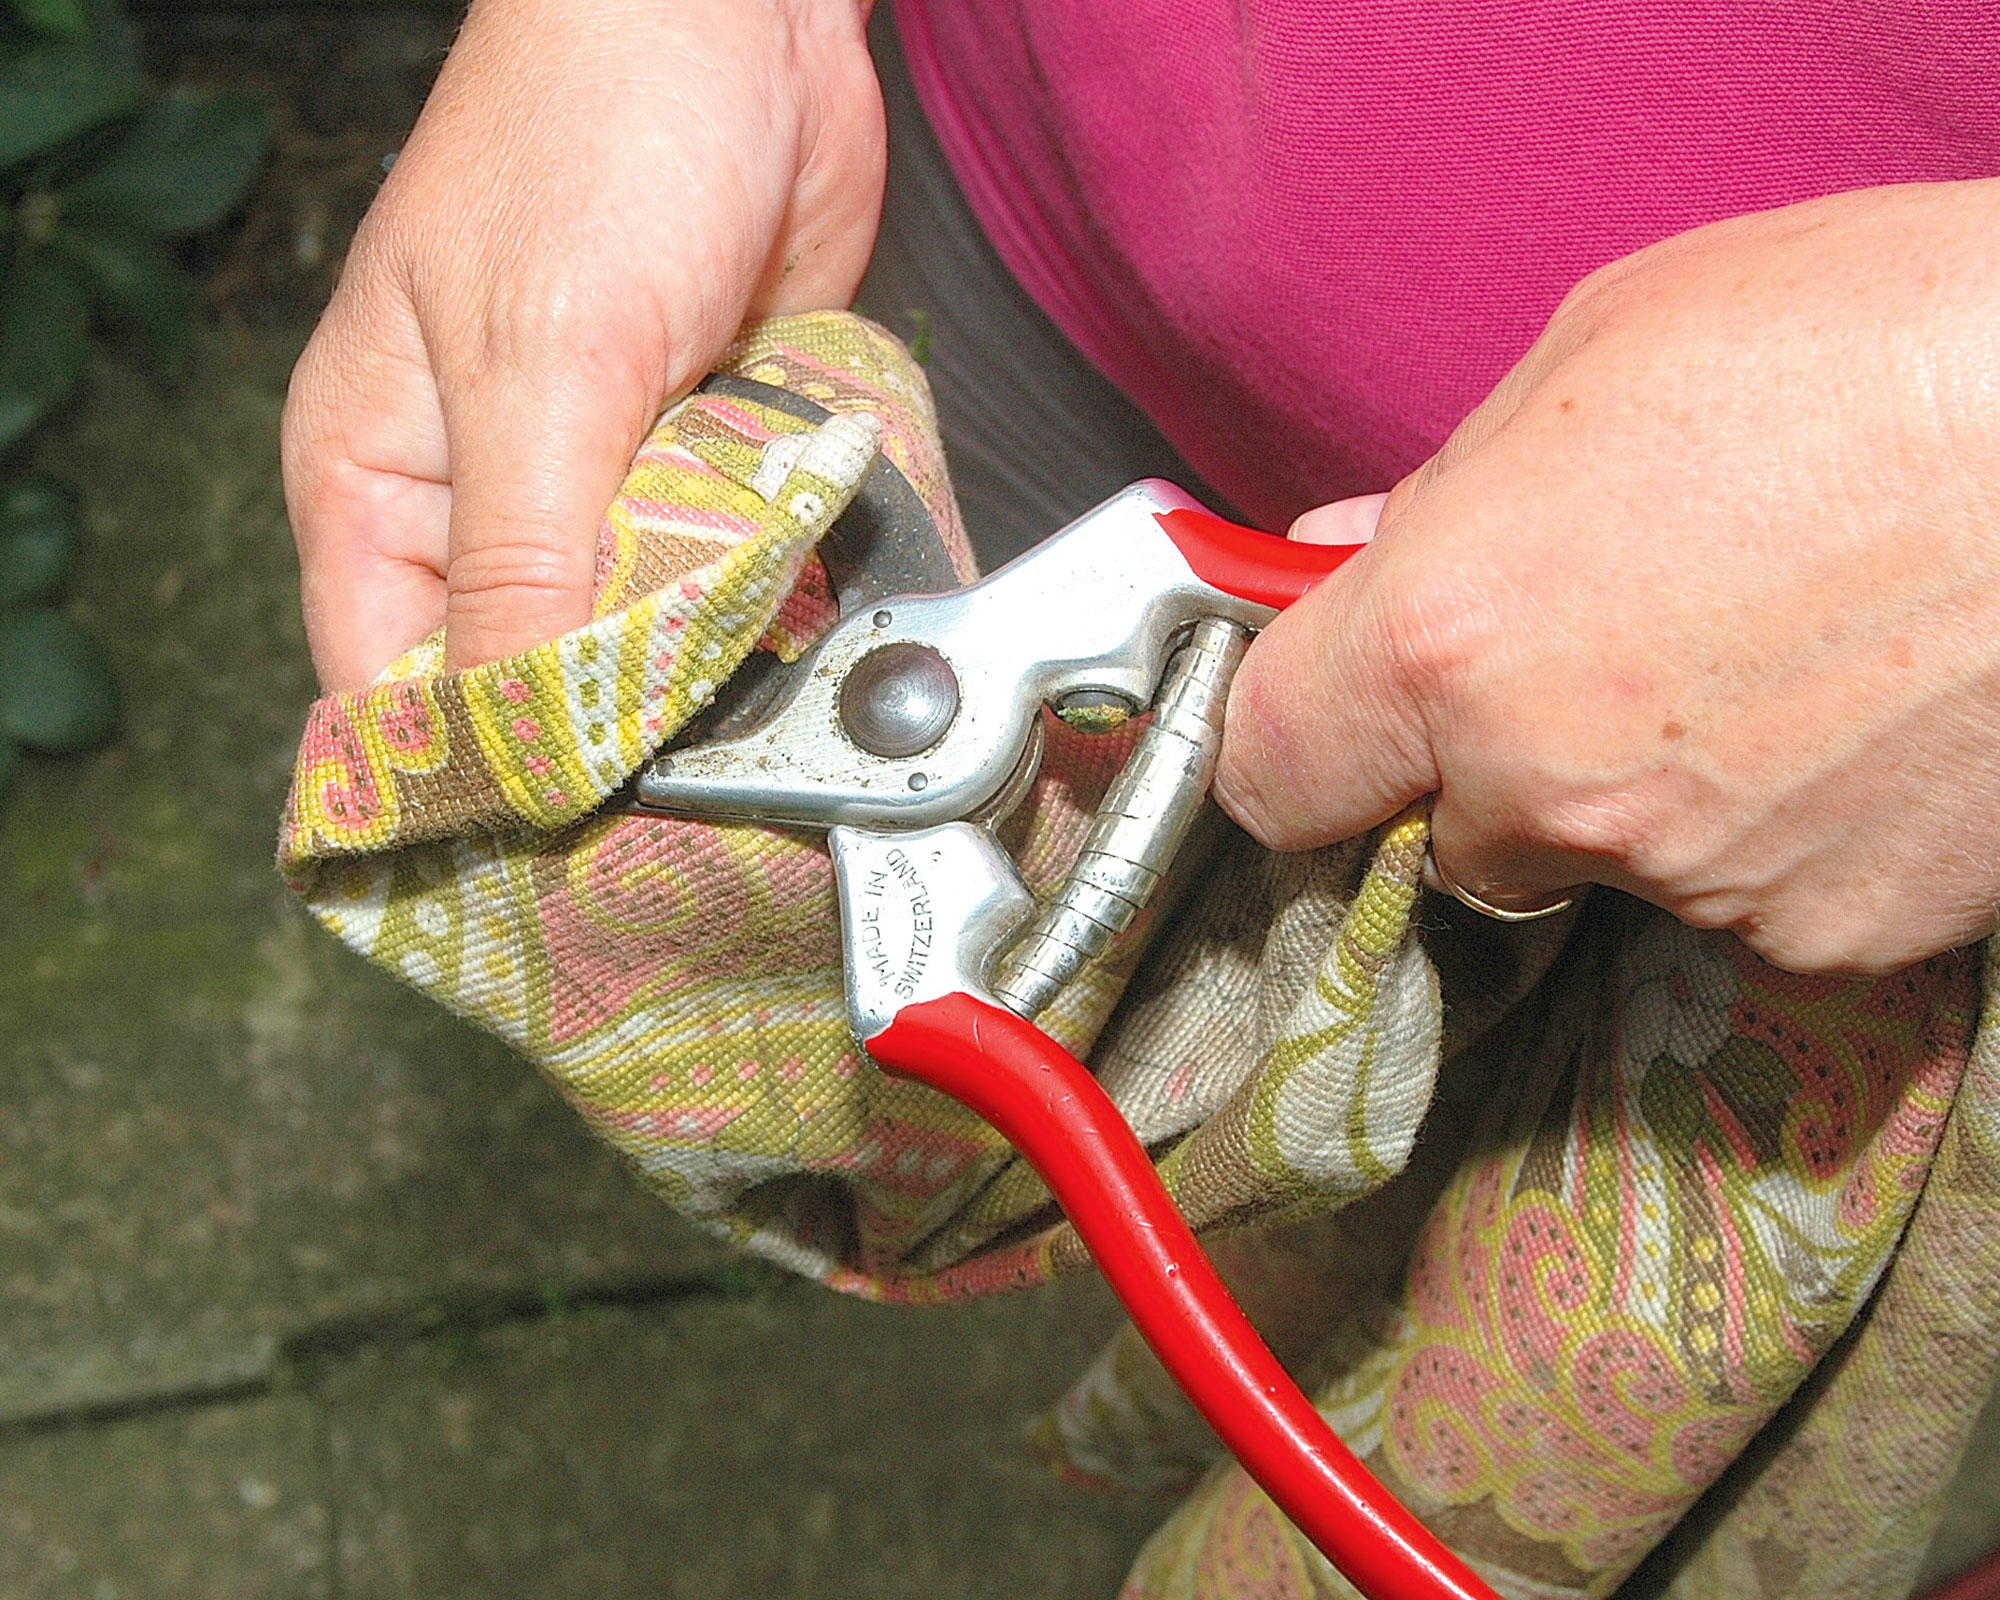
4. Lightly sand to remove any built-up residues
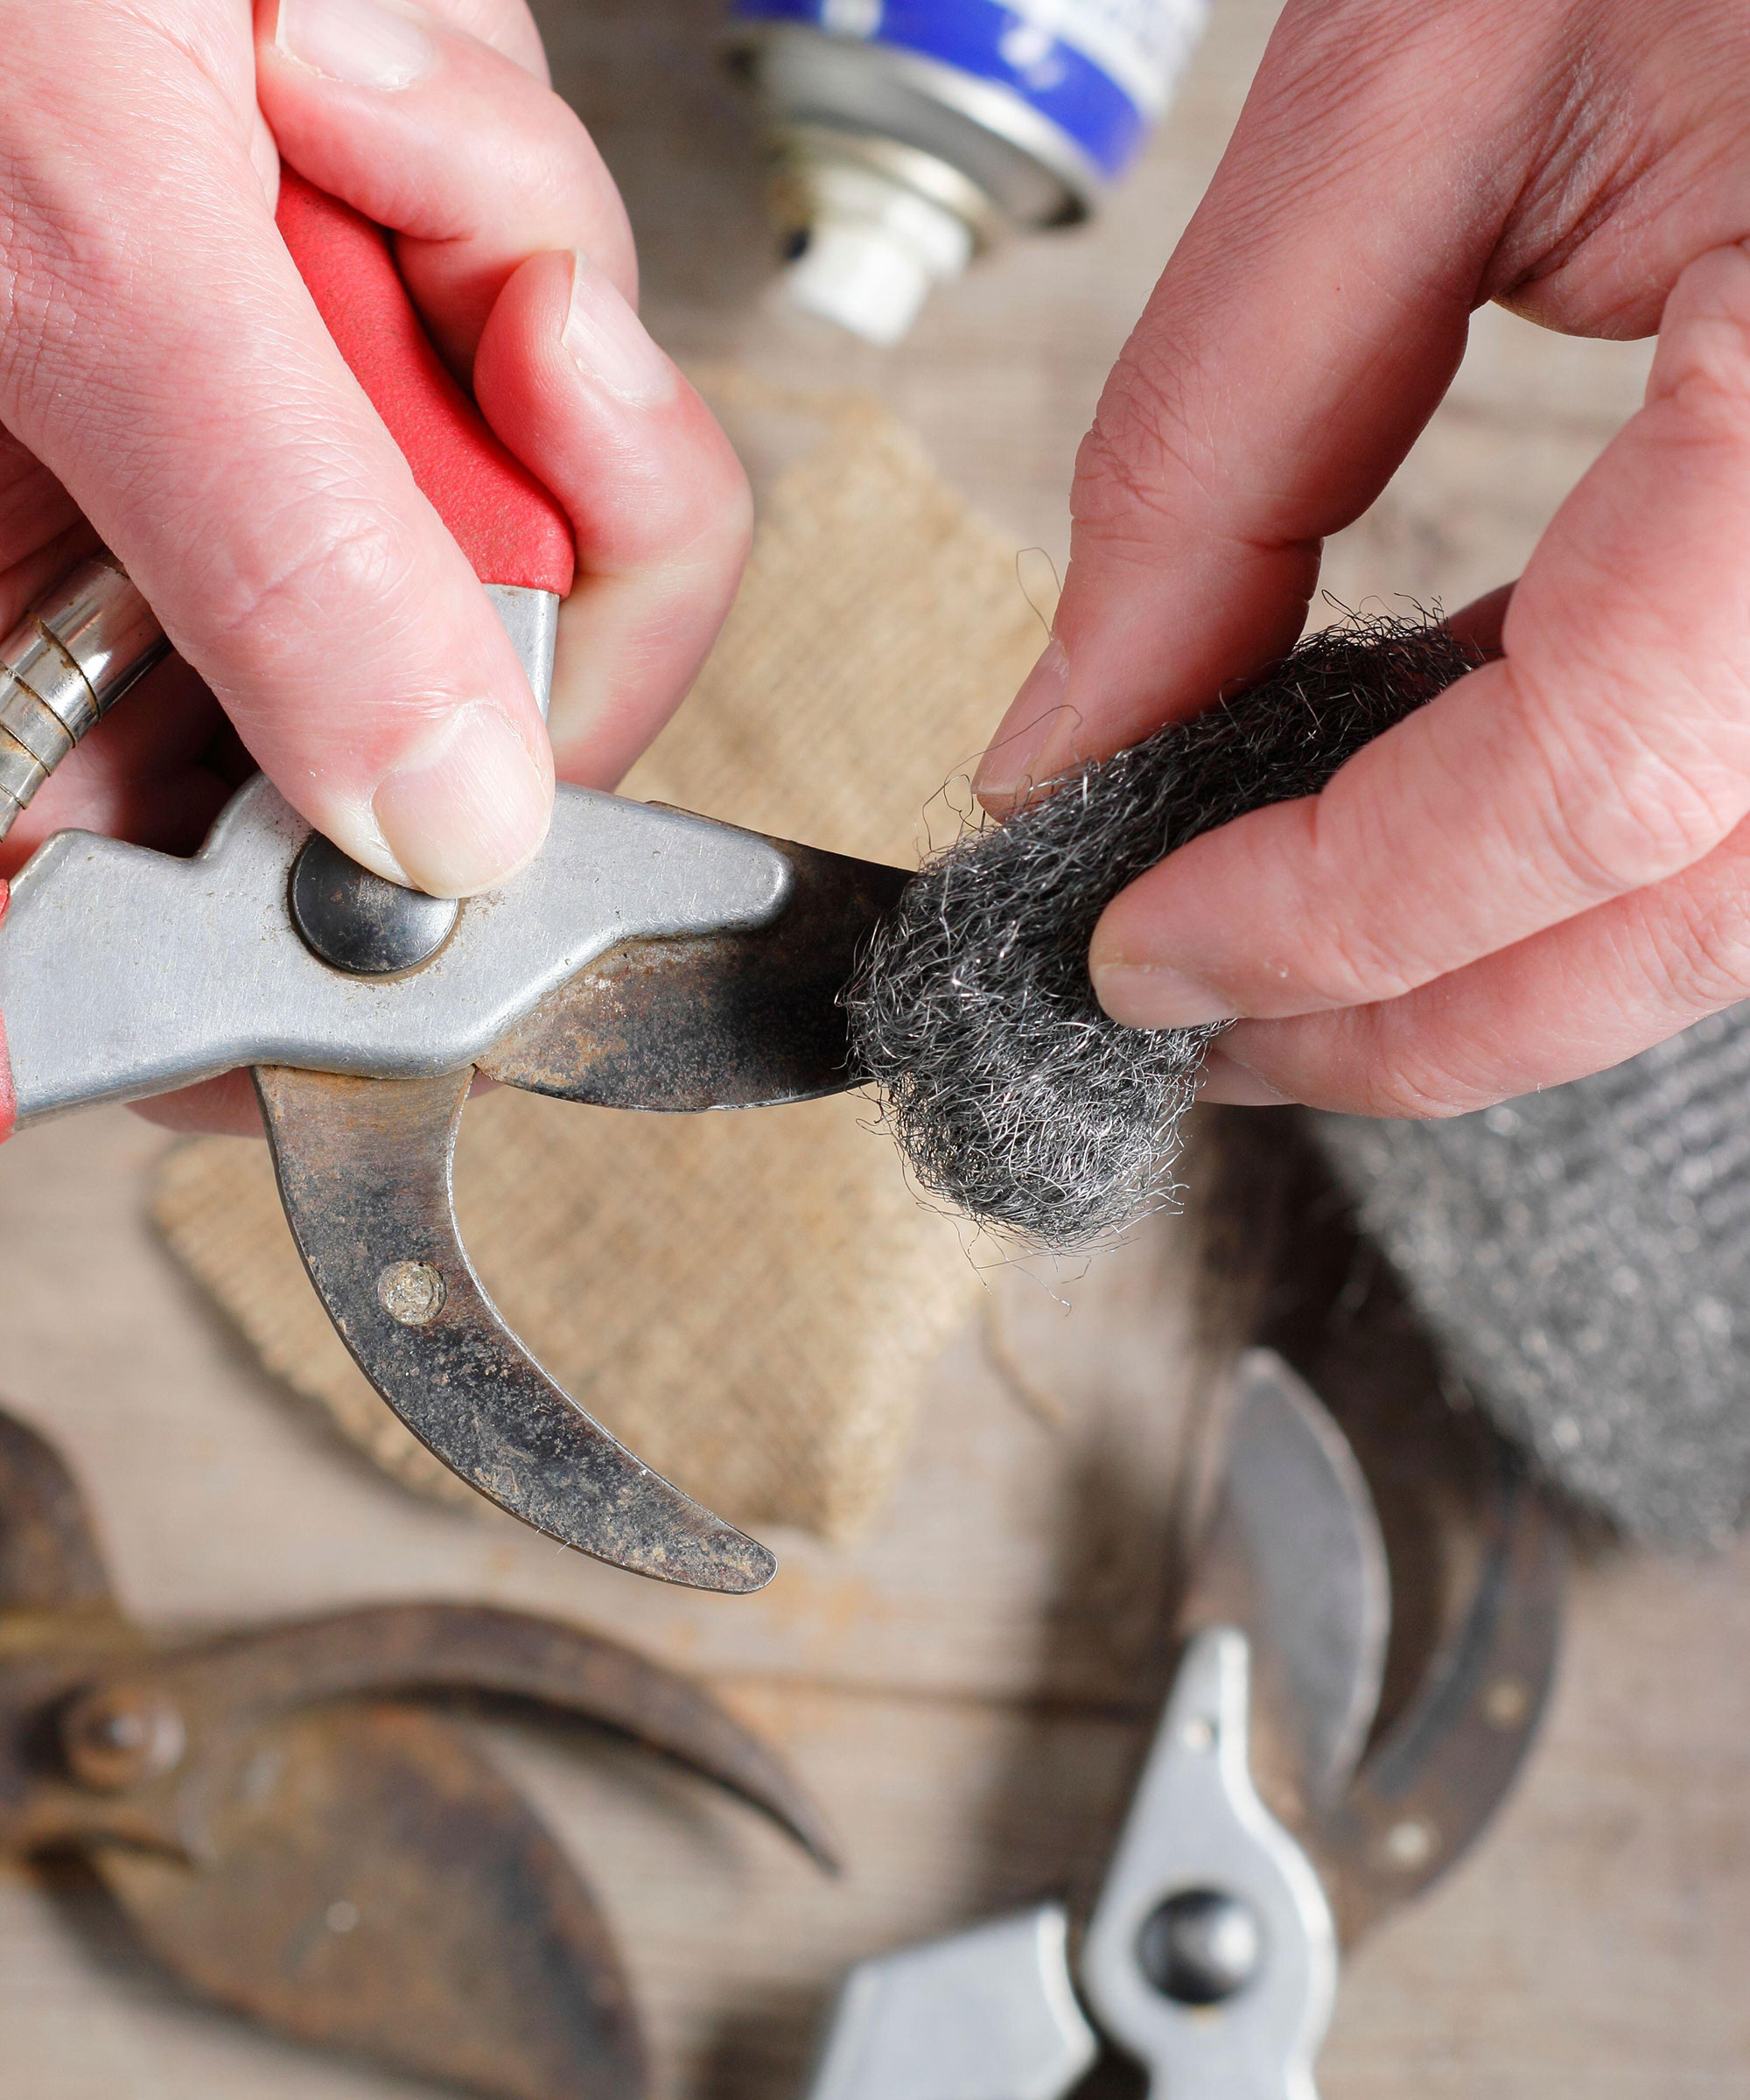
A key part of how to clean pruning shears is getting rid of gummy build-up which you might not have been able to shift with soap and water. Instead use steel wool, a medium-coarse sand block or sandpaper to rub away any residue, focusing especially on the cutting blades. If the blades are rusty, use a much coarser grade of steel wool instead to remove any build-up.
5. Disinfect your pruning shears
If the blades are covered in sap or other sticky substances apply a light alcohol solution or a light bleach solution with a soft cloth. Alternatively dip your tools straight in, then wipe clean. This ensures that everything is clean for use next time.
You should get into the habit of doing this step every time you use them if you've been pruning a plant that has a disease, such as rose black spot, to avoid spreading it around via the blades.
'I disinfect the blades of my pruning shears after each use, usually with antibac gel or a dab of Milton fluid squirted onto a dry cloth, and wipe them down with an oily rag to stop them getting rusty,' says Ruth Hayes from Amateur Gardening. 'If rust does appear I buff it off with some wire wool.'
Whether using soap, alcohol or bleach always be sure to dry tools thoroughly after cleaning to prevent rust. Never soak garden tools in water because they will become rusty and this will lessen their sharpness.
6. Reassemble pruning shears (if you took them apart)
Now you need to reassemble the pruning shears. Simply slide the two blades back together, reposition the spring, and replace the nut or screw.
Test the pruners to be sure you haven't over-tightened and that the blades move well and are correctly adjusted. The jaws should scissor smoothly with an easy movement, with no gap between the blades.
7. Sharpen your pruning shears
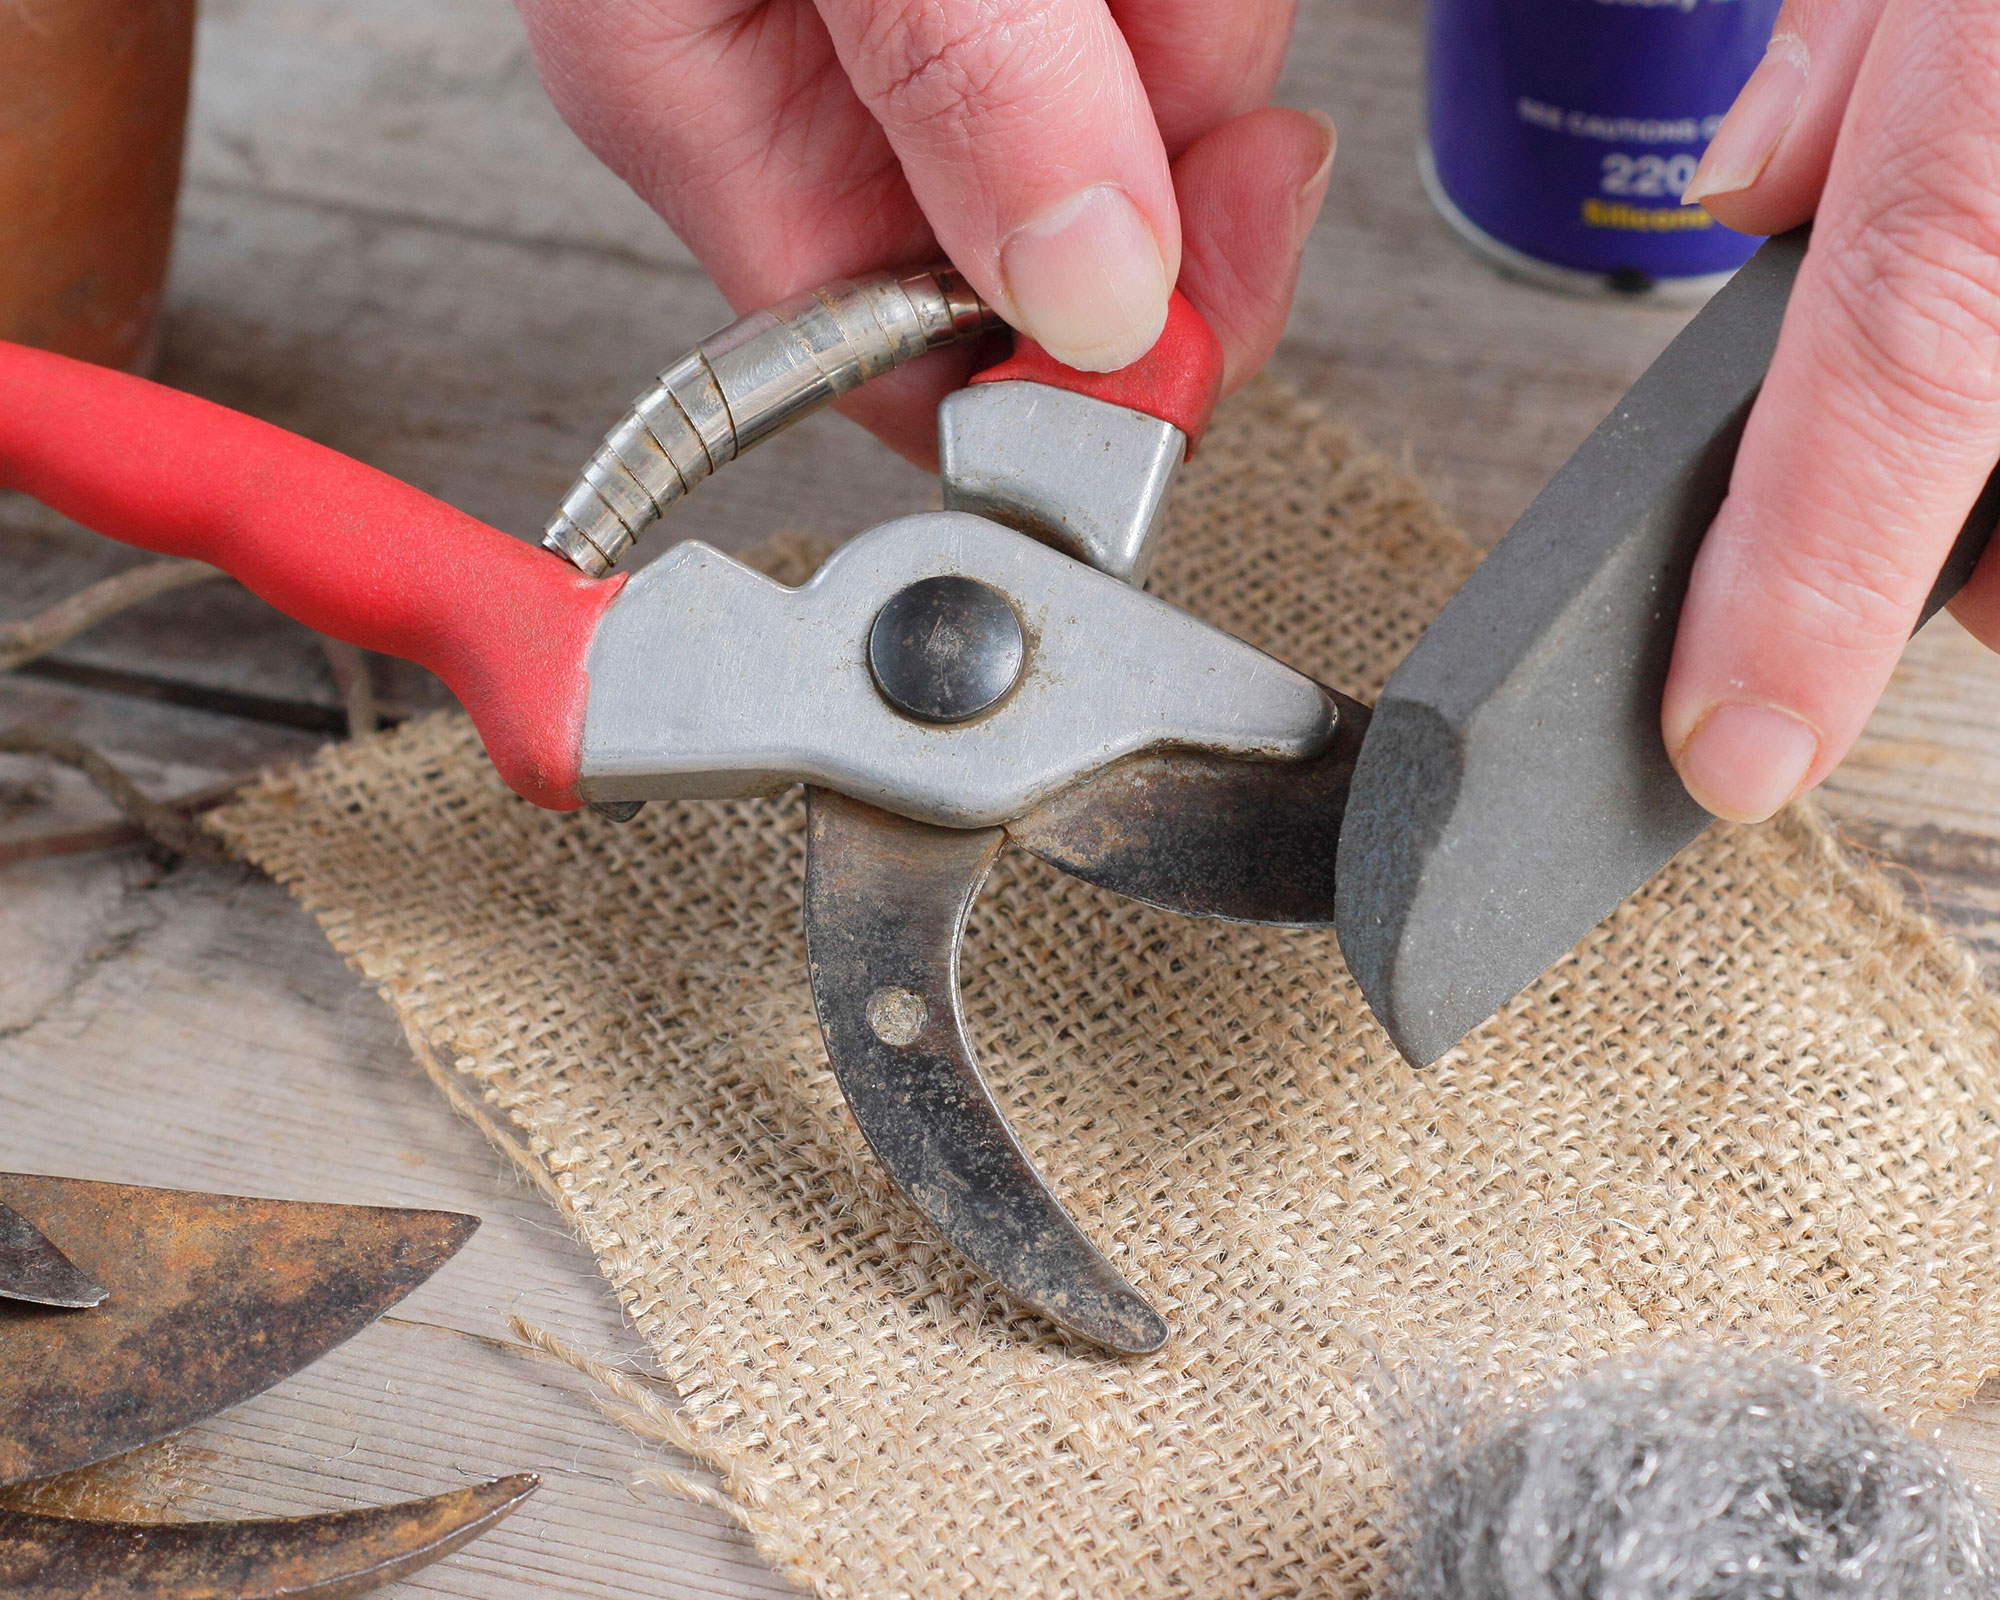
For maximum efficiency it's important to sharpen the blades of your pruning shears regularly too. This is best done with a whetstone, which usually gives the best results. A multi-purpose diamond file works well, too. Hold firmly, pushing the sharpening tool away from your body, dragging it along the blade.
You can also buy specialist sharpening tools. 'I sharpen my pruning shears every time I clean them using my Stihl 3-in-1 sharpening tool (available from Amazon),' says Ruth. 'It's easy to hold and can be used on other tools as well.'
8. Oil your pruning shears
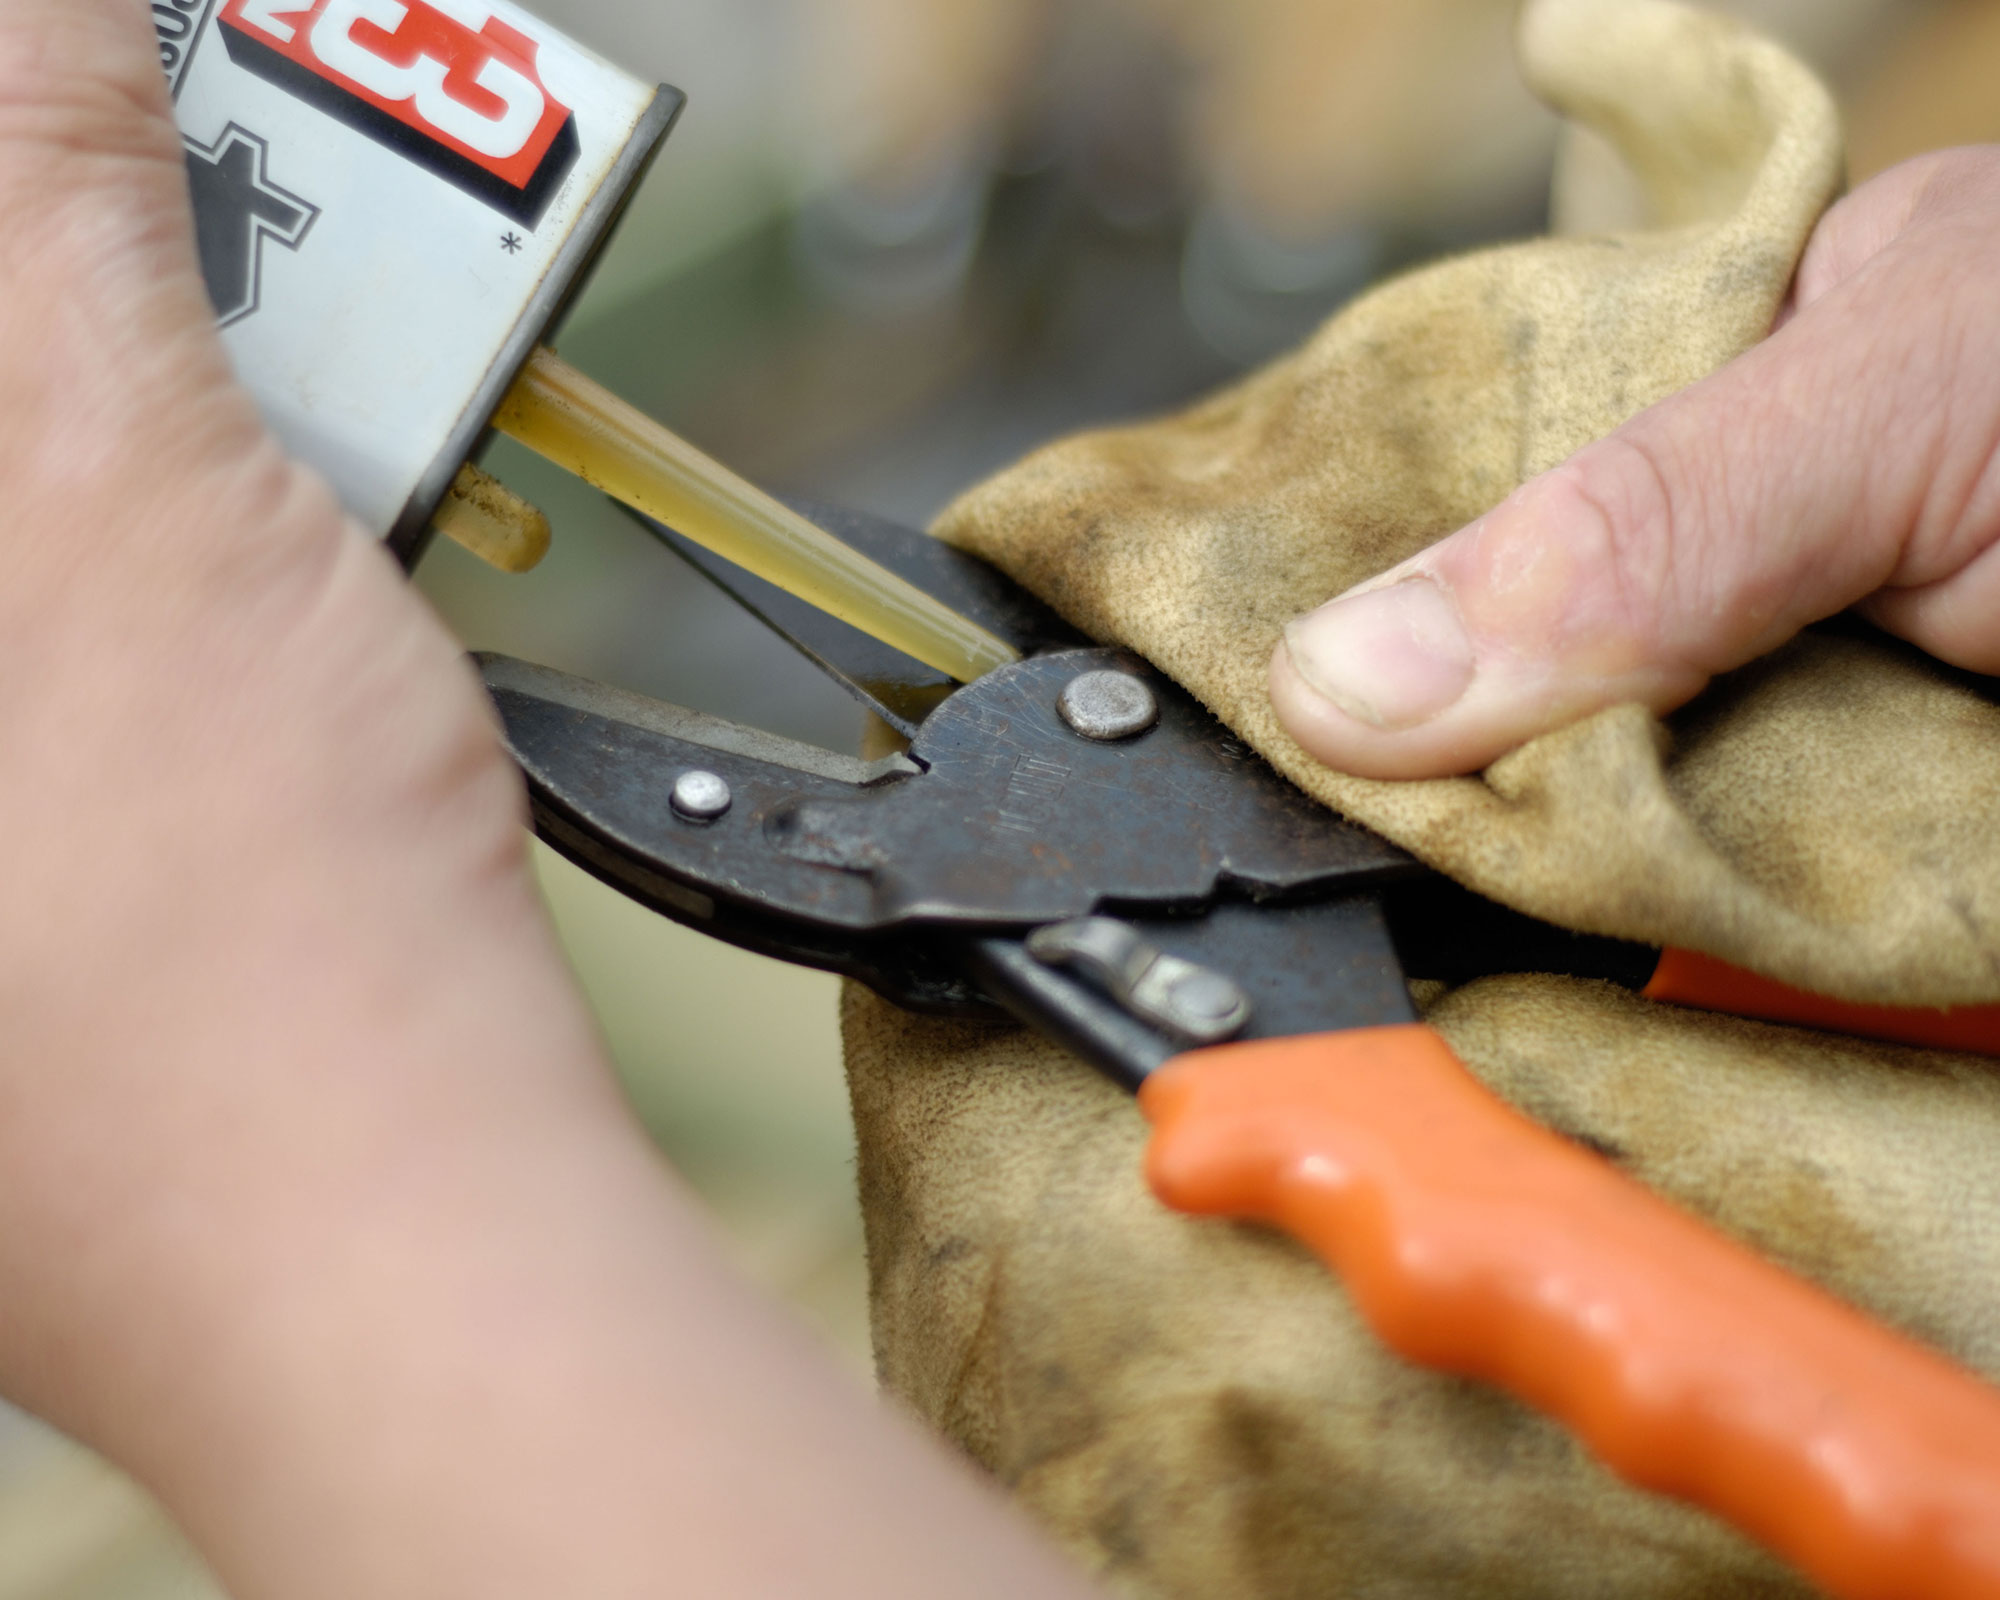
It's also important to oil your pruning shears regularly so they don't rust. You can use WD40 (available from Amazon) or a specialist oil made for lubricating gardening tools. Give all the moving parts a spray of lubricating oil. Also coat the blades to prevent moisture creeping in. Leave for five minutes then wipe off any excess oil with a clean cloth. This will help you maintain a smooth and easy cutting motion.
'You should also always store your tools in a dry, cool environment to dry off after cleaning, as this will help to further prevent rust,' suggests Georgina Taylor from Fiskars. So add your pruning shears to your garden tool storage for future good practice.
Why it's important to keep pruning shears clean
Cleaning, getting all the sap off, disinfecting, sharpening and oiling is all part of good garden care when it comes to how to clean pruning shears. Your tools will look better, feel better and work better too with an easy program of regular maintenance.
Blades of pruning tools become sticky with the sap from plants you're pruning, which acts like a magnet and attracts dirt to the blades. This build-up affects performance, causing blades to stick together over time.
'Keeping shears sharp and clean is vitally important because blunt shears can tear and damage wood and dirty shears risk spreading diseases from one plant to the next,' explains gardening editor Ruth Hayes.
Clean, sharp pruning shears allow for efficient cutting which means plants heal more quickly after being snipped too, especially important whether you're pruning shrubs or pruning roses.
As part of your gardening routine, get into the habit of regularly cleaning your shears after every use, especially if they're looking gummed up or dirty.
How often should you clean pruning shears?
'As with any gardening tool, over time the once shiny blades of pruning shears can become dirty and stained, especially if they have been in regular contact with plant resin and sap,' says Paul Hicks of Stihl. 'To keep them in good nick all year round, it's best practice to give them a good clean after every use.'
If your pruning shears are looking unloved and in need of some TLC, try a specialist cleaning product, such as Stihl Superclean, available from Amazon. Simply spray it onto the tool and wipe away to remove any stubborn stains. For regular cleaning use every time to keep blades pristine. This can also be used on the blades of your best hedge trimmer and chainsaw.
You should clean and sharpen your pruning shears, together with the rest of your garden tools, at least once a year, at the end or beginning of the gardening season. Pruners that see extra-hard use will need maintenance more often, so you might want to add this task to your monthly gardening calendar. The more you do it, the easier the job becomes and the less time it will take. And you'll notice a big difference when you next use your sharpened pruning shears.
As a regular part of your routine, get in the habit of wiping down your pruning shears after each use with a cloth moistened with lubricating oil. This will prevent rust and sap build-up, and make the regular sharpening routine much easier.
Look out for a maintenance kit to help extend the life of your pruning shears too. These handy kits typically feature a diamond file to sharpen blades, and a bottle of oil to be used on the joints, blades and springs to reduce friction and protect against corrosion. Follow the care instructions and with any luck you’ll be able to use your pruning shears for years to come.

Lifestyle journalist Sarah Wilson has been writing about gardens since 2015. She's written for Gardeningetc.com, Livingetc, Homes & Gardens, Easy Gardens and Modern Gardens magazines. Having studied introductory garden and landscape design, she is currently putting the skills learned to good use in her own space where the dream is establishing a cutting garden.
