March gardening jobs: 10 ways to get your garden in shape
Our top March gardening jobs will ensure your plot is ready for spring and the longer, warmer days ahead

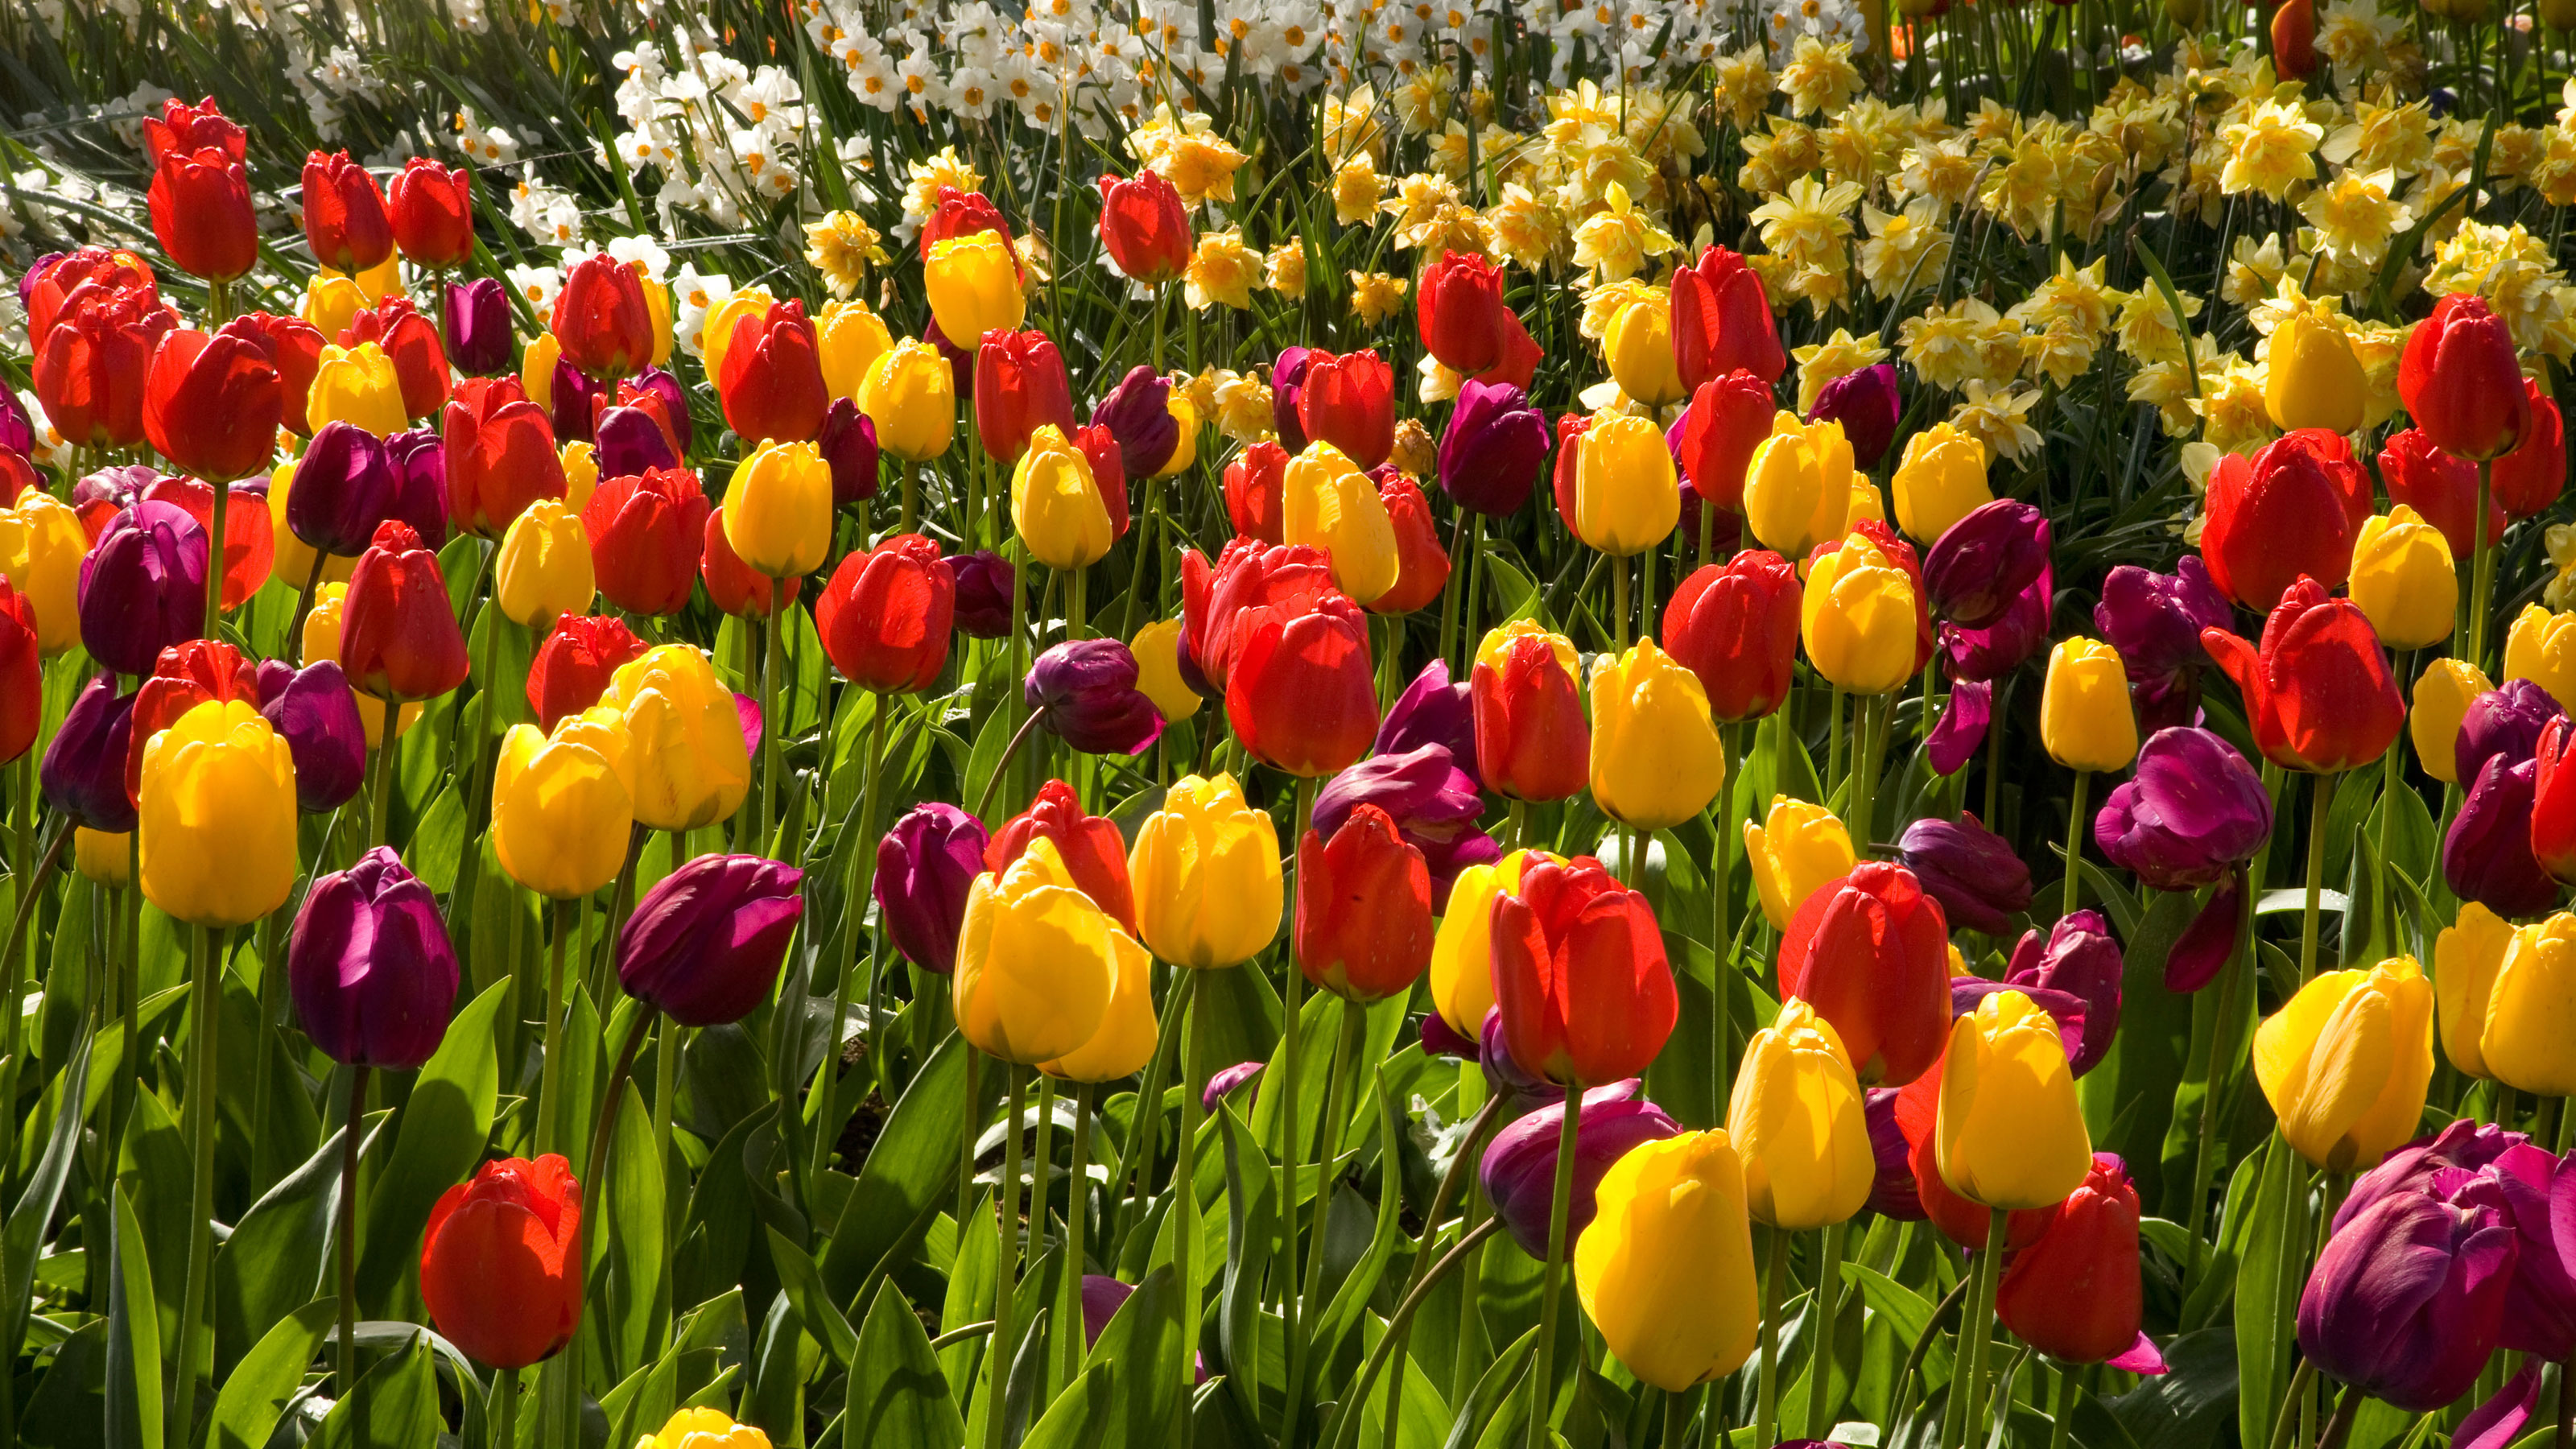
March gardening jobs are basically all about looking forward to warmer days and getting the garden ready for the rest of the year. Hours of daylight are getting longer and the warmth is gradually building, even if March does have the reputation of being one of the more temperamental months.
This means that we can start preparing more tender types of plants for their time in the sun, keep spring bloomers flowering for longer and also make sure that the infrastructure of the garden is healthy and clean for the bumper growing times ahead.
Our top March jobs from the monthly gardening calendar will get you and your garden ready for brighter, warmer days ahead.
Your checklist of March gardening jobs
It's time to get the garden ready for the long-awaited arrival of brighter days and better weather, so cross these March gardening jobs off your to-do list and get your outdoor space in the best possible shape.
1. Boost your summer bedding displays
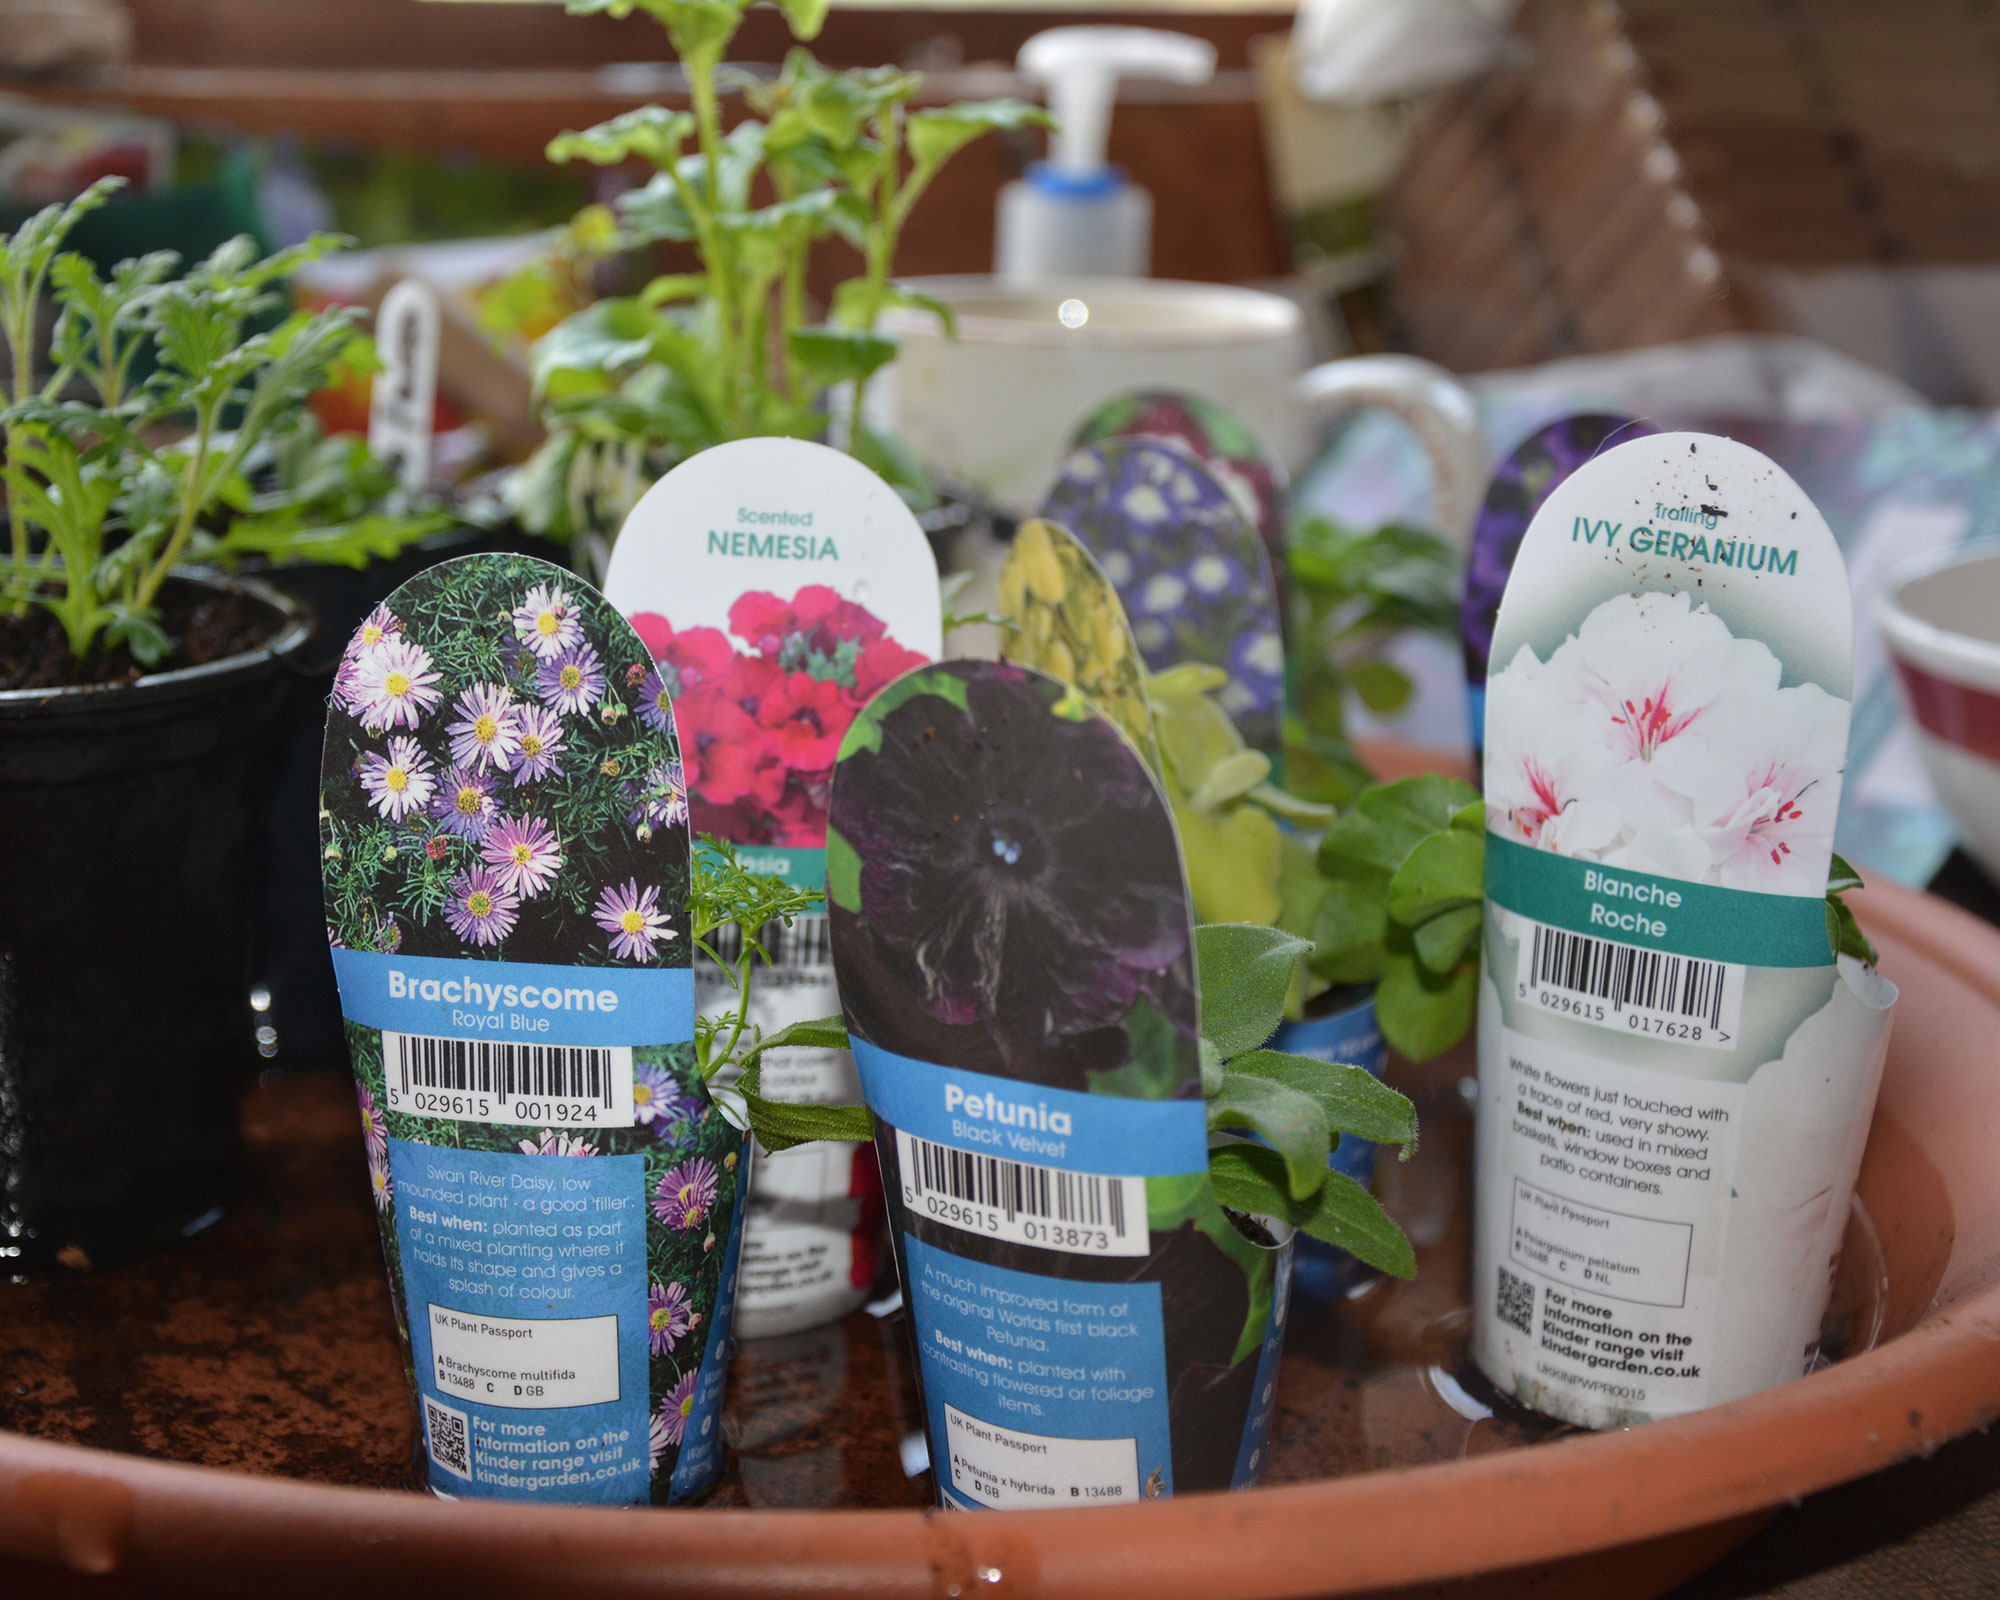
Start your list of March gardening jobs by buying plug plants, which are a great way of taking the ‘faff’ out of growing your summer garden because someone else has gone to the trouble of sowing, germinating and then raising the seedlings.
Most garden centers and online retailers sell a virtually endless number of colorful varieties, from fuchsias and petunias to pelargoniums and trailing lobelia and nemesia. Vegetable plug plants are also widely available. The plants are small and bought in trays or singly, in a floral version of the ‘pick and mix’ sweets of old.
If you buy them online, make sure you care for them properly when they arrive as they are delicate and will quickly succumb to adverse conditions as well as pests and disease.
Remove them from their packaging and keep them somewhere sheltered and frost-free outside for around 24 hours. If their compost feels dry to the touch, stand the plants in shallow water for 30 minutes, then leave them to drain.
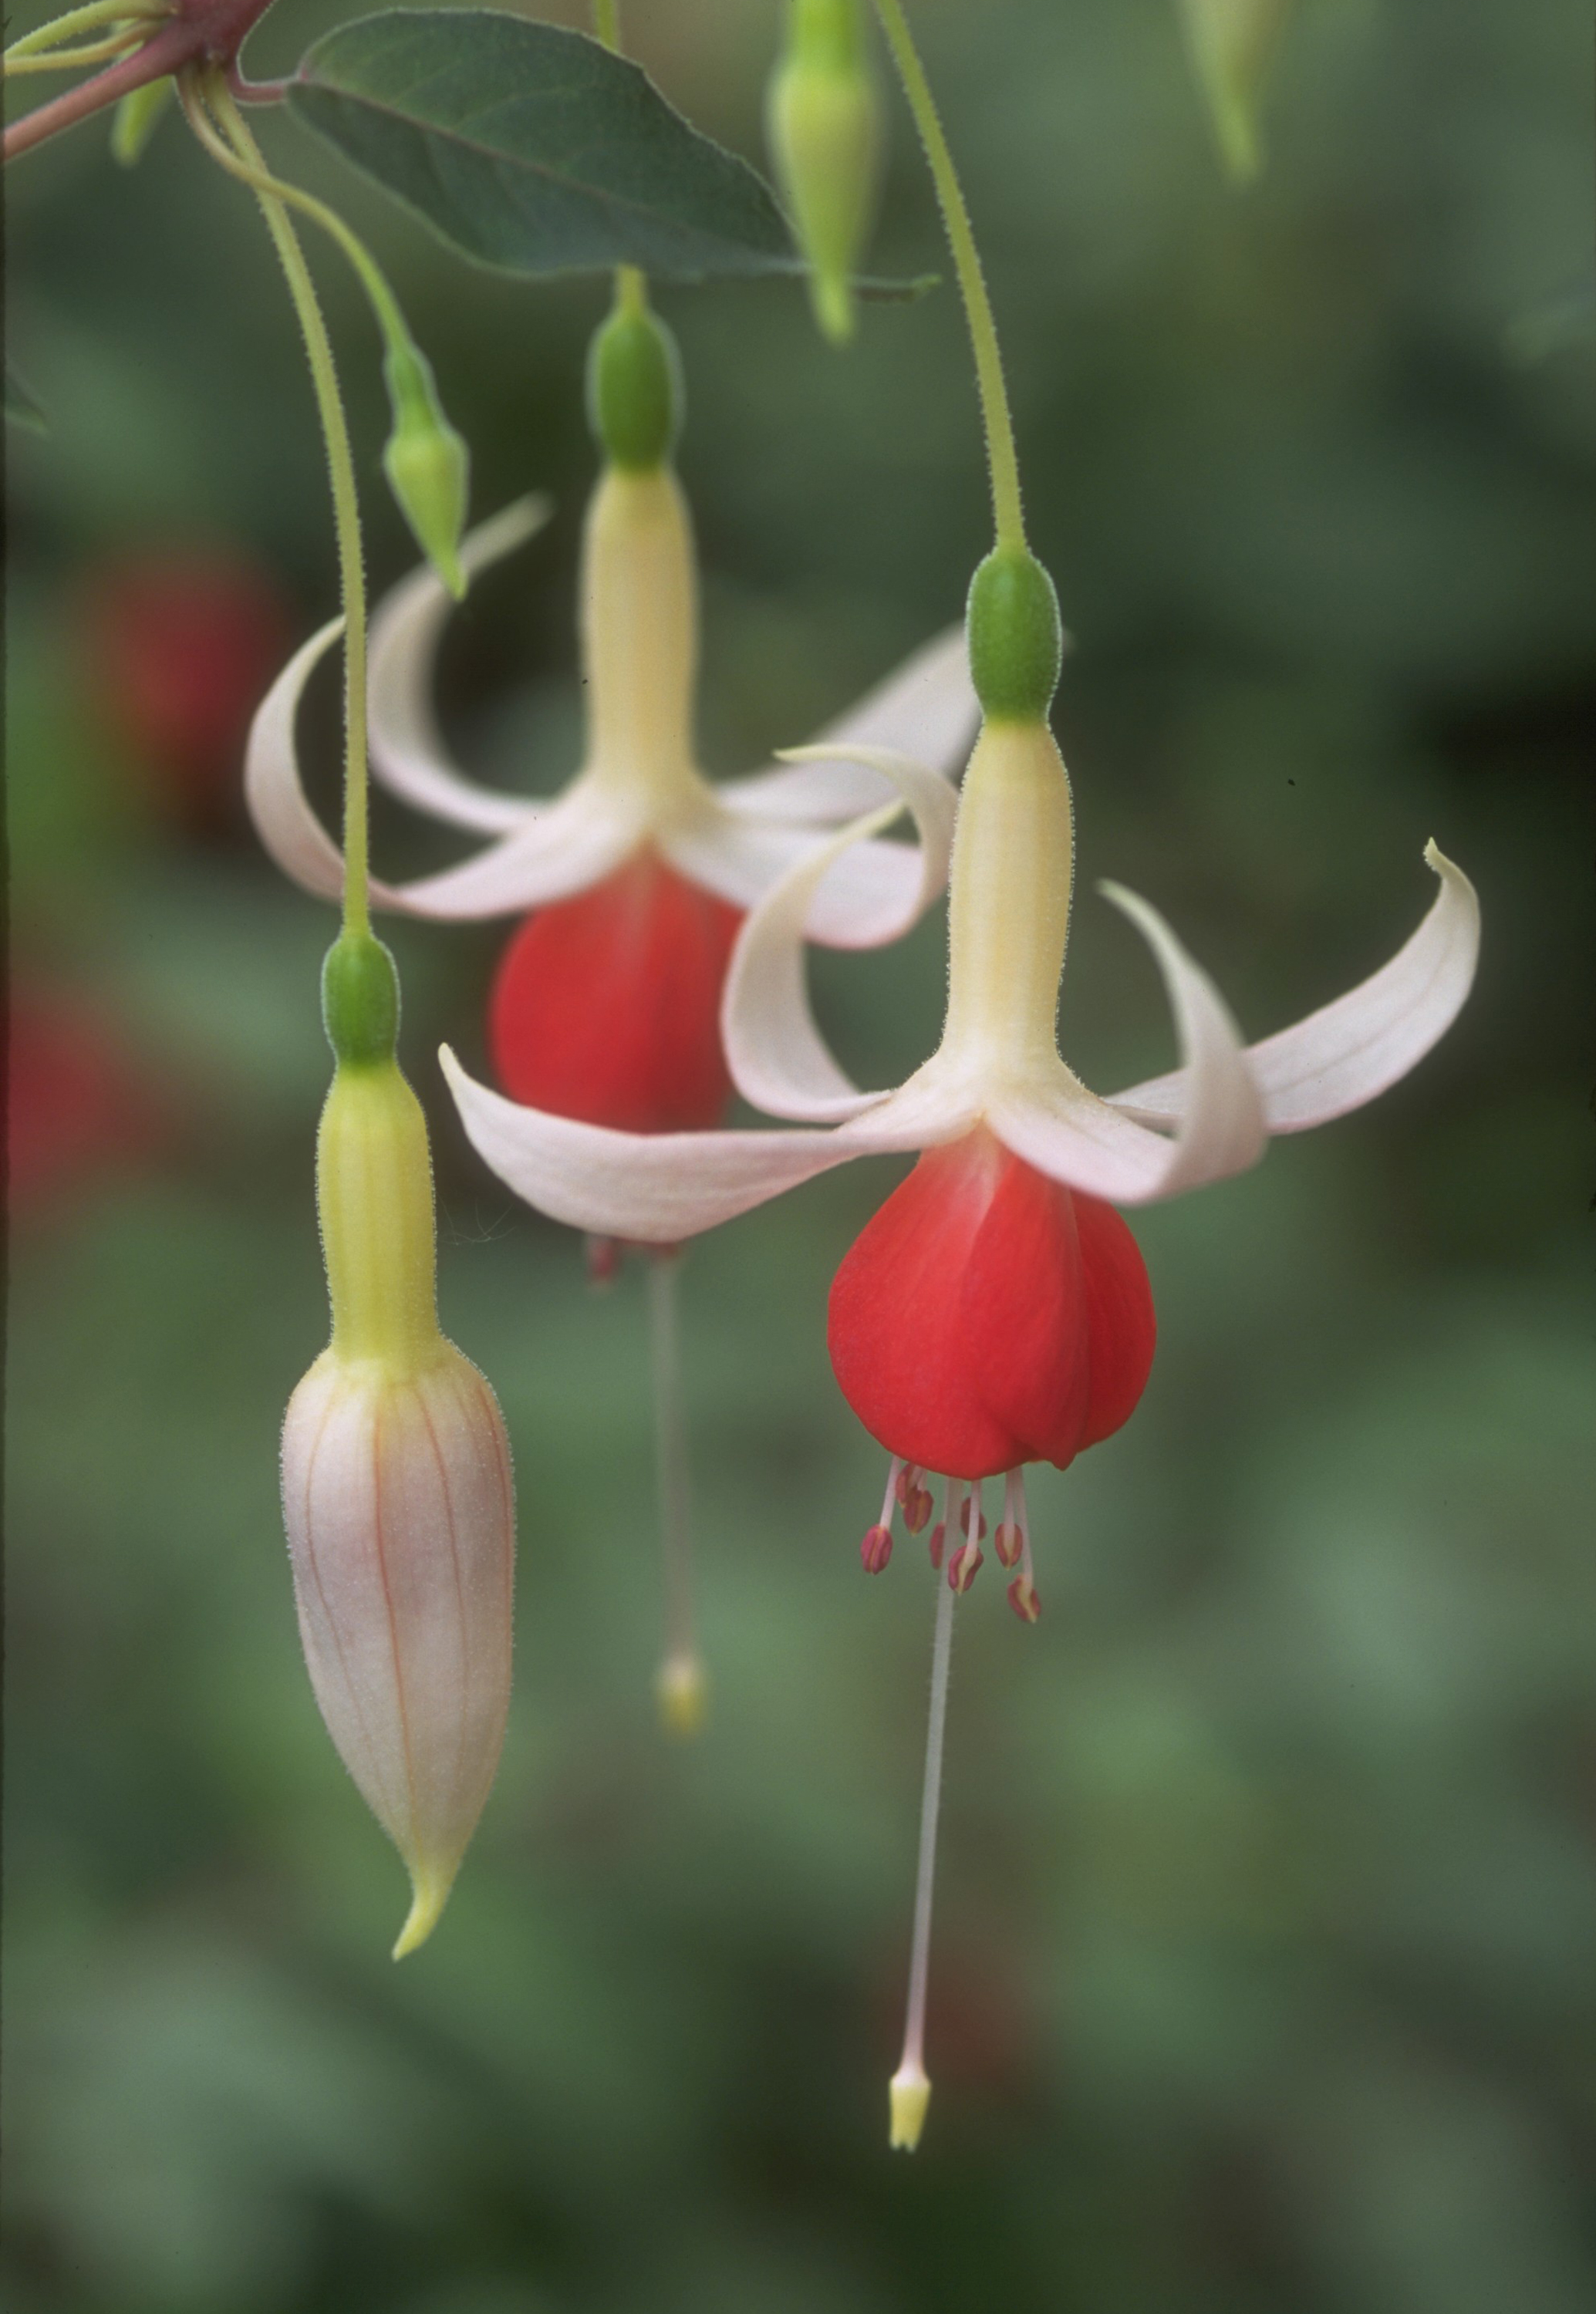
Whether you bought your plugs online or from a garden center they should be potted on into 3in (7cm) pots of multi-purpose or John Innes No 2 compost and kept somewhere warm and light, but out of direct sunlight.
Water when their compost is almost dry, and feed every 2-3 weeks with a liquid feed and pot on again if they outgrow their containers. Pinch out the growing tips and early flower buds to encourage bushy, healthy growth.
Top tip: Gradually harden them off (see job number 10 below) when they are large enough, and plant them out when the threat of frosts has passed.
2. Keep spring bulbs looking their best
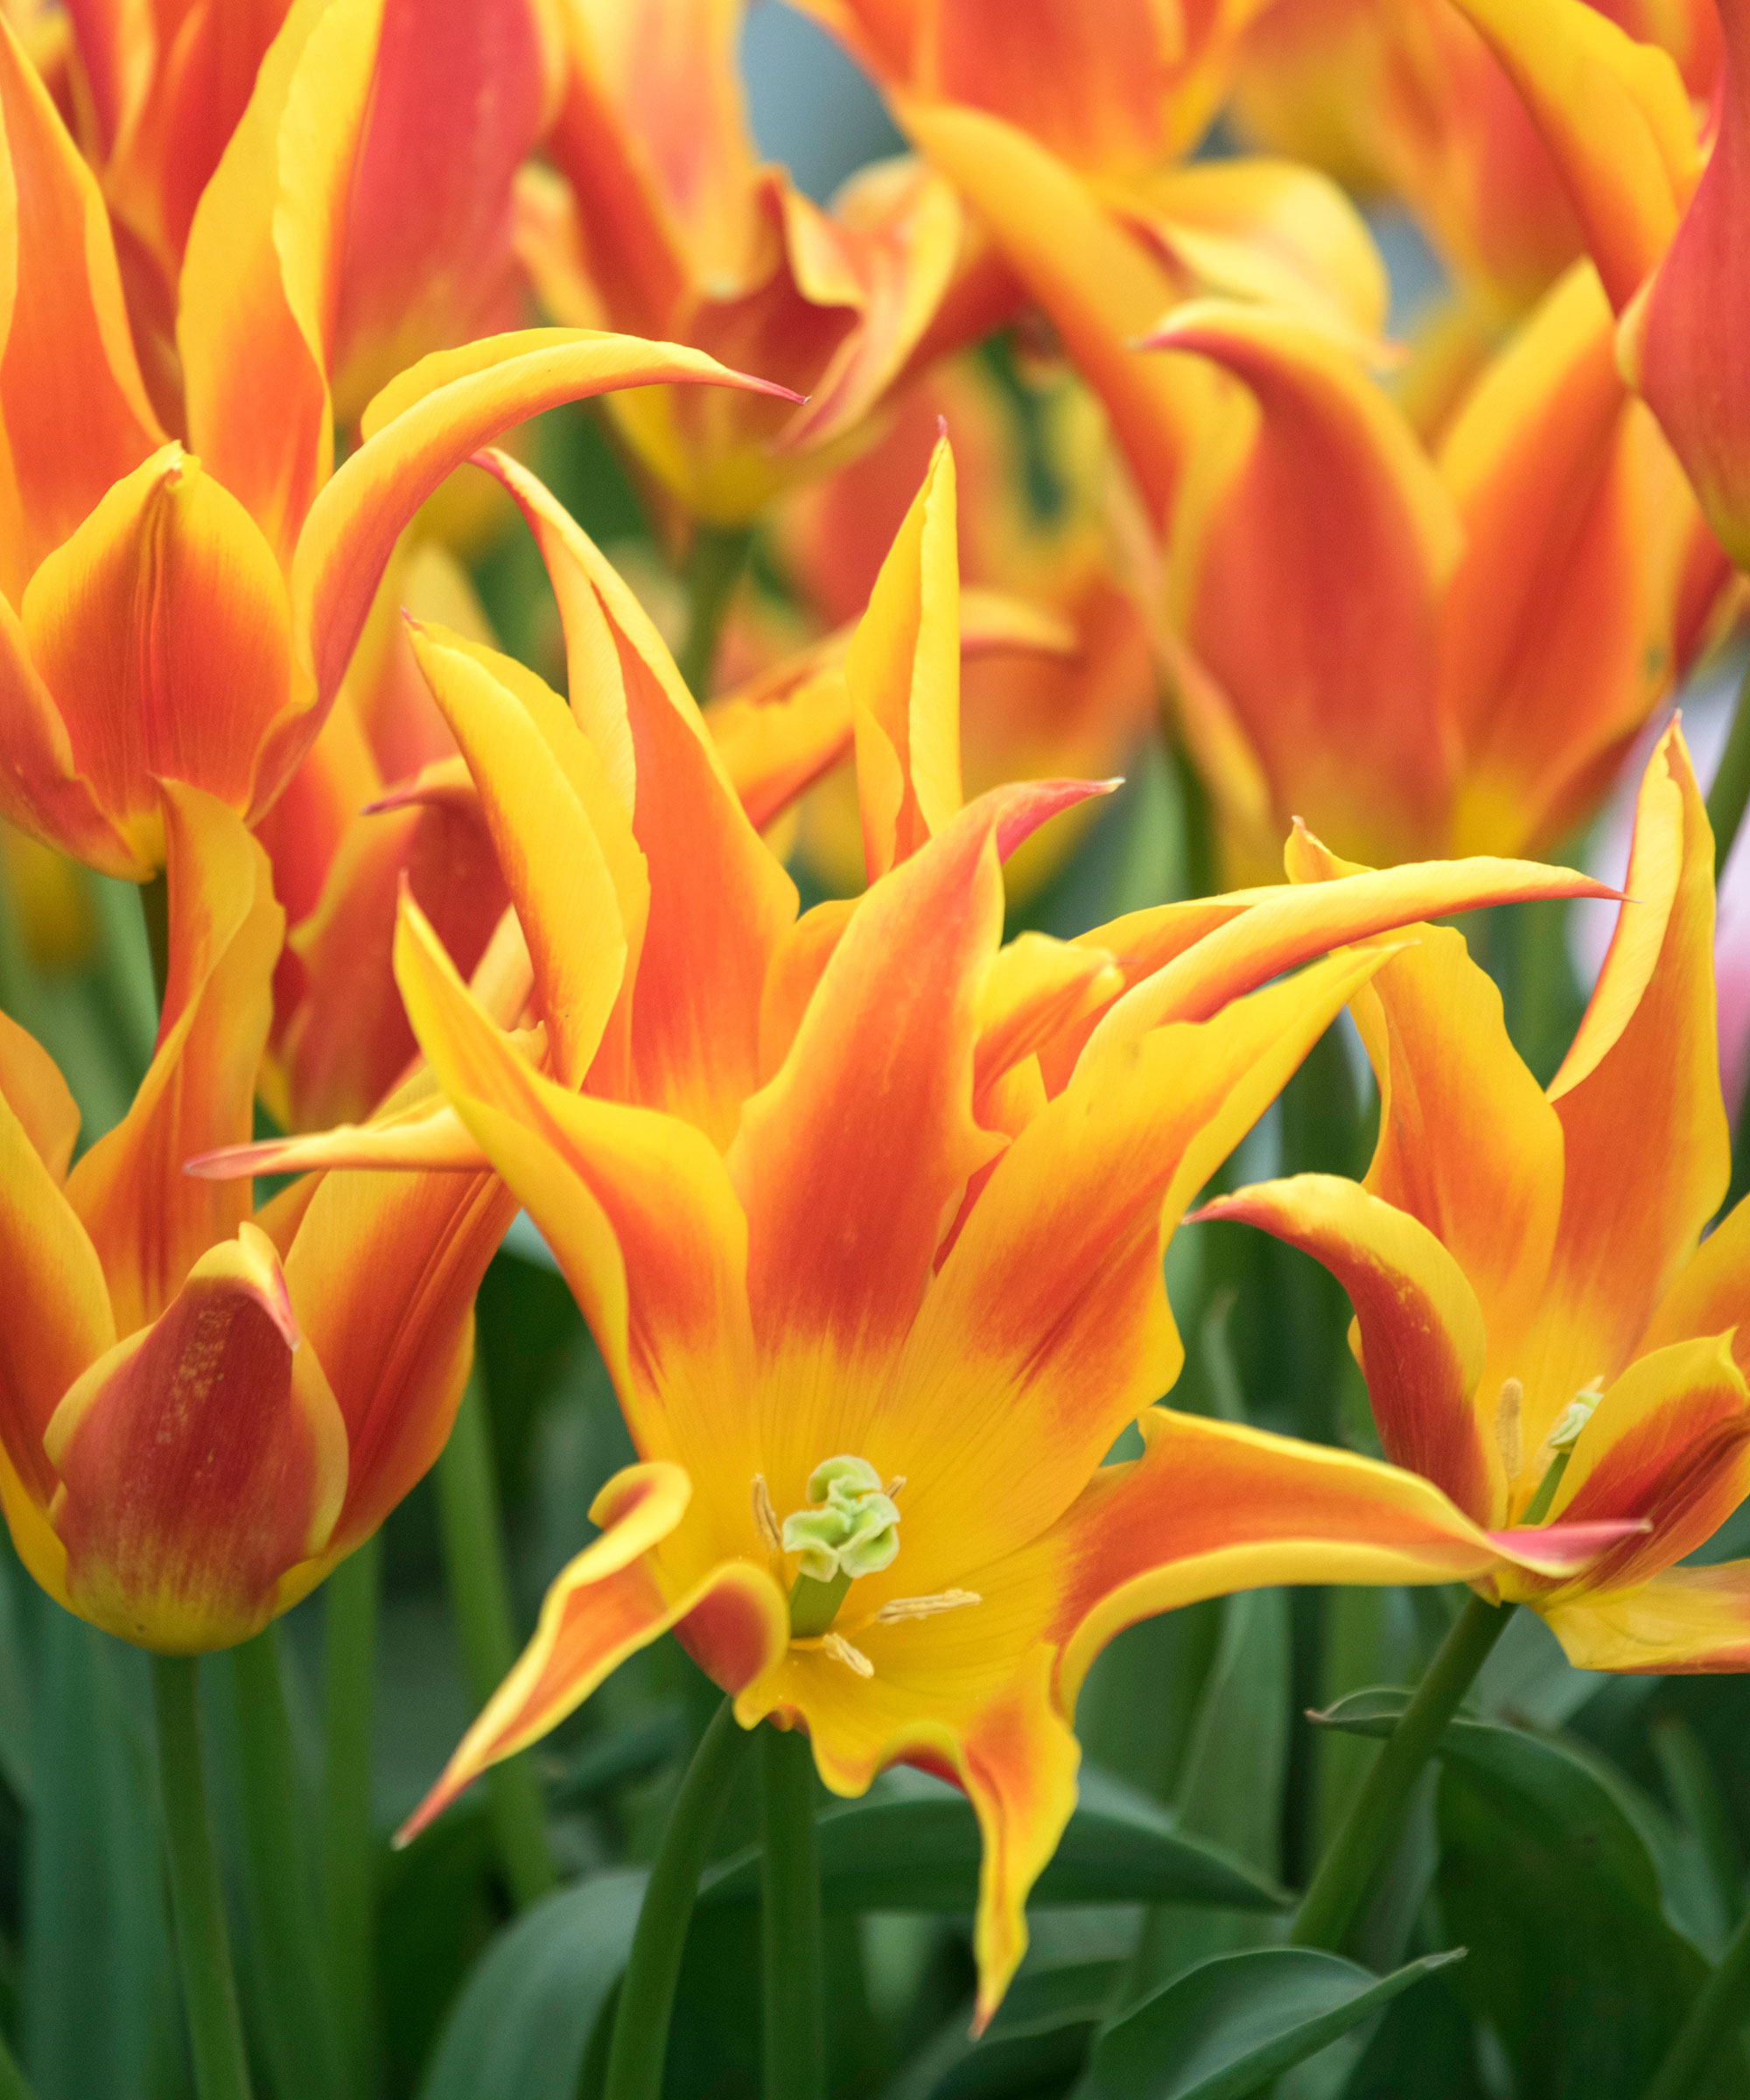
By the time we get to early March, the season of early spring bulbs is in full swing, our gardens and parks a riot of color created by daffodils and tulips, camassias, crocuses, fritillaries and a host of other welcome returners.
Although we say that bulbs are one of the easiest and most versatile ways of adding plants to your pots and flower bed ideas, this doesn’t mean they don’t need care while they are growing.
A key March gardening job is to treat the plants as you would any other. Deadhead flowers when necessary and water and feed with a liquid tomato fertilizer to boost flowering and bulk up the bulb for the following year. Never tie or remove the leaves after flowering as they need to be left attached so they replenish the bulbs as they wither and fade.
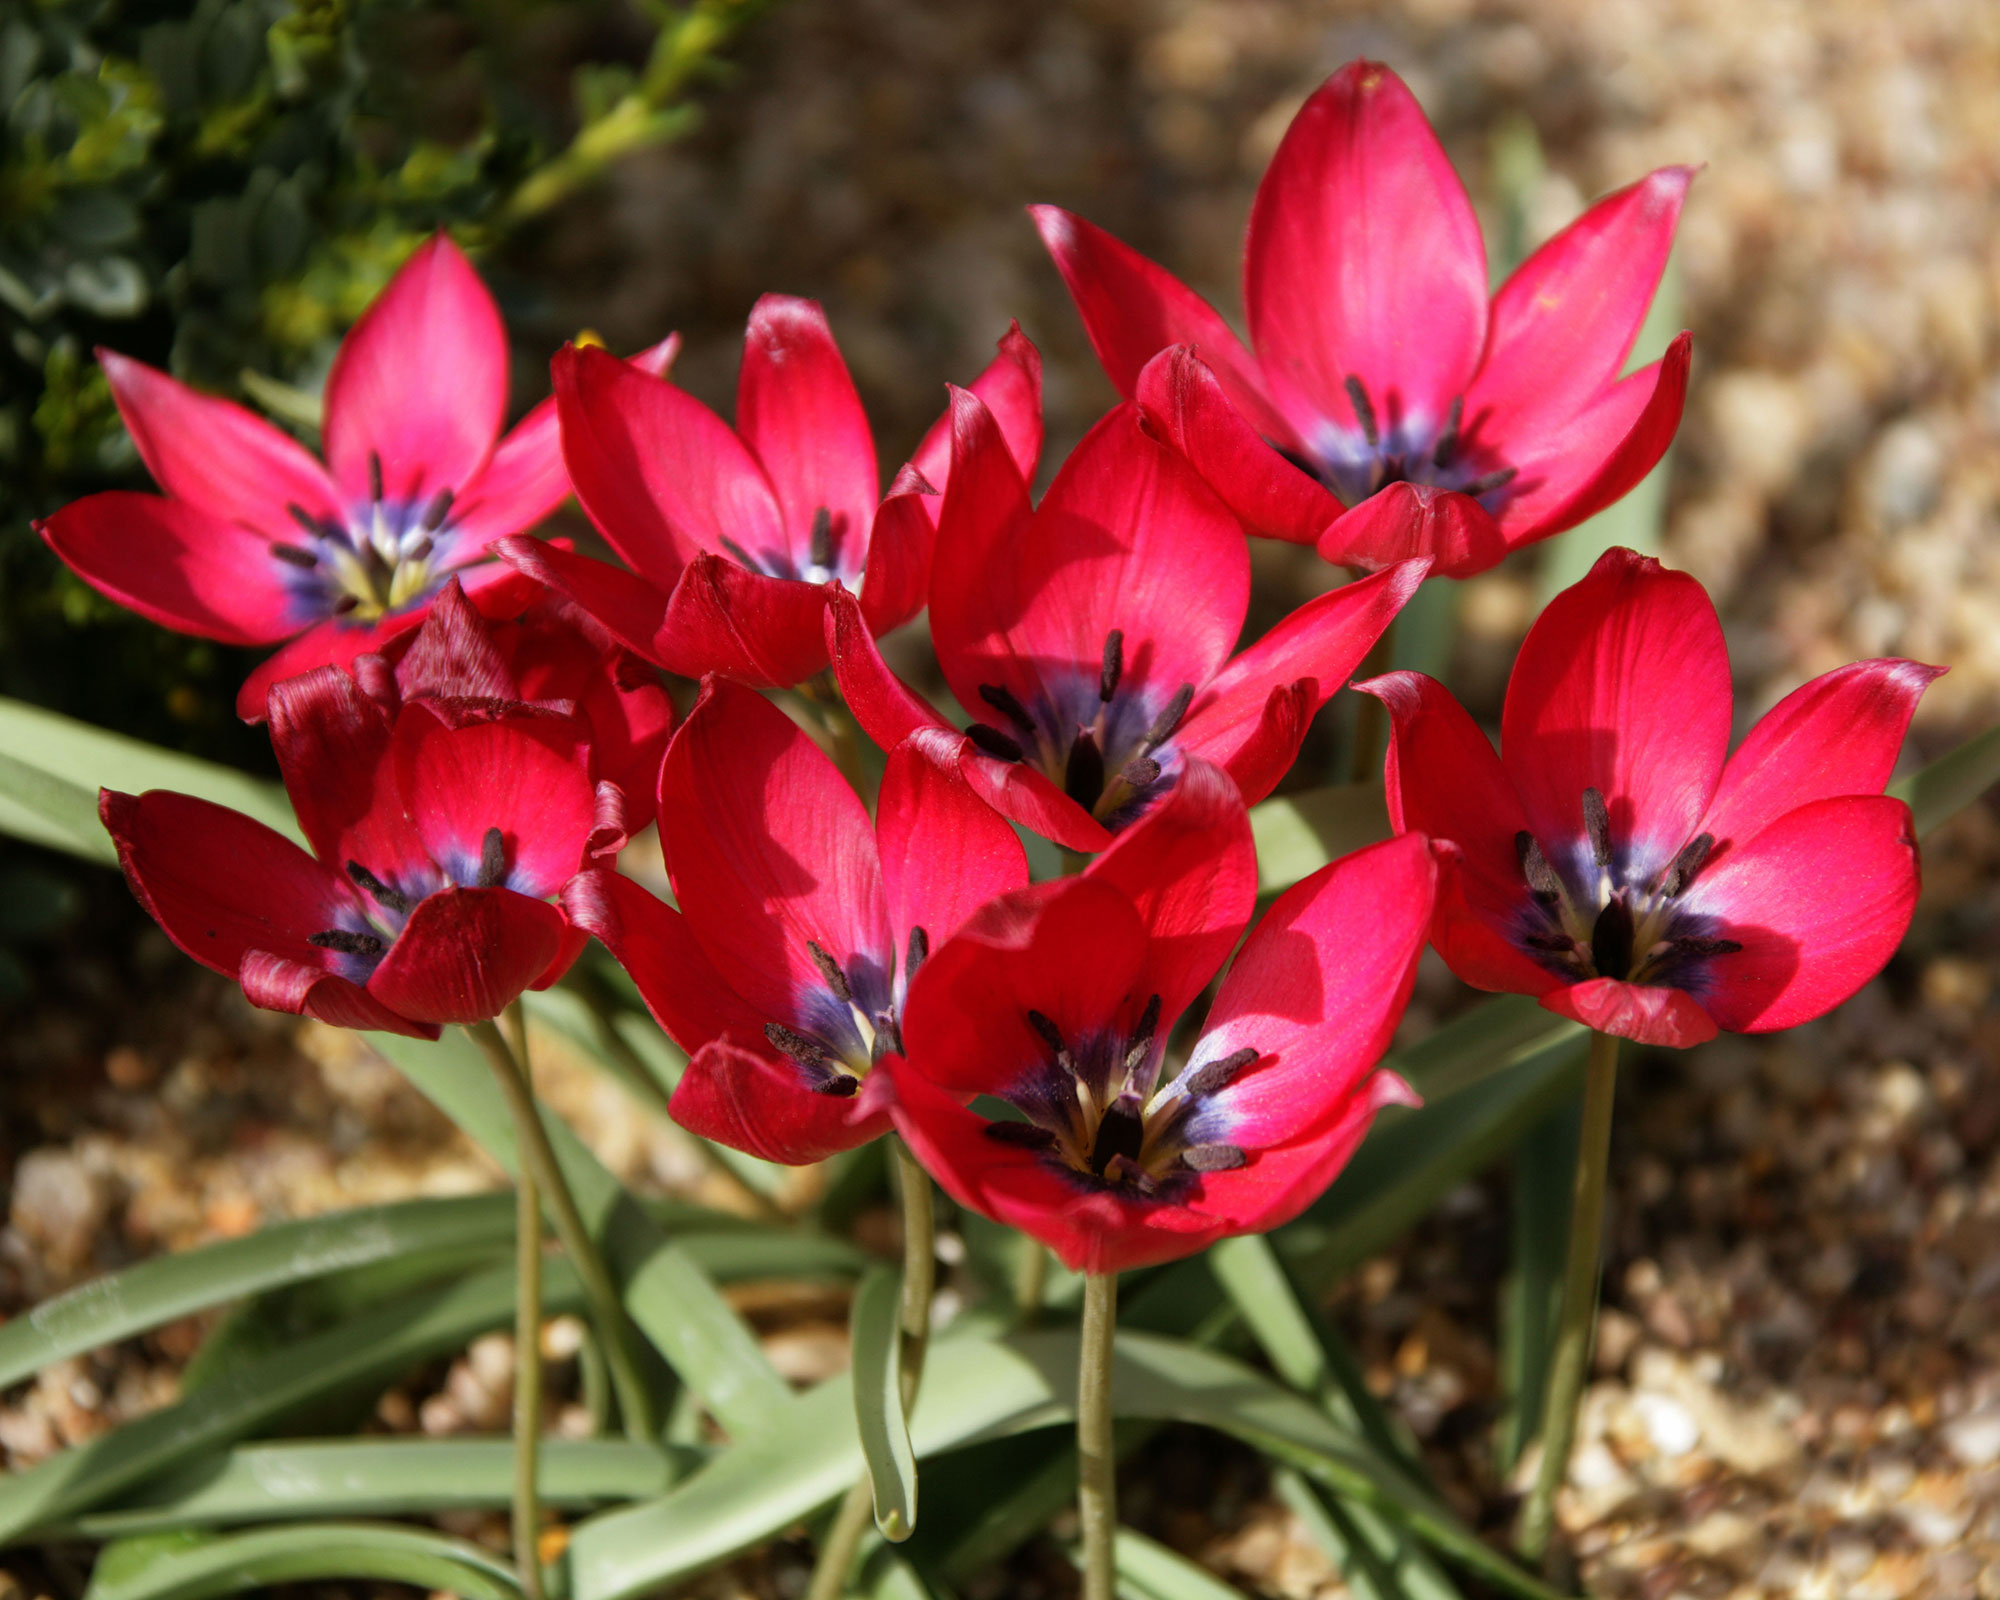
If you planted tulips to flower this spring, you may also need to start planning what to do with them once they have finished flowering. Whereas species tulips (usually small flowers on short stems such as Tulipa linifolia and T. tarda) return beautifully year in year out, most varieties (the large, statement plants) tend to flag after a year or so.
For this reason some people like to lift and transfer them to a less visible part of the garden once they have flowered. If this is your intention, wait until their leaves die back before lifting and storing them somewhere cool and dry until you replant in fall.
Top tip: At the end of the season, bulbs that haven't flowered may need lifting to make sure they are still firm and healthy. If they are, replant them at three times their own depth in fertile sunny soil. Bin any that are diseased or contain pests.
3. Pot on your seedlings
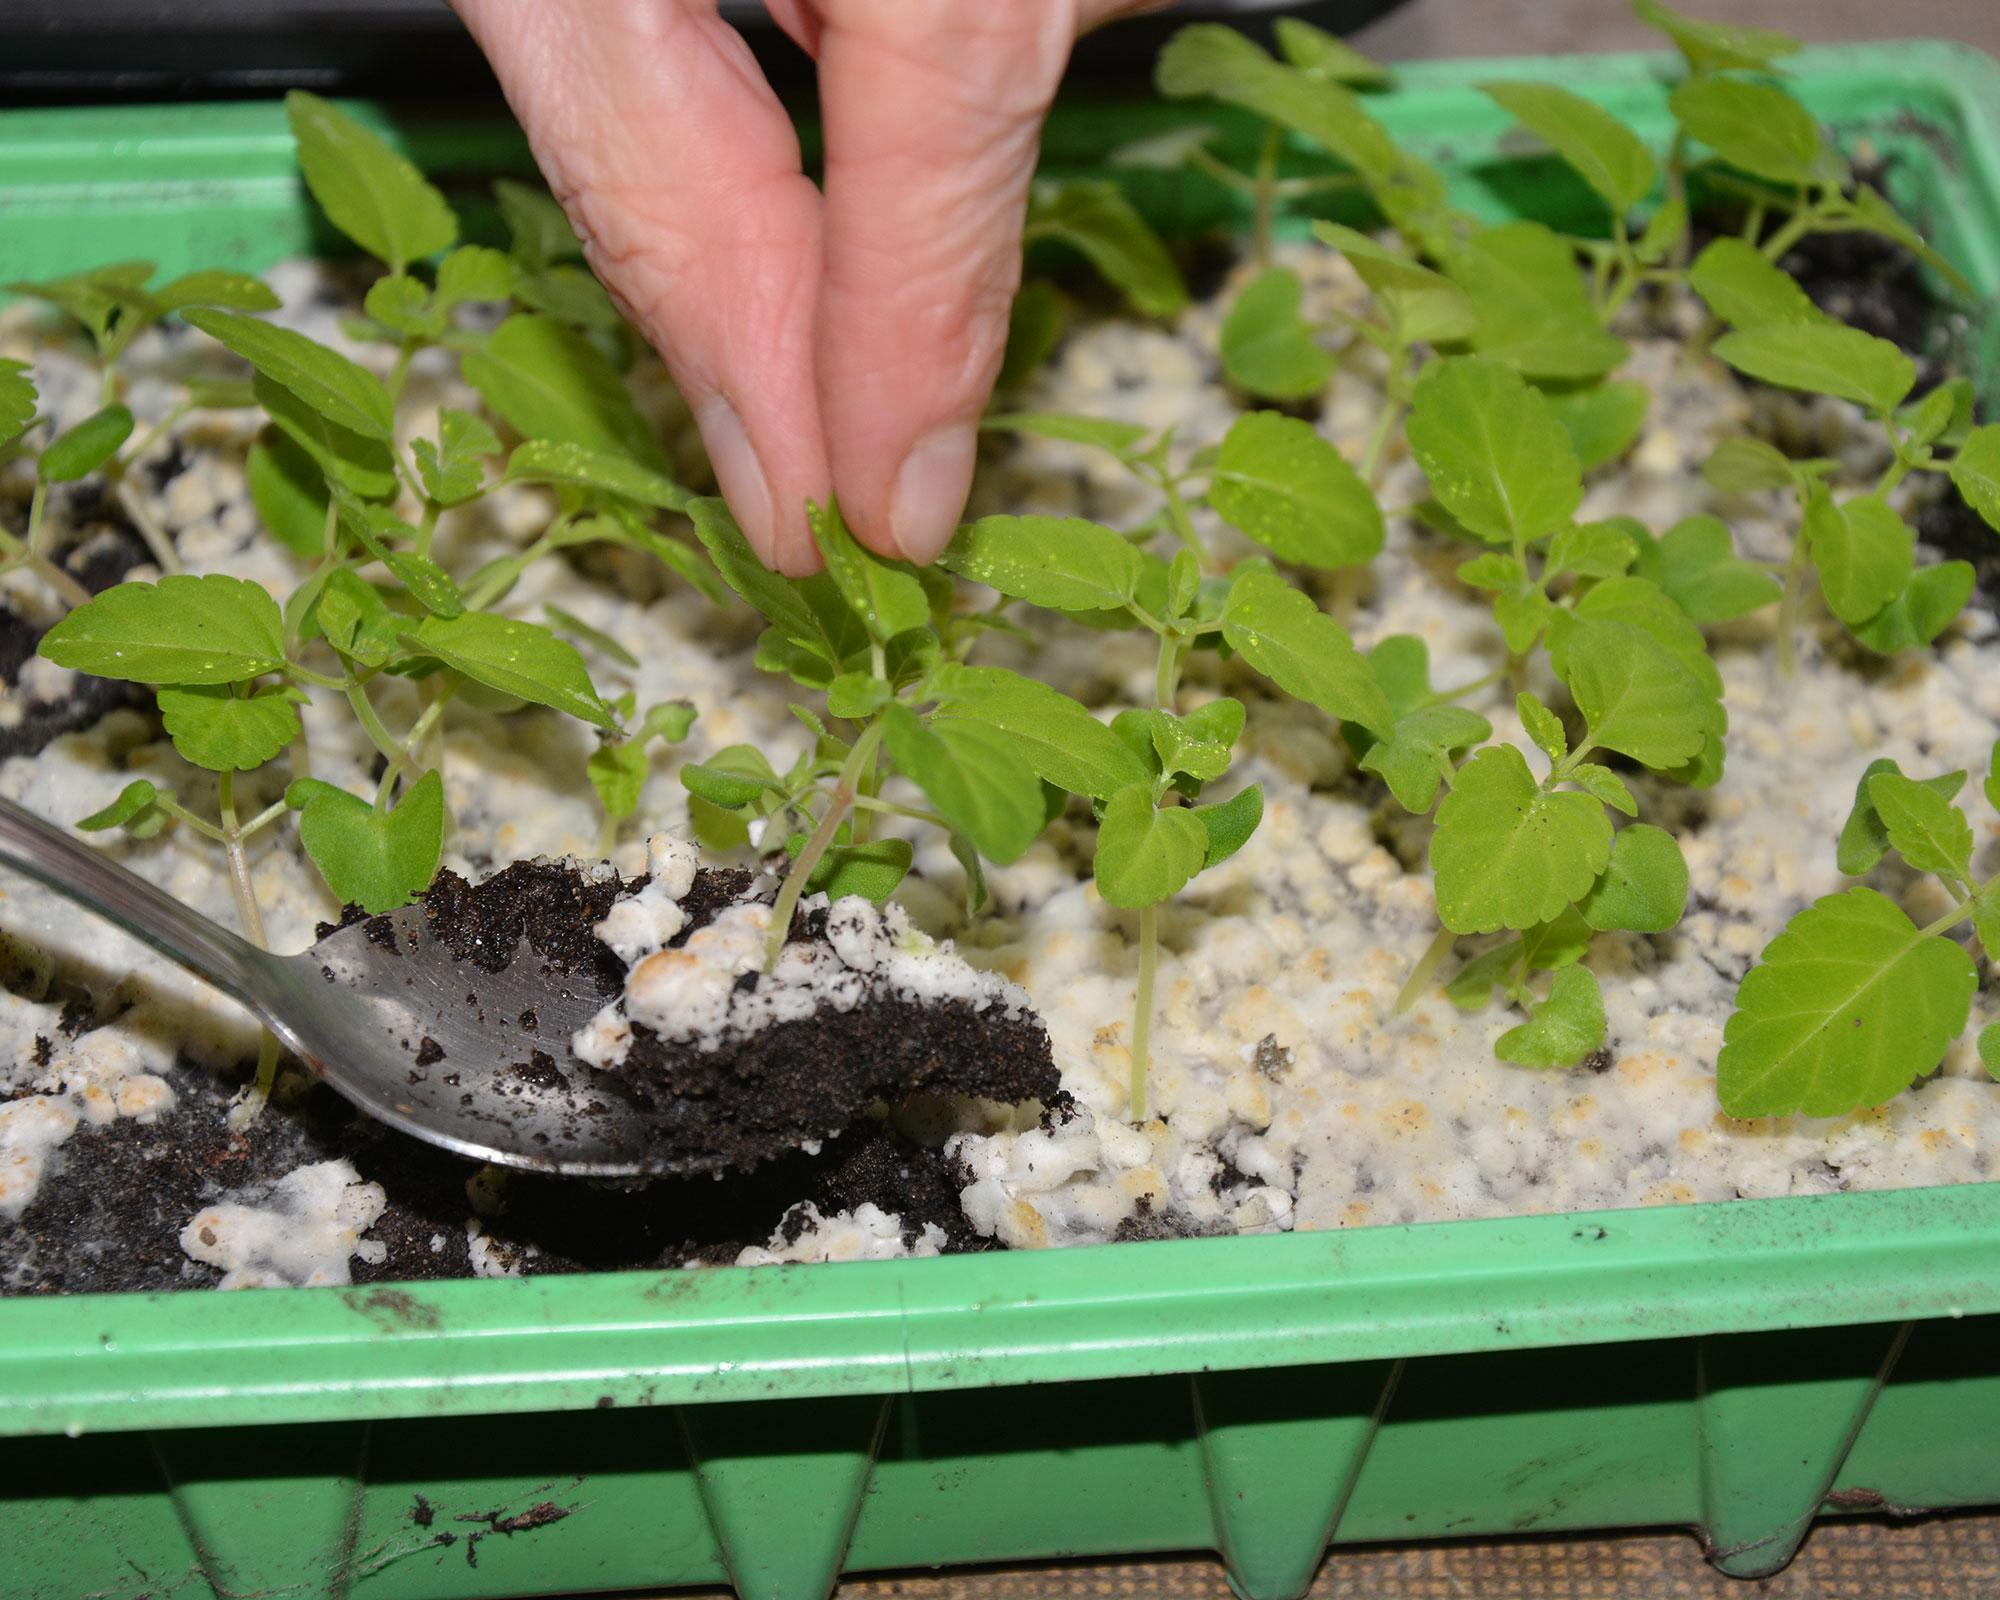
If you have been following our advice on how to grow flowers from seed, I expect that your windowsills are – like ours – crammed with seed trays and pots of young plants in all stages of development.
Some are yet to appear, some are tiny newly germinated dots of green, while others are in need of moving on from their seed tray into their next home.
These last ones need to be carefully moved from seed compost which is formulated to be low in nutrients to protect tiny germination roots, into meatier compost that will feed strong and healthy growth.
Seedlings are ready to be transplanted when their rounded ‘germination’ leaflets have been replaced by at least two pairs of ‘proper’ leaves that look like small versions of mature foliage.
The smallest seedlings can be moved into John Innes No1 compost, while larger ones will benefit from John Innes No2 or even multipurpose growing media.
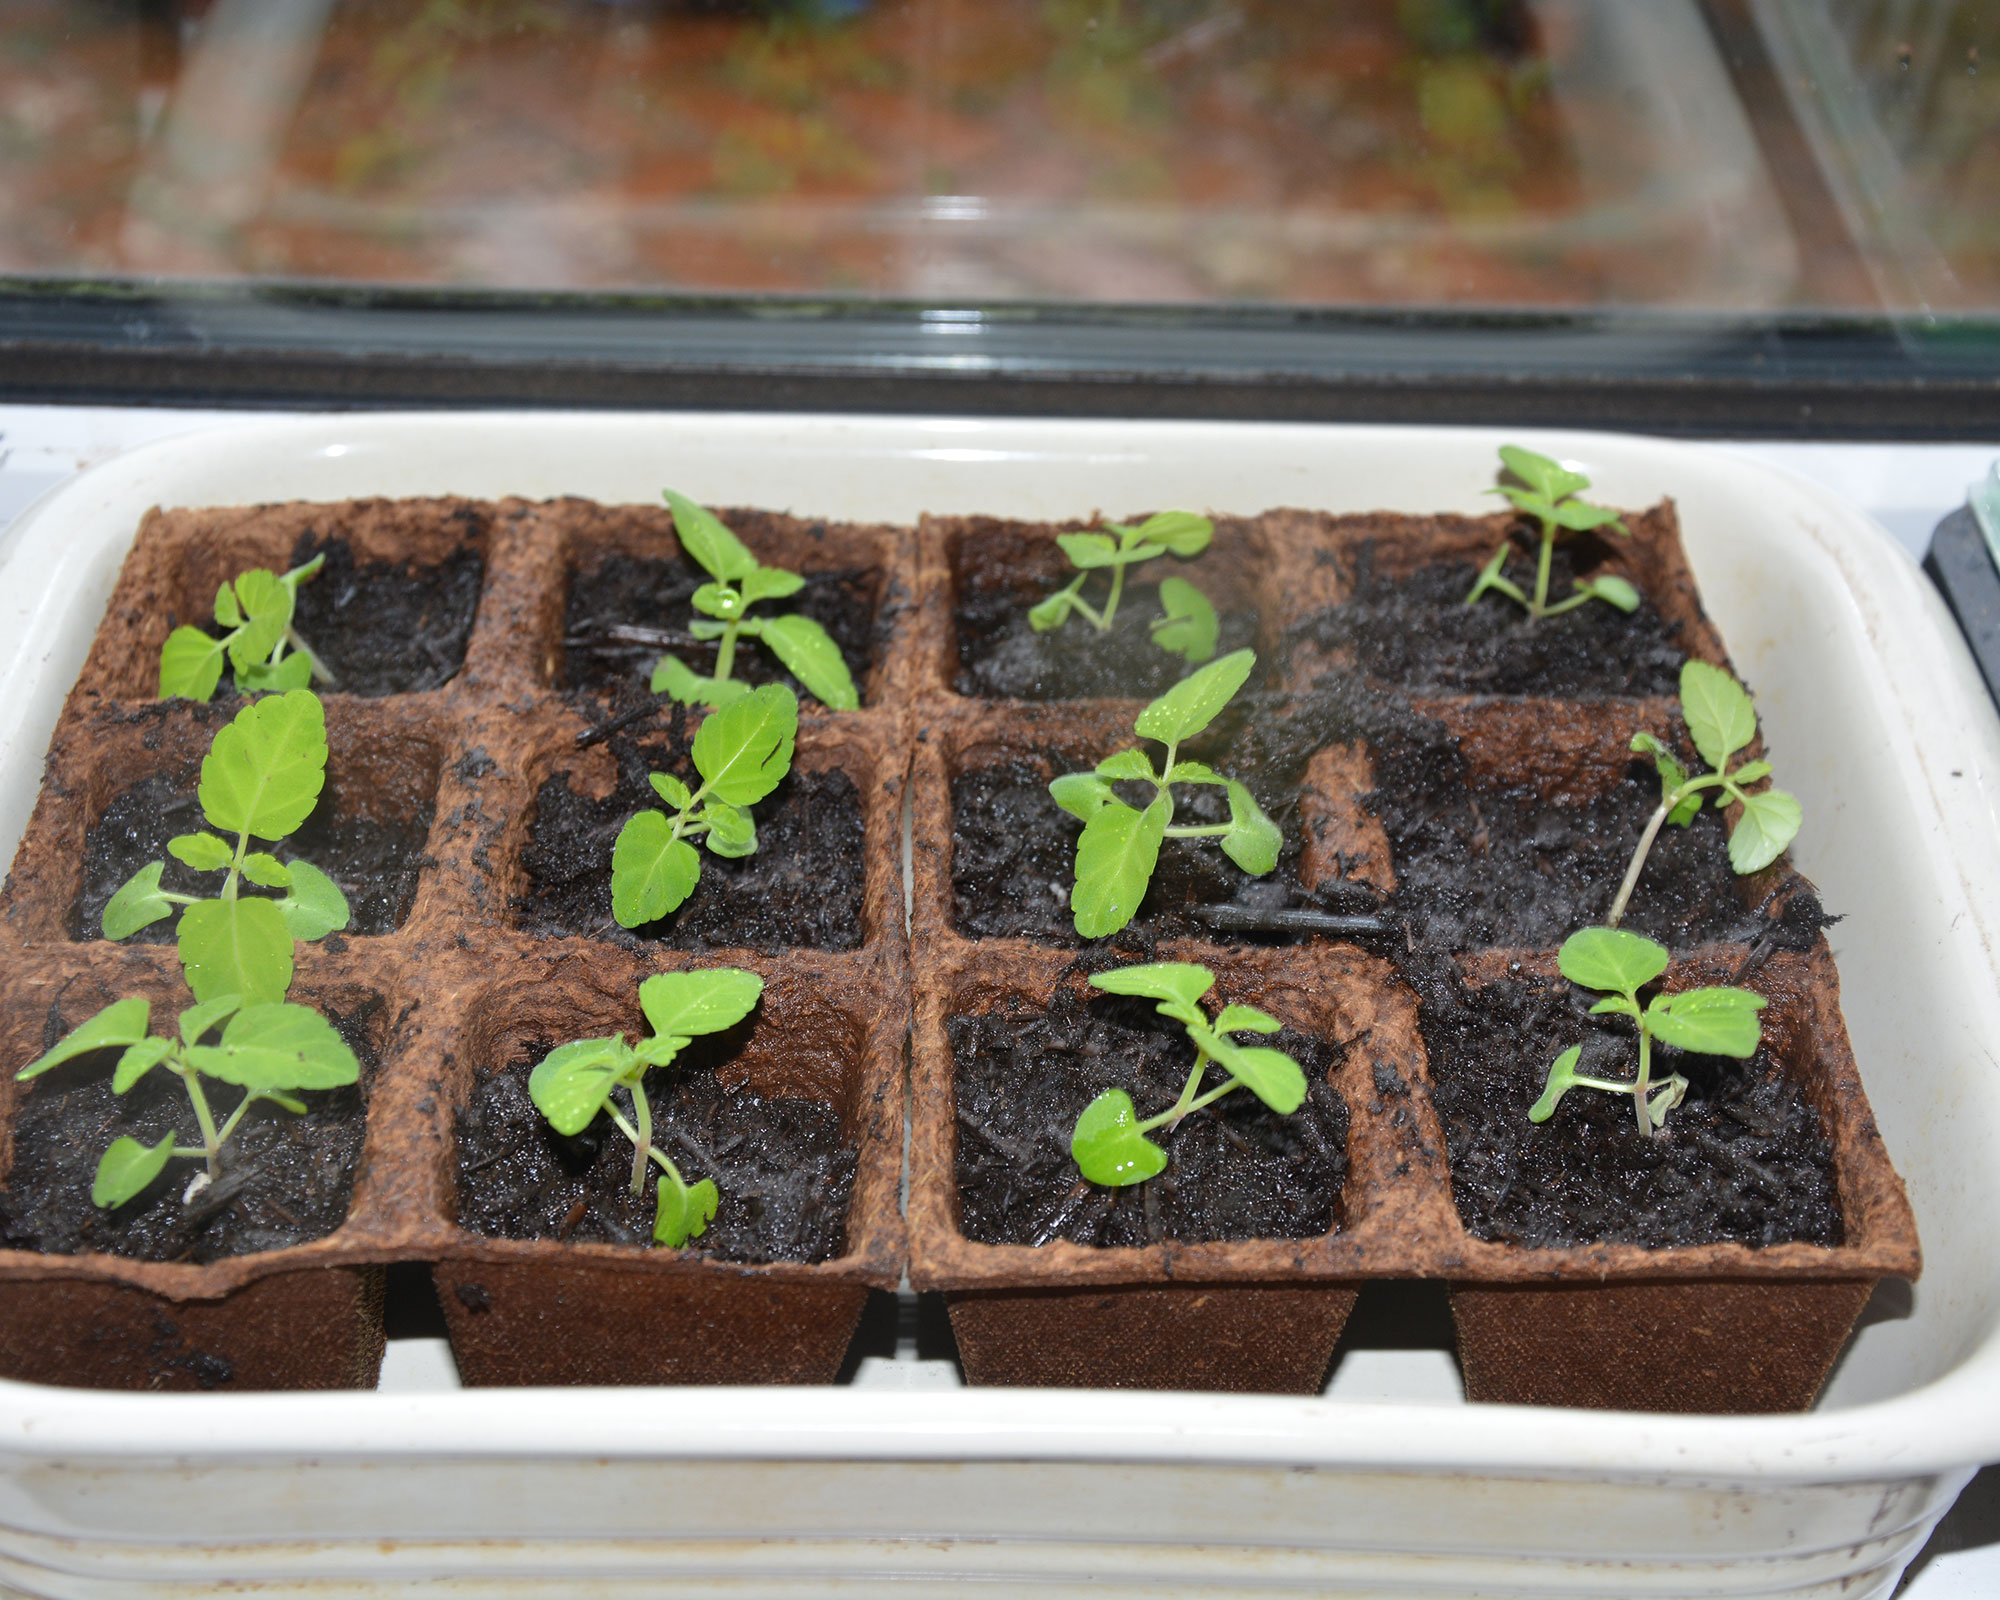
Transplanting seedlings is a relatively easy job to do, and the equipment you need is some 3in (7cm) or a couple of 4-5in (10-15cm) pots, or some large modules, the compost of your choice, a dibber for making holes in the compost and a plant label or old teaspoon.
Simply use the old spoon or plastic plant label to lift the rootball of each plant from the compost, steadying it by gently holding a leaf. Then settle the rootball into the compost hole, still holding the leaves, and gently firm the compost to support the stem.
Place the seedlings somewhere sheltered, like an unheated greenhouse or DIY cold frame. Keep them watered, and plant them out when large enough.
Top tip: Be realistic! If you don’t have the room or the time to nurture every seedling, just keep the most robust ones, and consign the rest to the compost heap.
5. Tidy the shed and care for your tools
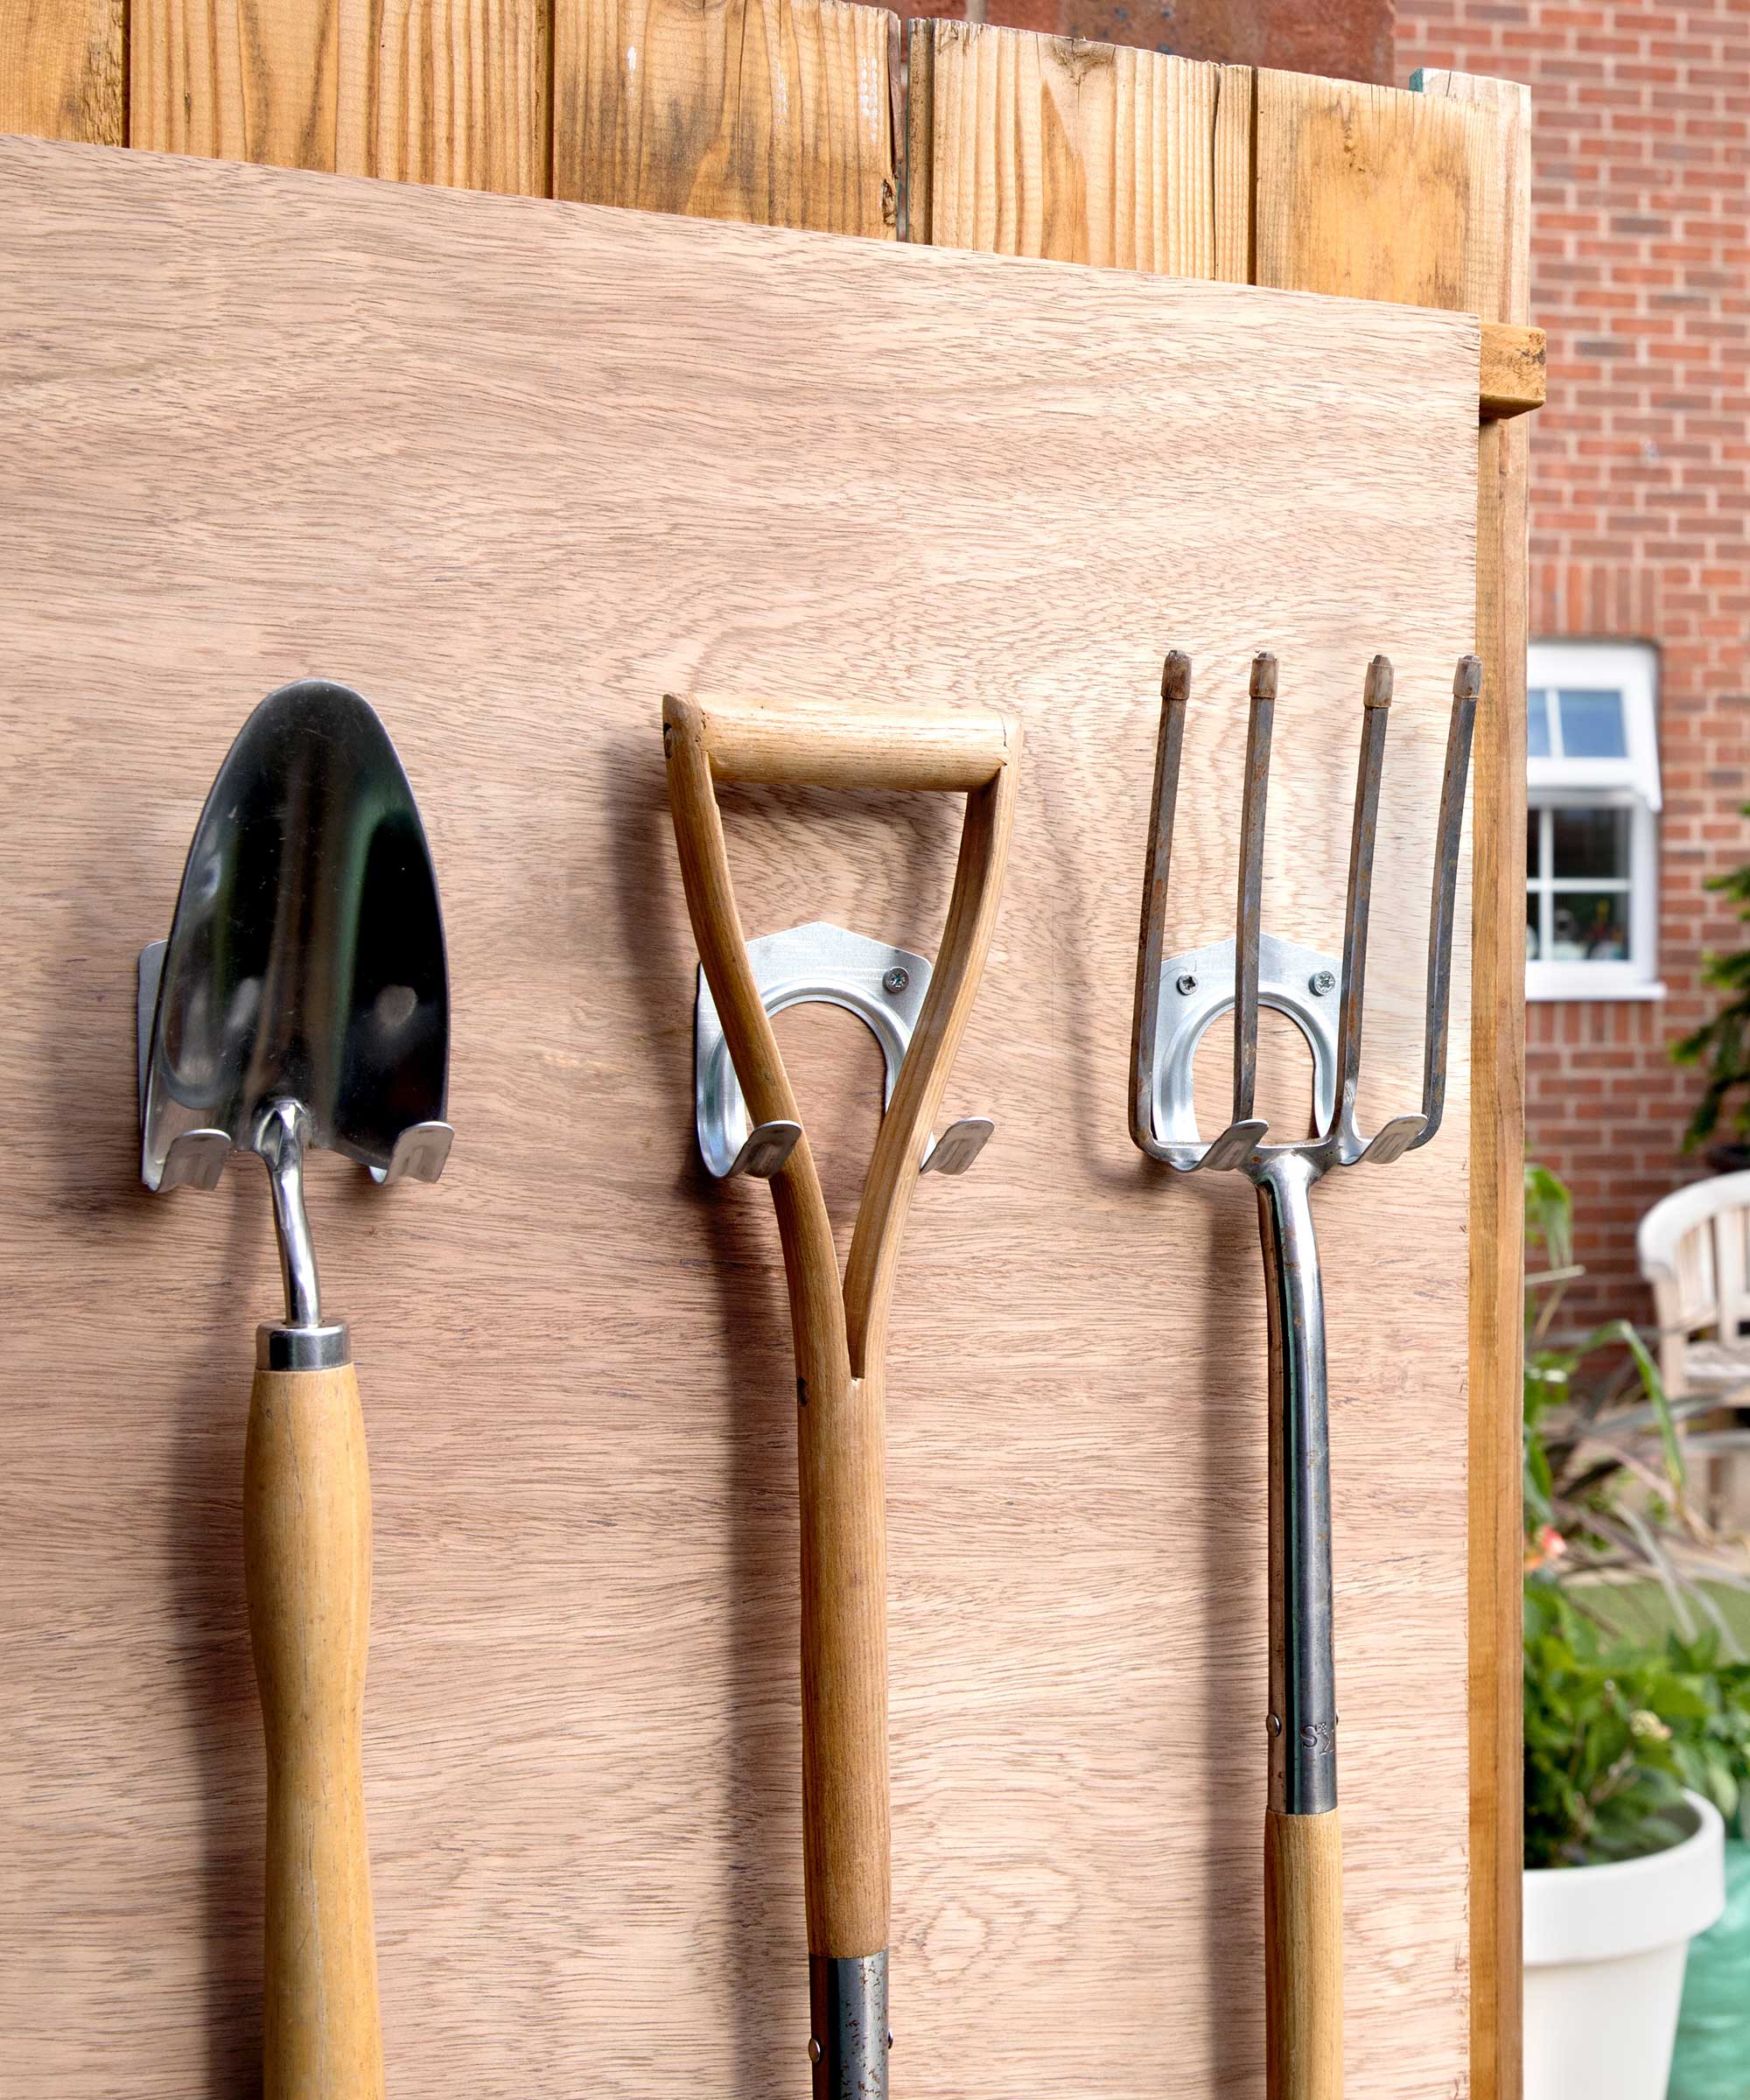
Things are about to get very busy in the garden so make time to get your shed storage ideas in order and ensure tools and equipment are ready for the tasks ahead.
Get into the habit of cleaning tools after every use and sharpening them regularly. Clean tools are less likely to spread diseases and pests from one plant to others and sharp tools cut cleanly rather than mangling stems, which can create an entry point for disease. And if your tools have seen better days, our tips on how to clean rusty tools will get them back to the best.
While we’re on the subject of general maintenance, don't forget that cleaning decking and patios by regularly sweeping them will clear them of debris before it has the chance to accumulate and become dangerously slippery.
5. Make sure your pond is healthy
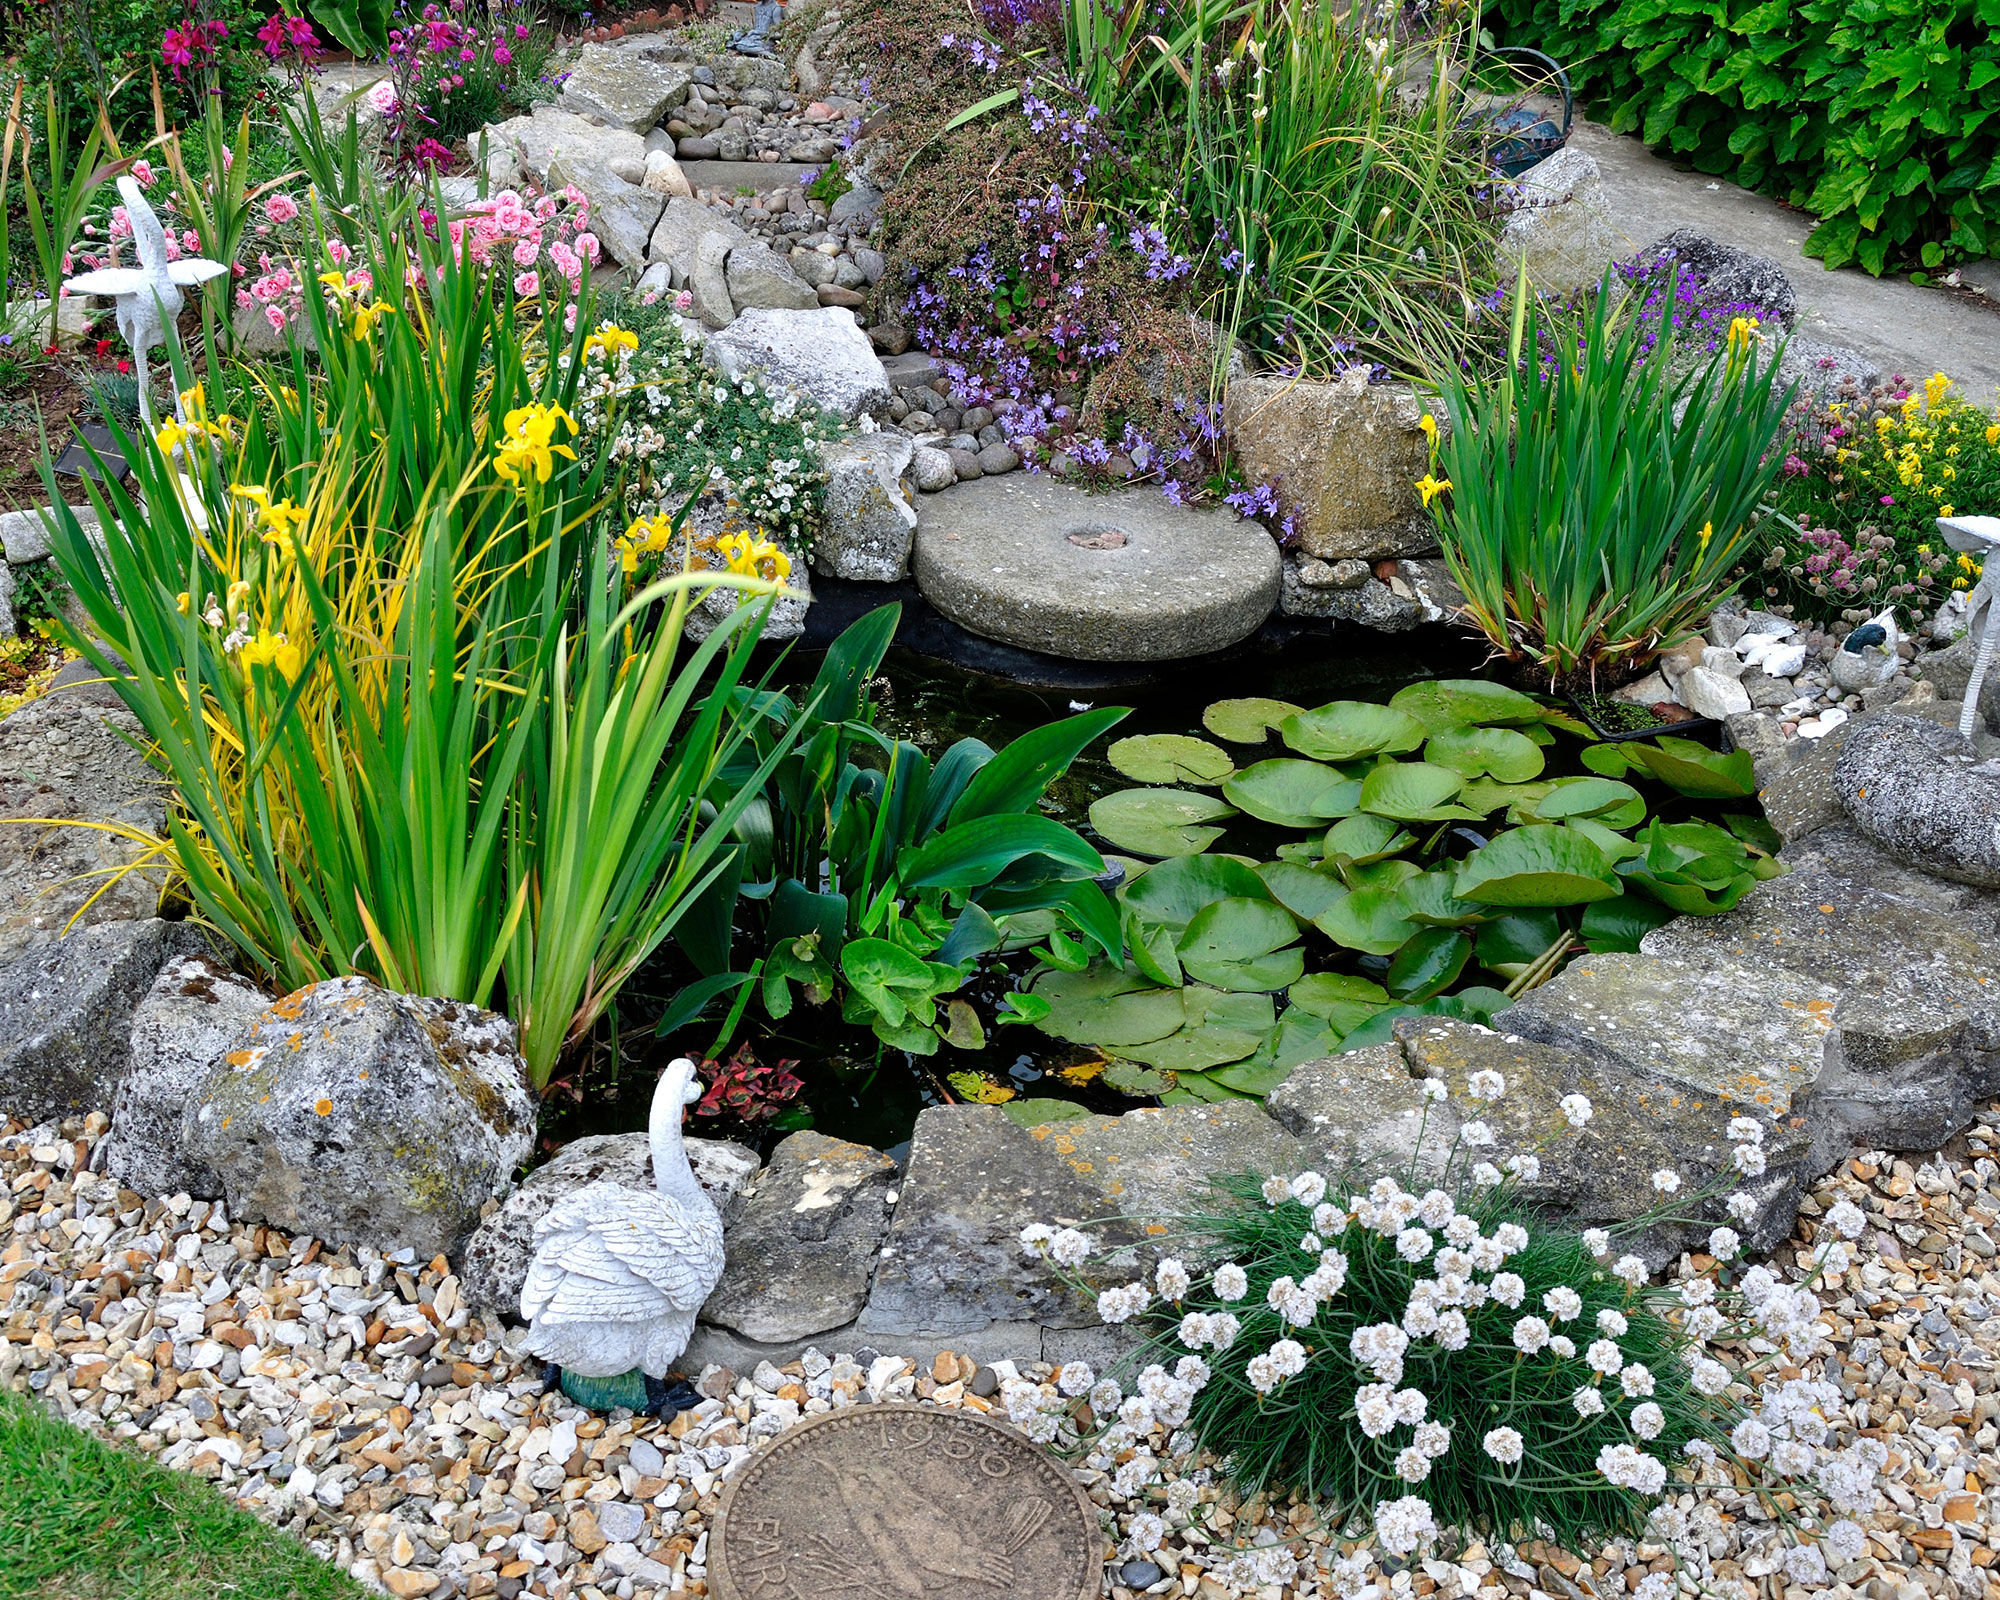
If you are lucky enough to have a garden pond in your plot, getting it ready for the rest of the year is one of the important March gardening jobs.
Before you start, check carefully for frogspawn or signs of any other amphibians as they are useful allies in the fight against garden pests and should be well treated.
The best method for how to clean a pond after winter is to start by removing old, dead and damaged plant material from the water and around the sides to stop it decaying and spoiling the water. It’s also worth testing the water to make sure it is healthy and not likely to accumulate algae over the summer.
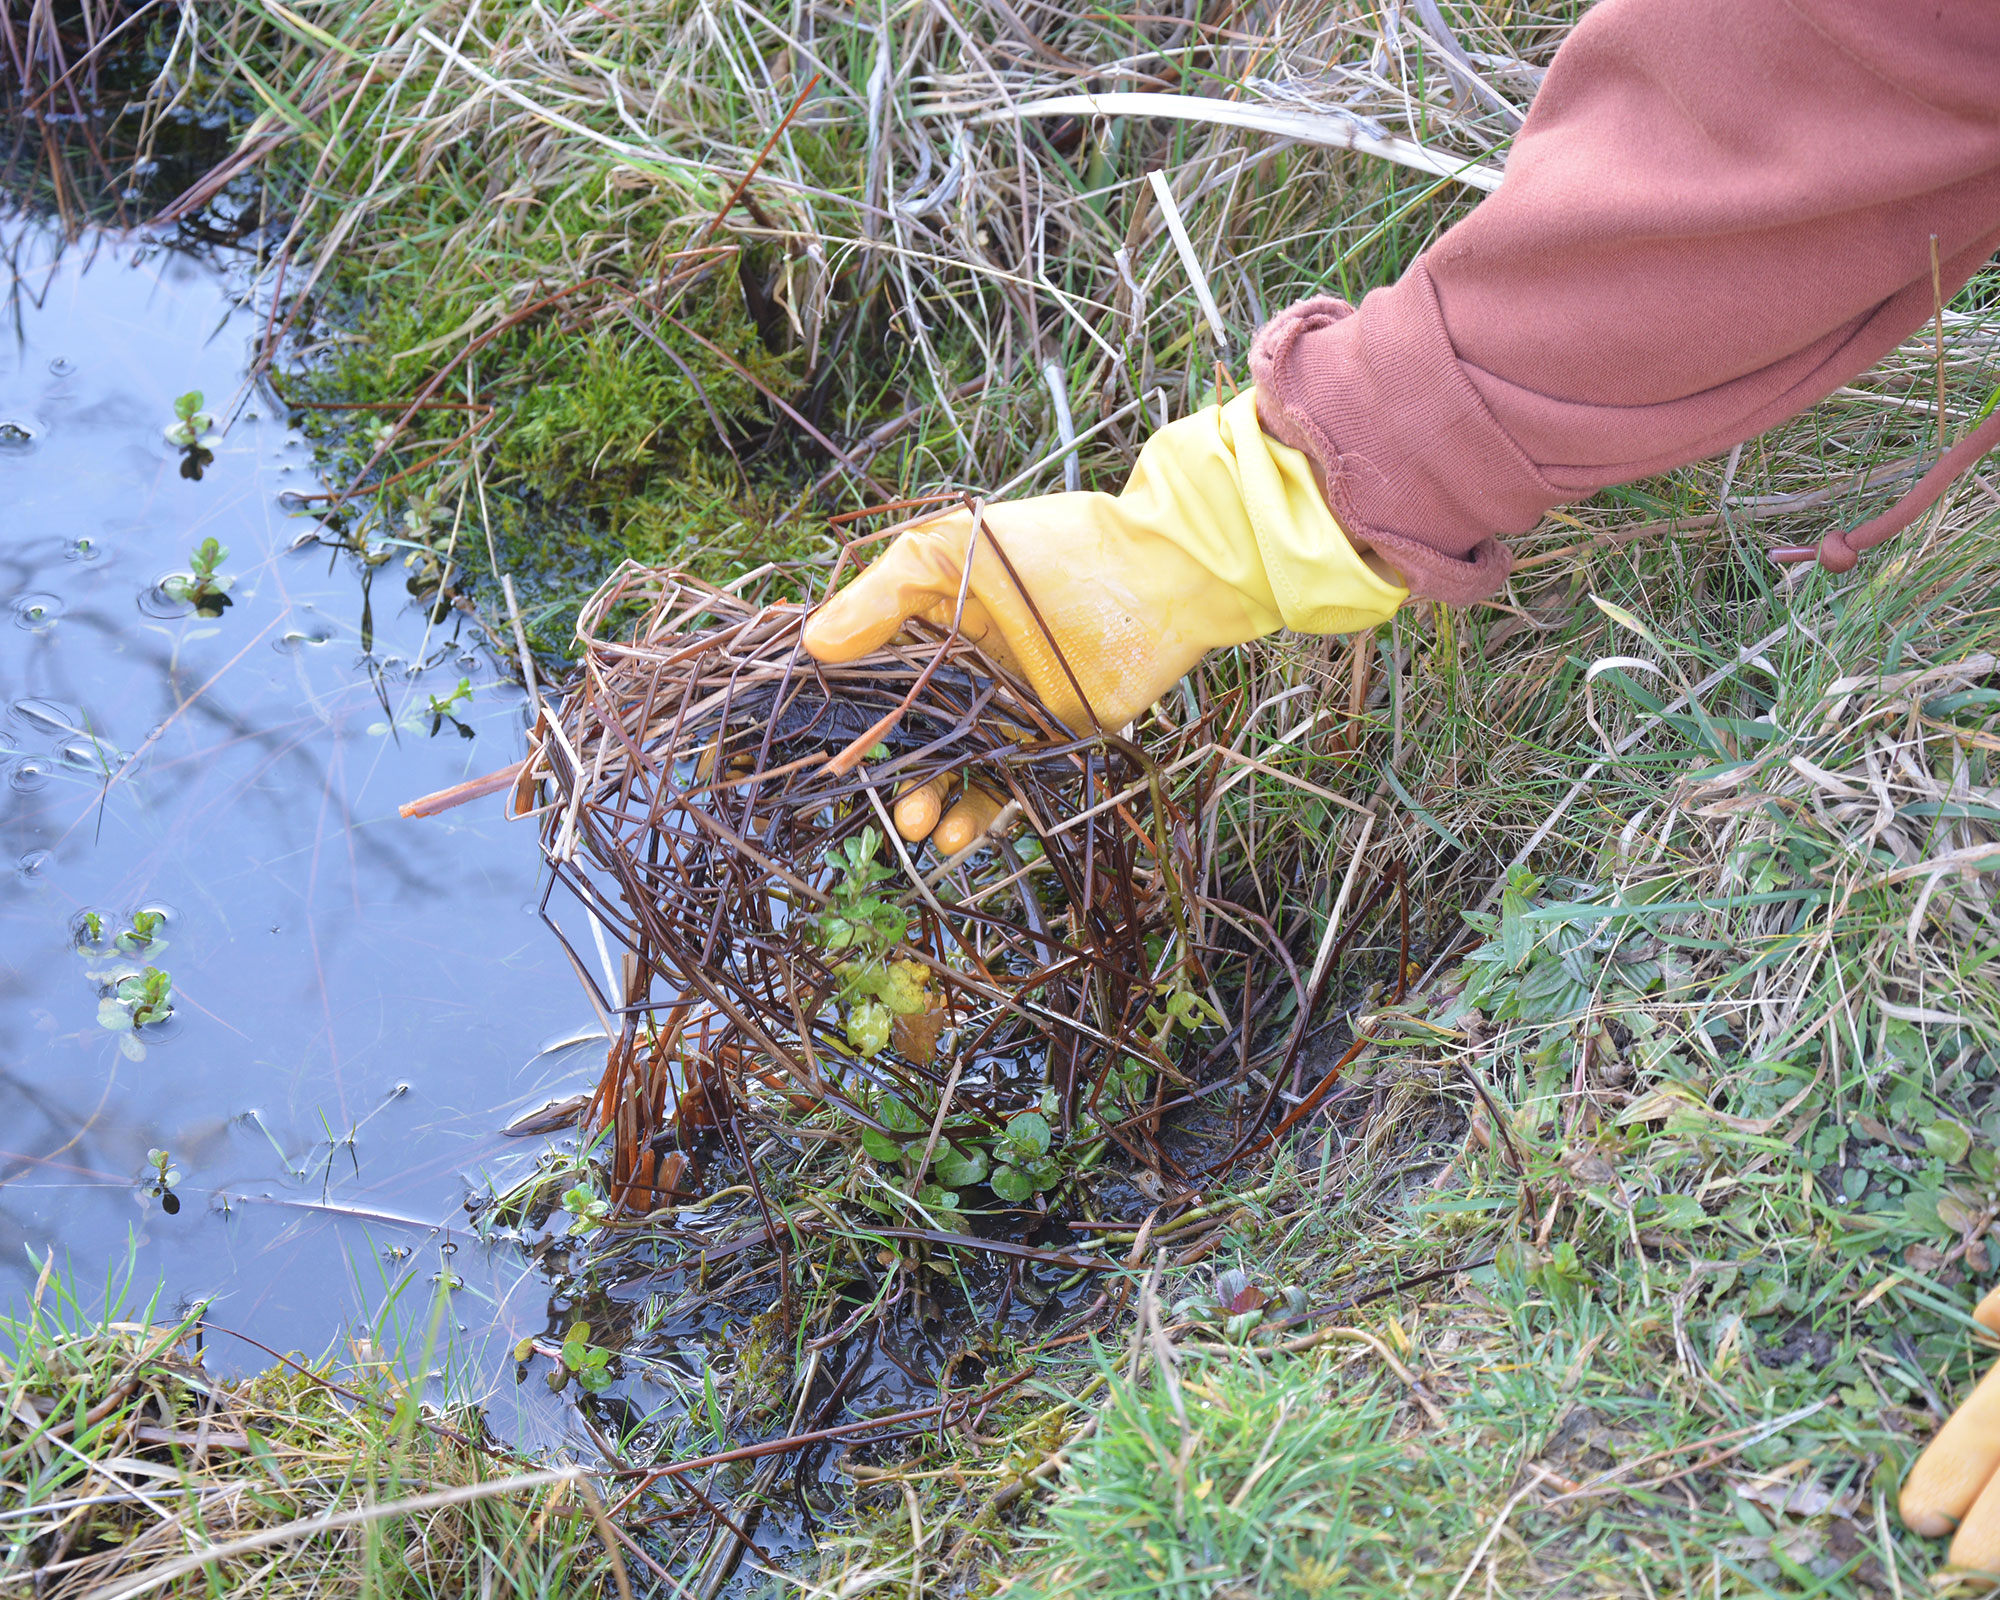
Replace any filters and pumps removed over winter and if you are interested in attracting wildlife, add a layer of horticultural sand to the base to form a habitat where invertebrates can shelter and breed.
Fish will be getting active as the weather warms up and will need feeding, initially with a low protein feed followed by one that contains more protein as the weather warms up.
Top tip: After clearing weed from the pond, leave it lying on the side for 48 hours so any creatures trapped in it can return to the water. Then compost it.
6. Keep beds and borders healthy
It is a well-known fact that gardening is good for our physical and mental health, but I would add that it has many spiritual benefits too.
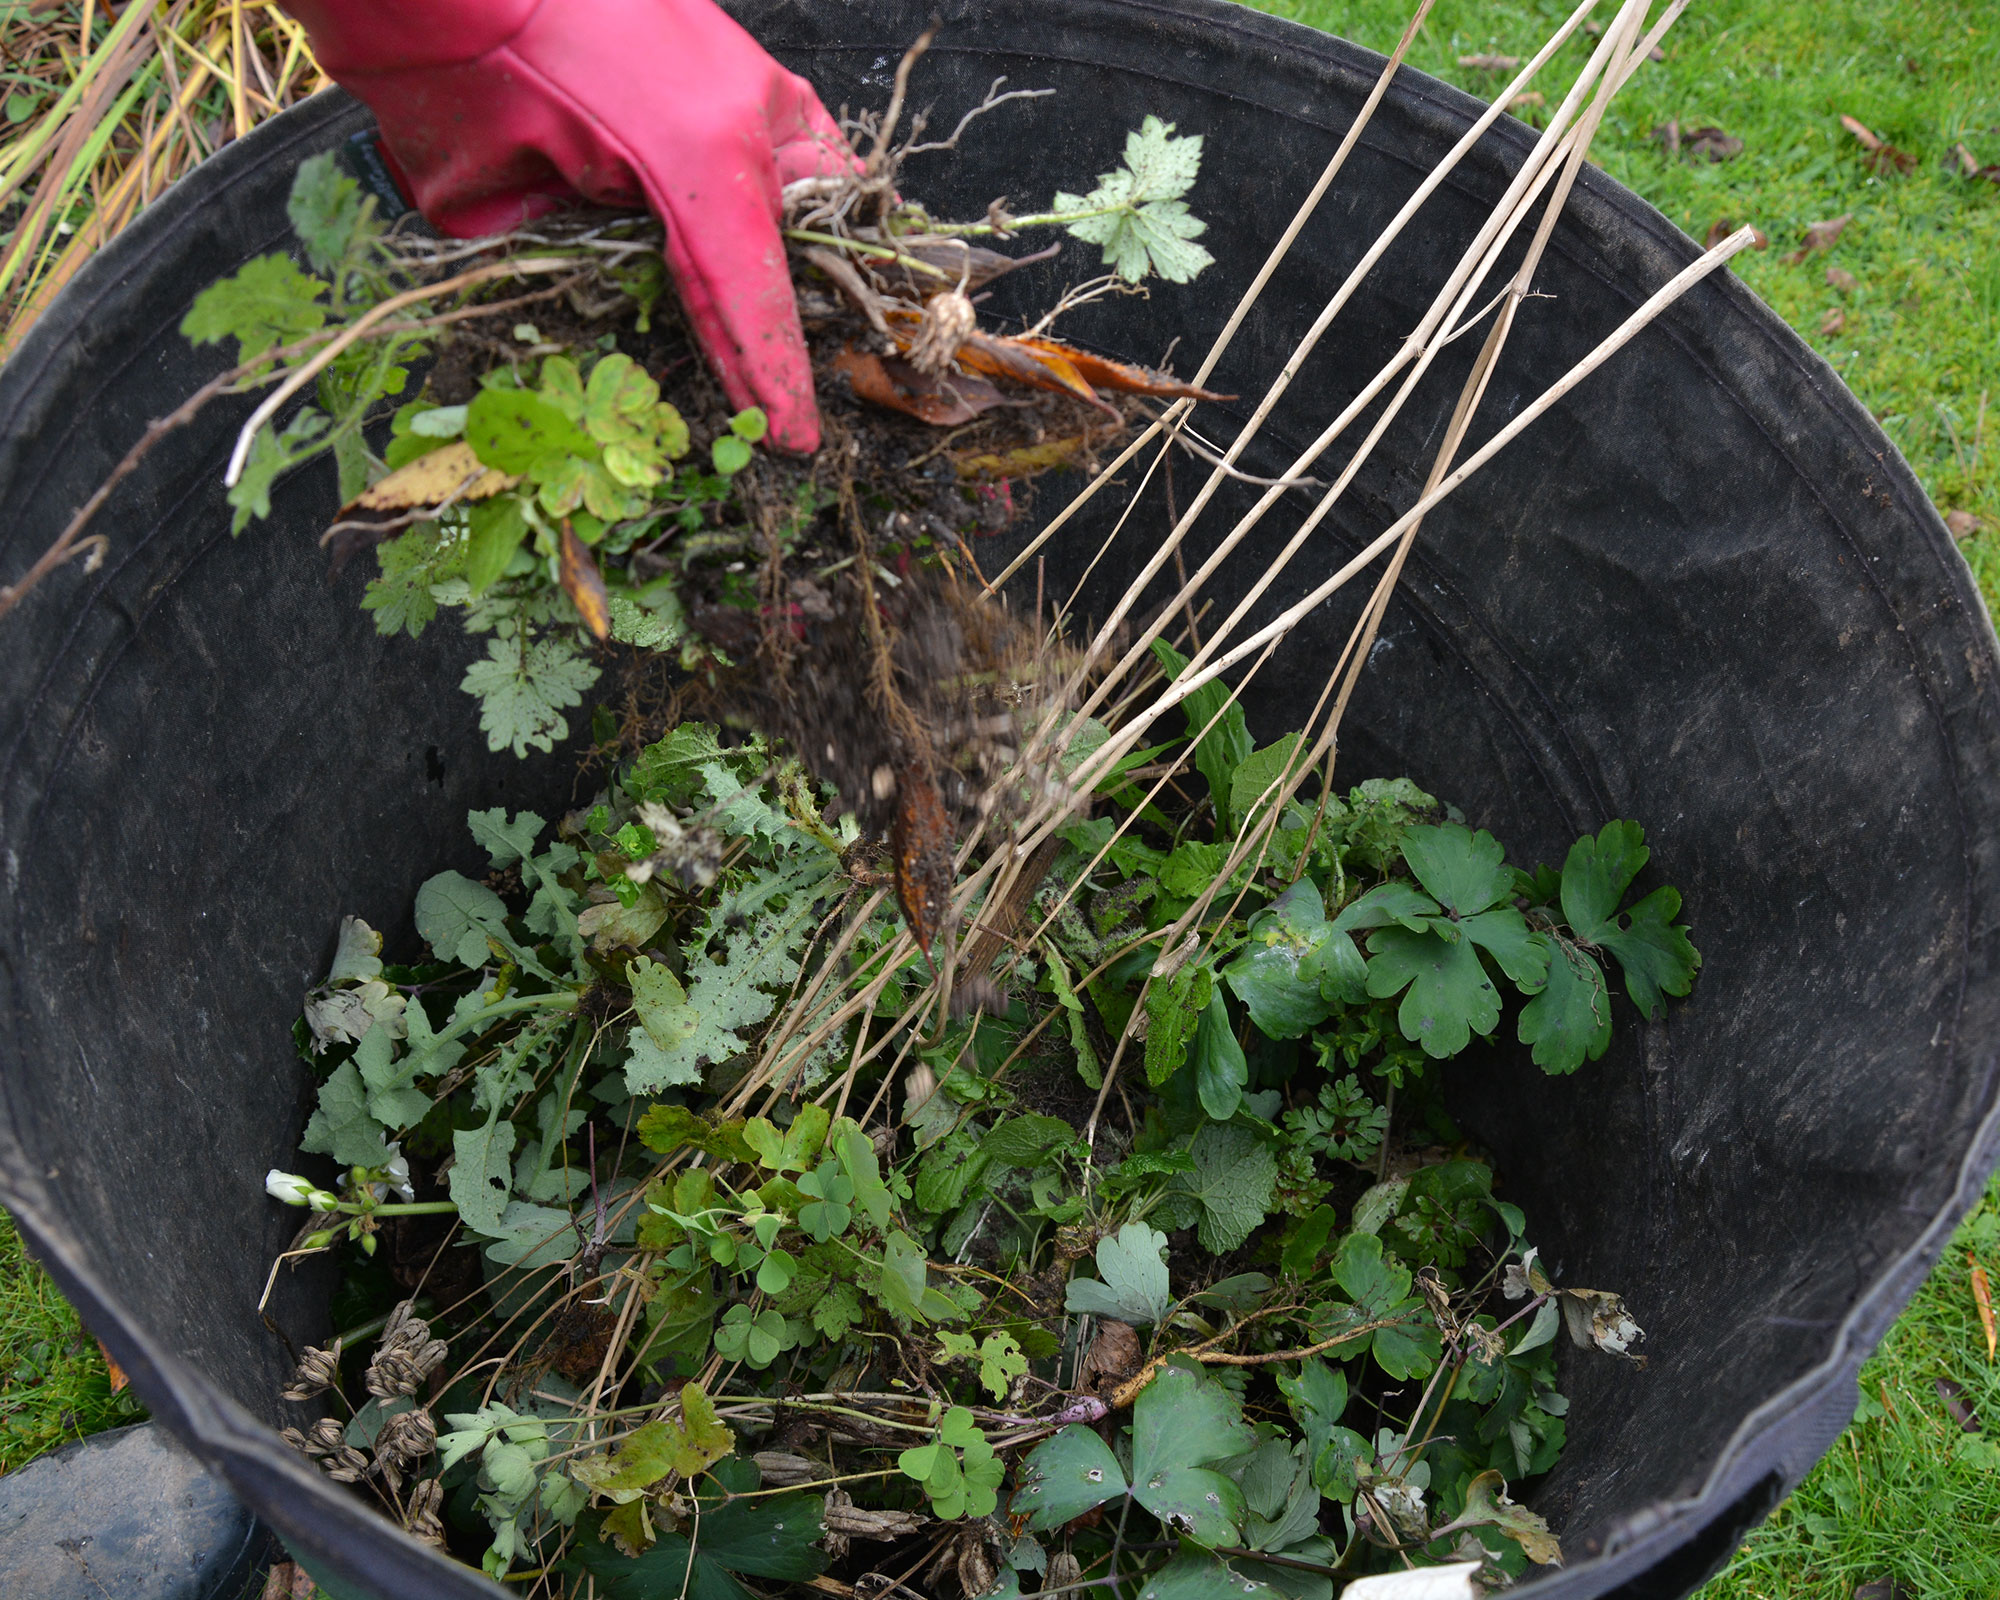
Take weeding for example. Yes, it helps the garden by removing unwanted plants that can harbour diseases and pests and swamp your cultivars, but after a rubbish day in the office or a frustrating day elsewhere it is also one of the most soul-soothing and therapeutic of activities imaginable.
On calmer days, it is a good, repetitive occupation that gives the mind space to wander and wonder – though don’t lose all concentration, or you’ll risk grubbing up treasured plants as well as weeds!
Our garden borders are bursting back to life now and need weeding, while last year’s remaining perennial stems need cutting back to make room for emerging new growth, which also needs feeding.
The key to all these March gardening jobs is to tackle them little by little, and often. Keep a fork next to the back door and get out weeding for 10 minutes when you can.
Top tip: Walk around the garden regularly, every day if you can. Watch the soil and feed plants as they appear and flower – it’s a wonderful way to unwind and also the best way of really getting to know your plot.
7. Don't let pests take over
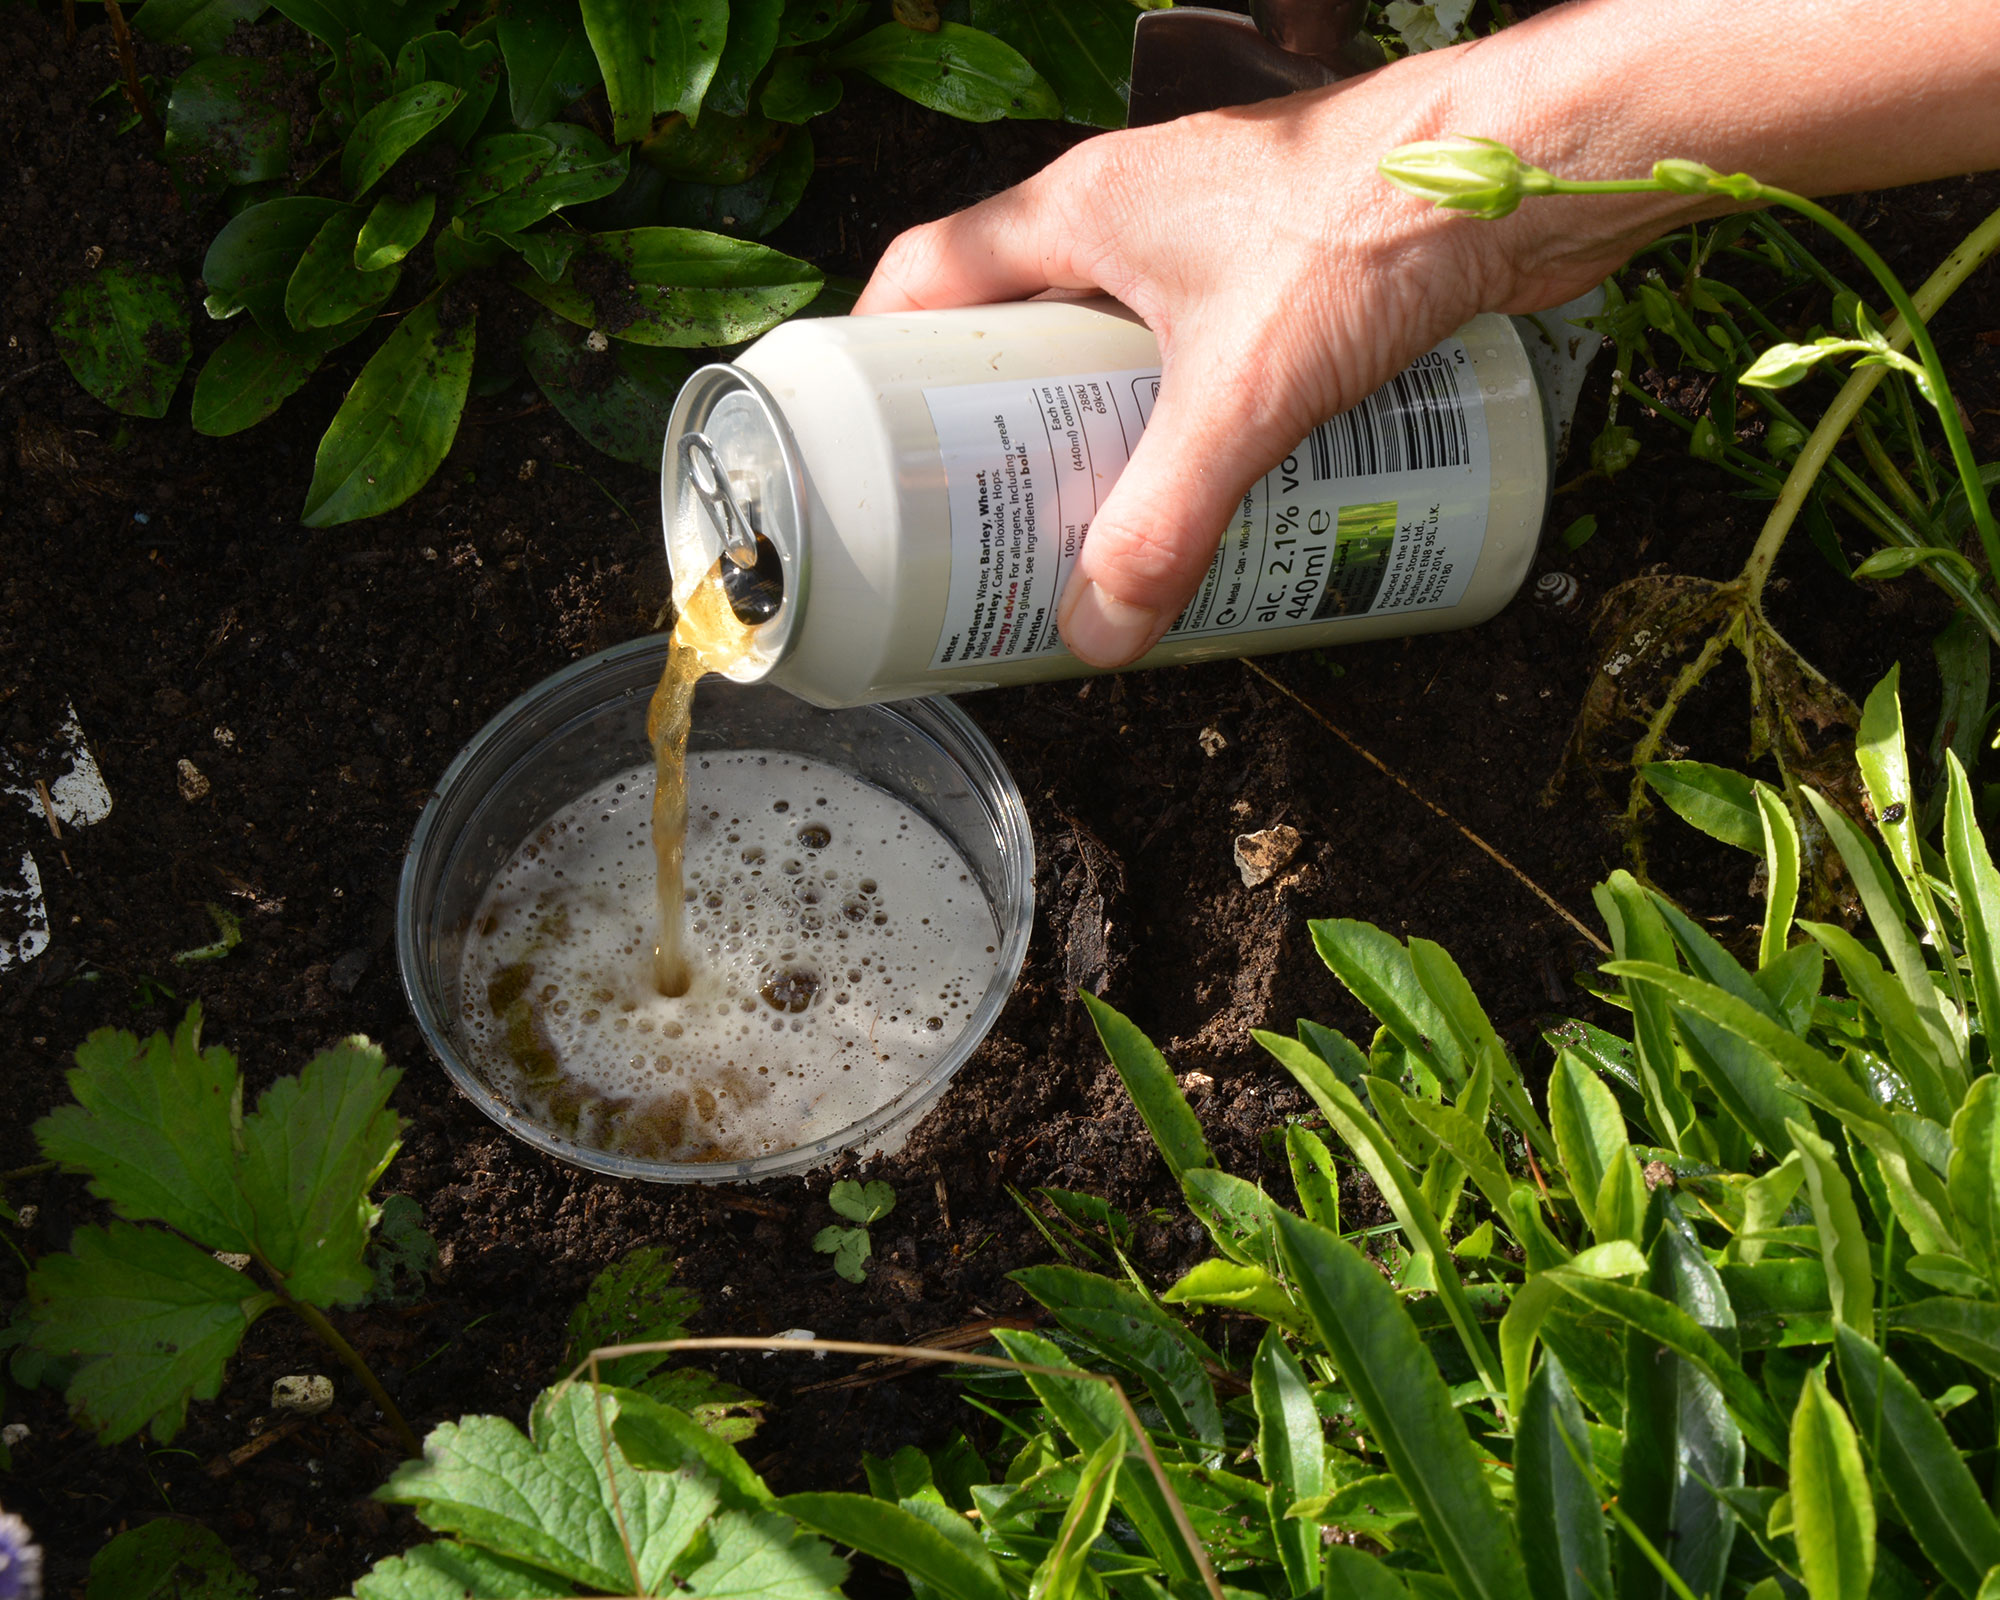
The weather is warming up and pests are stirring and hungry. Keeping them at bay is another job that requires frequent, even constant, vigilance as it doesn’t take long for a small colony of pests to become a serious infestation.
Yes, there are sprays and chemicals you can use but I prefer to do things by hand, picking off and squishing caterpillars and aphids. It’s time consuming and not for the squeamish, but it is an extremely satisfying (and effective) method for how to get rid of aphids and other pests.
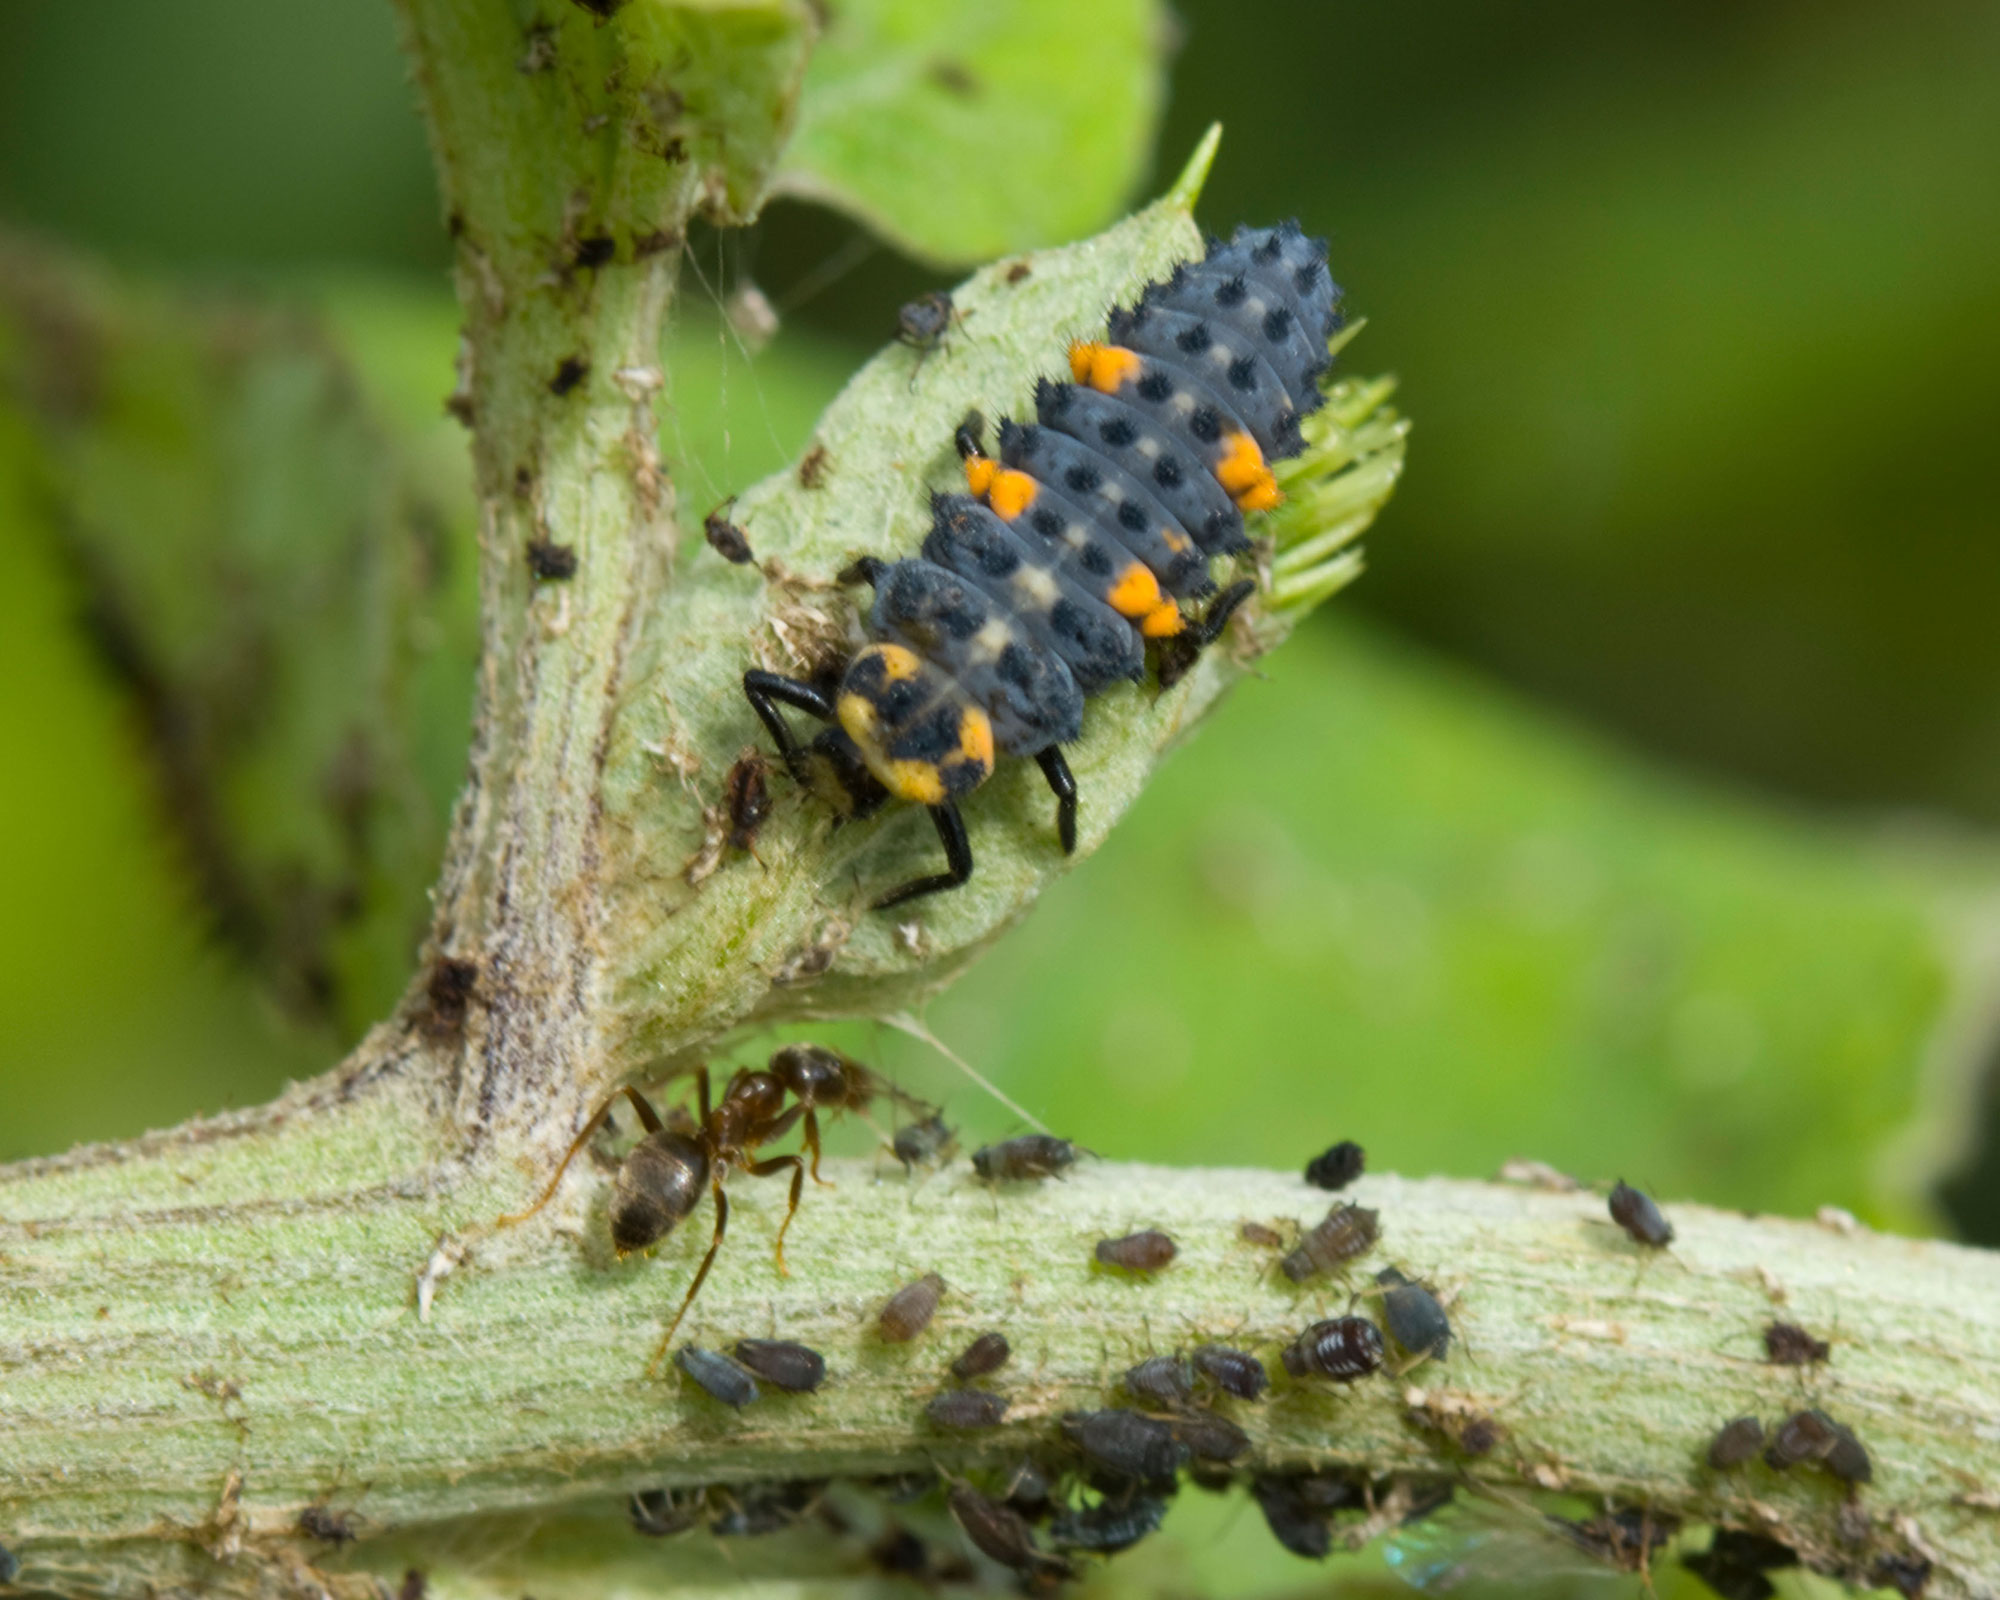
Harnessing the power of nature will also help your garden and improve your local environment. Welcome in the garden birds that will strip roses of aphids and pick off caterpillars to feed their hatching broods.
Rewilding a patch of garden somewhere unobtrusive will allow amphibians and helpful insects such as ground beetles and wasps to shelter and use as a home base in between making forays to eat aphids, slugs and other unwanted visitors.
Put out food and fresh water for hedgehogs and cut a hole in your garden fence so they can forage and feed. Not only will this benefit your local natural environment, it will keep your garden healthier too.
Top tip: Organic fumigation candles are a good way of ridding greenhouses of overwintering pests and unlike previous chemical versions, plants can be left inside while they burn.
8. Give perennial containers a boost
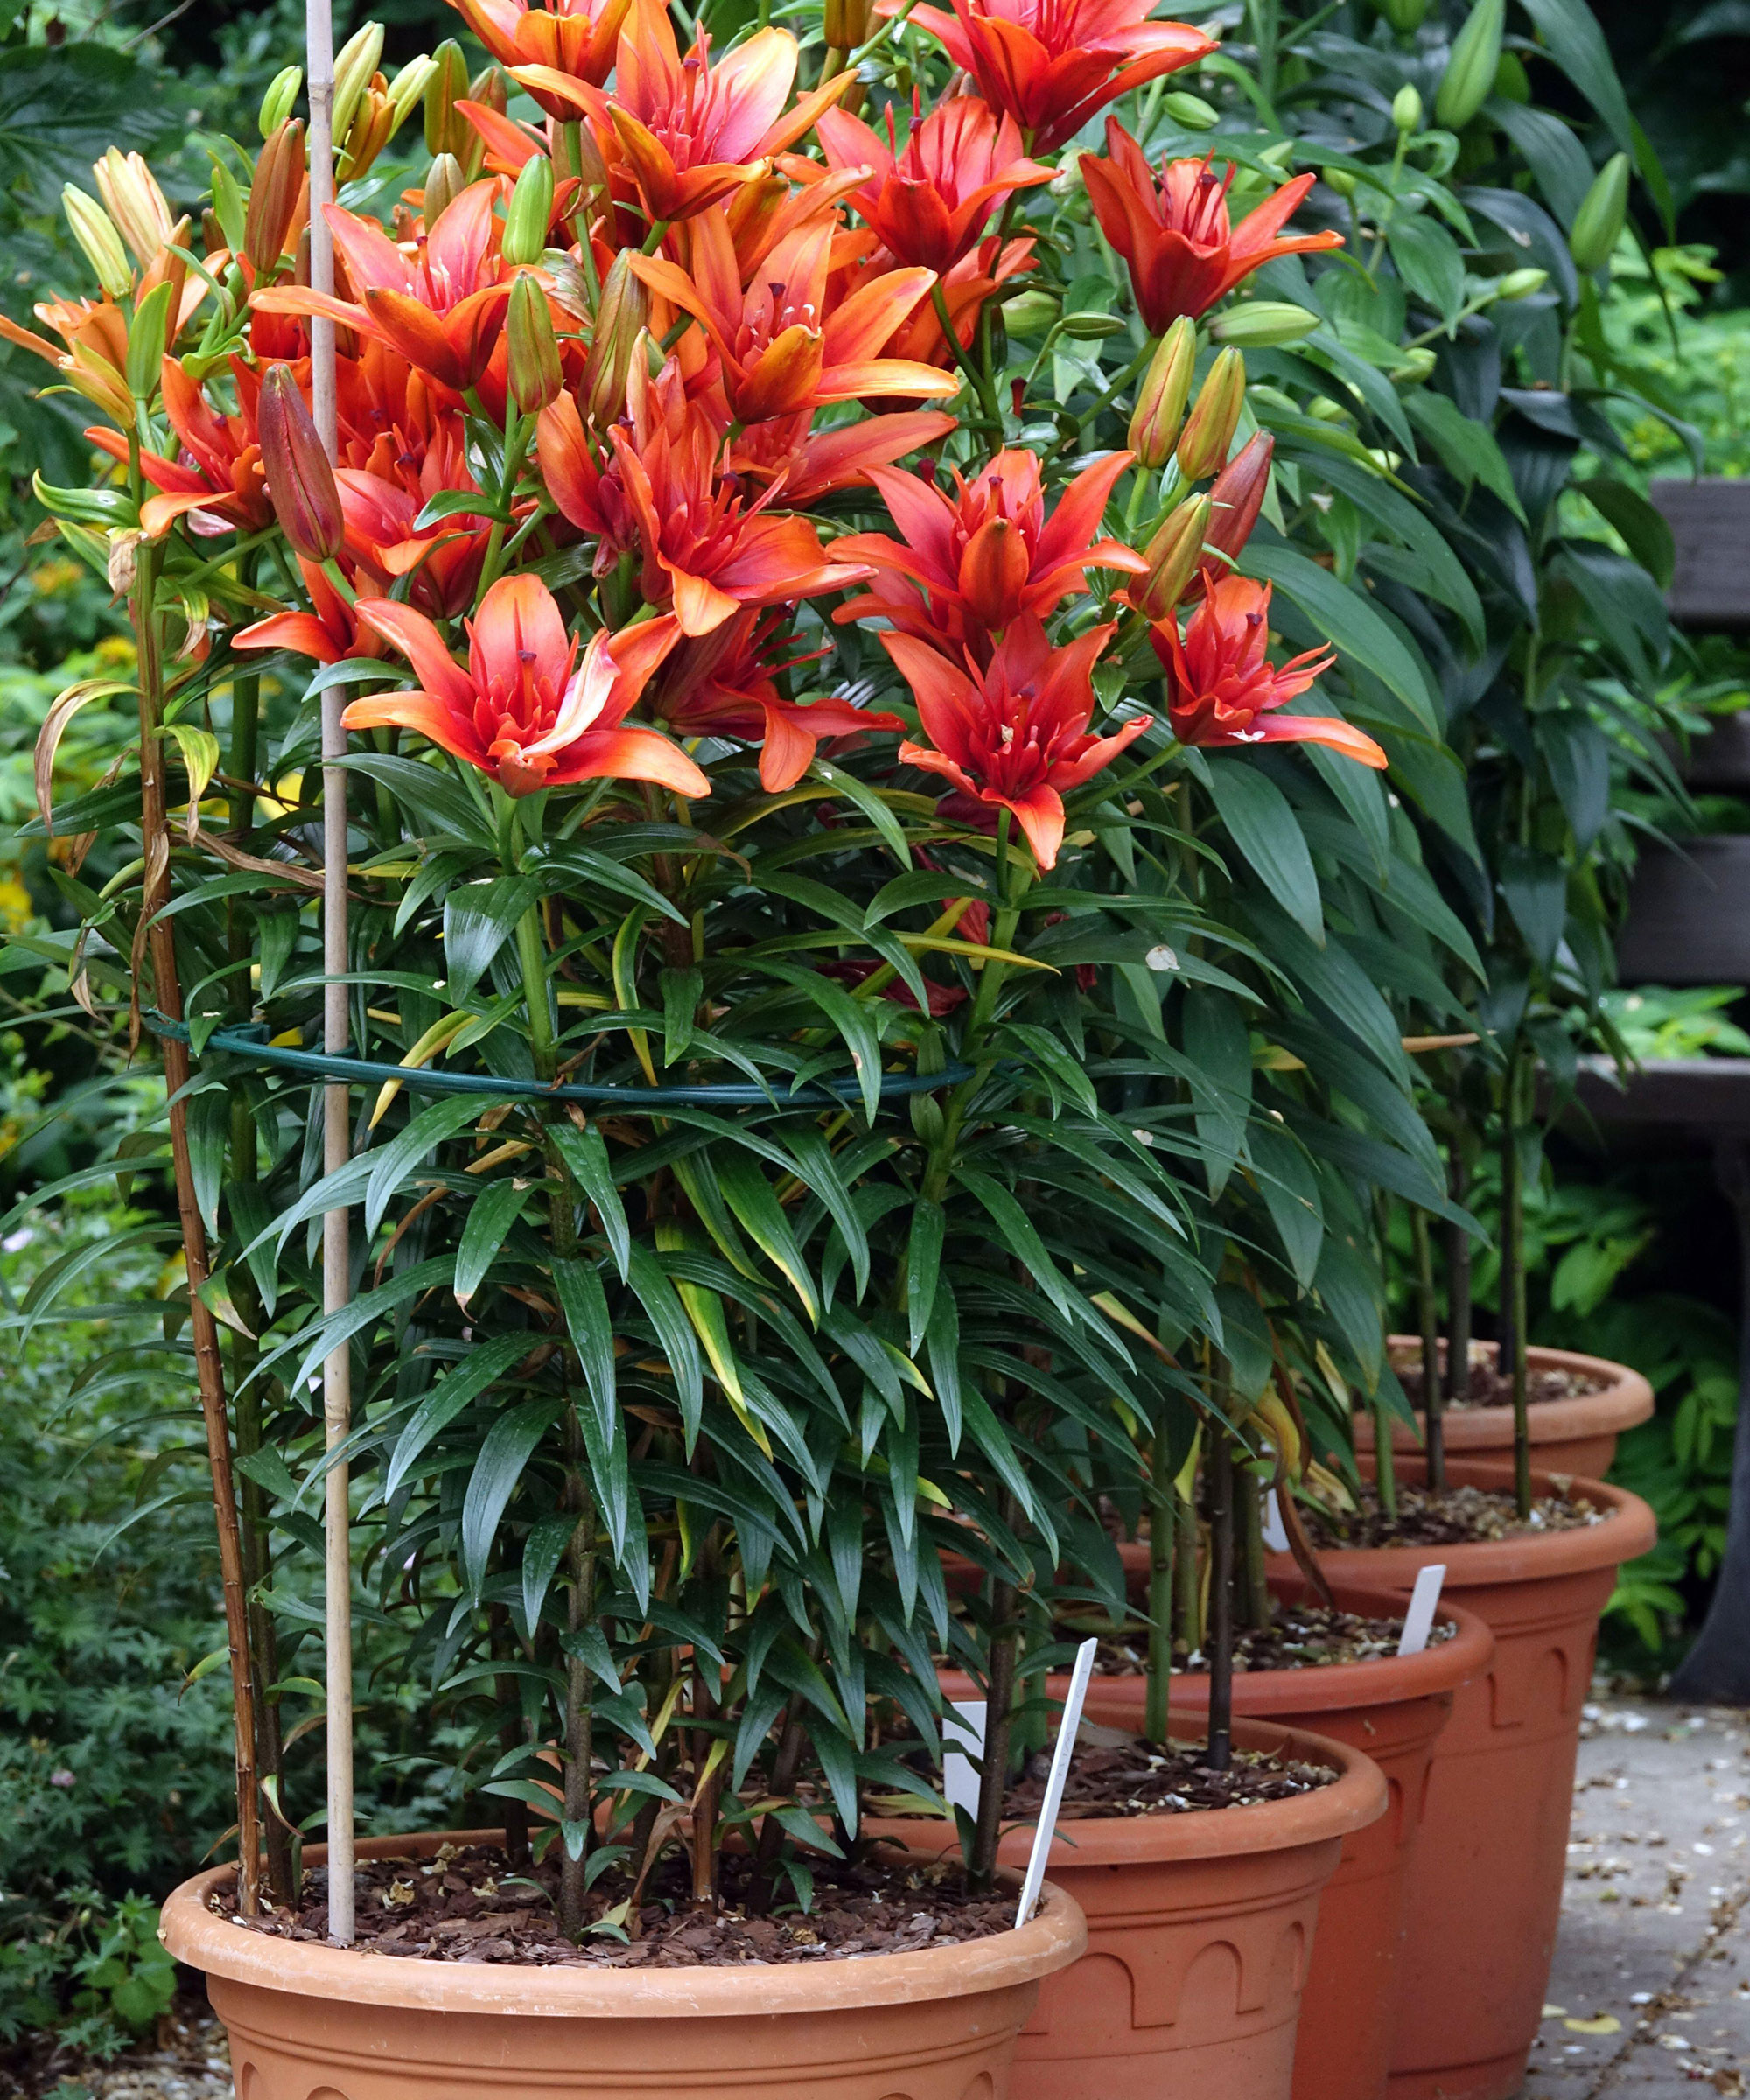
Containers of bulb-grown perennials such as agapanthus and lilies don’t need repotting each year, but for the best results they do need topdressing.
This involves scraping away the top few inches of old compost, making sure you don't damage any roots, and replacing it with new before adding a granular fertilizer and watering well.
We do this because perennials in containers quickly use up the goodness in their compost and unless it is replaced annually, they will fail to thrive.
Shrubs grown as part of your container gardening ideas need the same treatment for the same reason, and I have also pruned a potted 'Countess of Wessex’ clematis. This is a group 3 plant, which means it produces big flowers early in the summer and again in autumn.
For the best results, cut the established stems of Group 3 clematis back to the lowest pair of healthy leaf buds. This will ensure fresh healthy growth and flowers at eye level, rather than higher up with bare stems below. For other varieties and groups follow our comprehensive guide on how to prune clematis.
Top tip: Cold weather is still a possibility in many areas this month and compost in containers freezes faster than soil in borders. Make sure you have fleece and bubble wrap handy to wrap around pots and protect plants from frost when it is forecast.
9. Give your lawn some care and love
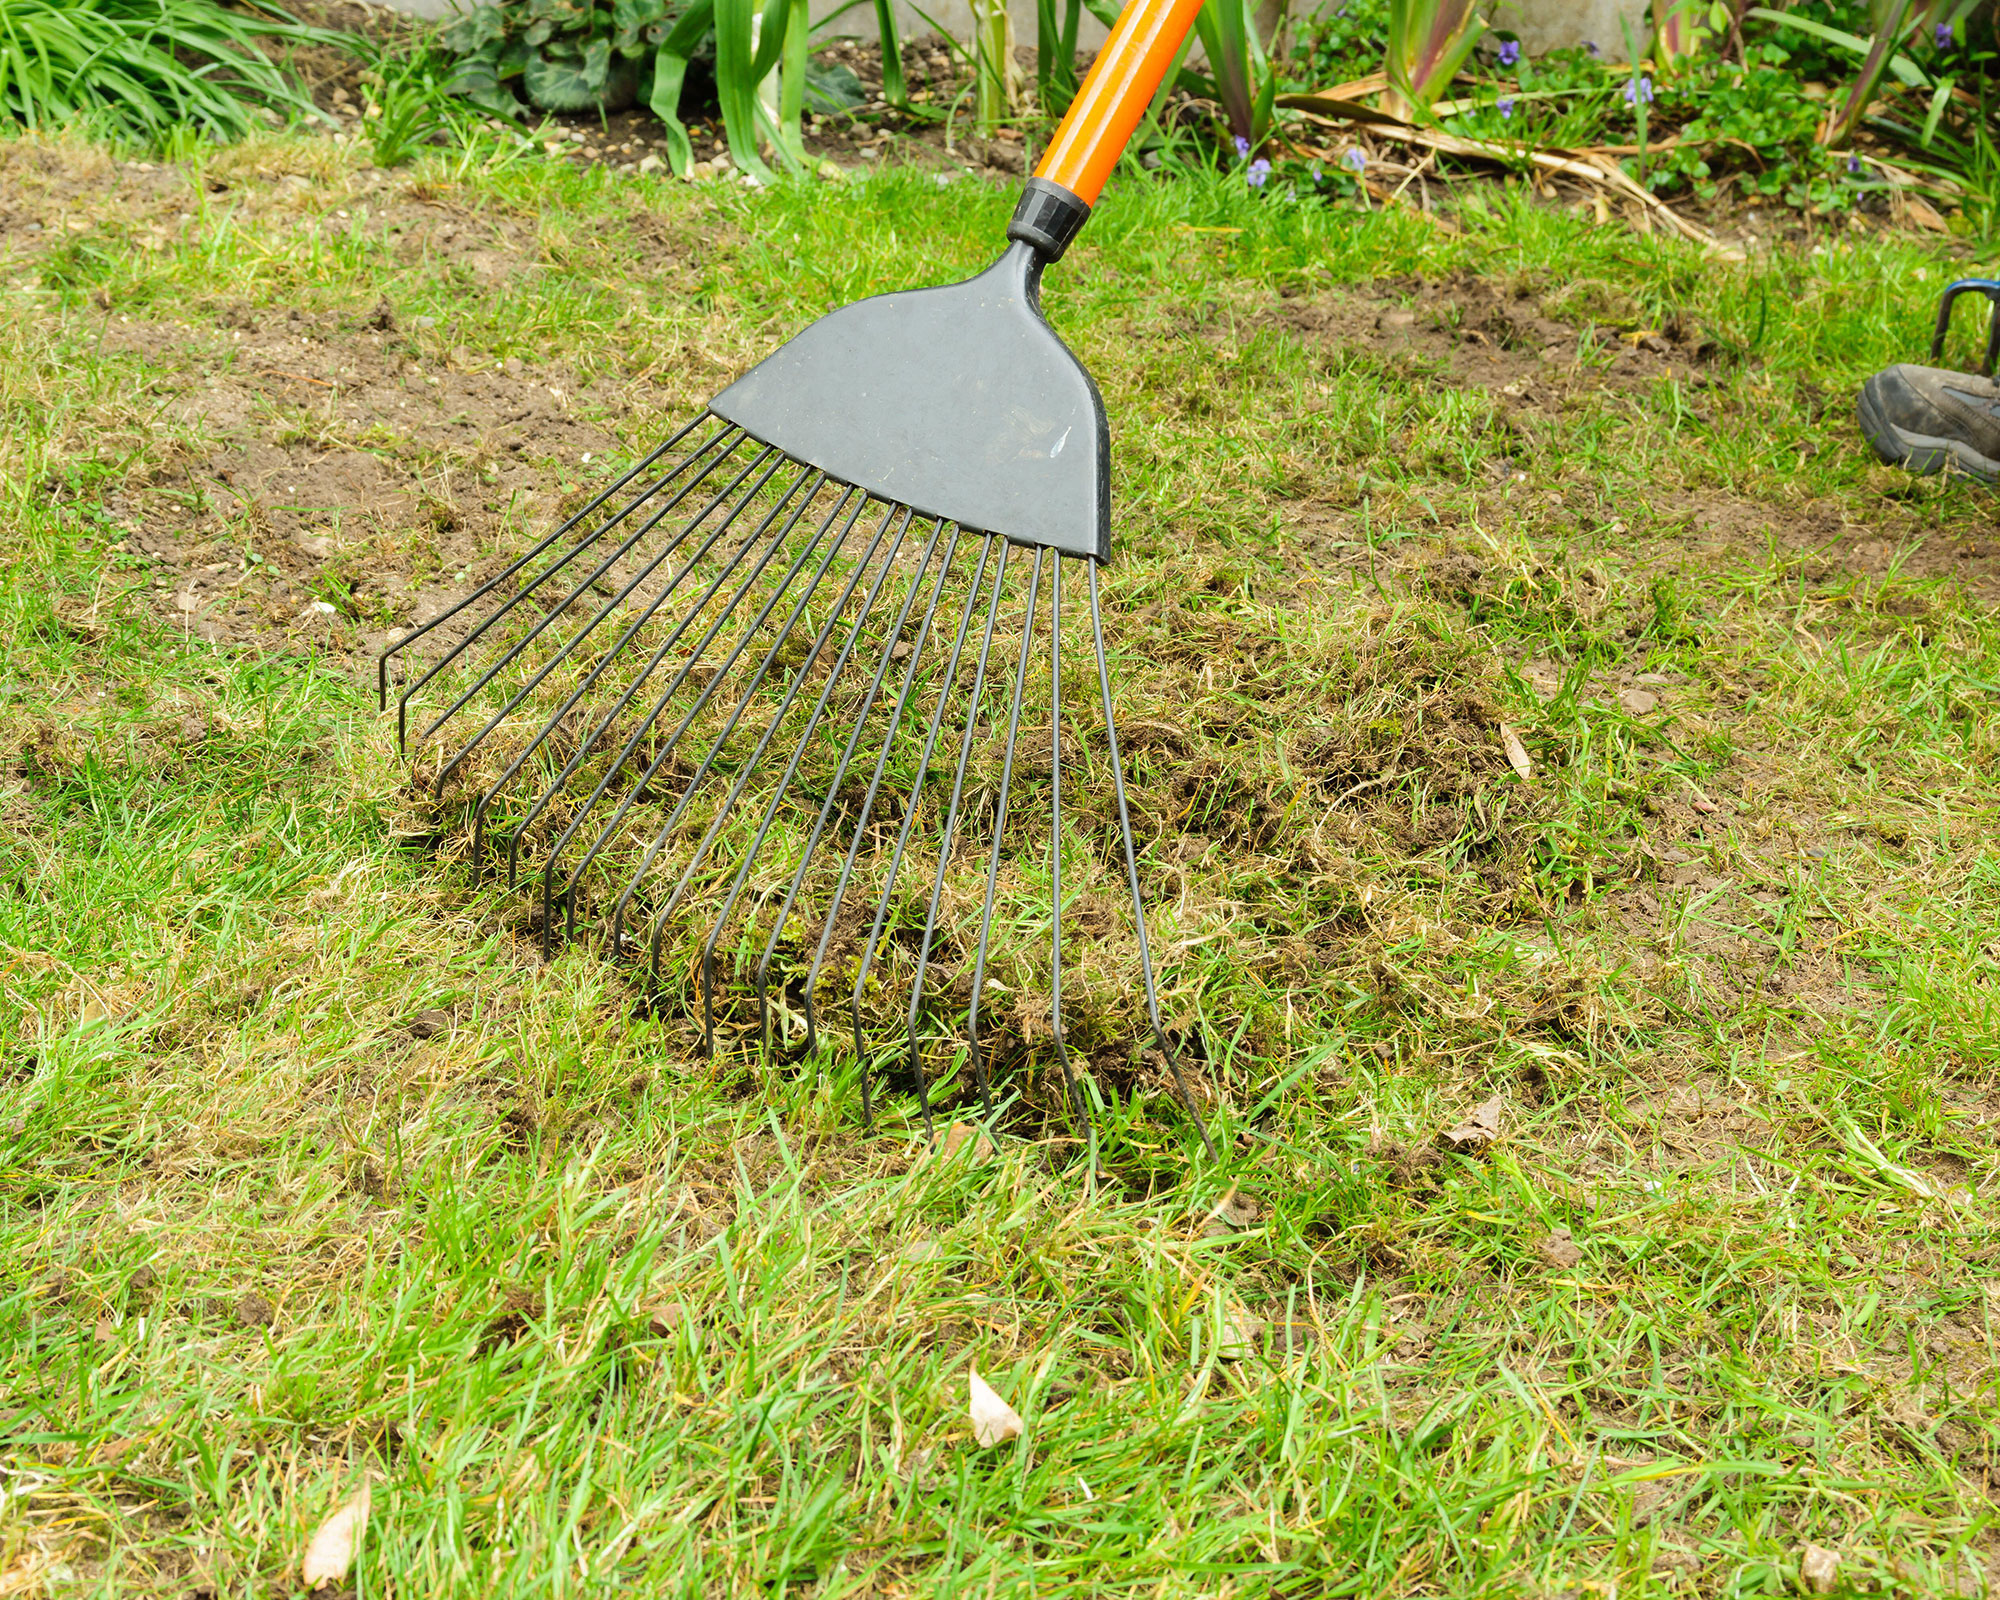
Lawns have taken a battering over the winter and now they are growing well again, giving them some love with some spring lawn care is a key March gardening job.
Rake up and compost dead plant material from among your grass roots. Leave the rakings somewhere quiet for birds to pick up as nesting materials.
Use your garden fork to open up compacted areas of lawn by plunging the spikes into areas of soil and giving them a wiggle. It improves drainage leading to healthier grass.
Lawn weeds grow all year round and if you don't fancy using a weedkiller, weed pullers are just as effective.
Removing moss is a big task, especially on lawns that are shaded or prone to waterlogging. Scarifying a lawn and aerating it will help with airflow and drainage, but a ‘complete’ lawn feed and moss killer such as Miracle Gro Evergreen Complete 4-in-1 and Westland's Aftercut All-in-One (both available from Amazon) are useful tools here. Another excellent product is Sutton's Mobacter (also from Amazon) which is organic, safe for pets and children and doesn’t blacken moss.
10. Prepare tender plants for the great outdoors
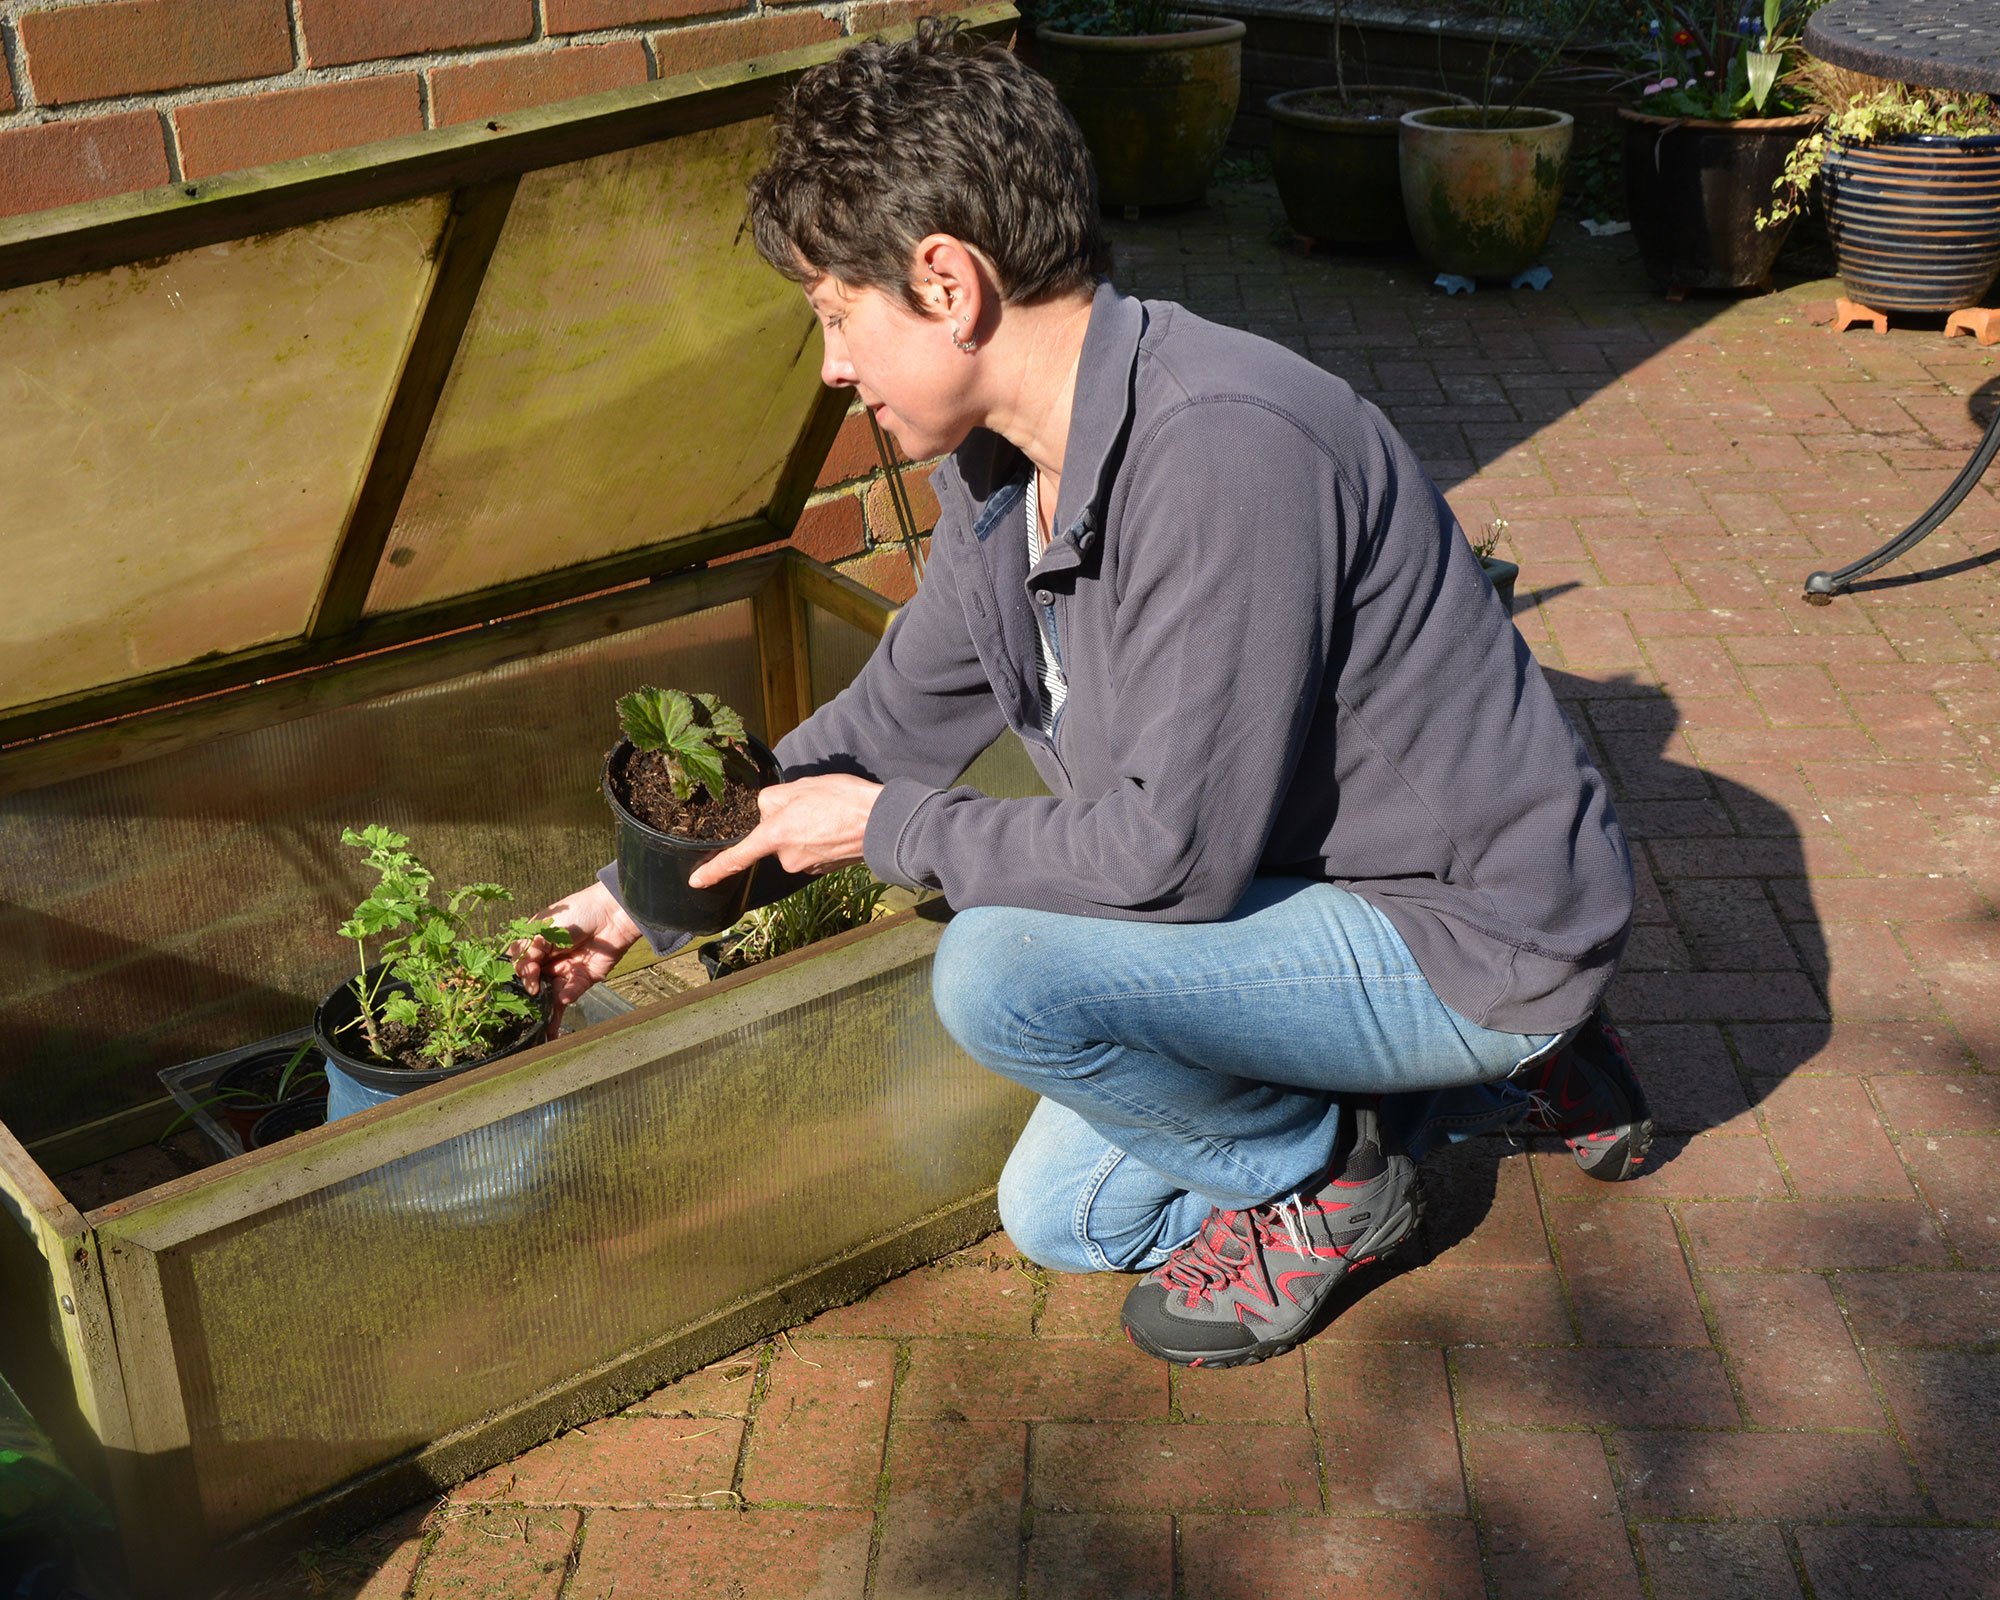
Towards the end of the month, one of the most important March gardening jobs is to move tender, half hardy and young plants grown from seeds and cuttings outside after their winter undercover. Even if you live in warmer areas, such as the south of England, they will need to be prepared for the change in environment.
Because they have spent several months in the warm, cossetted stability of a greenhouse or house, the shock of the garden’s changeable conditions can stunt development and even kill them off.
To survive they need to be ‘hardened off’, meaning they should be gradually acclimatised to life outside by being left outside for longer periods over 2-3 weeks until they are fully hardy. The process works by altering the plants’ leaf structure so they become thicker and waxy and able to withstand the elements.
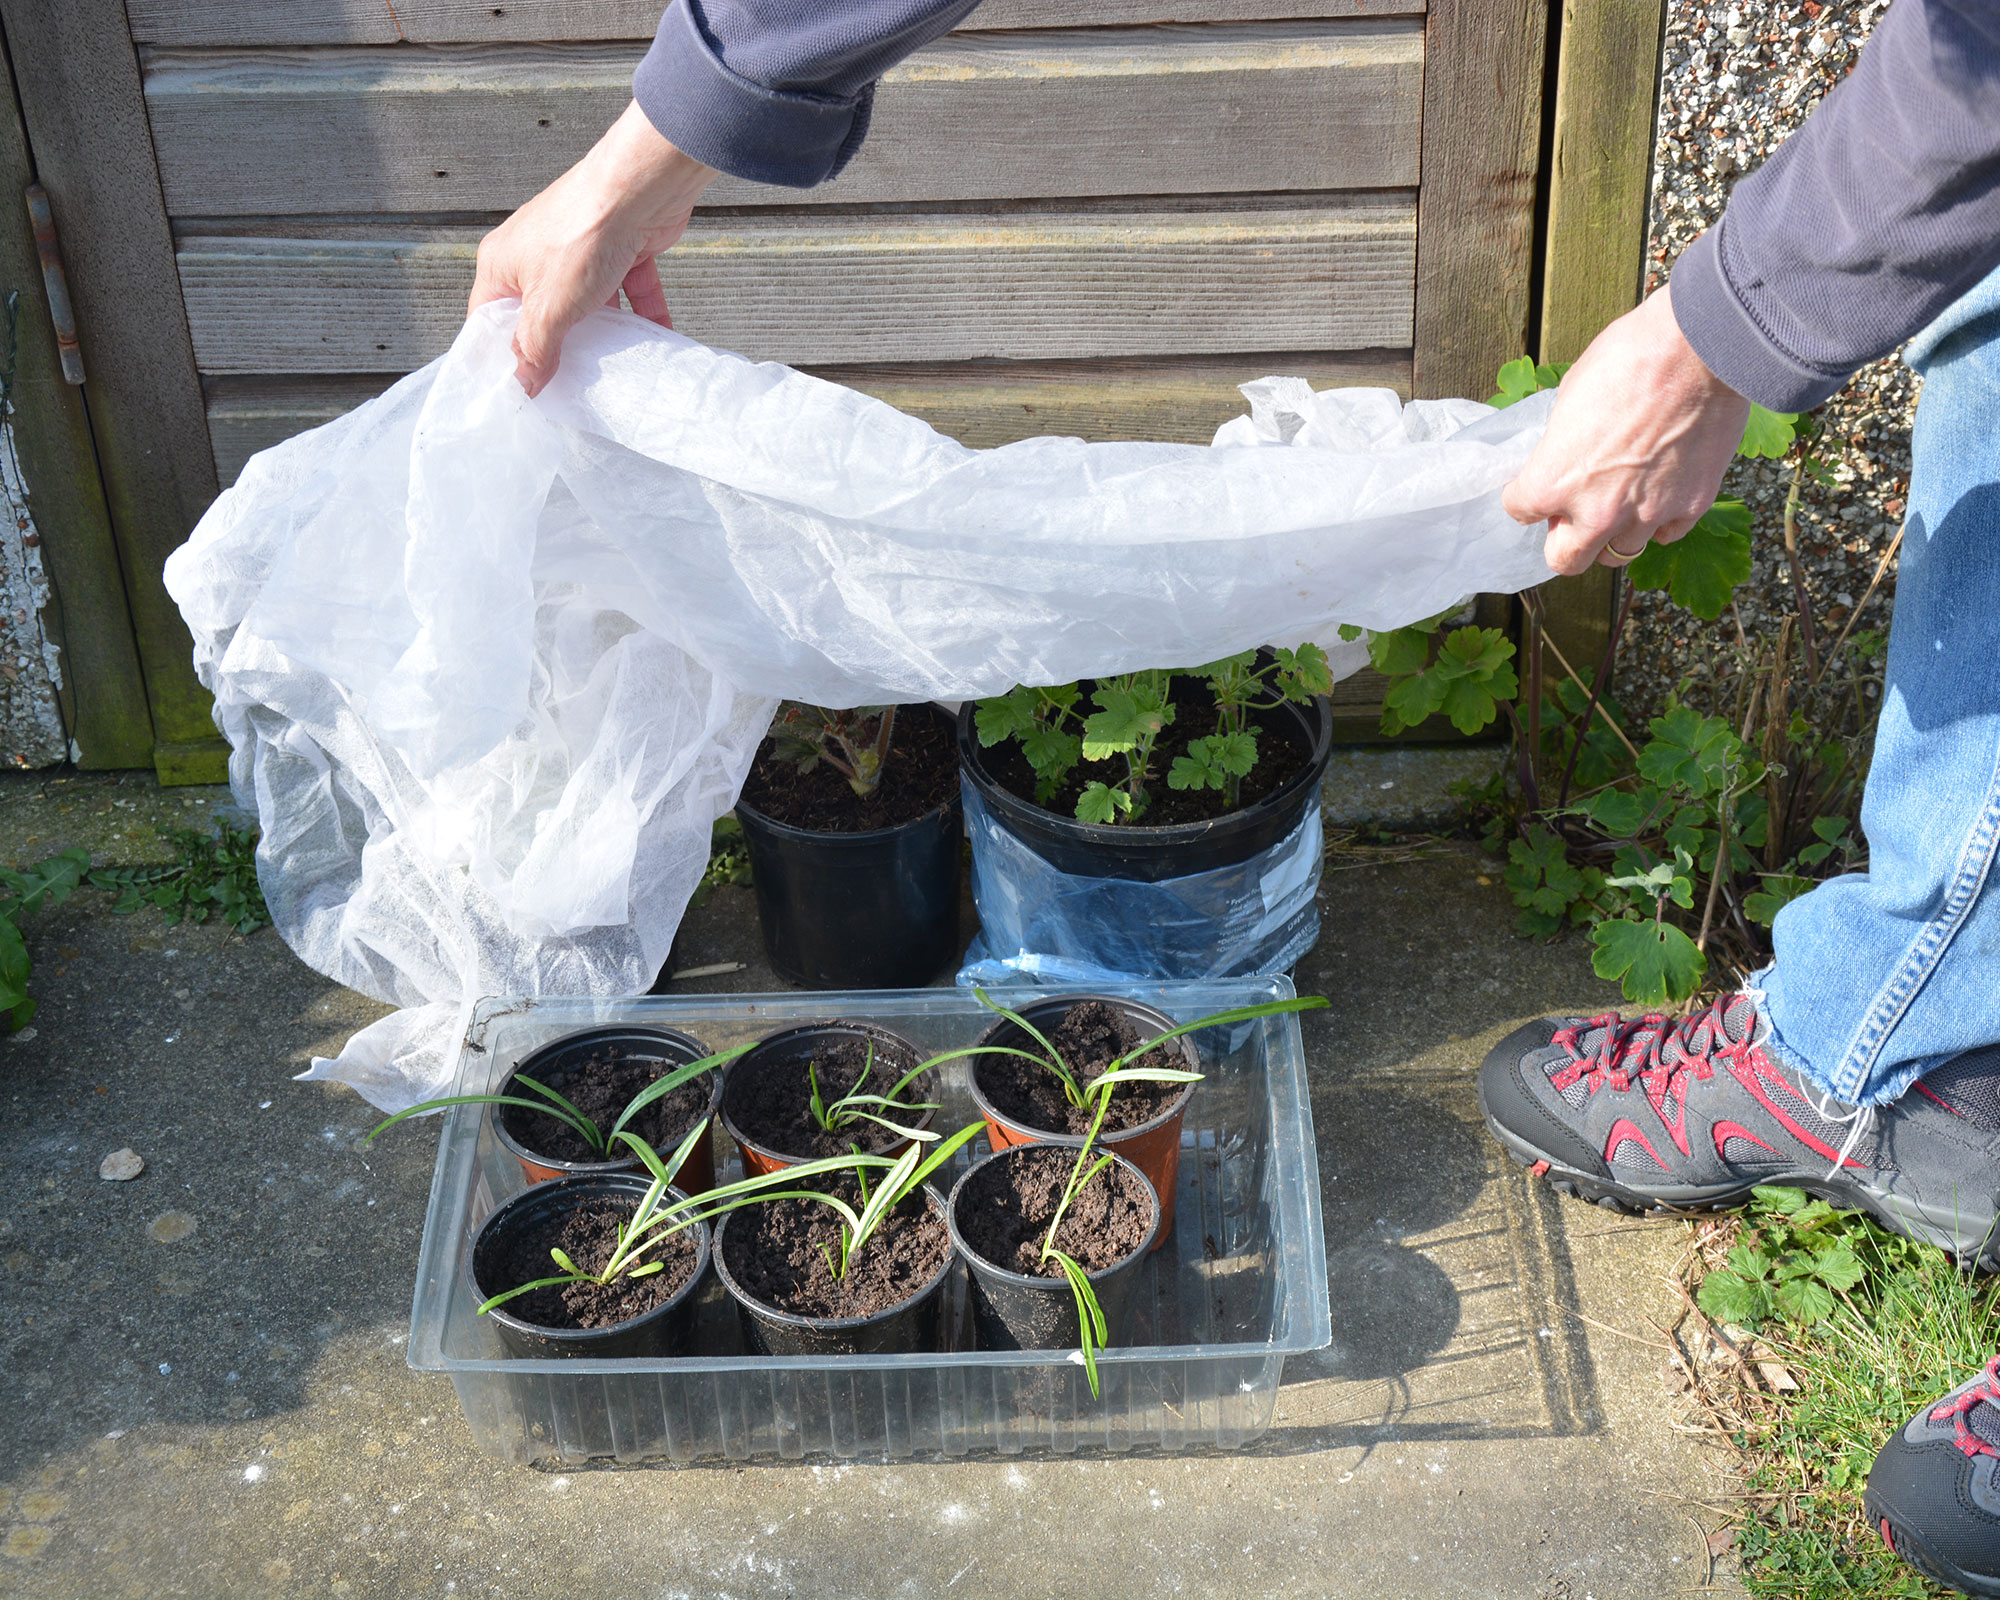
There are several stages in the hardening off process.
- Plants overwintered in a heated environment should first go to an unheated greenhouse for a couple of weeks and then into a cold frame.
- Keep some horticultural fleece to hand to drape over them on nights when frost is forecast, remembering to remove it during the day when temperatures rise again.
- Seedlings in heated propagators should be removed on a dull day to reduce the risk of wilting in direct sunlight.
- Plants in an unheated greenhouse should go straight into a cold frame, the lid opened during the day and closed at night during the first week. Then leave the lid open 24/7 until the plants are ready to go in the ground.
- Plants moved to an unheated greenhouse from indoors can follow a similar regime.
Top tip: If you don’t have a cold frame, a sheltered spot and a couple of layers of horticultural fleece (try Amazon) during the night, removed in daylight, work just as well.
Ruth is the gardening editor of Amateur Gardening magazine and spends her working days carrying out, writing about and photographing the tasks the readers should be carrying out each week, as well as testing many of the new products that arrive on the gardening market. She is horticulturally trained, with a qualification from the Royal Horticultural Society.
